 FREE 1 to 3-Day Delivery on Orders $149+ Details
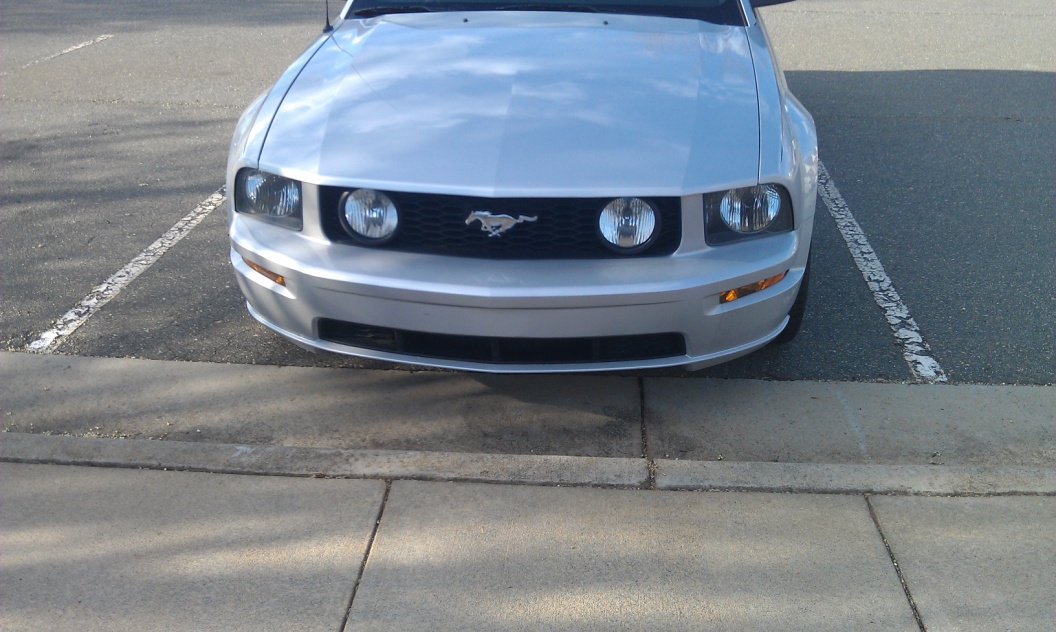
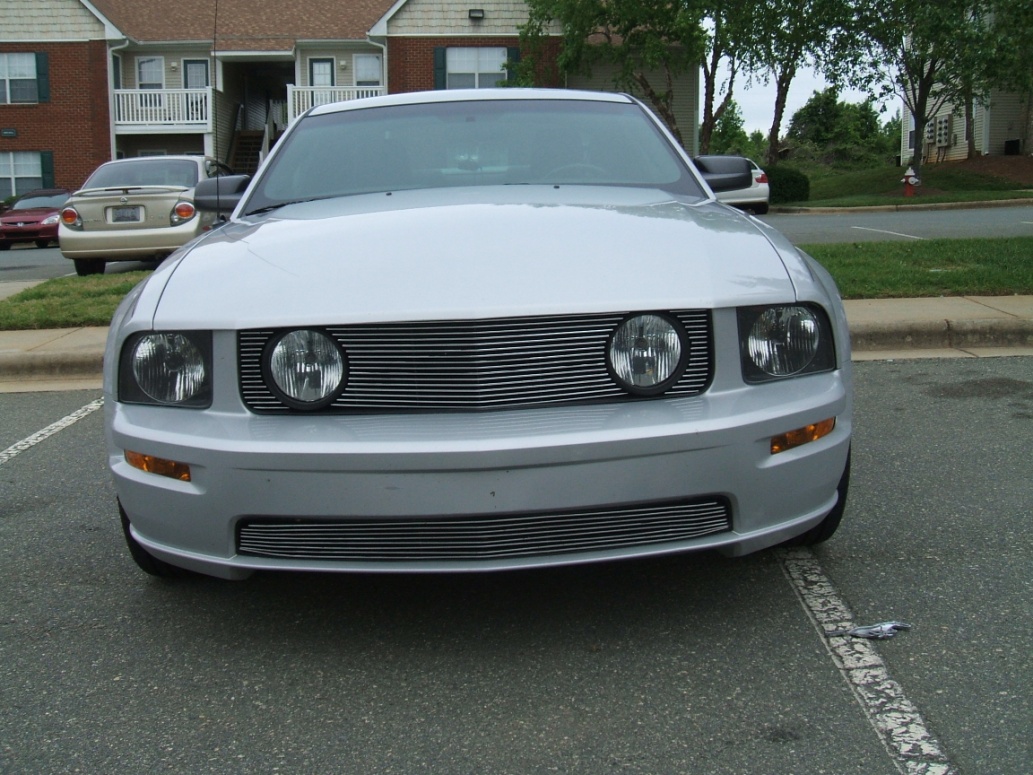
How to Install a Polished Billet Grille on your 2005-2009 Mustang GT
Installation Time
30 minutes
Tools Required
- Flathead Screwdriver & Phillips head screw driver
- Drill and a 3/16" Drill bit
- Socket Set

Shop Parts in this Guide
1. First make sure you received all the pieces that came with your billet grille you should have the following:
- 1 Center Billet Grille Piece
- 2 Side Grille Pieces
- 1 Lower Grille Piece
- 8 Screws
- 4 Lock Nuts
- 4 “K” Nuts
- 4 Flat Tabs
- 4 Bolts
- 4 “J” hooks
- 4 “U” Nuts
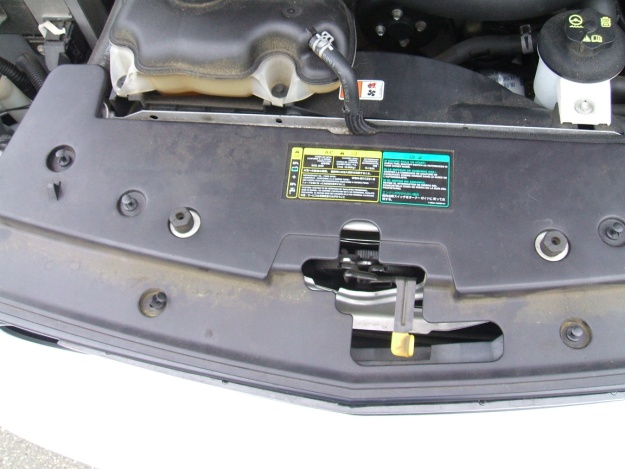
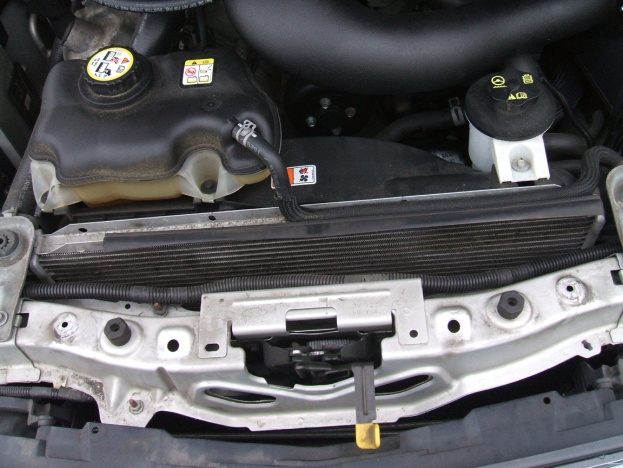
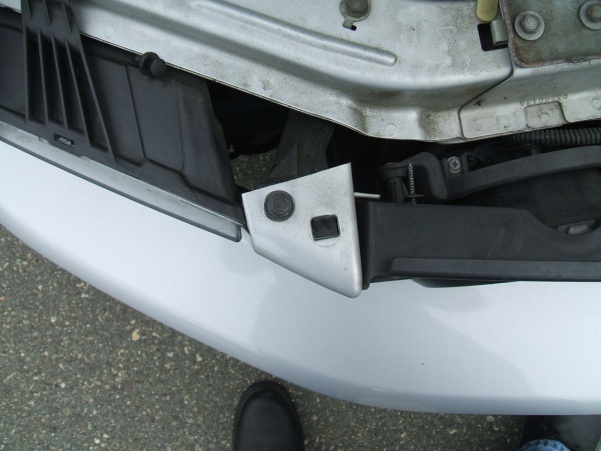
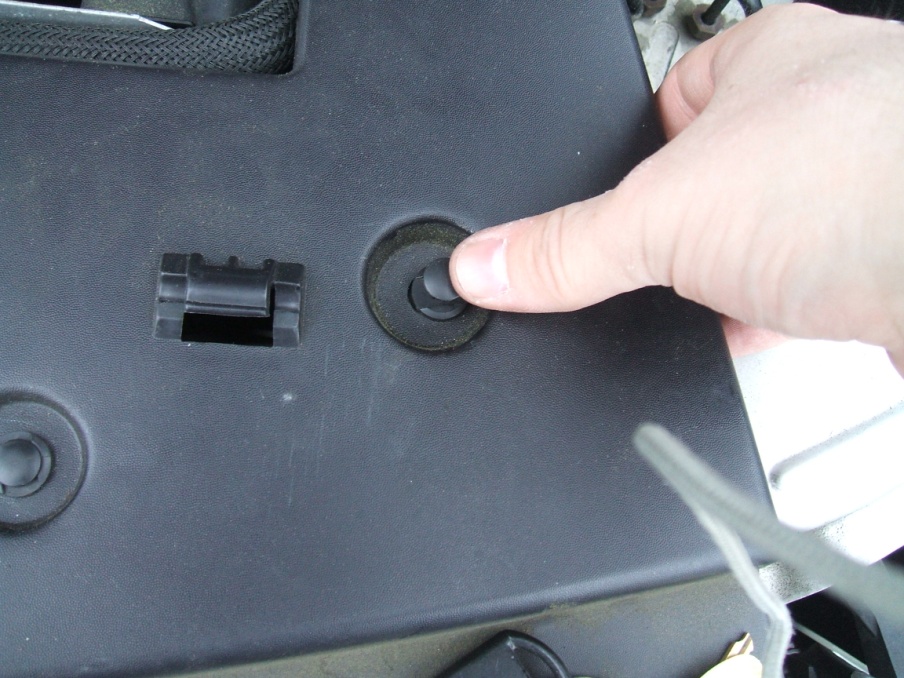
2. Once you have verified that you have all the tools that you will need and all the parts came with your shipment, take the flathead screwdriver and remove the plastic clips that hold the radiator shroud in place and remove the shroud.
3. Depending on if you decided to do the pony delete grille or the grille with the pony cut out you may decide you want to remove the pony emblem in the stock grille. In my situation I chose the pony delete option. To take the pony emblem out simply use the flathead screwdriver to slowly pry the pony emblem out. Caution: Take your time doing this, if not you can break the emblem.
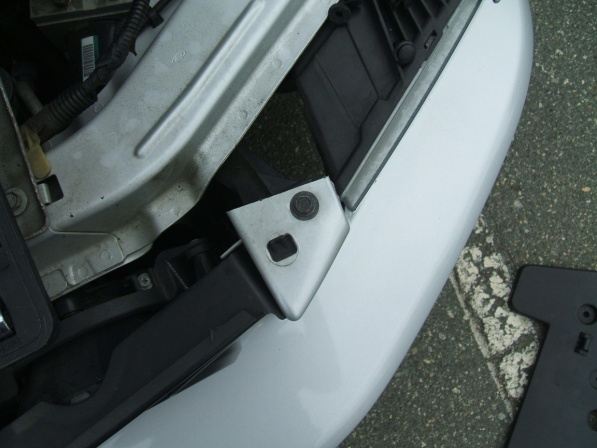
4. To give myself some play in the grille I removed (2) bolts that held the grille in place. It gave the grille just enough wiggle room to get the job done.
5. Once you have done that you can take the billet grille and center in over the stock grille. Note: The grille only fit one way. It is also easier to do this with a helper to help hold it in place and also verify that its centered
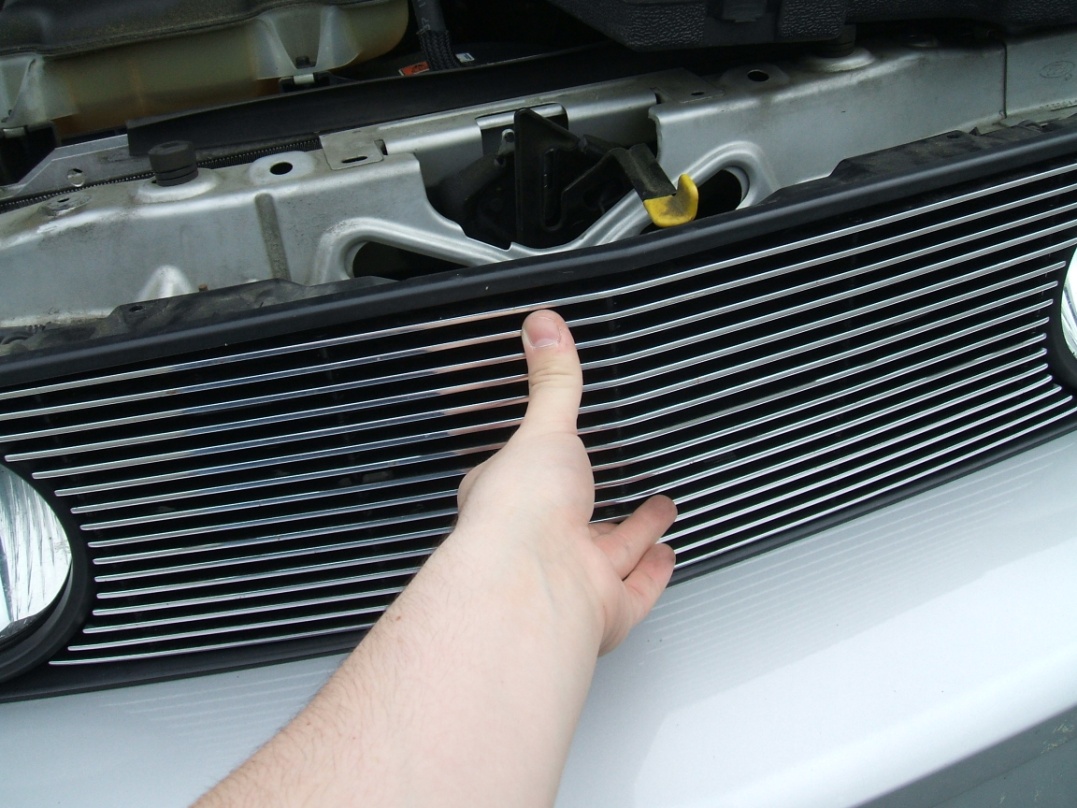
6. Use the supplied 4 bolts, the 4 flat tabs, and the 4 locking nuts to secure the grille in place. Make sure it is still lined up how you want it and then tighten all the bolts.
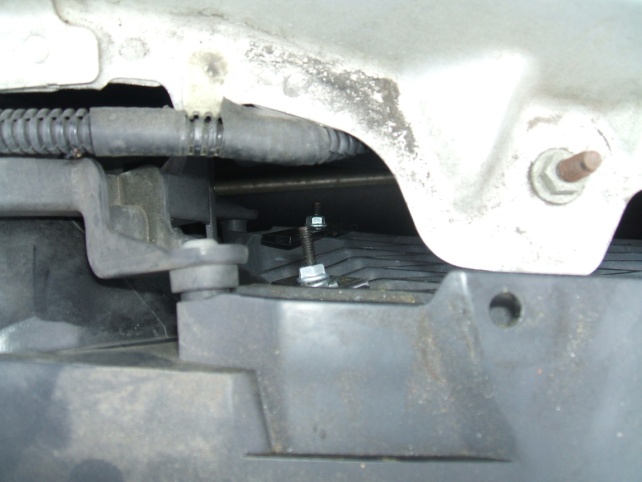
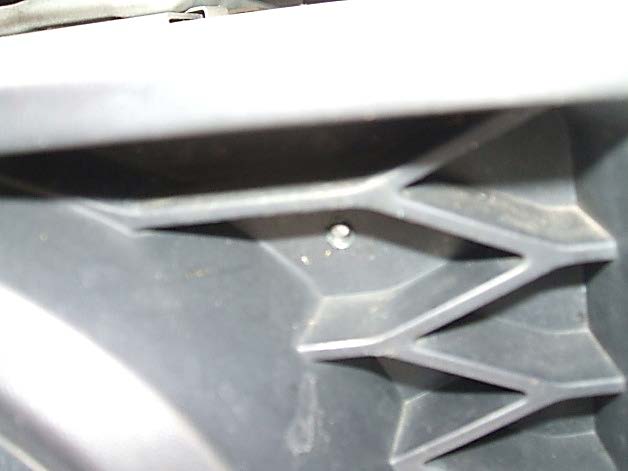
7. Now you need to put the side grille panels against the grill where you want to mount them. Note: The side grilles will only fit in one direction. It is important to get them exactly where you want them because now you have to drill holes. Once again having help here is recommended.
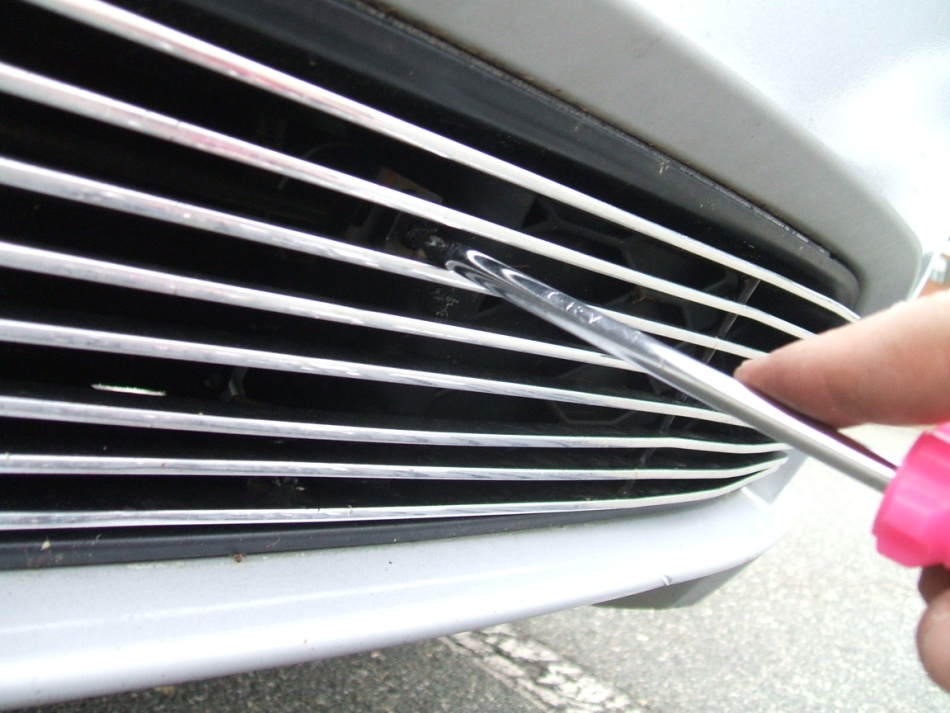
8. olding the grille in place drill pilot holes using the drill and the 3/16” drill bit. Do this for both side grilles Note: Be careful not to drill into any electrical wires that may be behind the grill.
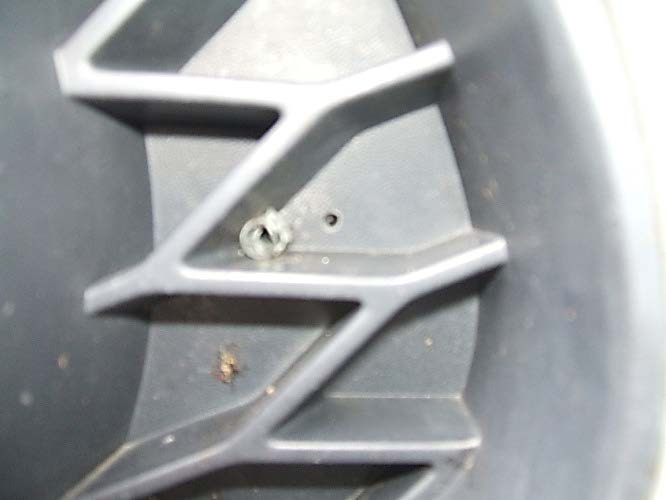
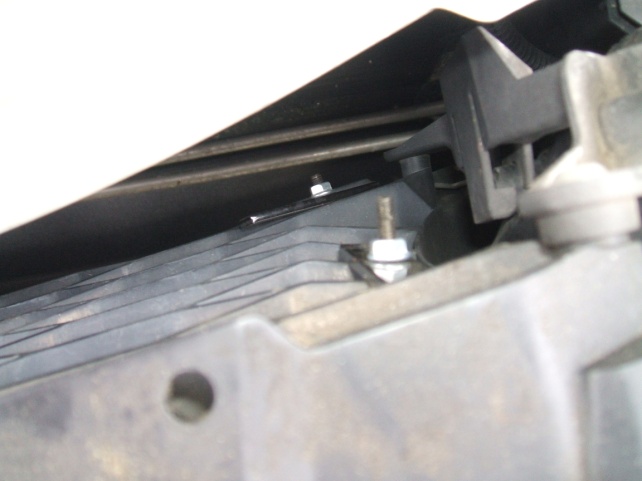
9. Using the screws secure the side grilles in place. Make sure it is still lined up to your liking and then tighten the screws to secure the grille.
10. Now you can go ahead and put the radiator shroud back in place and secure it back in with the plastic clips. You have now finished the top grille!
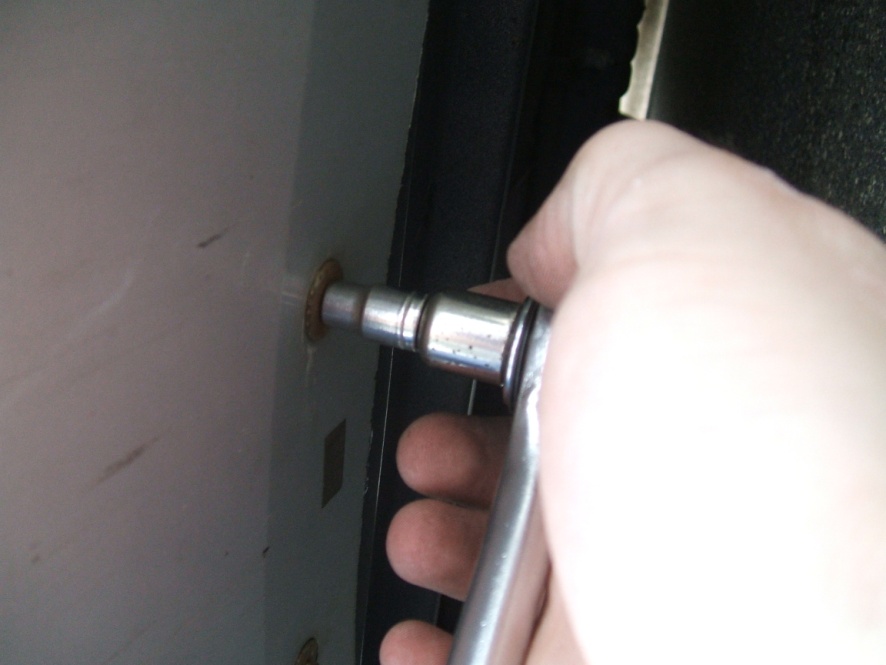
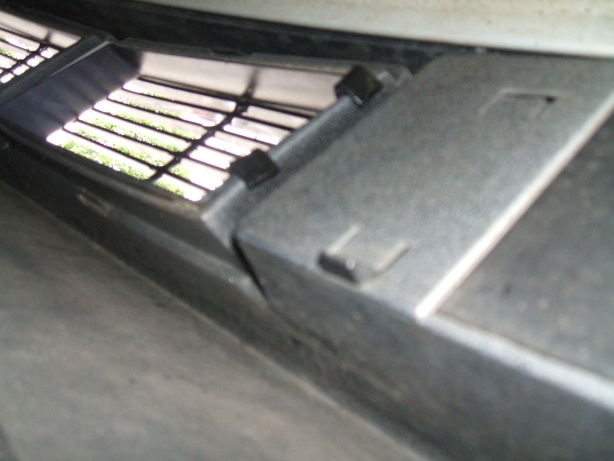
11. Remove the 7 screws that hold the drip pan in place and remove it from under the vehicle. Note: May be easier if you raise the car. If you raise the car remember to make sure you are on a flat surface and that the park brake is engaged.
12. Slide the “U” clips over the “J” hooks and secure them to the lower grille using the 4 remaining screws you have left. Don’t tighten them all the way only a few turns to leave some play in them
13. Put the Billet grille over the factory grille. From under the car use the other end of the “J” hook to attach to the factory grille.
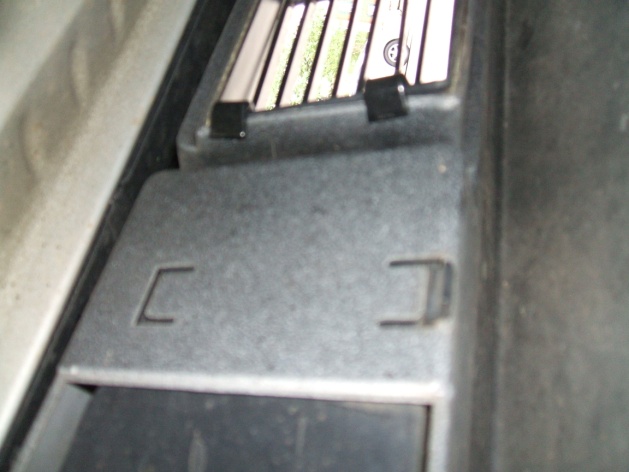
14. Once you have all the “J” hooks securely attached to the factory grille tighten down the screws by going through the Billet grille as shown. Note: On my lower grille I did have to bend it slightly to get it to fit right
15. Once it is positioned and secured to your liking reinstall the factory drip pan that we removed earlier.
16. Now you have completed the upper and lower Billet grille install! Enjoy the new look!
Installation Instructions written by AmericanMuscle customer Robert Hickey 5.14.12
