 FREE 1 to 3-Day Delivery on Orders $149+ Details
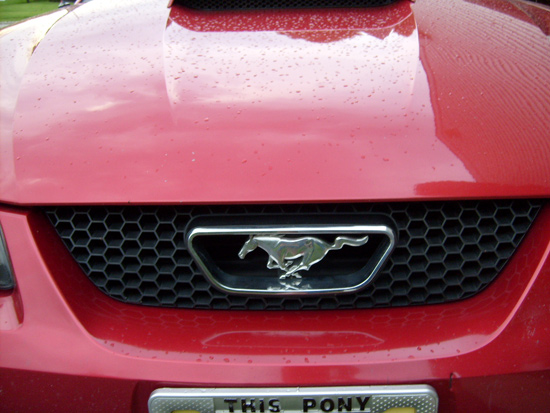
Pony Grille Emblem Installation Guide
Installation
1. Start by lifting up the hood of the car. This can be accomplished by pulling on the hood latch by the kick plate next to the brake pedal as shown below.

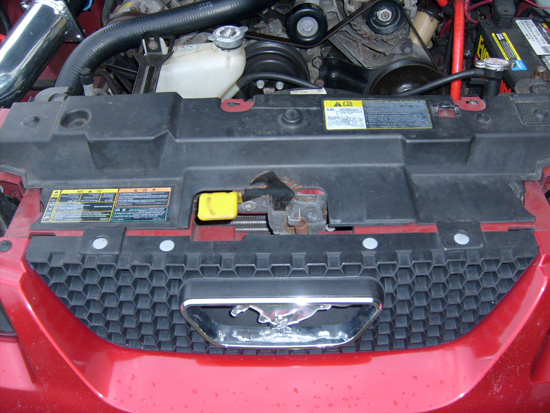
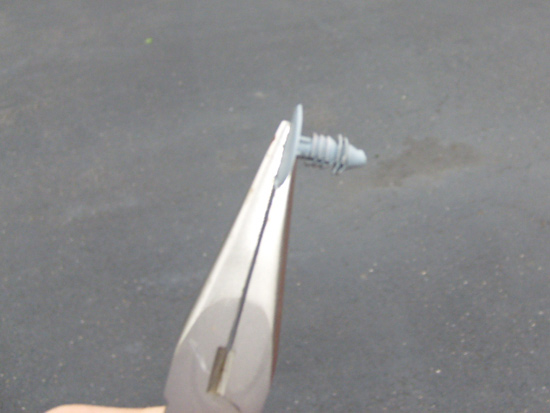
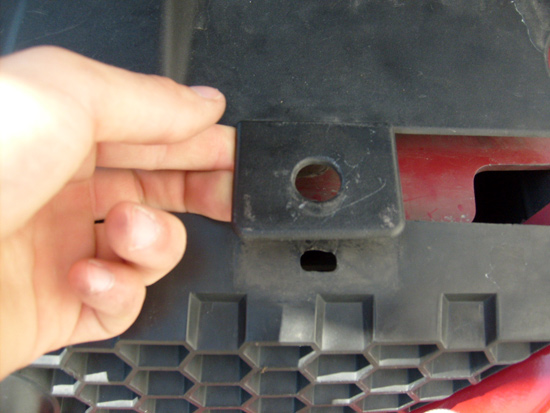
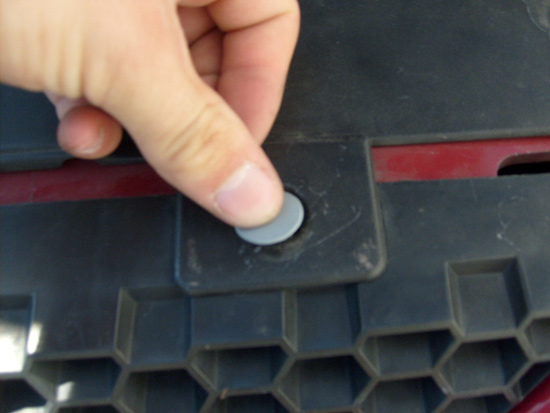
2. Next, once the hood is open, inspect the grille assembly. You will notice four light gray pushpins that hold the front grille assembly to the frame of the car. If you look closely, you can see the four gray pushpins in the picture below.
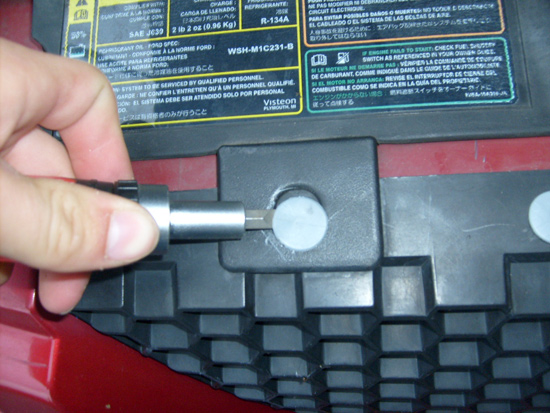
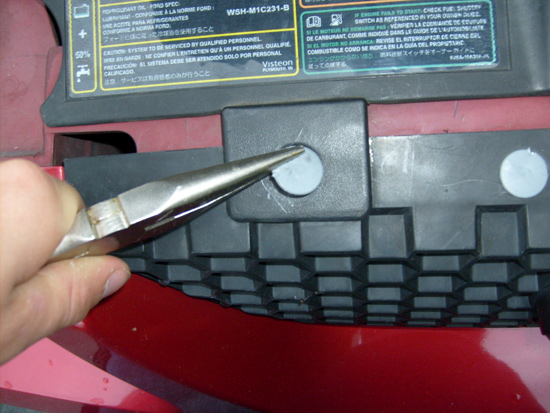
3. Taking a set of pliers and a screw driver, remove each pushpin. Try not to damage the pushpin during removal because they will be needed to install the grill back into place.
NOTE:Ford has a tendency to use these pushpins on many different applications on Mustangs. It is a good idea to check these pins to make sure they are not loose or disintegrating.
4. Ok, on to the slightly frustrating part. Take the grille with the pony attached to it and bend it forward toward you as you stand in front of the car. You need to bend the grille forward so that you can take off and install the new pony. Try not to bend the grille too much as it will break the front fascia of the car.
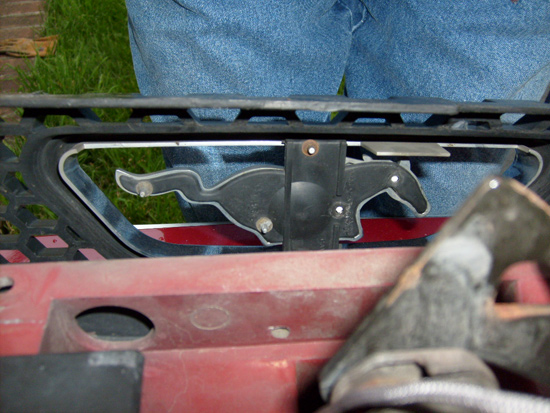
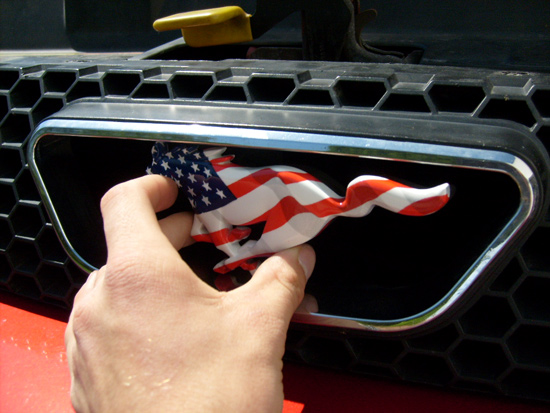
5. As the picture below indicates, there are five plastic pins being held on with little metal fasteners on the backside of the stock pony emblem. Try to pull these metal fasteners off of the studs on the stock pony. In my case, the plastic pins on the stock pony broke off while I tried to remove the fasteners.
6. Once the fasteners are off, simply pull the stock pony off the front of the grille.
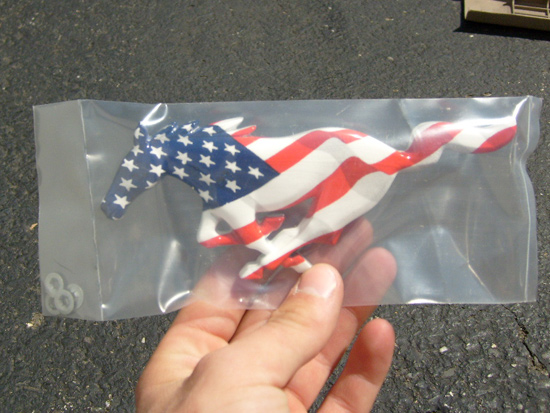
7. Once the original pony is removed, it is time to install the aftermarket pony. Below, is a picture of what the new pony looks like when it arrives. Notice the new fasteners for the pony studs are in the package as well.
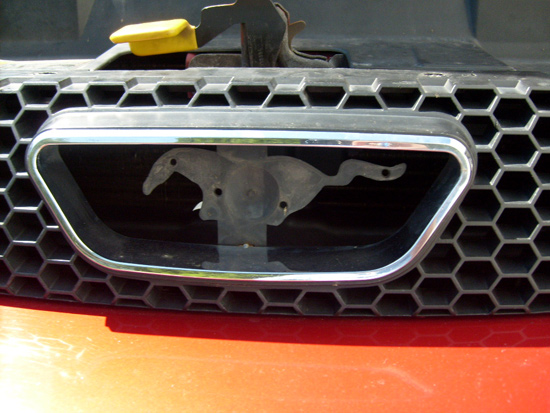
8. Simply take the new pony and line up the studs with the holes where the old pony used to be as shown below.
9. Once the pony is installed, take the new fasteners that come with the aftermarket pony and slide them on the studs. Be careful not to break the studs off of the new pony as they are only plastic.
10. Once the new pony is installed, slide the grille back into place where it originally was.
11. Then re-install the gray push pins.
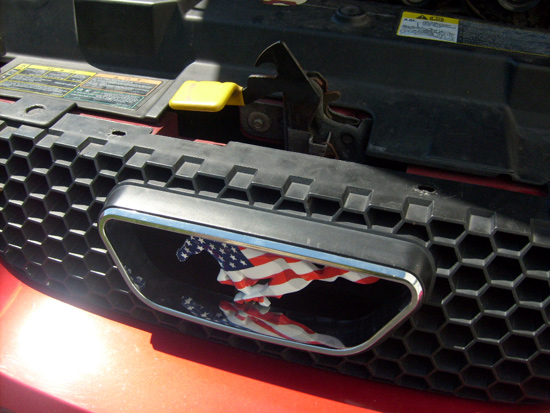
12. Now the new pony is installed! Enjoy the new look!
Installation instructions provided by AmericanMuscle customer Will Rimmler 6.15.08

