 FREE 1 to 3-Day Delivery on Orders $149+ Details
1999-2004 Hardtop Mustang Rear Seat Delete Installation Guide
Installation Time
2 hours
Tools Required
- inch ratchet and breaker
- (5/16 6 point socket)
- ( 6 point socket)
- 3/8 ratchet
- (T50 torx socket)
- ratchet
- (10mm 6 point socket)

Shop Parts in this Guide
Installation
Its really a pretty easy job and should not take all that long. Maybe an hour or so if your quick. My install took a little longer than it should of because I was doing this in the middle of a thunderstorm in my driveway since my garage was full.
1. The first thing I suggest doing is moving your seats forward and leaning them as far forward as possible. It’s kind of a cramped work space so you'll probably want all the room you can get.
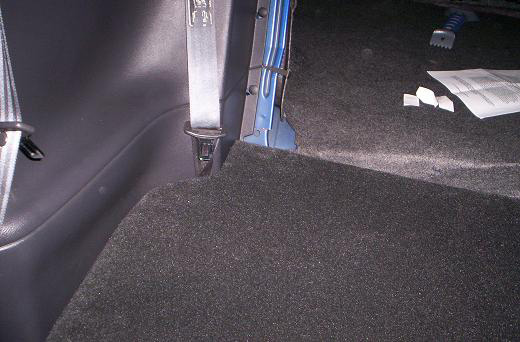
2. Once your back there feel under about the middle of each side of your rear seat between the cushion and carpet where there is some give. You should feel a little button. Push those in and your rear seat bottom should come out fairly easily. Yank the sucker out of there, it’s pretty light and should not pose any problems. Take your ratchet and 5/16 socket and unbolt the white plastic pieces that held the rear seat in place, they won’t be reused and would just get in the way.
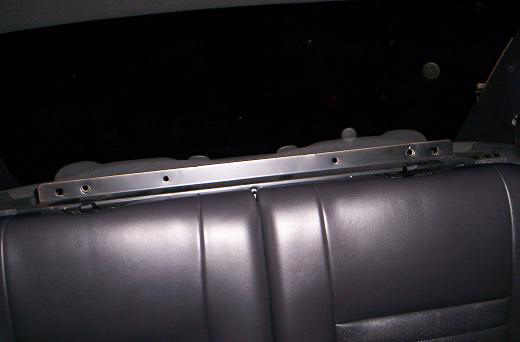
3. Once this is out of the way the next step is to remove the rear headrest. Fairly simple to do, unbolt the three 1/4 inch bolts on the tabs holding it in place. Lift it up and store it in your trunk for now.
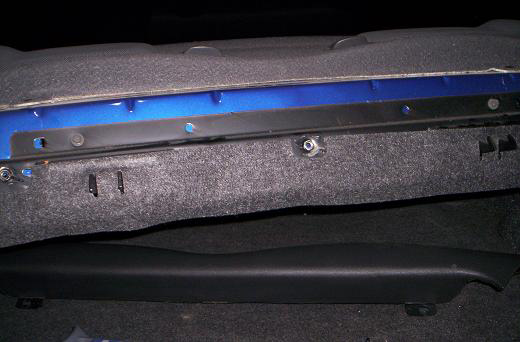
4. Now comes the one of the harder parts. Removing the rear seat backs. Take your 10mm socket and unbolt the 4 bolts holding the black frame to car. There is one on each side under the seat. These are easiest to access when the seat in the upward locked position. The other 2 are at the tops of the seats and easiest to access with the seats pulled down. Once the 4 bolts are out it should come free pretty easy, but be careful this is the heaviest and most cumbersome piece and could scratch your interior up pretty bad if you’re not careful.
5. (Optional)With all of this out of the way I took the time to take my T50 torx and loosen my rear seat-belts since I won’t be needing them anymore. You do not have to do this but hey why not since your already knee deep in the car.
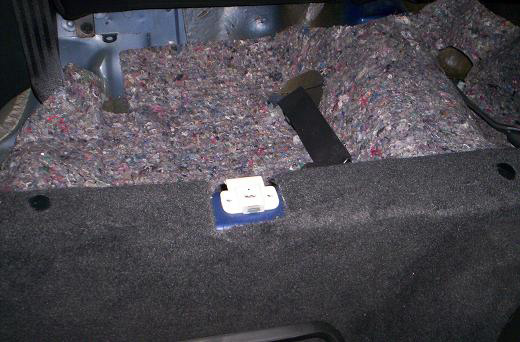
6. Next install the wooden dowels (supports) in the little round brackets towards the bottom rear of the seat. I used my ¼ socket on my breaker to loosen the screws from the dowels then to reattach them through the tab. The ratchet was a little too bulky to fight in such a tight place making the little ¼ breaker perfect for the job at hand. Once those are in go ahead and peel the Velcro from the seat bottom and line that little guy up and stick it down. (Note: you may need to adjust the dowels a little to get it to fit like you want)
7. Ok now we are in the home stretch. First you’re going to need to find a way to puncture the carpet where the bolt holes are on your delete back. I used an ice pick myself, but pretty much any sharp object will do. Take your back piece and position it in to place. Take a bolt with a washer and place it through the hole. It should make a sandwich as follows, headrest tab rear seat delete back and then the car itself. Once you run your bolts through pop the trunk and walk around to the back of your car, place a washer on the bolt and then tighten the nut. You might want to get a second hand on the inside of the car to hold the bolt while you tighten the nuts in the trunk. Now you can take a step back and admire your work.
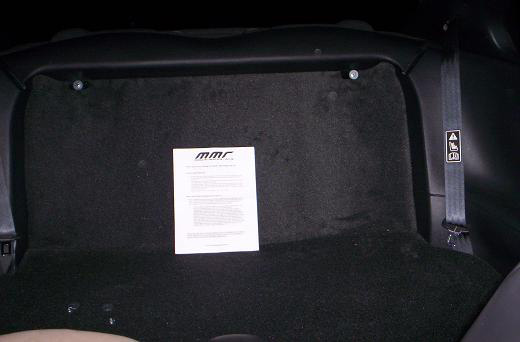
Finished Installation
Installation instructions provided by AmericanMuscle customer Erik Holtzclaw.
