 FREE 1 to 3-Day Delivery on Orders $149+ Details
How to Install a Airaid Cold Air Intake in your 1999-2004 Mustang GT
Installation Time
1 hours
Tools Required
- 10mm Socket
- 8mm Socket
- 4mm Hex Bit
- T-20 Security Torx Bolt
- Flathead Screwdriver

Shop Parts in this Guide
Time: 30-45 minutes
Tools Needed:
• 10mm socket
• 8mm socket
• 4mm hex bit
• T-20 Security Torx Bit
• Flathead screwdriver
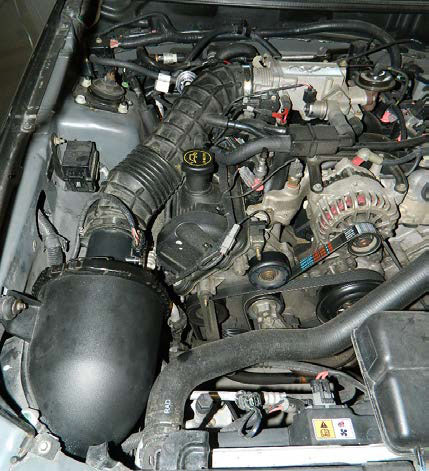
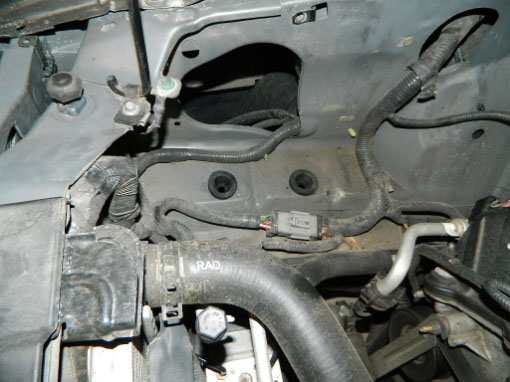
Before
Installation:
1. Disconnect the negative cable of the battery using 8mm socket.
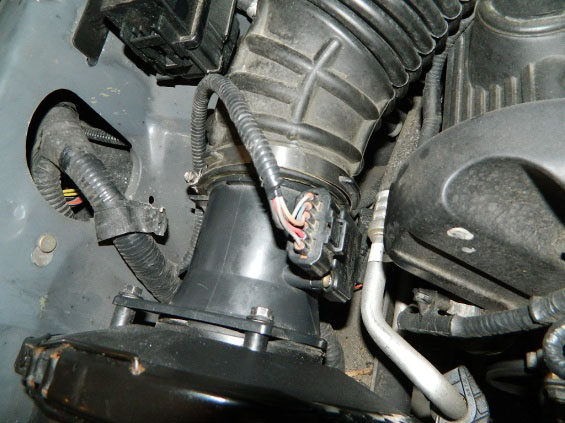
2. Loosen the hose clamp attached to the factory intake tube using flat head screwdriver.
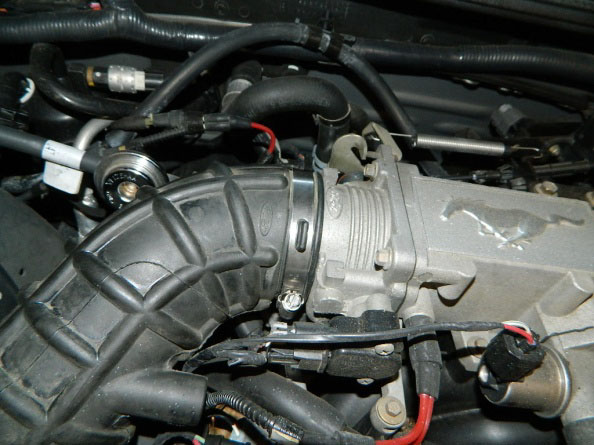
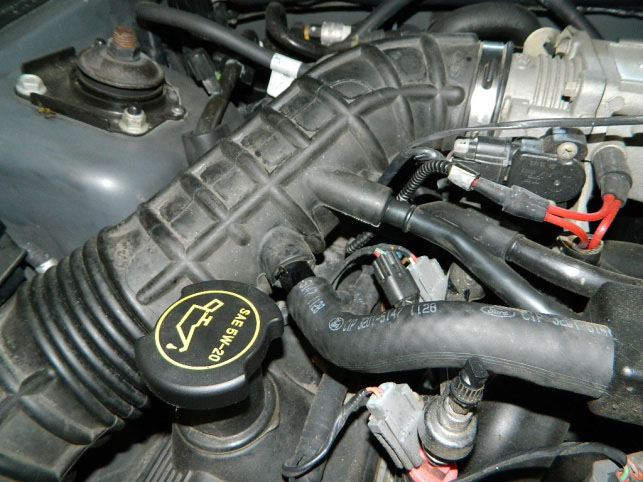
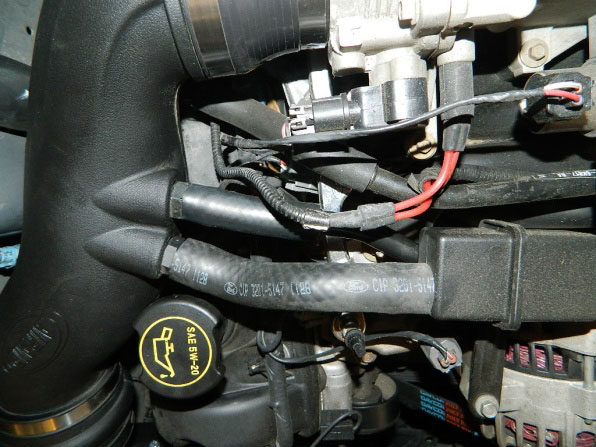
3. Disconnect all of the hoses attached to the intake tube. And remove the plastic coupler from the one tube.
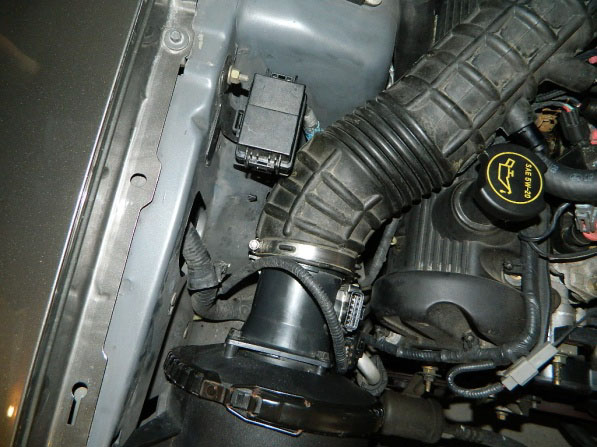
4. Disconnect the mass air flow connection.
5. Remove the bolt that is holding factory air filter canister with 4mm hex bit or 4mm hex screwdriver.
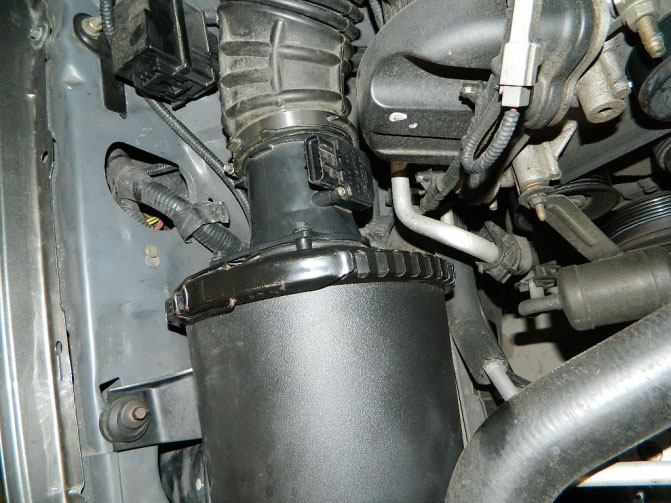
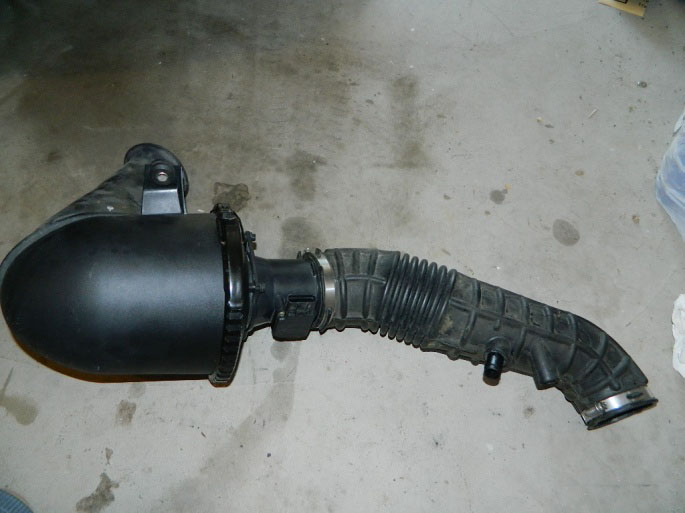
6. Remove the factory intake system from the car.
7. Remove the mass air flow sensor from the mass air flow housing using a T-20 Security Torx bit. Be careful with the sensor because it is fragile and is an expensive part. Remove the mass air flow housing from the factory intake tube and air filter canister.
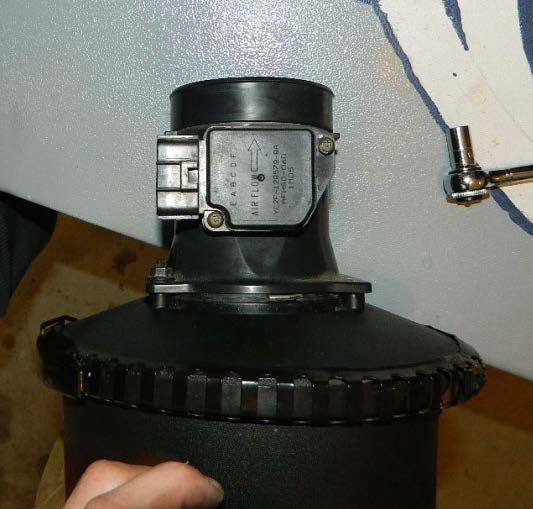
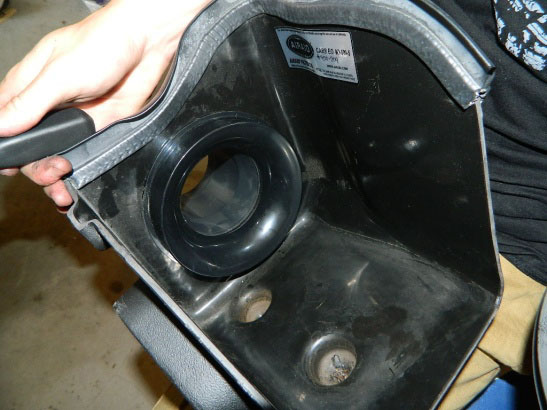
8. Make sure the 2 rubber grommets are still in place. If not they will be on the factory intake and you can take the off and place them back where they belong.
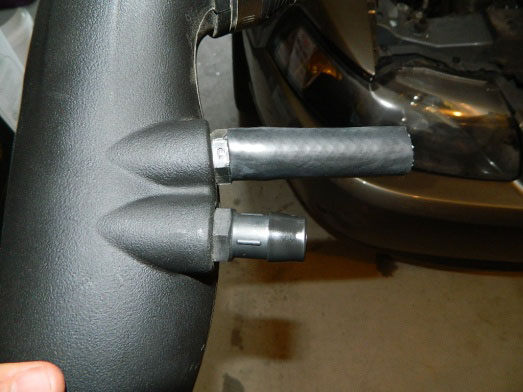
9. Attach the mass air flow housing to the cool air dam using the two gaskets, 4 bolts and lock washers, and the velocity stack. A gasket will be on each side of the cool aid dam (When attaching the velocity stack, make sure that it is not upside down. It will only work one way)
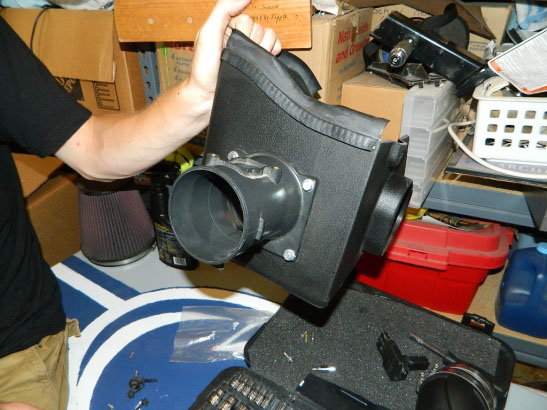
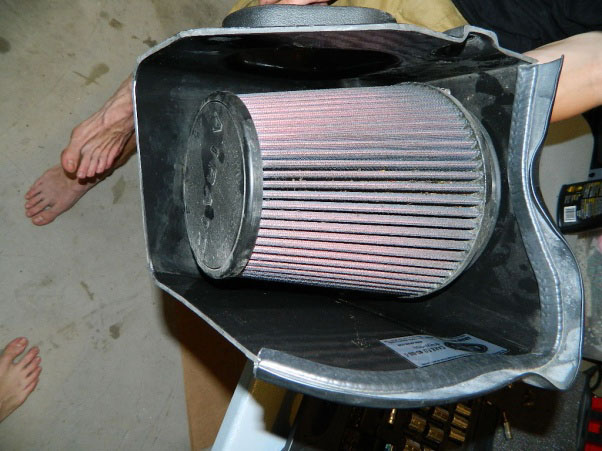
10. Install the Filter onto the velocity stack. And tighten the clamp.
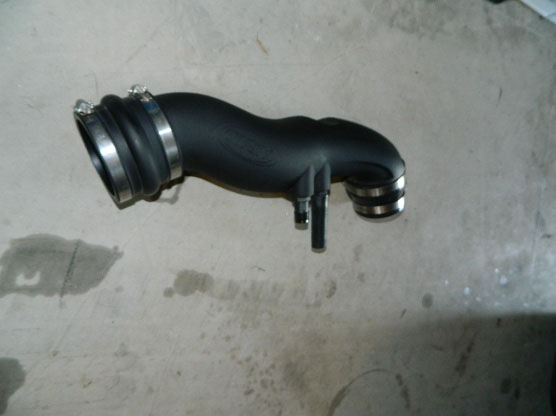
11. Install the barbed fitting into the new cold air tube. Slide the 3” hose over the 5/8” barbed fitting. In 99-01 mustangs install the grommet and in 02-04 mustangs install the plug grommet.
12. Slide the reduce coupler and hump hose into place and place the clamps on the coupler and hose. Use the #60 clamps on the hump hose and the #44 and #56 on the reducer coupler.
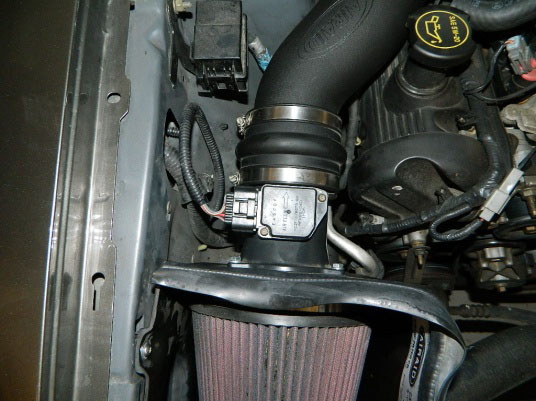
13. Connect the new intake take tube to the mass air flow housing.
14. Install the new cold air intake into position making sure that the cool air dam is place into the grommets.
15. Slide the reducer coupler over the throttle body.
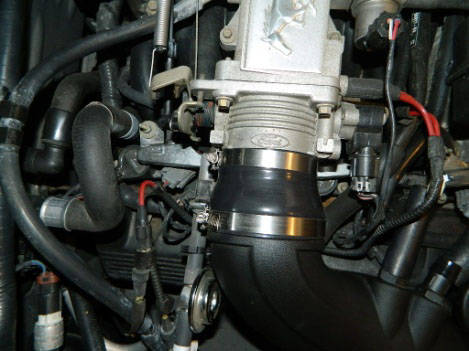
16. Install the button head bolt and washer into the cool air dam.
17. Tighten all of the clamps. Reinstall the tubes that were removed from the factory intake tube.
18. Install the mass airflow sensor into the mass air flow housing using the T-20 security torx bit. And reconnect the wiring harness.
19. Double check to make sure that everything is tight.
20. Reconnect the negative cable of the battery.
21. Start the engine. Make sure the car idles smooth and no check engine lights are on. If they are, you may have a loose clamp or wiring harness.
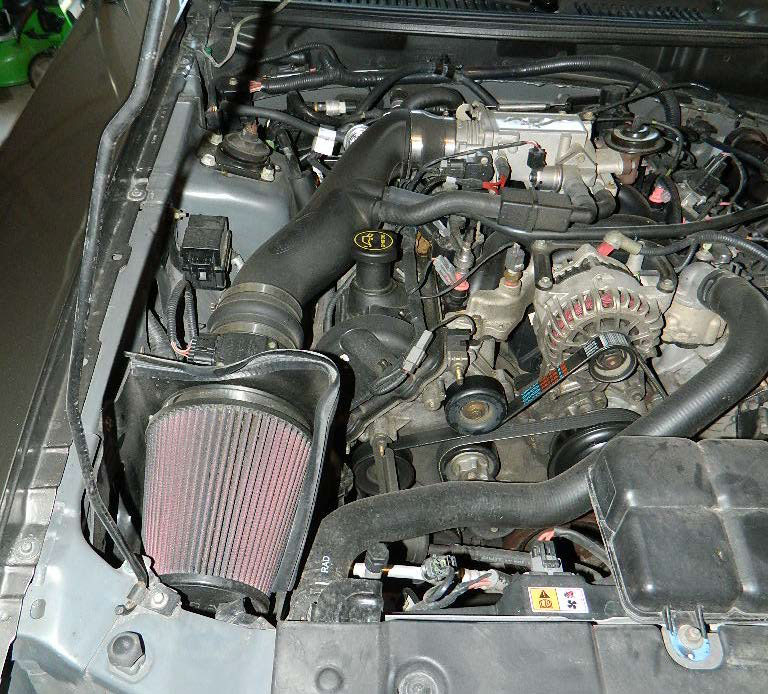
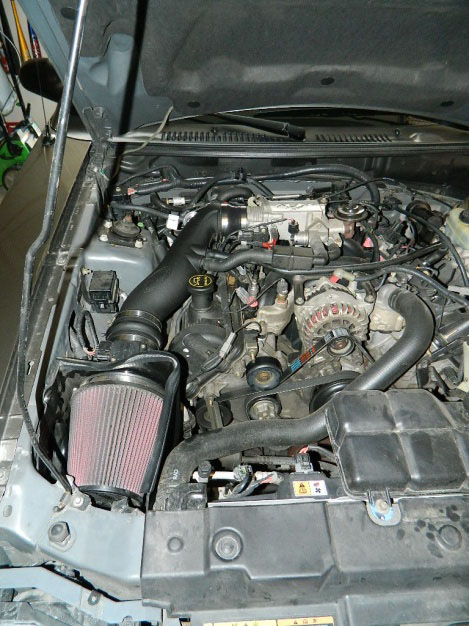
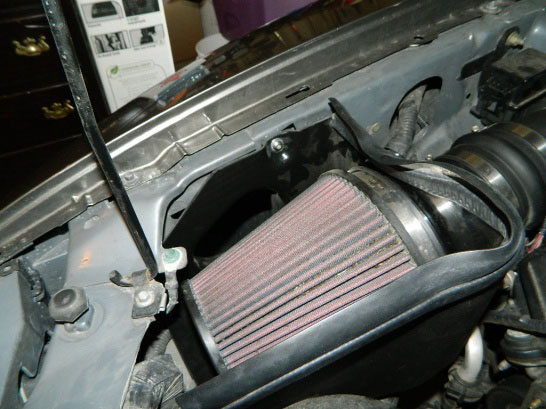
After
Installation Instructions Written By AmericanMuscle Customer Joseph Turek 8.8.2013

