 FREE 1 to 3-Day Delivery on Orders $149+ Details
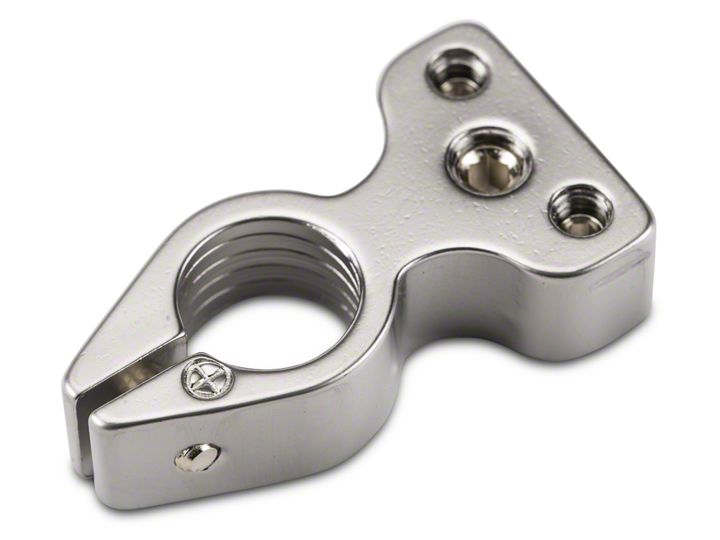
Installing PA Performance Premium Battery Terminal – Negative & Positive- For Your 1979-2004 Mustang
Installation Time
15 minutes
Tools Required
- Wire cutters----trimming the wires or scissors
- Needle nose pliers----spreading the wires
- 14mm open end wrench-----tightening the eyelet terminal
- Adjustable wrench
- #4 Allen wrench---to tighten terminal
- Set of standard & metric sockets with ratchet
Shop Parts in this Guide

Instructions:
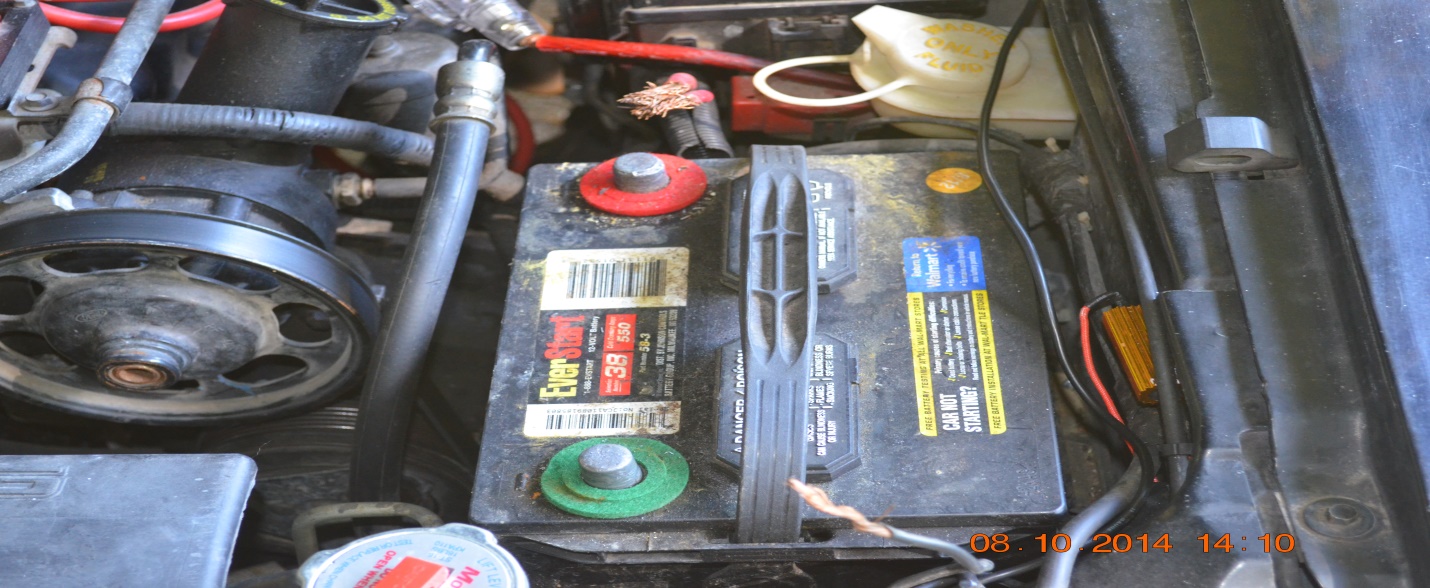
1) Disconnect the NEGATIVE battery terminal remember to always disconnect the negative first and reconnect last!
2) Disconnect Positive battery terminal.
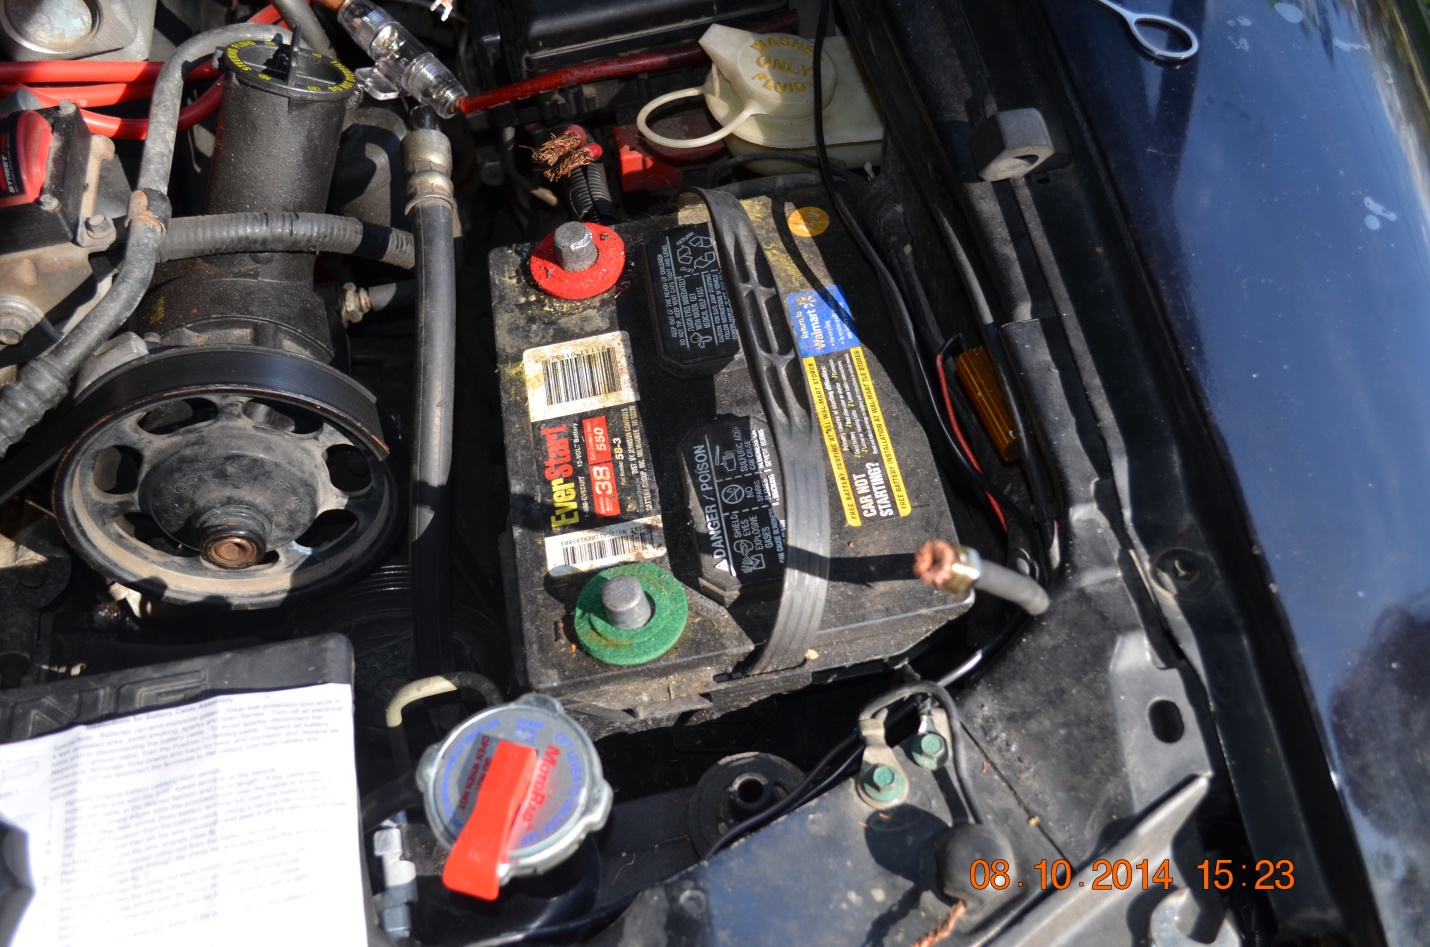
3) Now remove your old battery terminal connectors using your sockets or adjustable wrench
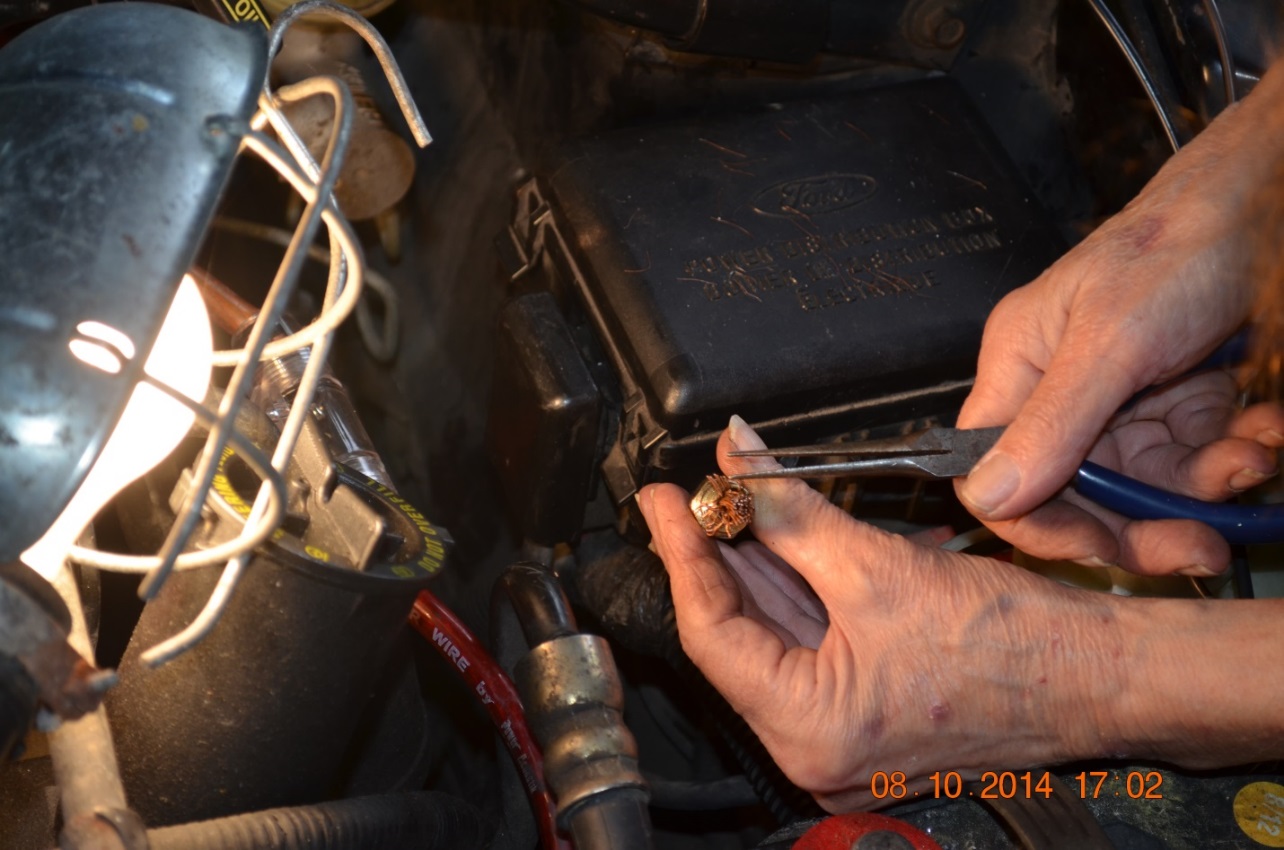
4) Take out your new battery terminal & unscrew the crimp nut (center part)
5) Measure precisely 7/16 of an inch from the old cable wire end (trim if necessary) this is very important. Now slide the eyelet over the negative or positive cable down to the insulation leaving about ¼ inch of wire (you may need to crimp the wire to fit) Then fold the wires over the eyelet sides all the way around it. Make sure it goes over the side a bit as this helps with the connection!!
Eyelet attached:
Spreading wire:
Positive wire spread:
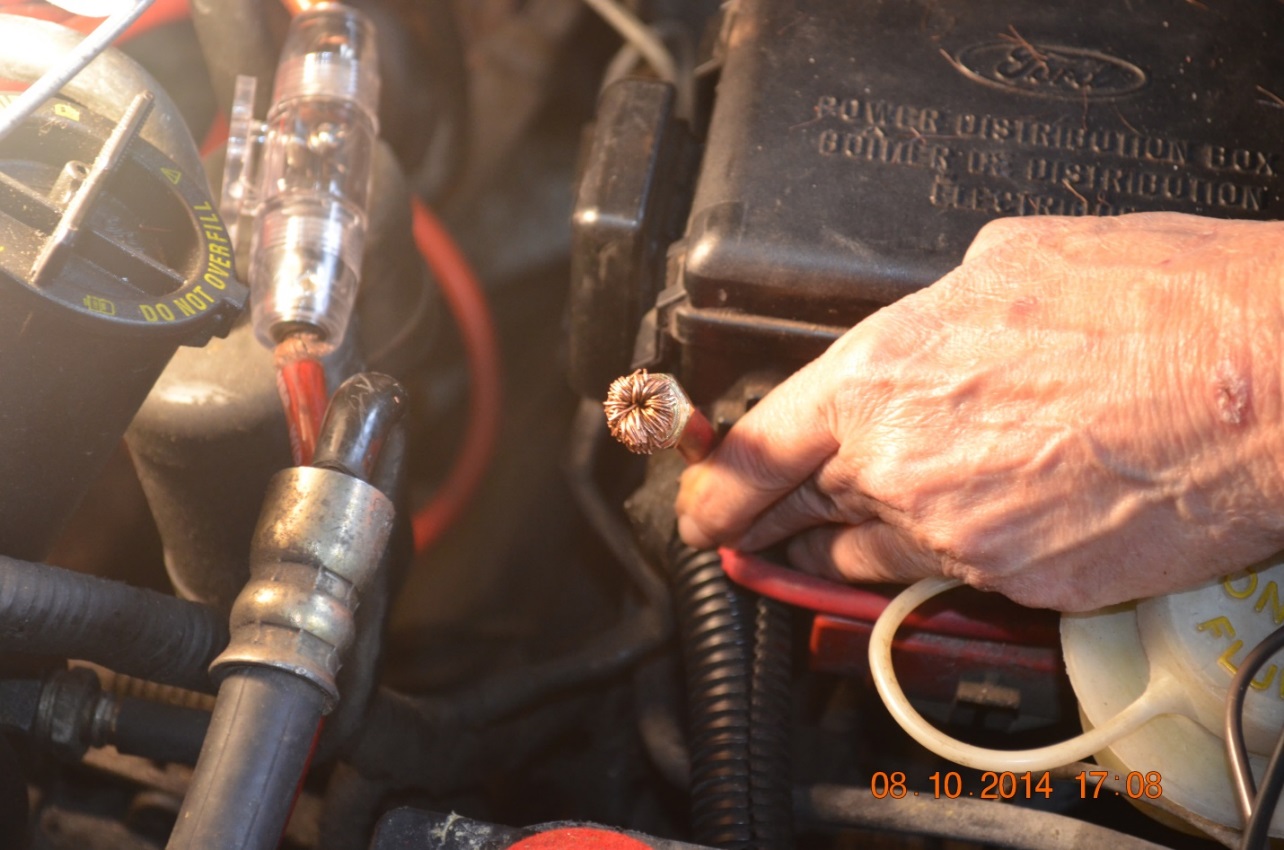
Negative wire spread with eyelet attached:
6. Now that the tedious matter is over time to connect the new terminal to the crimp nut.
7. Slide the terminal on to the crimp nut & hand tighten them, then grab your 14mm or adjustable wrench and tighten the rest of the way. Be sure to use something for leverage but not the battery post. You can also use heat shrink over the crimp nut if you want, however I did not.
8. Once that is completed it is time for the other side. Be sure to follow the same steps.
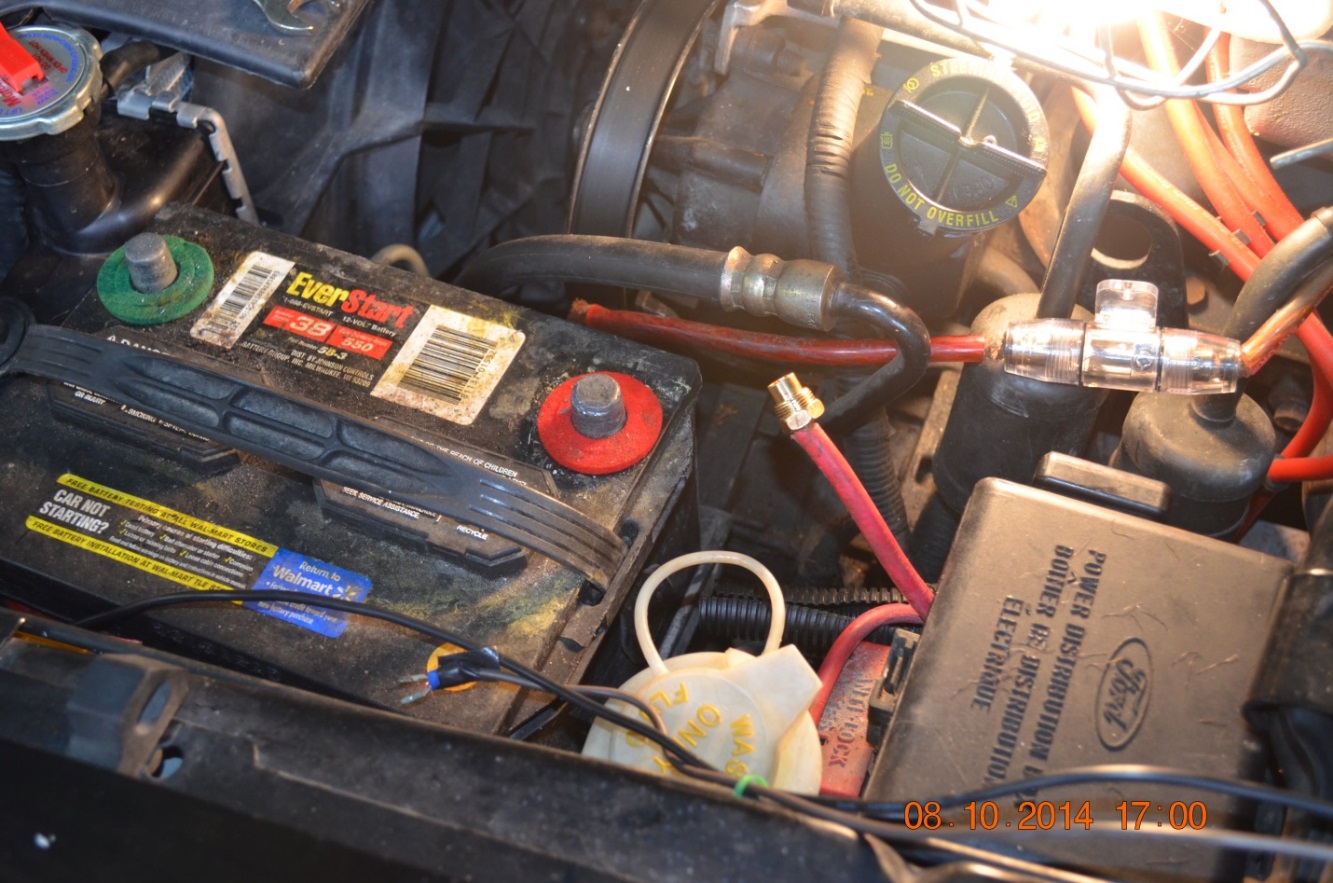
9. Once both sides are finished it’s time for the auxiliary wires if you have any. Use a Allen wrench to loosen the screw & slide the wire in (about 5/16 of bare wire is enough).
10. Put the terminals on by using a #4 allen wrench and that’s it.
11. Admire your work for it should look great!
12. Here’s my advice take your time and don’t get frustrated as getting the wire length and spreading the wire is very important and can be time consuming. It took me 3-4 hours to complete mine but I wasn’t in any hurry.
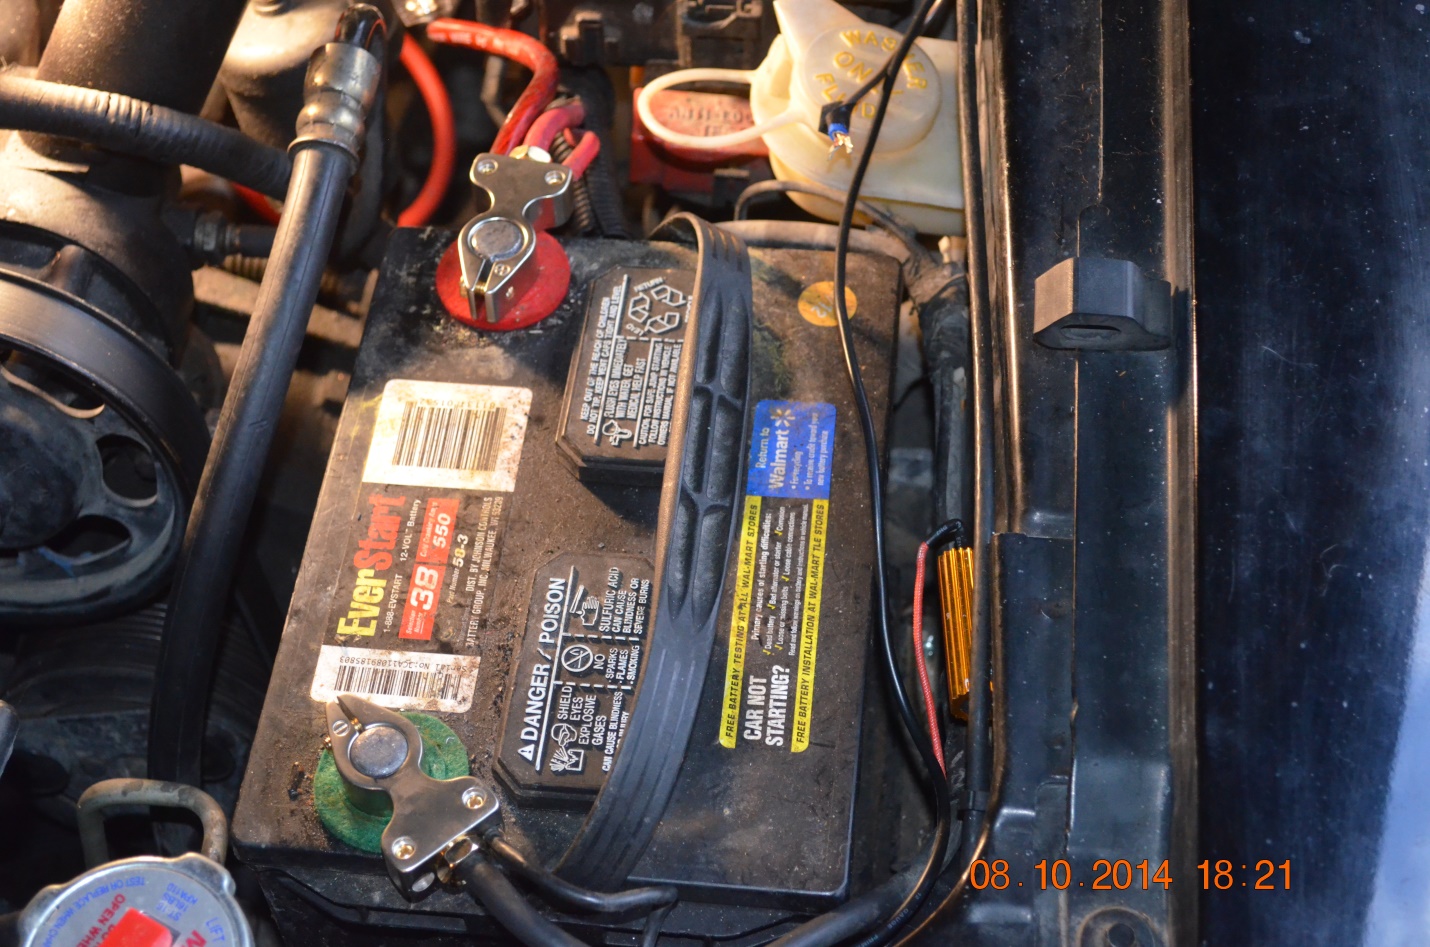
Completed terminals:
Installation Instructions written by AmericanMuscle Customer Richard Davis 10.9.2014
