 FREE 1 to 3-Day Delivery on Orders $149+ Details
How to install a BBK Off-Road X-Pipe on your 1999-2004 Mustang
Installation Time
2 hours
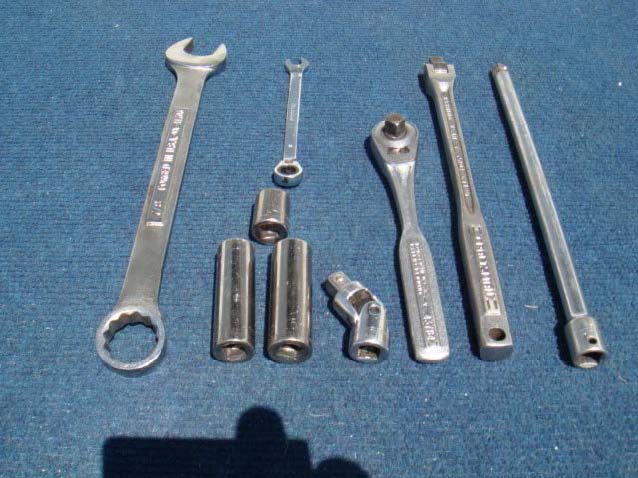
Tools Required
- 3/8" Drive Ratchet
- 3/8" 10"extension bar
- 3/8" universal joint
- 3/8" breaker bar
- 3/8" 14mm & 15mm deep socket
- 3/8" 14mm socket
- 22mm & 8mm Combination wrench
Installation
Please read through the instructions carefully before starting this project. Take the time to get all the materials together as well as all the safety equipment.
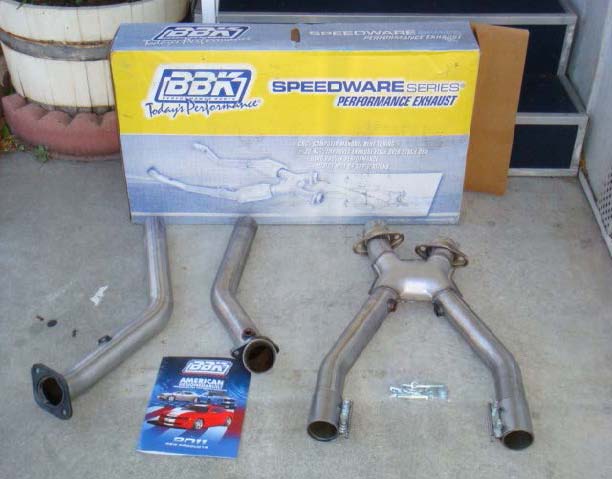
Here's what you should have:
- BBK Off-Road X-Pipe
- Right & Left Exhaust Manifold Pipe
- (4) Bolts
- (8) washers
- (4) lock nut washers
- (4) nuts
- (2) coupler fittings
STEP 1: The first thing you will want to do is disconnect the negative terminal on your battery using your 8mm combination wrench. This is a crucial step because you'll be working really close to the starter during the installation process and you don't want to get hurt or get close to the hot wire. Plus it’s always good practice to do this when working underneath your hood or when doing certain kinds of electrical repair!

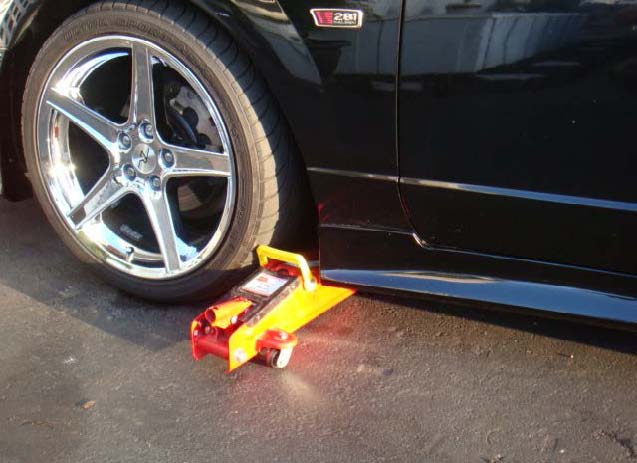
STEP 2: Next you need to properly jack or lift your Mustang. It’s easier if you have a lift but most people will have to use jack stands. You need to make sure to identify the correct lift points and plan out the position of the jack & jack stands. Make sure you secure your emergency brake. On your mustang, you have 2 lifting points, the pinch rail and sub frame. Slide the jack under the car at a angle; this will give you some room to slide the jack stand under the car in steps to follow.
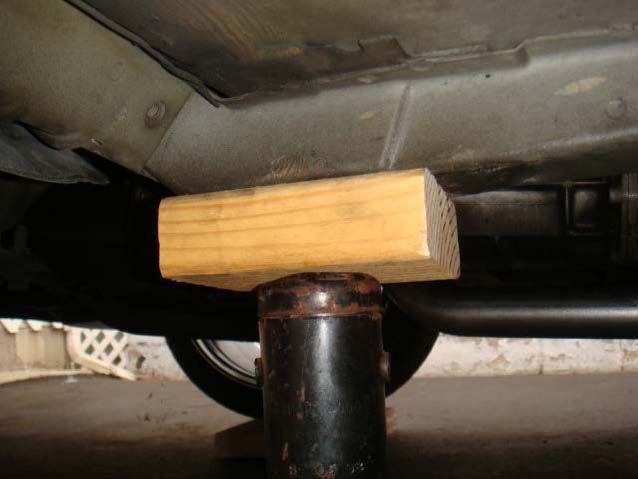
It’s a good idea to use a thin piece of wood to help distribute the load across the sub frame.
STEP 3: Check the car before working underneath it. Once your car is safely up in the air, you can begin removing your stock catalytic converters. From underneath the car, I started by removing the O2 sensors.
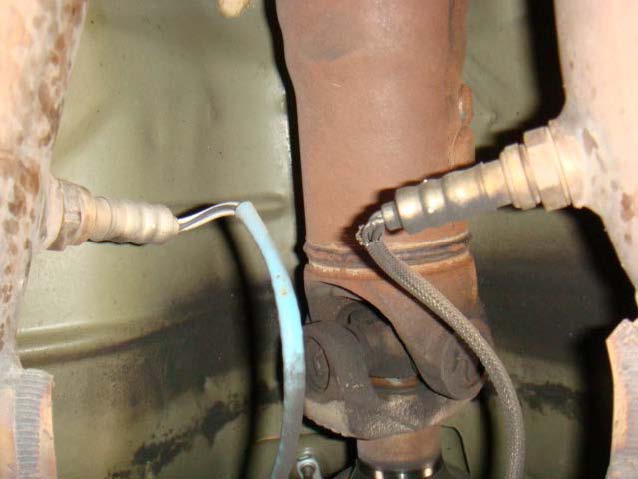
Remove both of the O2 sensors by pressing the push tabs on top of the plugs and let them dangle down.
Next, use your 22mm combination wrench to remove the O2 sensors -- remember right is to tighten and left is to loosen.
Key Point:
At this point, your O2 sensors are useless. Remember your installing an off-road x-pipe with no catalytic converters so you have a check engine light you did not have previously. You can buy MIL ELIMINATORS that will shut off the annoying CEL and improve performance. MIL is short for Malfunction Indicator Light. The eliminators shut off the CEL by blocking the codes generated by the rear O2 sensors when running an off-road mid-pipe. AmericanMuscle sells them: SKU # is 56045 and cost $79.99.
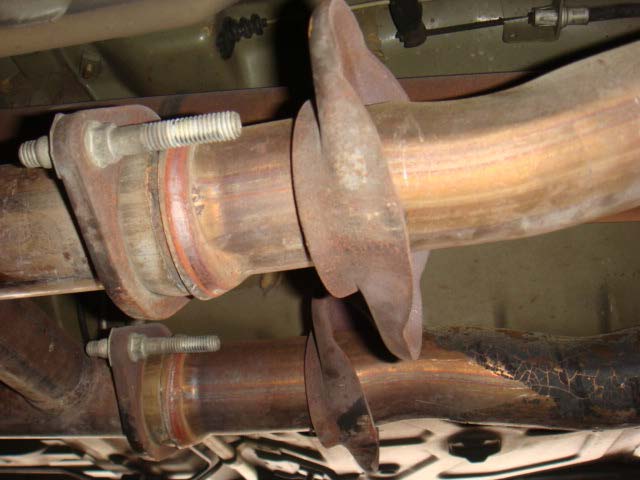
STEP 4: Now you can start on the actual catalytic converter pipe removal itself. Use your 3/8” ratchet and your 14mm deep socket. If the nut is a little tight, you can use the 3/8” breaker bar, but mine were not too tight.
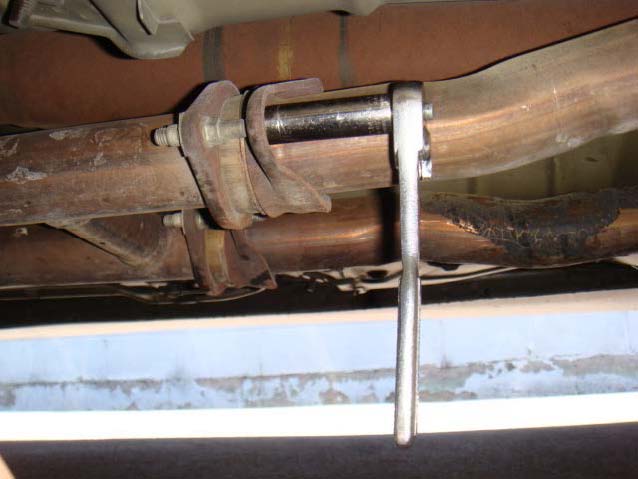
Remove both the right and left side connections and when done, slide back the connectors as seen in the next photo.
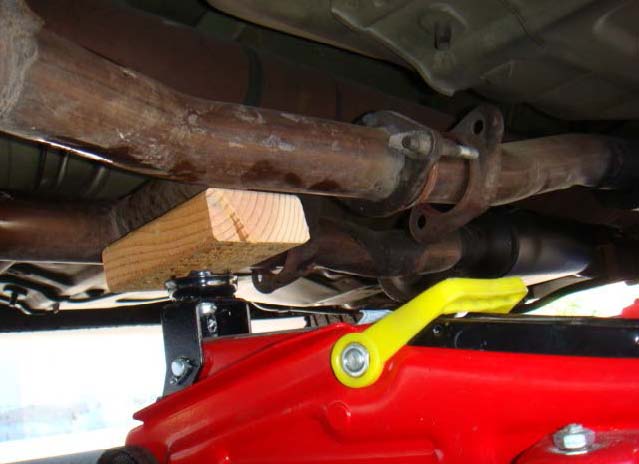
It’s a good idea to place a jack or pieces of wood here to support the pipe while you finish removing the other side of the pipe and the screws at the exhaust manifold.
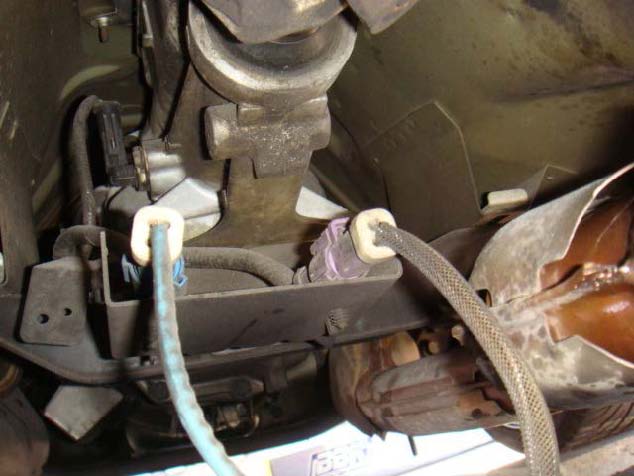
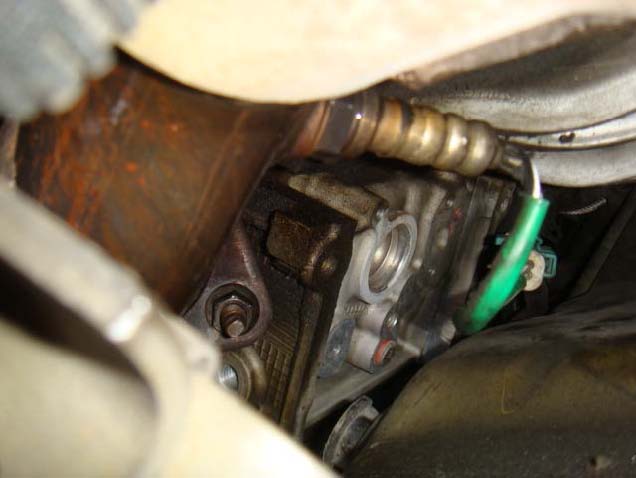
STEP 5: Now move up towards the front of the car to start unplugging the (2) O2 sensors by the exhaust manifold (right & left side). It's easier to remove them after you completely remove your catalytic converters so for now just unplug them by depressing the push tabs. It’s a tight fit but you have just enough room to slide your hand up there.
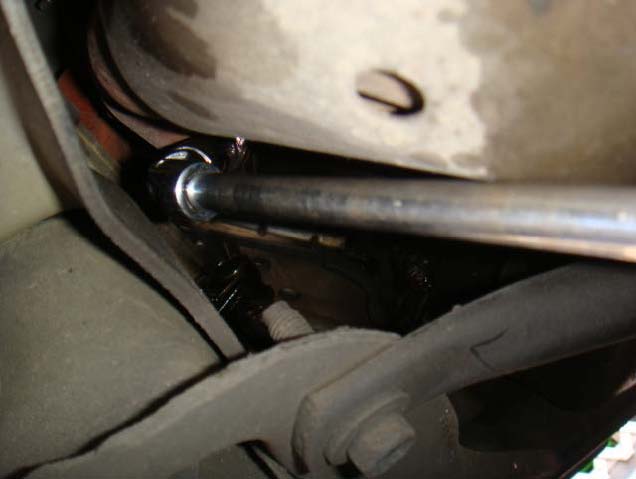
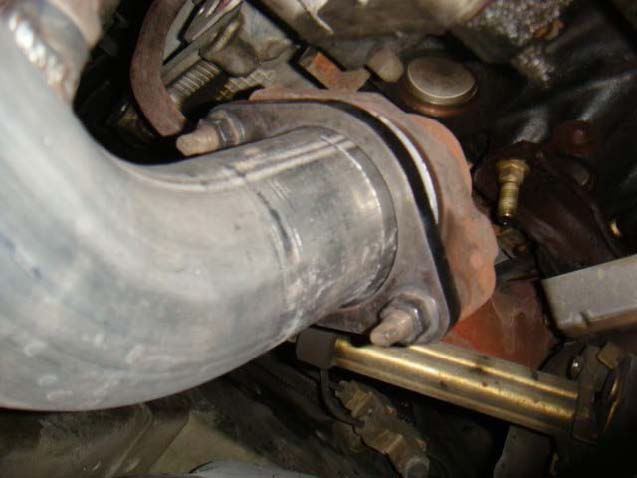
STEP 6: Now use your 3/8” breaker bar with a 15mm deep socket and a 3/8” universal joint to remove the last (4) nuts. Once you break these nuts loose, remove using your 3/8” drive ratchet. You have (2) nuts on each side (right and left) of the exhaust manifold connection. Here's a pic of how this process will look.
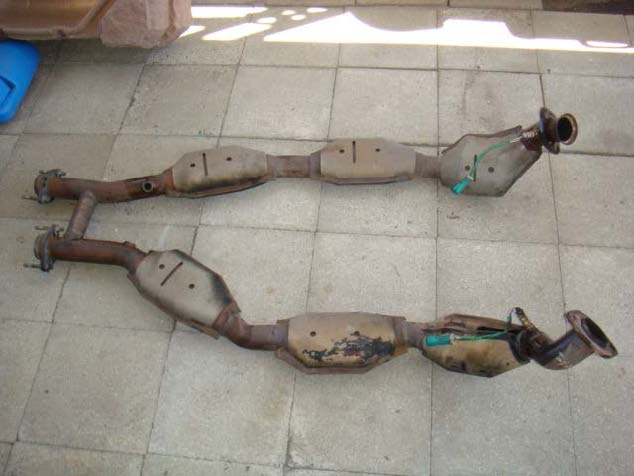
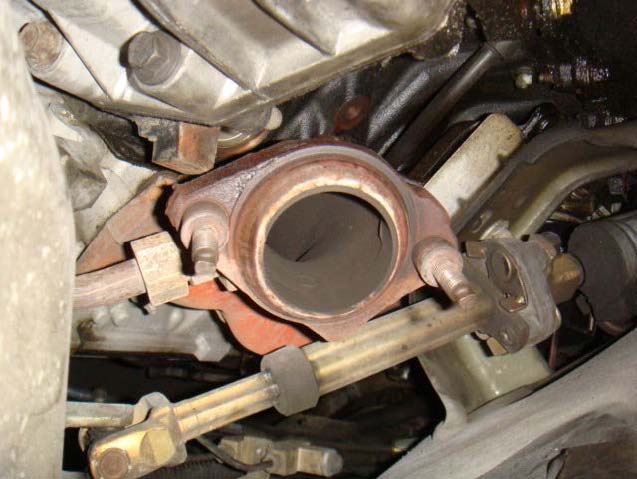
STEP 7: Once all (4) nuts are removed, simply wiggle your stock catalytic converters out. Make sure you set aside the nuts because you’ll reuse them to install your new X-Pipe. This is what they look like out of your car.
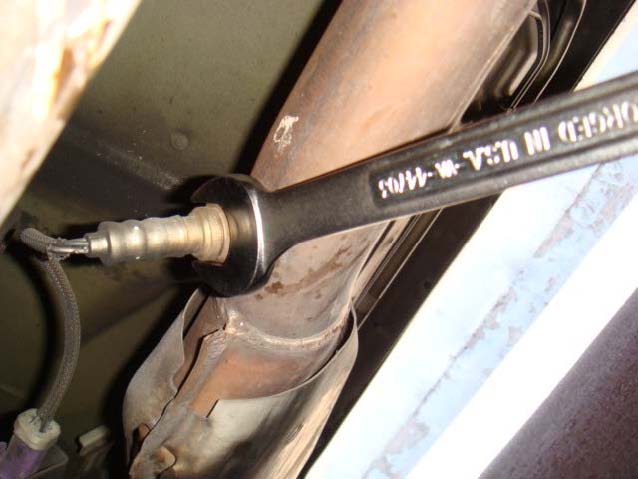
STEP 8: Now you can use your 22mm combination wrench to simply remove the (2) O2 sensors that are left.
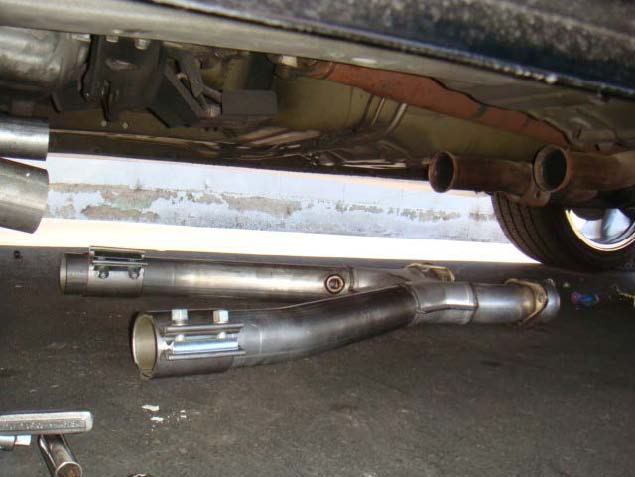
STEP 9: Now, you will need the (2) BBK exhaust pipe to manifold pipes and install both O2 sensors on them. I lined them up to the stock so you get a better pic of what the process looks like.
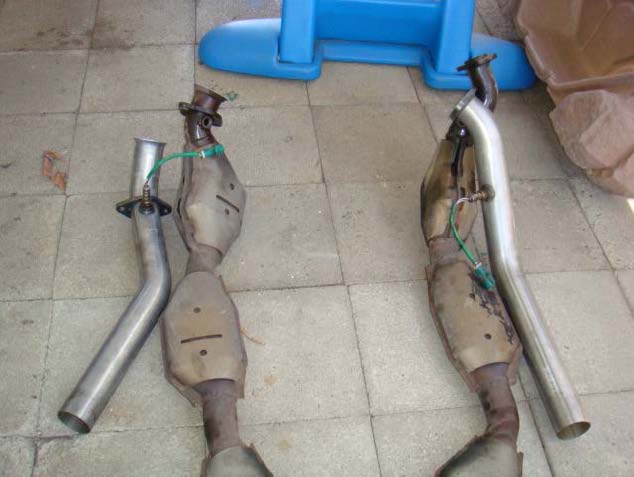
KEY NOTE: The driver side pipe is the one with the flared out fitting and the passenger side has a flat fitting.
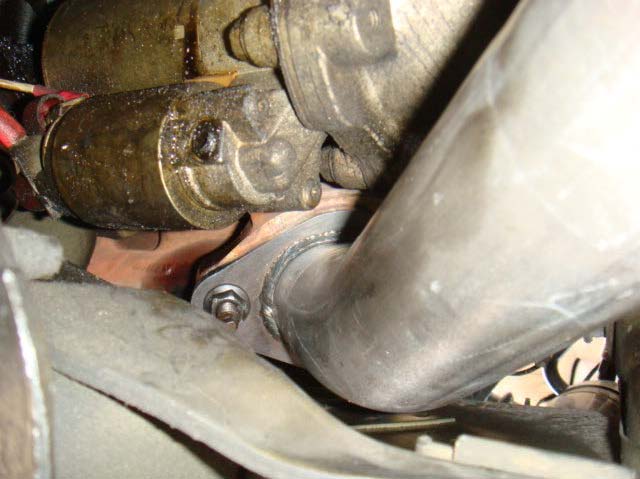
STEP 10: Now it’s finally time to install your new BBK X-pipe!! Everything will go back in the reverse order. The passenger side goes back in with (2) nuts and these can be tightened down. As you can see in the next photo, it is a tight fit, but it will fit. See how close you are to the starter - one key reason for disconnecting the battery.
STEP 11: Now for the driver side - hand tighten these for now for a better fitment. Make sure you tighten each bolt evenly so your flange will be centered. Your pipe will move around for now, but you need that so when your x-pipe goes in next it will line up easier!
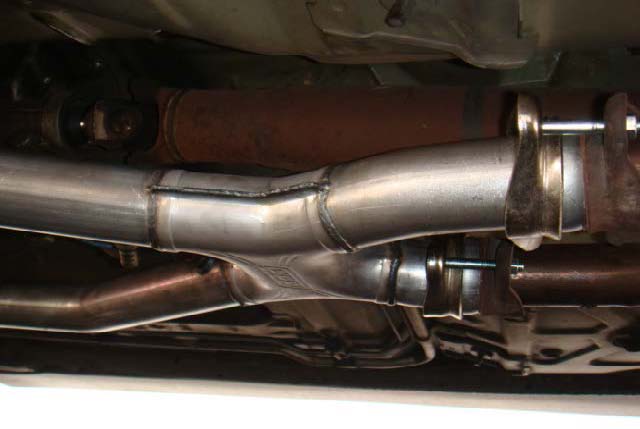
Here's a picture with the pipe installed.
Below is a picture of the x-pipe right before connecting everything.
STEP 12: Bolt everything back up in reverse order. Make sure you use the new bolts that came in the box for the X-Pipe to muffler pipe fittings and spray some WD-40 on the coupler fittings. You will wiggle it in; make sure everything is properly seated. Then tighten it up with the (2) nuts that you left loose on the exhaust manifold flange pipe. It will look like the picture below when completed.
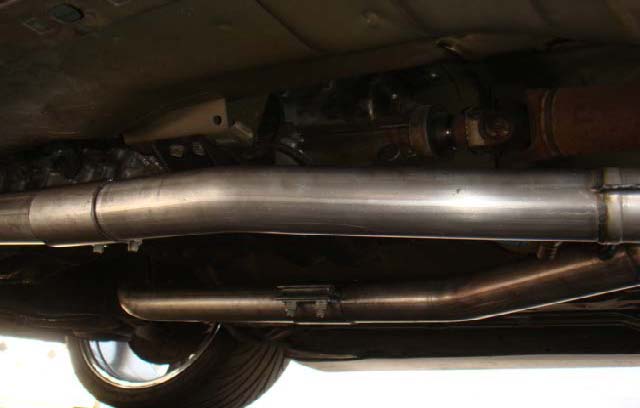
That's it! Finally done! Make sure everything is nice and tight and reconnect you negative battery cable. Now for the best part -- fire that bad boy up! It gives your Mustang a very raspy, angry sound the way a true mustang should sound like!
Installation Instructions written by AmericanMuscle customer Matthew Rivera 9.1.11
Related Guides
-
Installation
-
Installation
