 FREE 1 to 3-Day Delivery on Orders $149+ Details
CDC Mustang Rear Decklid Panel (2010-2011) - Installation Instructions
Installation Time
15 minutes
Tools Required
- Masking tape
- A prying tool (preferably nonmetal, in my case I used a plastic bondo scraper and a metal fork)
- Isopropyl alcohol
- Paper towels or cloth
- Hair dryer (if the temperature is not above 85º F you may have trouble removing the faux gas cap)

Shop Parts in this Guide
Installation
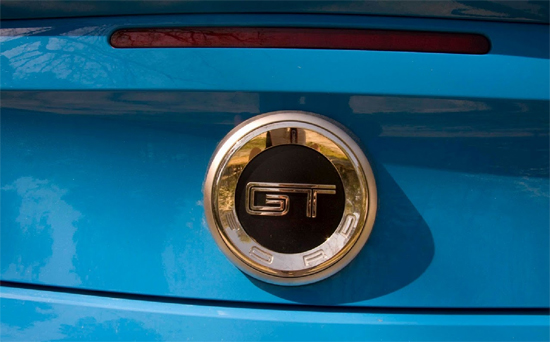
Removing the Emblem:
1. Determine from which angle you will pry the faux gas cap off (I discovered the top to be the best angle to remove the emblem because there was some space between the body and the plastic).
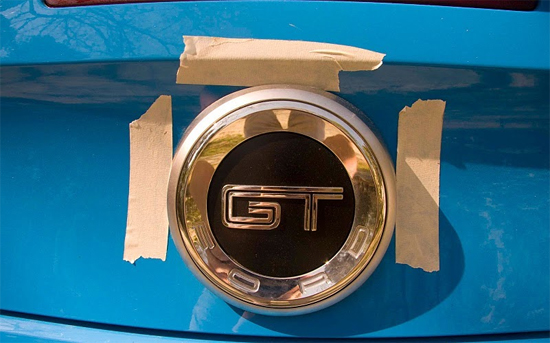
2. Use the masking tape to cover the car in the areas that the prying tool may have a chance at hitting. You do not want to damage the paint while removing the faux gas cap.
3. The CDC instructions here mention using a hair dryer to heat up the emblem in case the temperature is not warm enough. This is important as you don't want to damage the paint. Don't over heat the area.
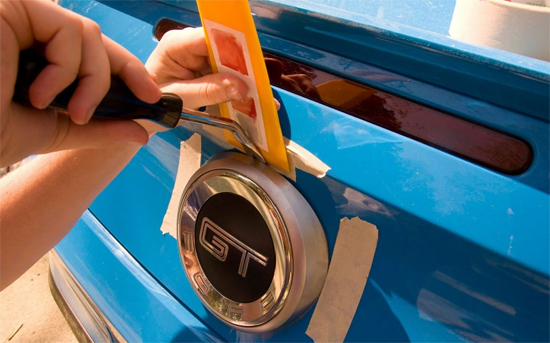
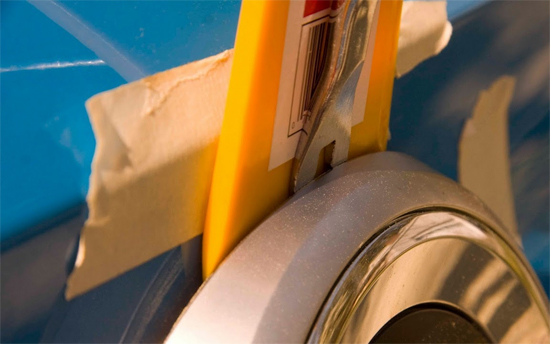
4. You will now use your prying tool of choice (I used a bondo scraper made of plastic and a metal prying fork) to wedge in between the emblem and the body. The plastic bondo scraper I used to further protect the body from denting or scratching as well as keeping the areas I had already separated from the body from sticking back down again.
5. I found the best technique here is to apply increasing pressure until you hear the adhesive material peeling away from the body. As the emblem separates more from the body I would push the bondo scraper further down to give myself more leverage and to prevent it from sticking down again.
6. The emblem will make its way off and you'll be left with the rear of the car most likely having two plastic retainers as I highlighted on the above photo. I removed those and pushed them onto the emblem.
7. Remove the tape from the car and I did not worry about the foam and adhesive left behind from the emblem since it is an area that will not be seen.
Installing the Decklid Panel
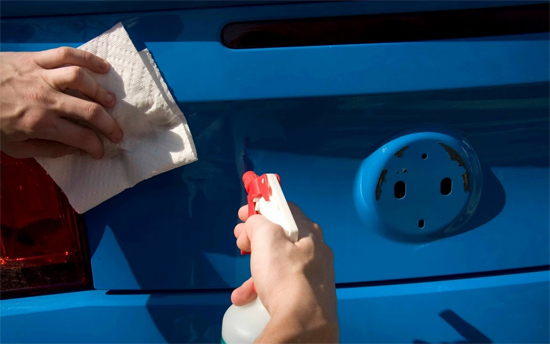
1. At this point you need to clean the area where the decklid panel will be installed so that the adhesive can bond to the car. The important part here is to use the isopropyl alcohol last so that any wax or other residue is removed. Do not use anything that can leave a residue such as a glass cleaner substance.
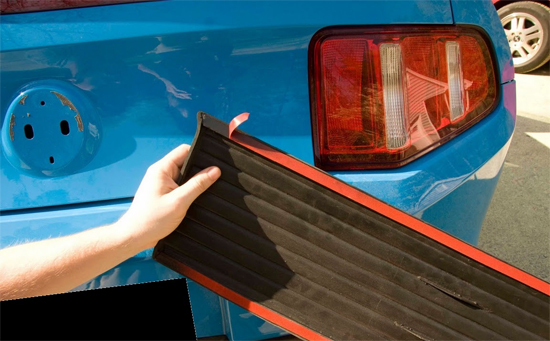
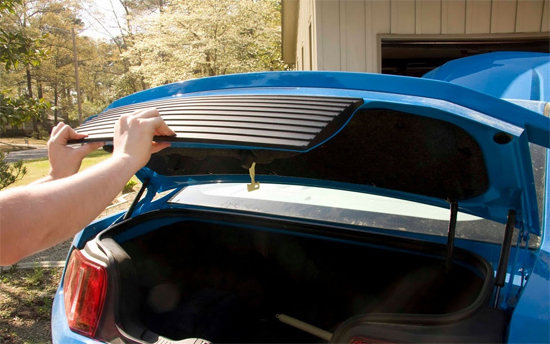
2. Grab the decklid panel and pull back the tape on each of the four corners about an inch or two so that you can align the panel correctly and not accidentally stick it to the car crooked.
3. Align the decklid panel on the rear of the car so that there is an even amount of body on each side of panel. For me there was less than an eighth of an inch remaining and the fit was great.
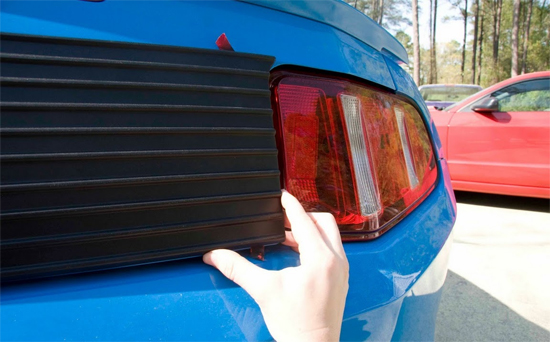
4. Once it is centered enlist the help of a second set of eyes to double check your work while you hold it in place or just double check your own work. Once you have placed it then it will stay where you have placed it so you want to be sure.
5. When you decide on the fit push the panel down and start pulling the tape you had started while pressing on the areas the tape has been exposed.
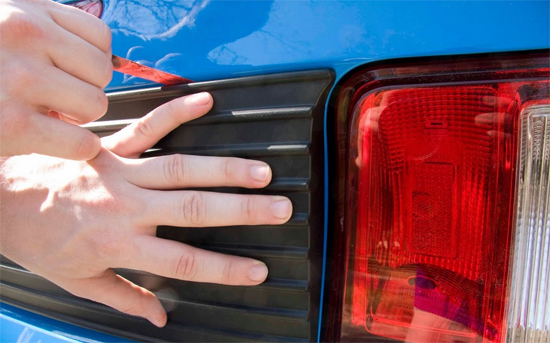
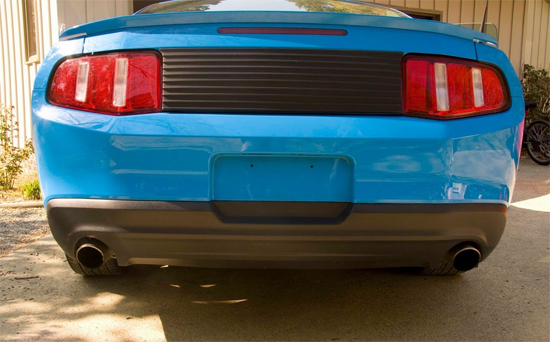
6. Since the adhesive is pressure sensitive at this point I popped the trunk open to make sure I had applied enough pressure around the entire perimeter of the panel. It can take up to 24 Hrs for the tape to fully cure.
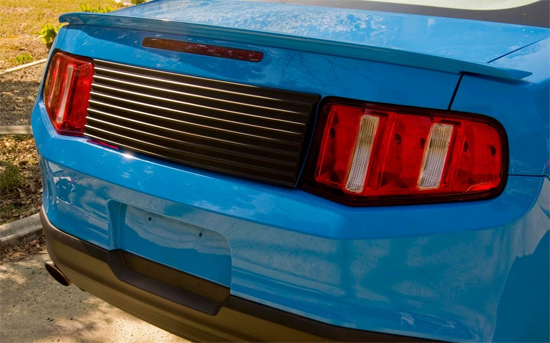
7. Once you finish putting pressure around the edge you are finished. Admire your handywork because you're done and have a new clean retro look!
Installation instructions provided by AmericanMuscle customer Cory Rankin 4.7.10

