FREE 1 to 3-Day Delivery on Orders $149+ Details
How to Install a Cervini's Concept Hood - Unpainted on your 2011-2012 Mustang
Installation Time
1 hours
Tools Required
- 11/10mm Socket
- Socket Wrench
- Tie Straps
- Fine Grit Sand Paper
- Medium Sized Phillips Driver
- Cutting Pliers
- Hammer
- Few Washers for spacing

Shop Parts in this Guide
Hood Install:
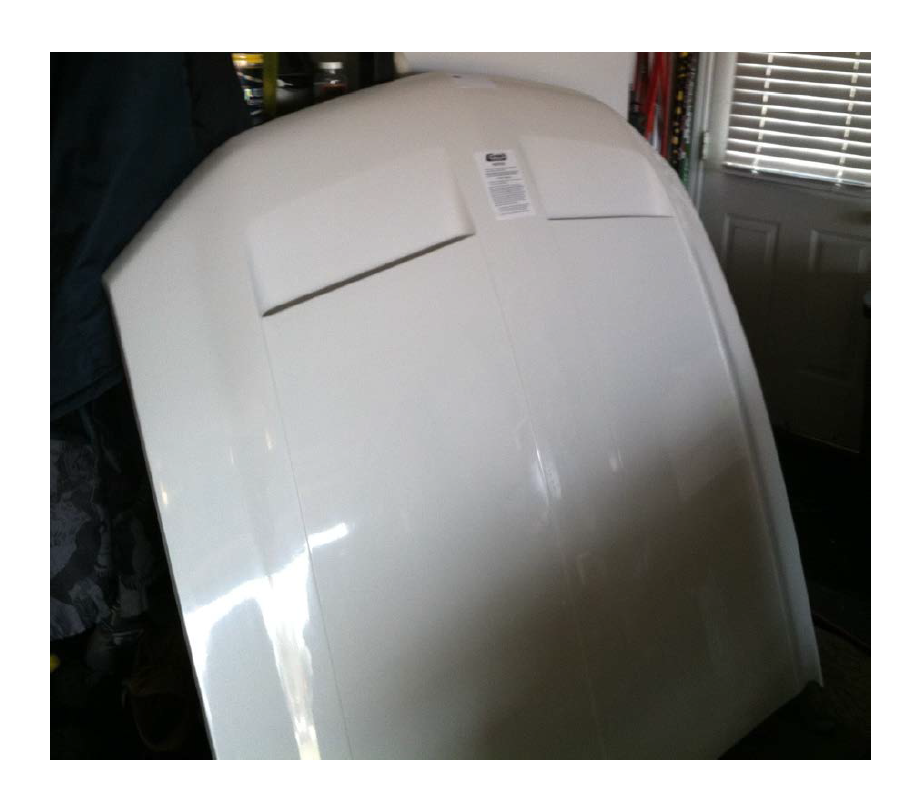
1. Follow Instructions on the sticker on the hood Make sure hood is cooked in a paint oven or left in the sun for a few days before painting. Inspect hood for any blemishes or rough spots on fiberglass, especially in the scoops. Run some fine grit sand paper over any areas that need to be smoothed out.
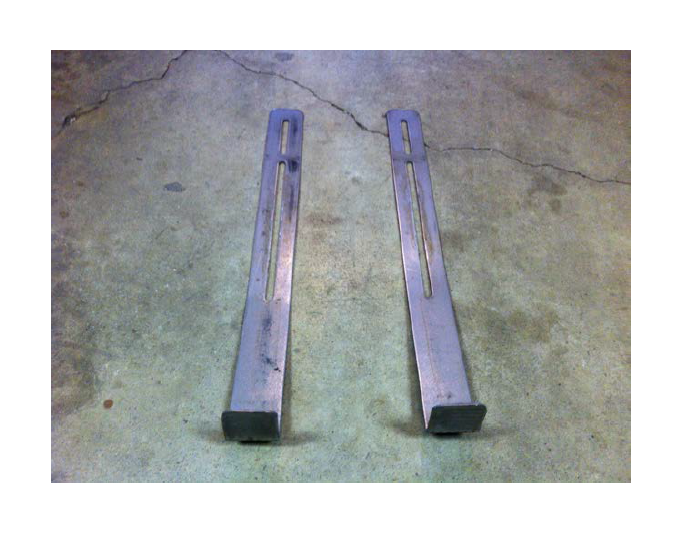
2. First step is to remove the hood feet that come in the packaging. Use the 11mm Socket and Socket Wrench to remove bolts. Make sure to keep these bolts!
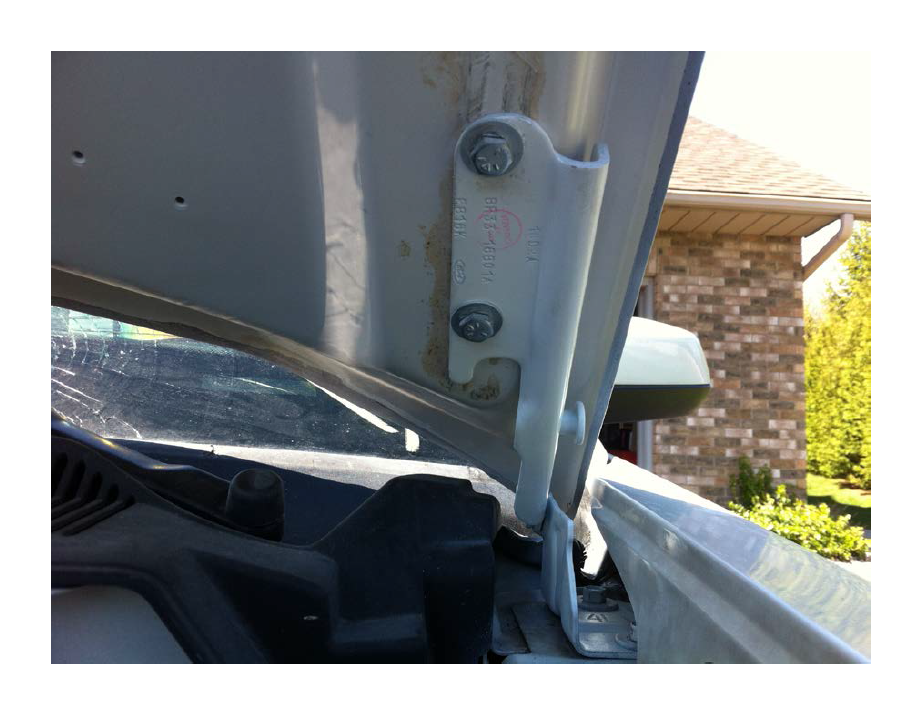
3. You will need two people for this step. Hold the hood up in place and using the 11mm socket and the socket wrench put the bolts that came off the hood back into the holes and attach the hinges in place.
4. Check the holes in the hood where the windshield wiper sprayers go and using the Phillips drivers put the supplied screw into the smaller hole to cut threads
5. After threading the holes attach the sprayers that came with the car and align them so they aim at the appropriate spots on the wind shield.
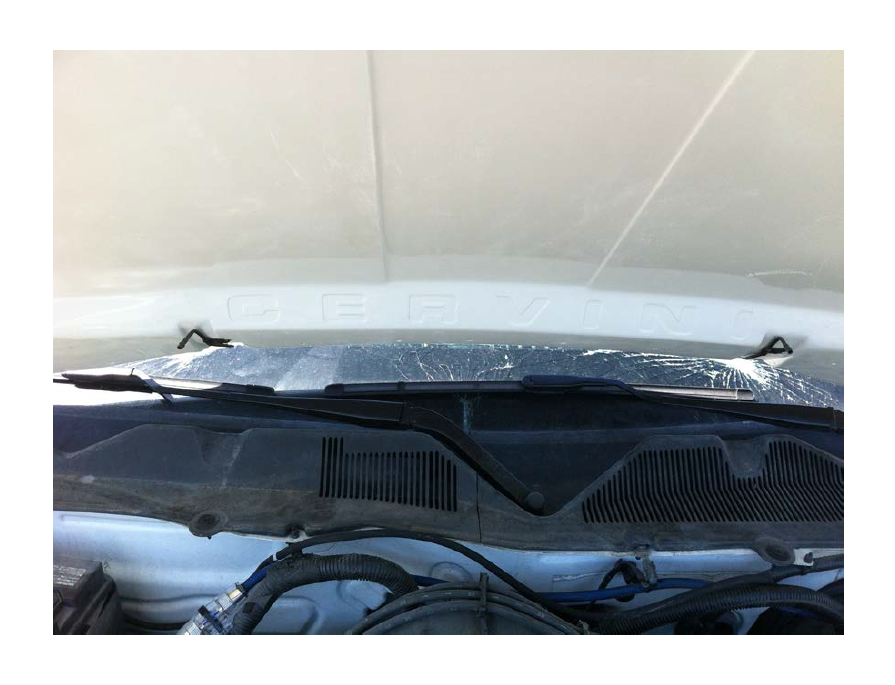
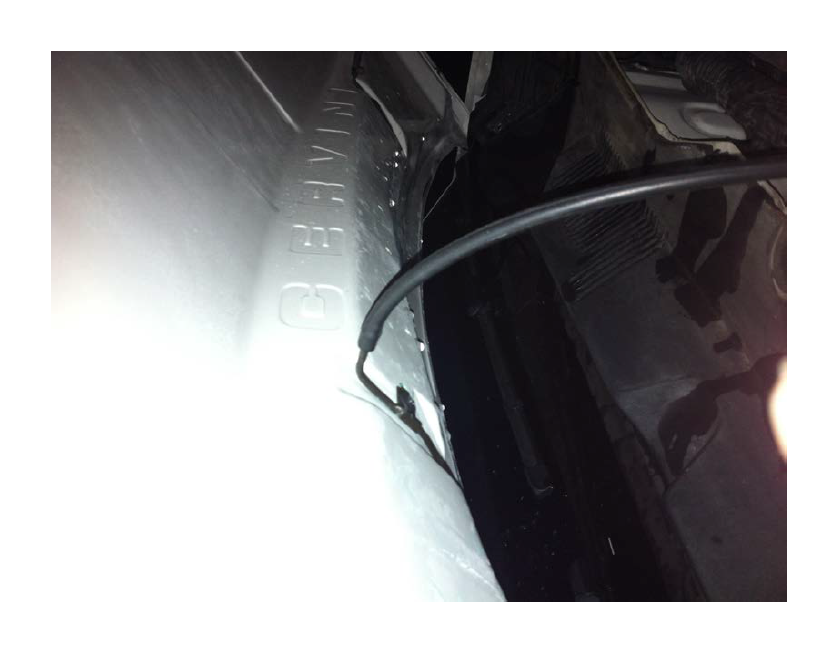
6. Cut the old wiper sprayer hose off with enough slack to reach the first sprayer cut out on the Cervinis Hood.
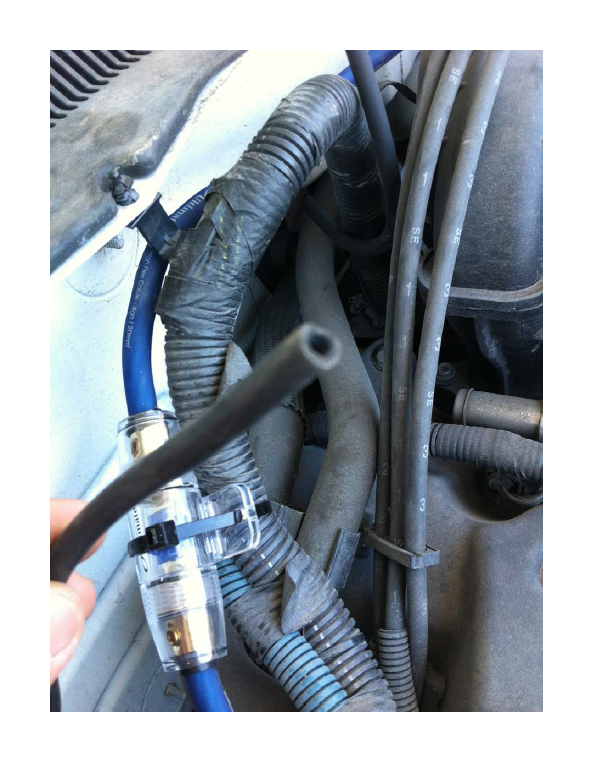
7. Cut a length of hose from what came with the hood to reach from the end of the sprayer to the stock hose end.
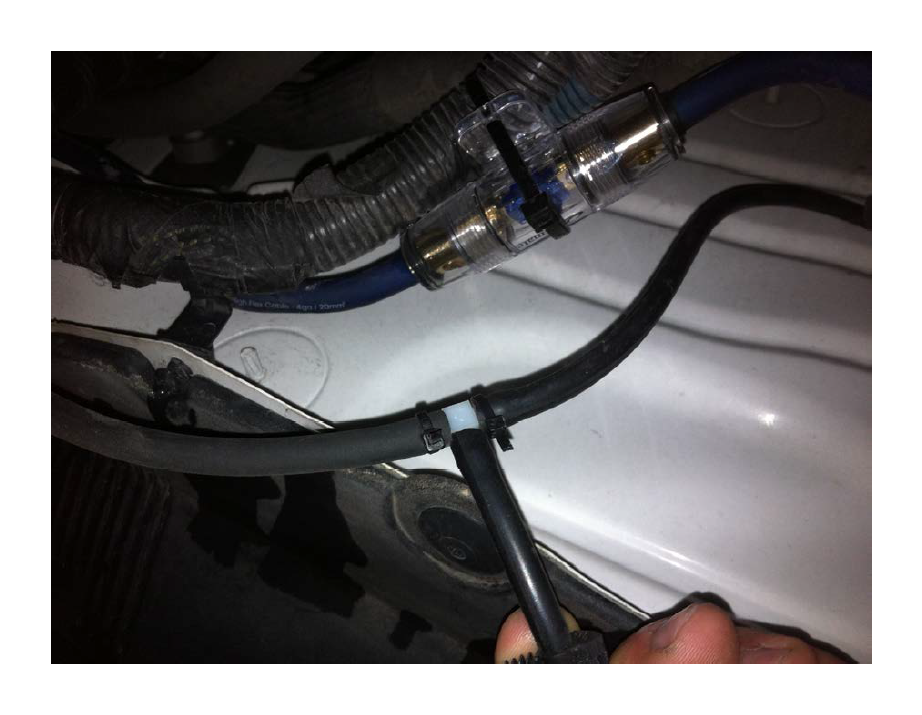
8. Using the supplied ‘T’ hose joiner, stick the ends of the stock hose and the new hose onto two of the three inputs. Then cut another piece of hose that fits from the third input to the second sprayer. Once all hoses are attached use the tie straps to lock them in spot.
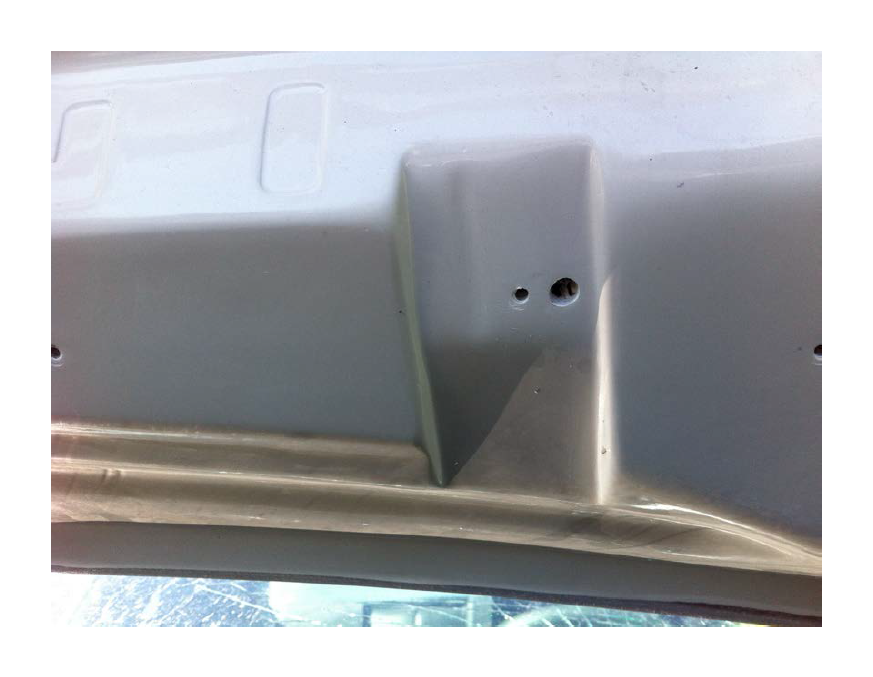
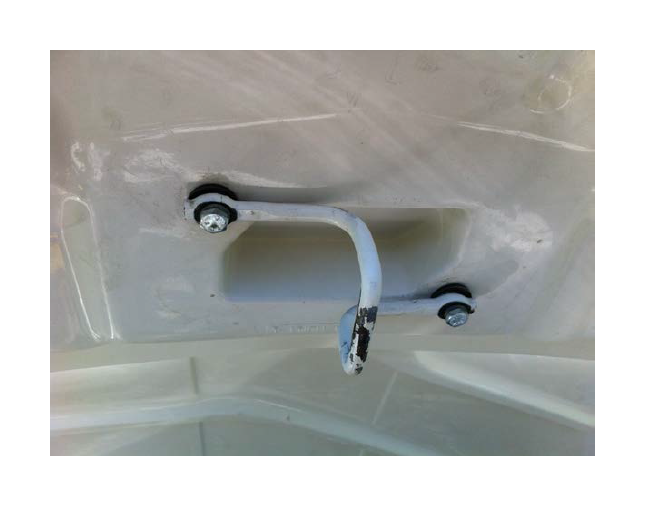
9. Remove the (10mm) bolts out of the holes in the hood where the hood latch striker goes. Attach the old striker onto hood and if needed use the washers to space the striker to give it more room in the cut out when closed. (You may need to use a hammer to tap the latch on the rad support up so that it grabs the striker) 1
10. Check all bolts and hoses to make sure there tight and secured. If needed use some lock tight on hood bolts. Once everything is checked, Close Hood and Enjoy.