
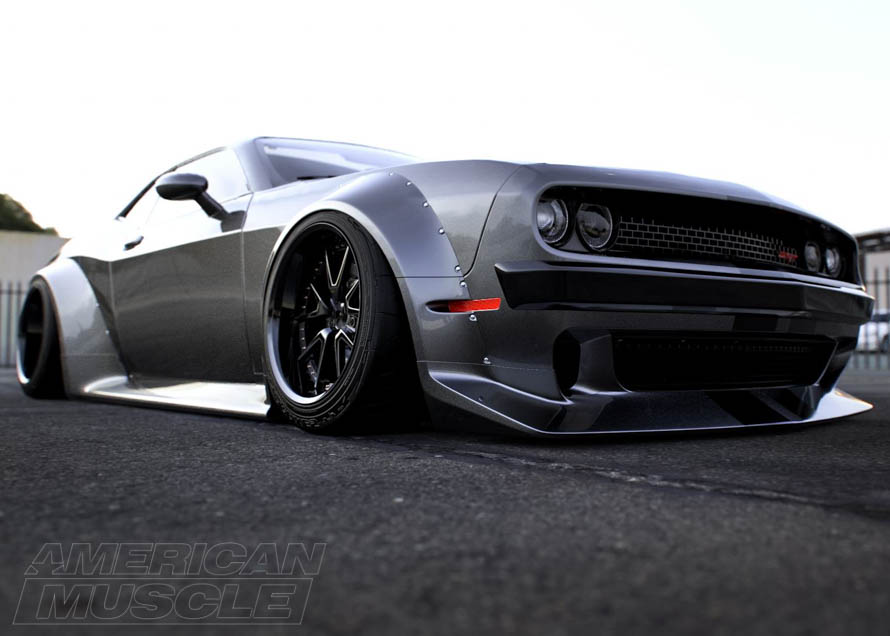
There’s no secret that you will be spending time modifying your third-generation Challenger’s suspension. Dodge did a wonderful job making the car much more agile than anyone would have expected, but it’s still a big and heavy car that isn’t much more graceful than a bull in a china shop. The suspension package beneath the car works, but there is much one can do to increase performance and comfort. The problem with raising the performance of the suspension system is that comfort will usually be sacrificed. Air suspension systems bundle everything you will need into one package to get the best of both worlds.
Contents
Shop Challenger Air Suspension
Air suspension systems have advanced like any other technology over the reasons, making air setups consistently more viable in all situations than one might expect. Adjustments on the fly, amazing curbside appeal, and improved handling are hard to pass up in modern Challengers. Just be sure to have a pro take care of the installation.