 FREE 1 to 3-Day Delivery on Orders $149+ Details
How To Install One-Piece Chrome Headlights on your 1994-1998 Mustang
Installation Time
1 hours
Tools Required
- 11mm socket
- Ratchet
- Needle-nose Pliers
- 12mm Combination Wrench (optional)

Shop Parts in this Guide
Please Note:
This installation was completed on a 1997 Mustang GT.
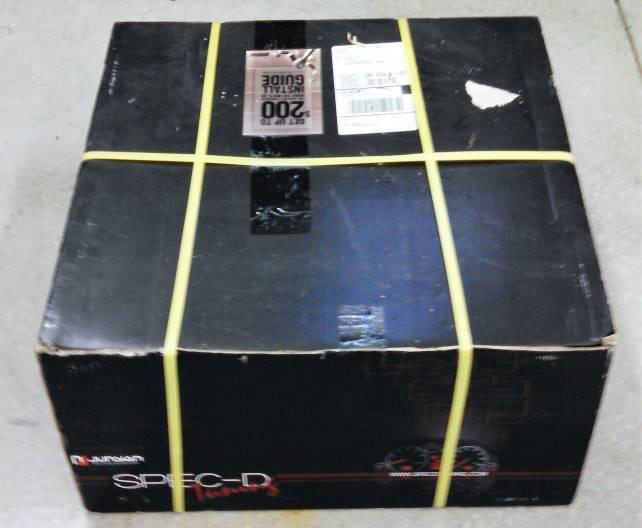
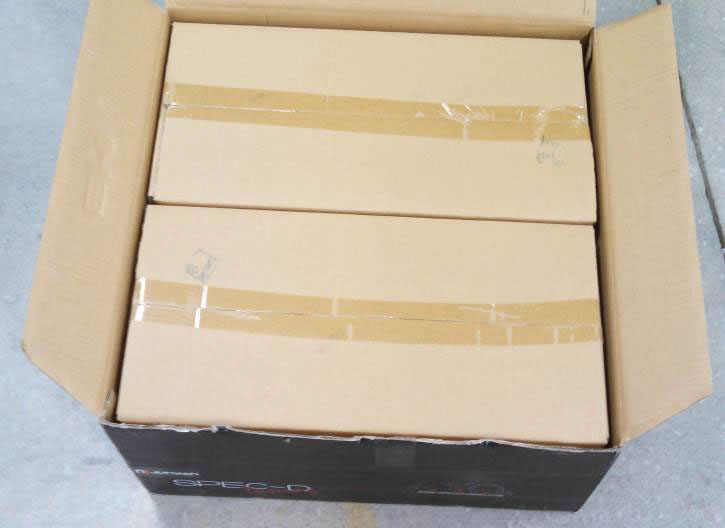
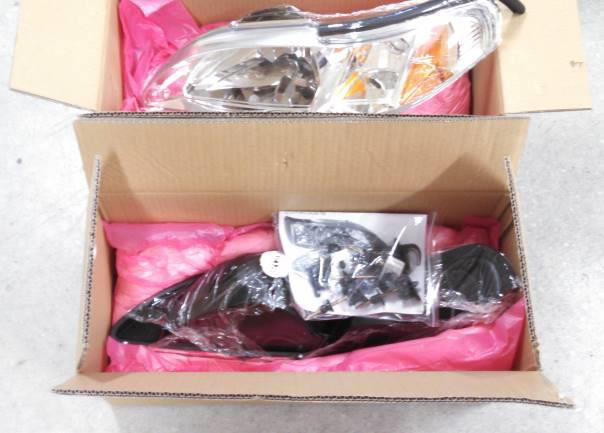
Unpacking Your New Headlights:
The large box you receive contains two smaller boxes. Each smaller box contains one headlight. In addition, one of the smaller boxes also contains the mounting and adjusting hardware and abbreviated instructions. Please ensure that you do not throw the bag containing the hardware and instructions away.
Additional Materials You May Need:
Your OEM headlights are each held in place by one metal spring clip and two plastic clips that are an integral part of two of the adjusters. In addition, the corner parking/turn signal lights are each held in place by an integral bolt and separate nut. NO attaching clips are included with your new headlights. Therefore, you must save the spring clips you remove during disassembly, and you may want to procure more clips, either:
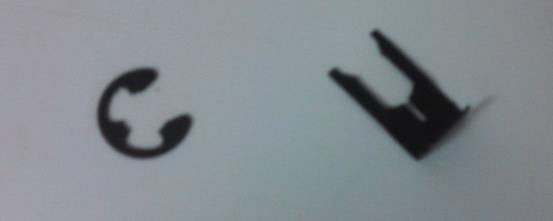
a. .” E-clips, which can be purchased from your local hardware supplier (at least 4), or
b. 1994-1998 Mustang Headlight Adjuster Retaining Clips (4), which are available from several on-line sources
E-clip (left), and Retaining Clip (right).
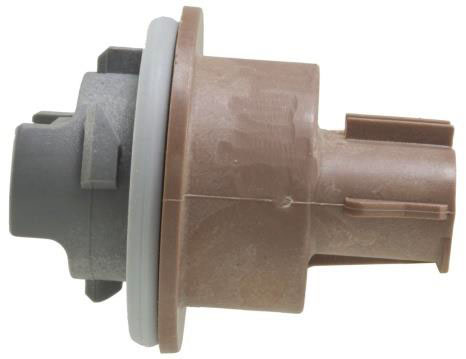
Furthermore, you may find that the OEM parking light bulb sockets with 90-deg bend do not allow enough clearance to plug-in the wiring harness after your new lights have been installed. If so, one option is to replace the 90-deg bend sockets with straight sockets, such as part number PT5740. Having these parts on-hand before beginning installation may speed up the process.
PT5740. A modification to the “keying” may be necessary so the harness will fit. This can be
Removal Procedure:
1. Release the hood latch and raise the hood. Use hood prop, if necessary.
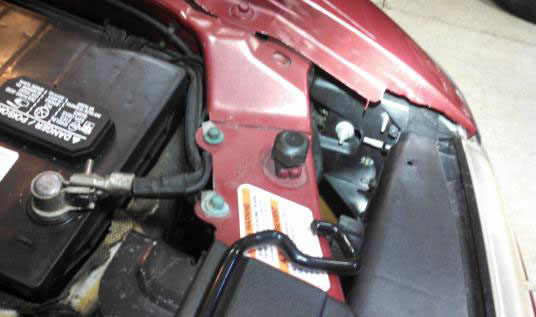
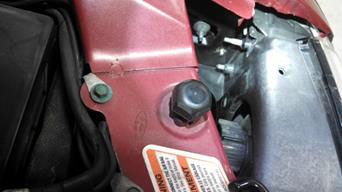
2. Remove the 11mm nuts located on each side which hold in the corner light units.
Location of 11mm Nuts on Driver’s Side (top) and Passenger Side (bottom).
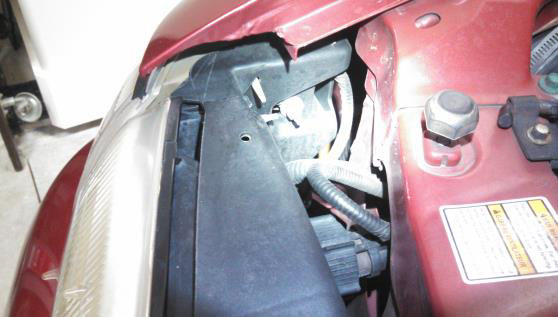
3. Remove the corner light.
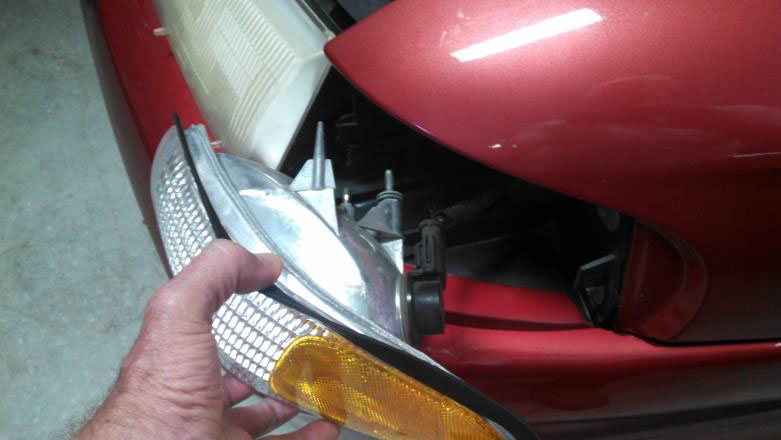
4. Remove the parking/turn signal light bulb sockets.
5. Remove the metal clips retaining the headlights.
6. Squeeze the plastic clips (two per headlight), and remove the headlight housings.
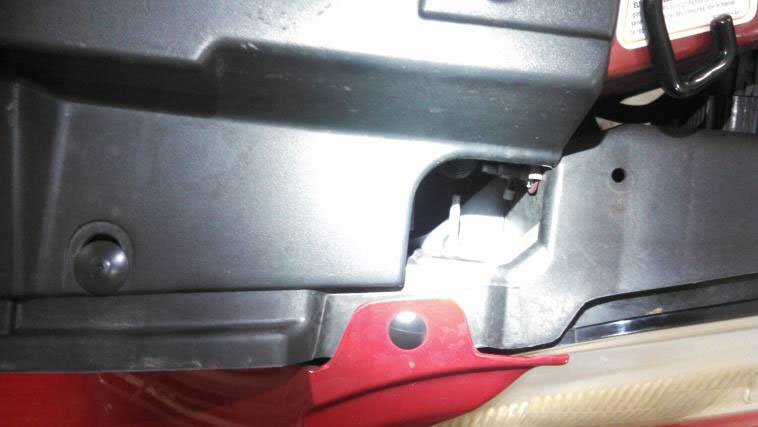
Location of Outboard Clips (2), Driver’s Side. Note: The metal retaining clip is shown on the top adjusting post. The lower post has a plastic “clip” that snaps into place. Use a pair of needle-nose pliers to squeeze the “wings” of the plastic clips, or use a 12mm combination wrench (shown below) to aid in removal.
Location of Inboard Clip.
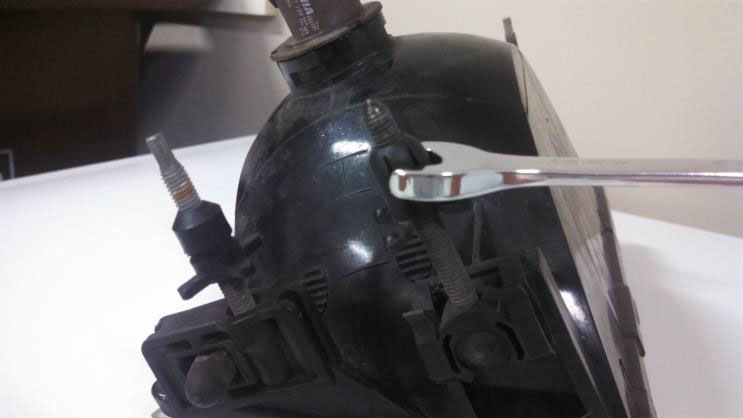
You can use a 12mm combination wrench (either end) to aid in the removal of the housing (shown here already removed for clarity).
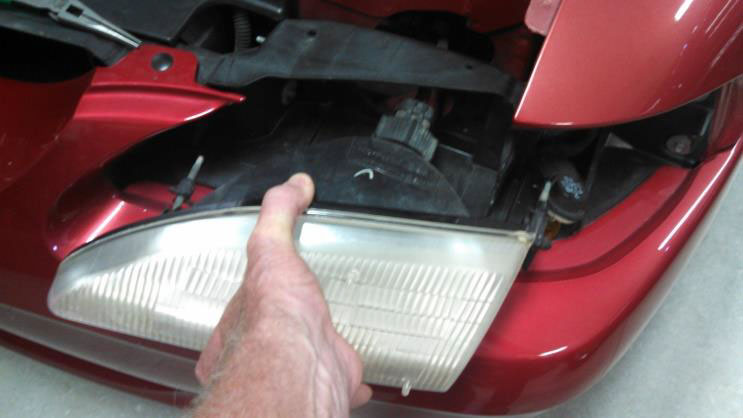
Remove Housing.
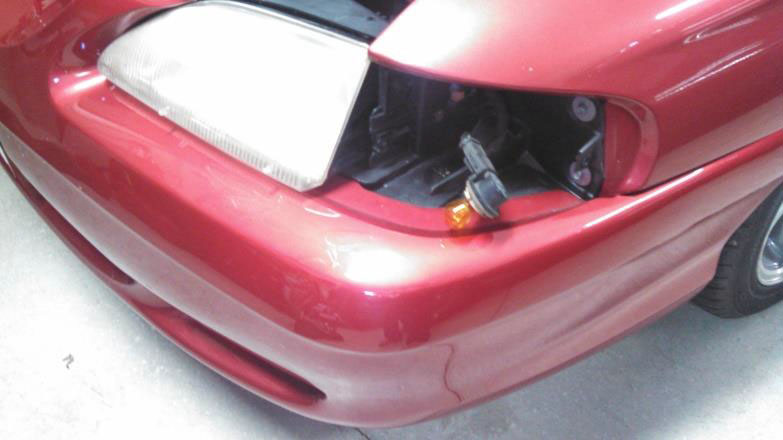
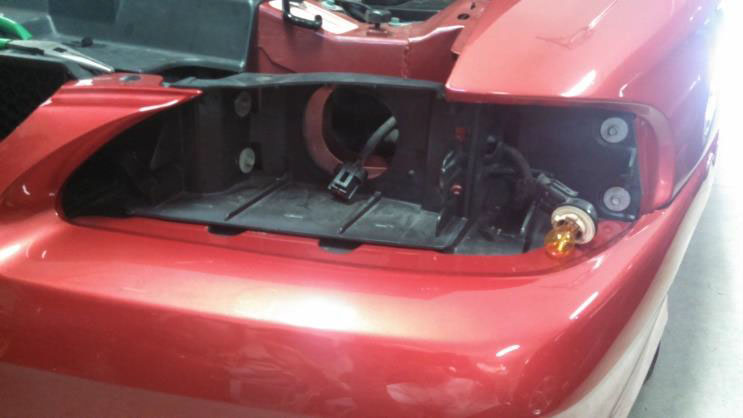
7. Remove the bulb and harness from each housing
Driver’s Side with OEM Headlight Removed.
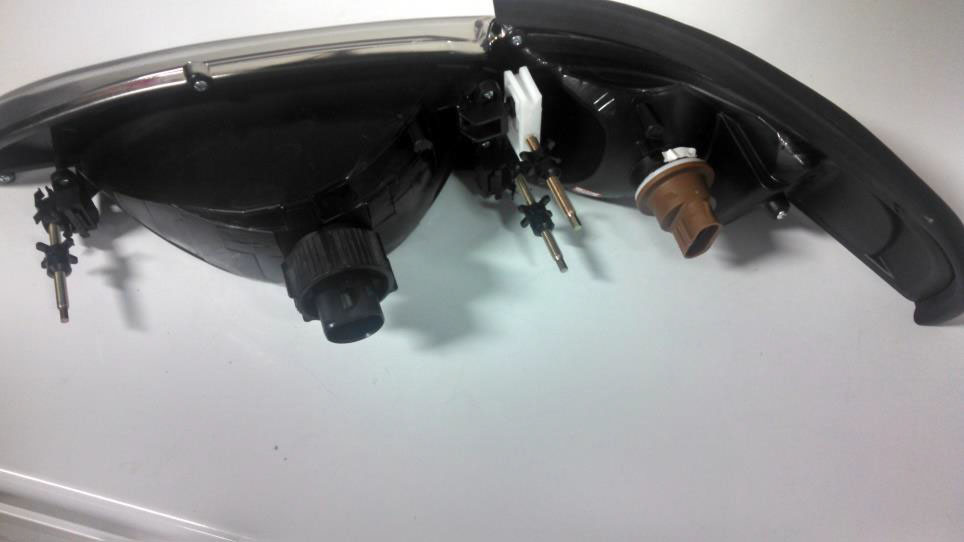
Preparing the New Headlight for Installation:
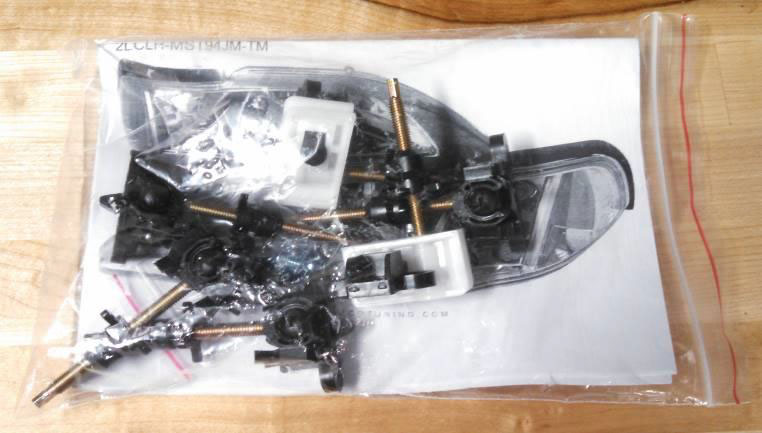
Preparing the headlights for installation involves attaching all of the adjusting studs (3 on each side) to the back of the headlights using the included screws. The studs and screws are contained in the hardware pack and are shown here:
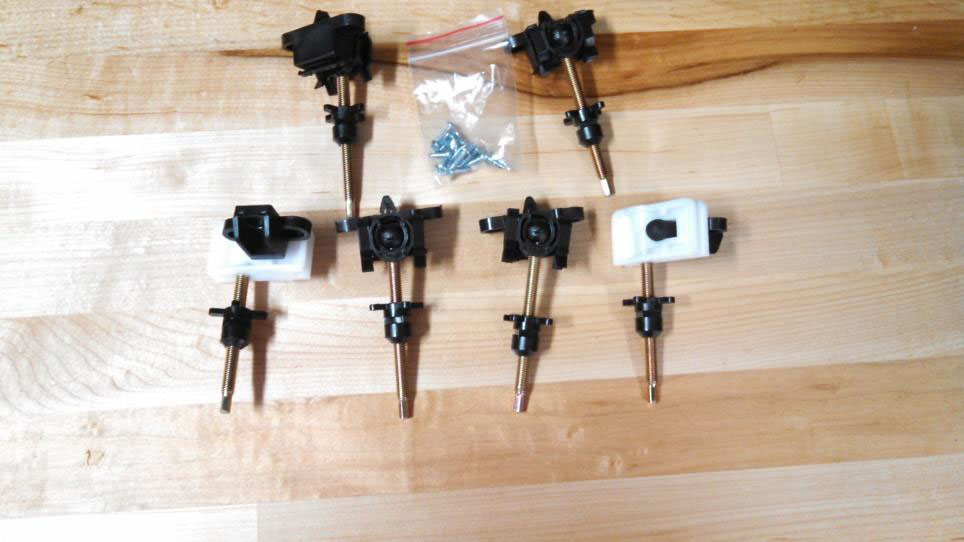
Adjusting Studs and Screws.
Note that four of these studs are identical and interchangeable. The other two are side-specific. The one shown on the left in the photo is for the passenger side headlight. The one on the right is for the driver’s side. These side-specific studs are referred to as “Stud 3” below.
Note also that each plastic “nut” on these adjusters has a groove about a third of the way back on the nut. These grooves allow the use of either E-clips or headlight clips on each attachment point (the OEM headlights use only one clip per headlight). Use of these clips was discussed above under “Additional Materials You May Need”.
Install the adjusting studs using the supplied screws on the plastic posts on the back of each headlight as shown in the photo below. Hint: It is easy to strip out the plastic mounting holes, so DO NOT OVERTIGHTEN! You may want to add some epoxy adhesive to each post before screwing the studs to the post.
a. Stud 1 can only be installed one way (inboard of the screws), or the headlight housing will prevent it from seating properly.
b. Stud 2 can be installed either way (inboard or outboard of the screws), so make sure to install it outboard, as shown, the same way as Stud 3.
c. Stud 3 can only be installed one way (outboard of the screws) and is side-specific (see photo caption above).
Installation Procedure:
1. Connect the corner light socket to the 1-piece headlight. (Note the use of the optional straight socket in the photo above.)
2. Connect the headlight bulb to the 1-piece headlight using the OEM bayonet connector “nut”.
3. Connect the wiring harnesses.
4. Slide the headlight into position. Hint: Make sure the adjuster guides properly engage the slides on the front of your Mustang so that the headlights slide in properly.
5. Place the clips (see “Additional Materials You May Need” above) in the grooves on the adjusting nuts protruding through the back of the mounting surface.
6. The installation is now complete; however, you may need to adjust your new headlights.

Installation Instructions written by AmericanMuscle customer Jeffrey W. Hess 9.18.15

