 FREE 1 to 3-Day Delivery on Orders $149+ Details
Corbeau Mustang Seats & Seat Brackets - Installation Instructions
Installation Time
3 hours
Tools Required
- 6mm Hex Wrench
- 10mm Wrench
- 10mm Socket and Socket Wrench
- 15mm Wrench
- 19mm Wrench
- Thread lock
- Needle nose pliers
- Rust penatrent

Shop Parts in this Guide
- Corbeau LG1 Racing Seats; Black Cloth; Pair (Universal; Some Adaptation May Be Required)
- Corbeau LG1 Wide Racing Seats; Black Cloth; Pair (Universal; Some Adaptation May Be Required)
- Corbeau GTS II Reclining Seats; Black Cloth; Pair (Universal; Some Adaptation May Be Required)
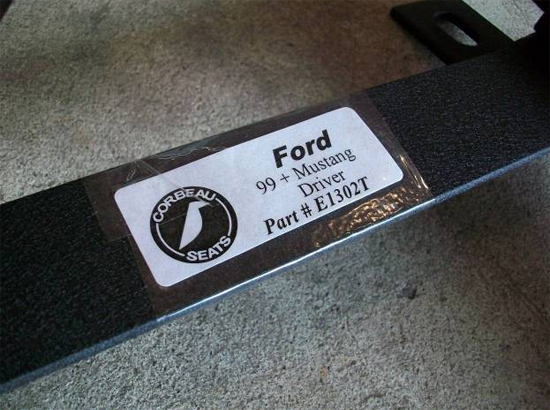
- Corbeau Double Locking Seat Brackets for Corbeau Seats Only; Driver and Passenger Side (99-04 Mustang)
Installation
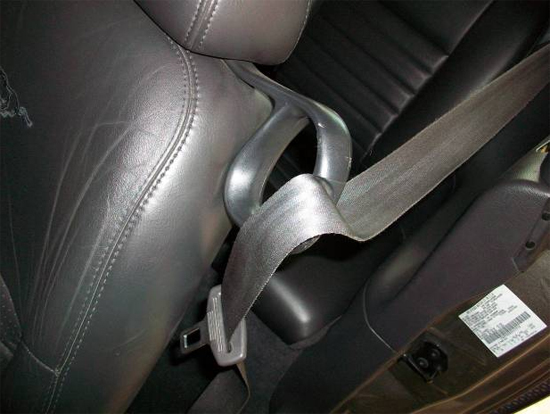
1. The seatbelt must be removed from the seatbelt retainer. Simply slip it through the opening and allow the seatbelt to fully retract, keeping it out of the work space.
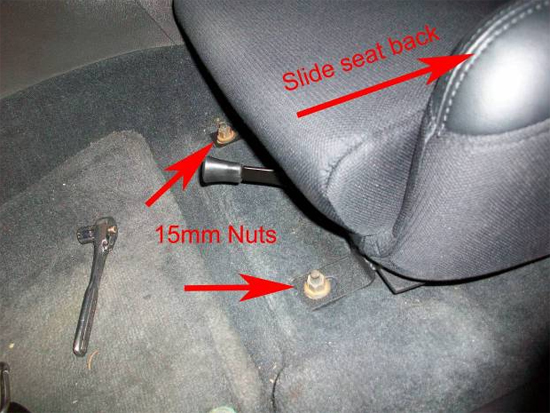
2. Move the seats as far back as they can go for easy access to the mounting hardware.
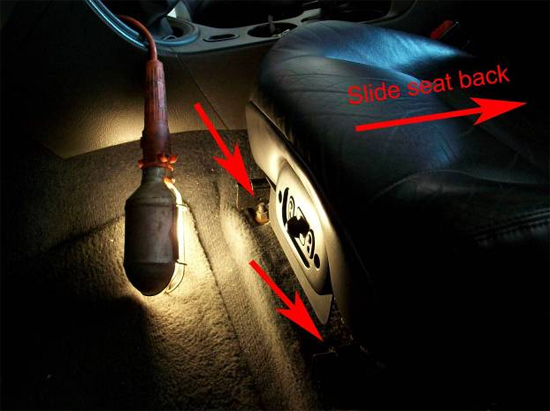
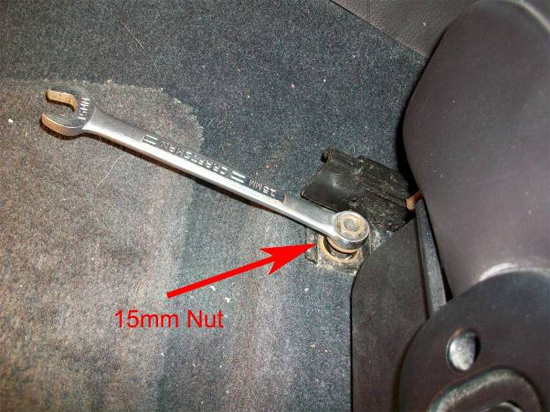
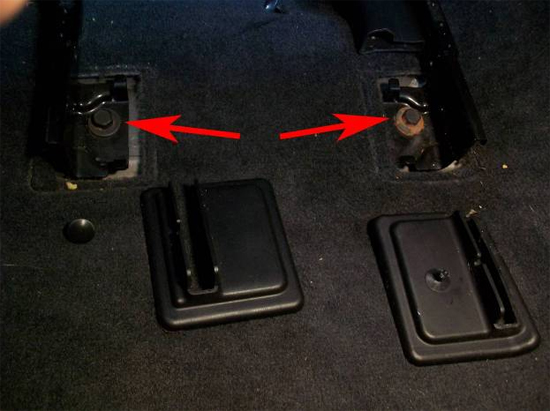
3. Using your 15mm wrench, remove the two nuts holding each seat to the floor. These studs are stationary, DO NOT attempt to remove them.
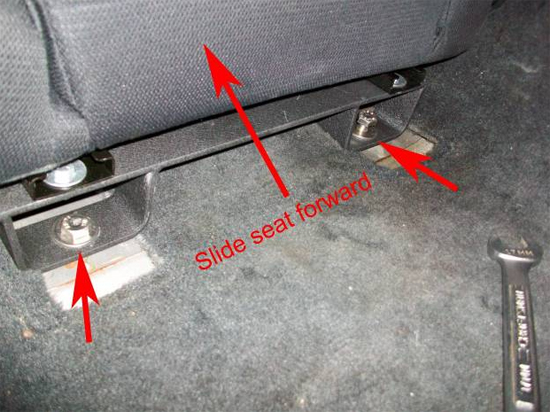
4. After the nuts have been removed, move the seats all the way to the forward position. This will reveal two plastic covers underneath.

5. With your needle nose pliers, remove the plastic keepers connecting the covers to the seat sliders. Do not worry if you accidentally break one, they will not be reused with the new aftermarket seats.
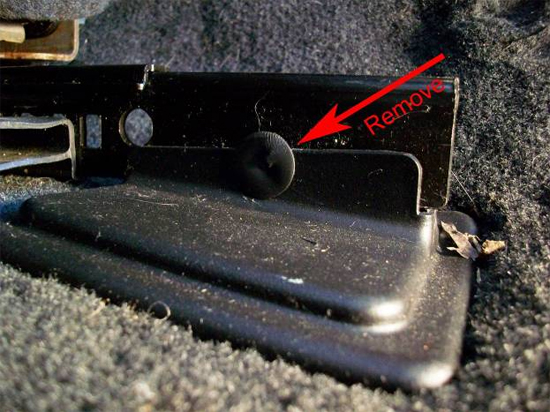
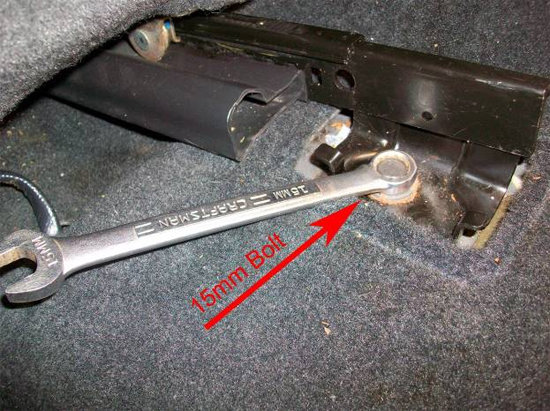
6. Once the plastic keepers are removed, pull up on the plastic covers and unsnap them from the sliders. Underneath are the remaining bolts holding the seats to the floor. These bolts will take much more persuasion to break free than the nuts did in the front.
7. Because the bolts go through the floorboard, they are exposed to the elements and can become corroded. It is recommended that you apply rust penetrant to the studs sticking through the floorboard to ease the removal process.
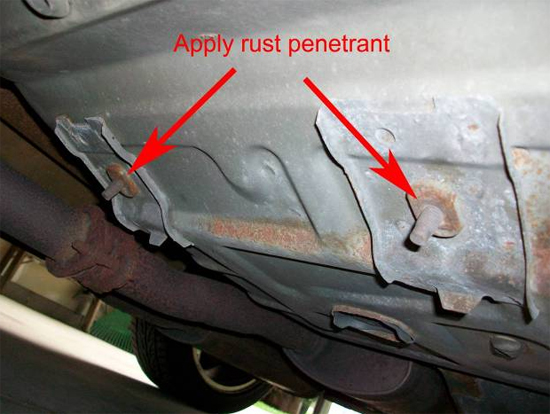
8. After the penetrant has been applied and been allowed to soak for a few Mins, you can attempt to remove the bolts using your 15mm wrench.Use extra caution when removing these bolts!They are very tight and easily broken so take your time. If you have a hammer handy, use it to lightly tap on the end of your wrench.Use an impact gun at your own risk.If a bolt is broken, you can try to grab the stud sticking through the bottom with a pair of vice grips and turn it out. If that method fails, you will have to drill the stud out.
I recommend replacing all the back bolts, regardless if any are broken or not. I took a trip to my local hardware store and picked up four stainless steel bolts, washers, and nuts. The bolts arem10 x 1.5mm thread pitch. If you do replace them, it is not a cost you are going to want to skimp out on. Remember, they are the only things holding your seats to the floorboard so spend the few extra bucks and get some quality hardware that won’t fail on you in the case of an accident. I went with stainless steel because it is very strong and will not corrode like the plain hardened steel bolts that were taken out.
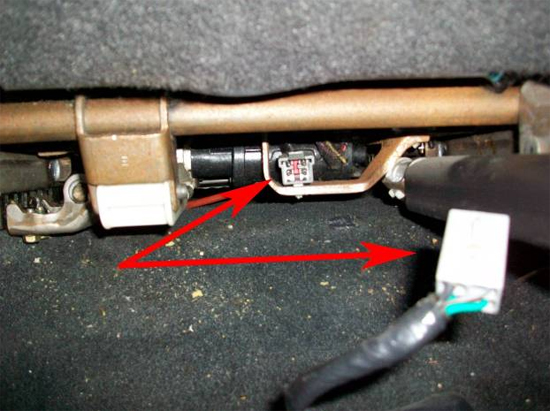
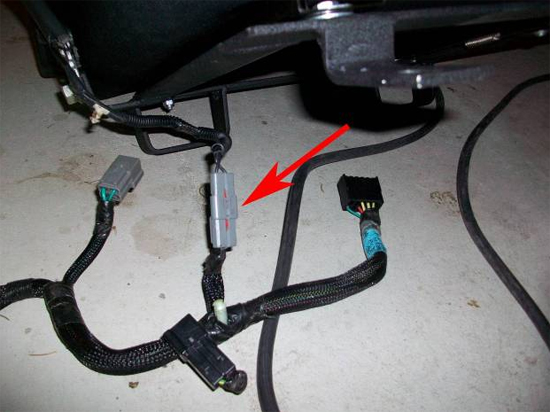
9. Before you remove the seats from the car, disconnect the power cable under the back of the driver’s seat.
10. Carefully lift the factory seats out and put them aside.
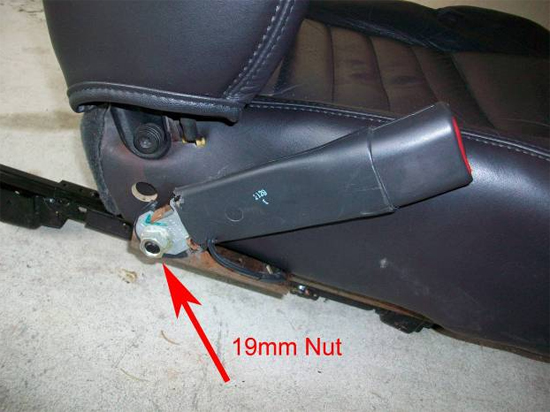
11. Using your 19mm wrench, remove the nut holding the seatbelt connector on both driver and passenger seats. This nut will be reused with the instillation of the seatbelt connector onto the Corbeau seat bracket.
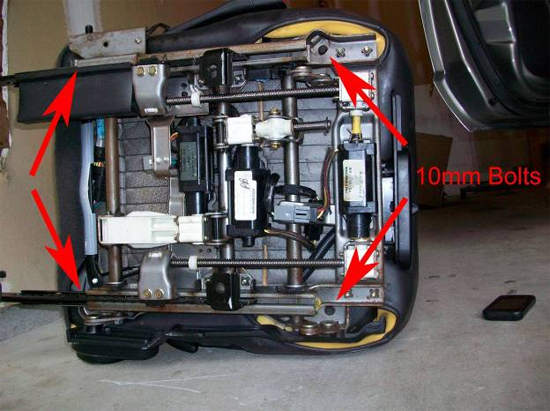
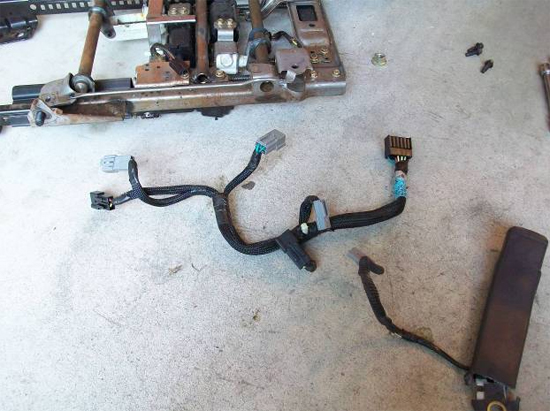
12. For power seats with the seatbelt reminder, you will need to remove the wire harness. Tilt the seat onto its side and remove the four bolts holding the sliders on using a 10mm wrench and socket.
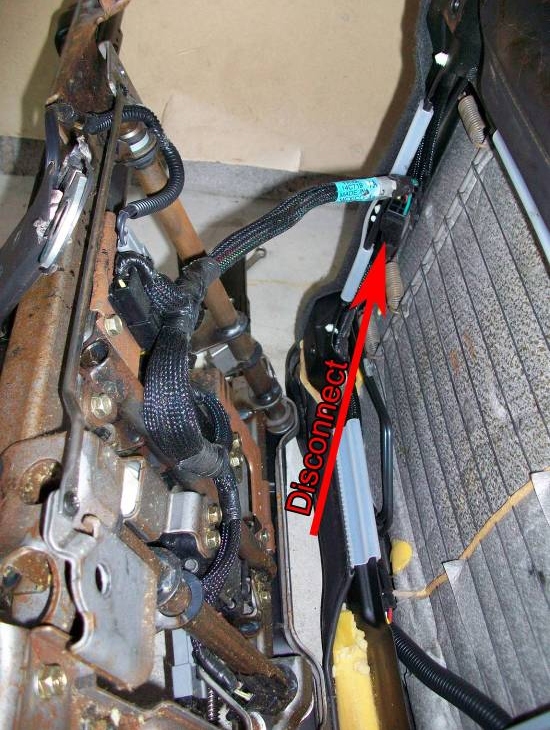
13. Disconnect the lumbar power cable and pull away the metal sliders.
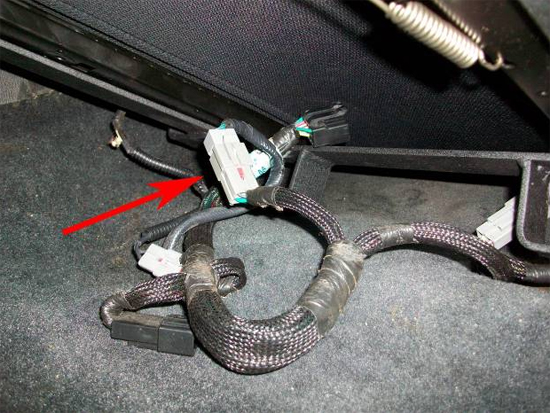
14. Disconnect all connections between the wire harness and electric motors. Once everything is disconnected, pry the loose connectors off of the metal bracket using your needle nose pliers.
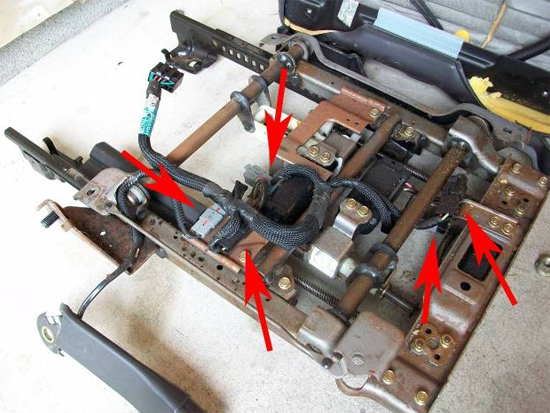
15. Pull the wires out of the bracket and put them off to the side for later reinstallation.
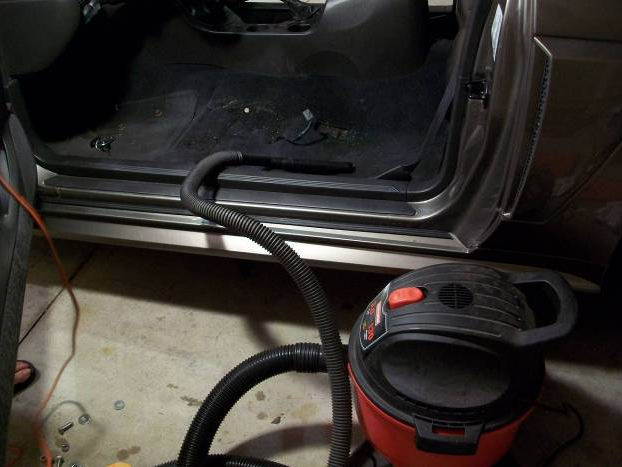
16. Now that your Mustangs interior is mostly empty, take the opportunity to do a good cleaning.
Installing the Corbeau CR1s and Brackets
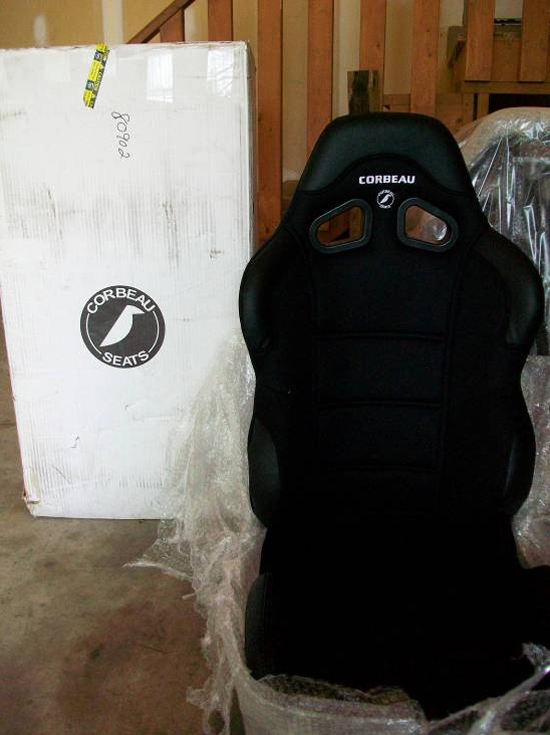
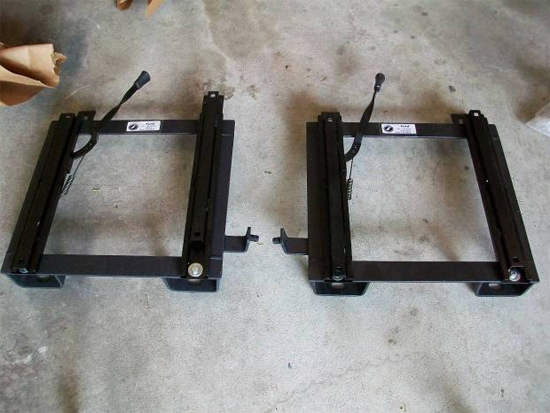
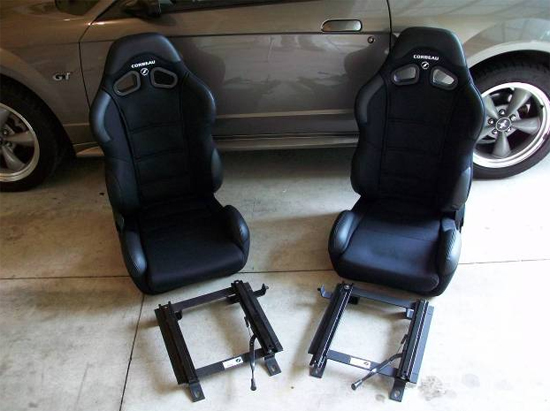
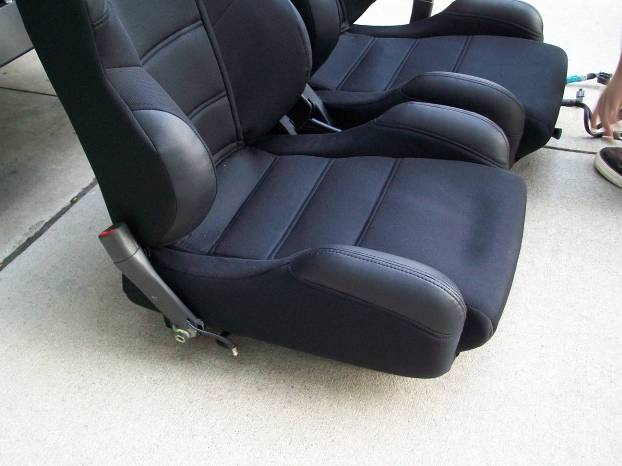
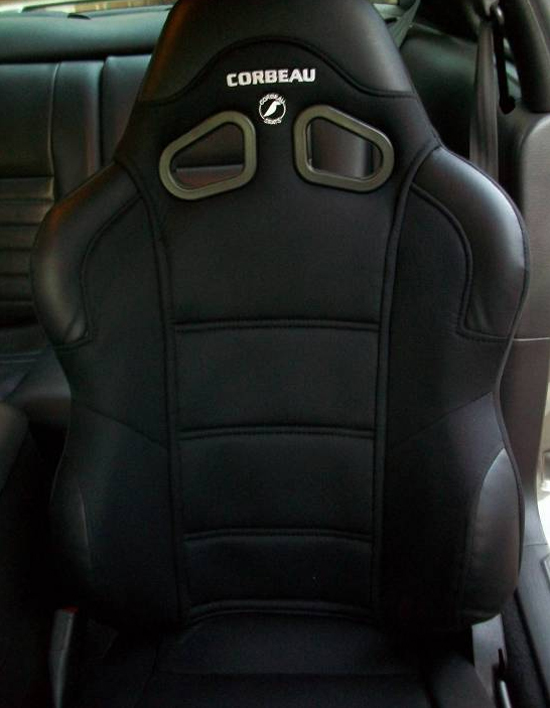
1. Before you can put your new seats into the car, you must first install the brackets to the bottom of each seat. The brackets are made of thick, sturdy steel and have a very industrial feeling.
2. Make sure you mate the corresponding seat with its bracket. This seems like a simple thing to do, but I messed it up the first time I put a bracket on. The part where the seatbelt connector attaches to the bracket must be on the opposite side of the reclining lever, otherwise the seatbelt will get in the way and the lever will become hard to access.
3. Unscrew the four bolts that come on the bottom of your new seats using a 6mm hex wrench.
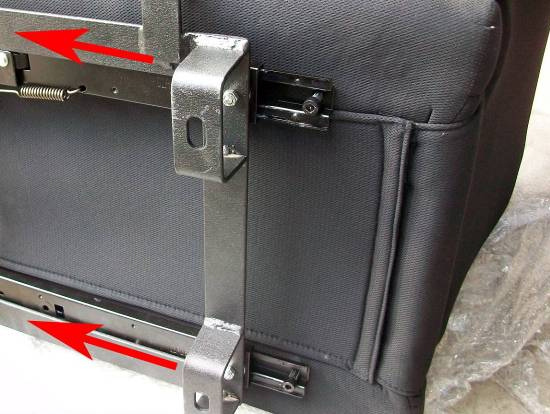
4. Slide the new sliders in the bracket forward and pull the bracket towards the back. Align the holes in the sliders with the holes you removed the 6mm bolts from and reinstall. I called Corbeau to see if they had a torque specification for these specific bolts, but I was told just to make them very tight.

5. Slide the bracket to the forward position and align the holes in the back. Reinstall the 6mm bolts and tighten them down.
6. Install the seatbelt connectors onto the bracket stud using the factory nut.
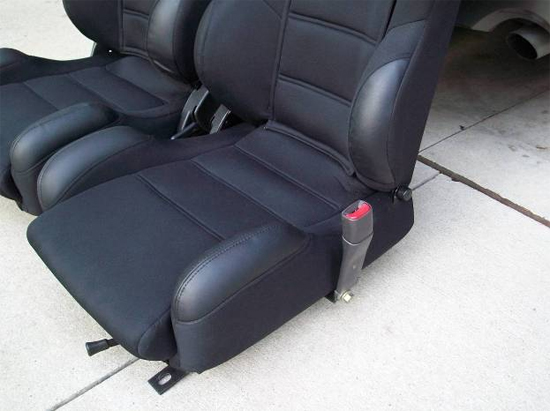
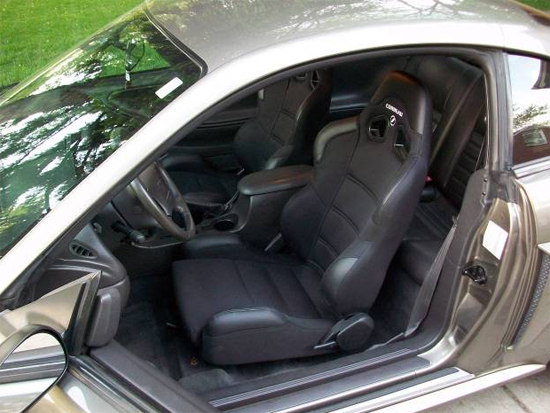
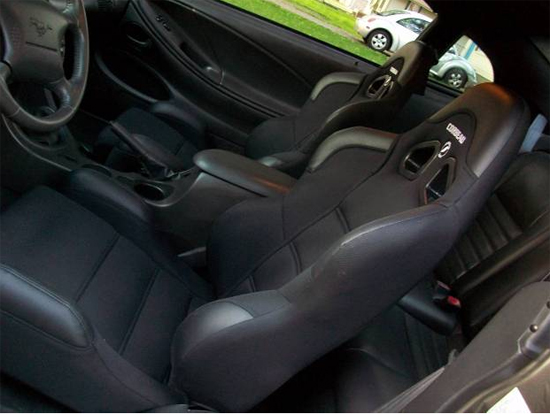
7. You are now ready to install your new seats into the car. Carefully lift them up and put them into position.

8. If you are replacing a power seat, reconnect the seatbelt reminder wire to the seatbelt connector.
9. Before bolting your new seats down, tilt the driver seat backwards and reconnect the wire harness back into its original connector. Feel free to use tape or zip ties to manage the extra wires.
10. Finger tighten front nuts, seat position may need to be adjusted for all holes to line up.
11. Slide the seat to the forward position and line up back holes. Before installing bolts, put a small bead of thread lock around the middle of each one. This will prevent moisture from building up underneath the new seats. Tighten bolts to about 40ft/lbs.
12. Tighten front bolts to around 30 ft/lbs.
13. Repeat steps 24-26 for passenger side.
14. Now that the seats are installed, adjust them to your comfort.
Installation instructions provided by AmericanMuscle customer Jonathon Karafa 5.10.10

