 FREE 1 to 3-Day Delivery on Orders $149+ Details
Custom Cut Window Tint Kit - ('05-'09 Coupe & Convertible) - Installation Instructions
Installation
Installation (Front Power Window):
1. Begin by soaking the outside of the window with the shampoo/water solution in your spray bottle.
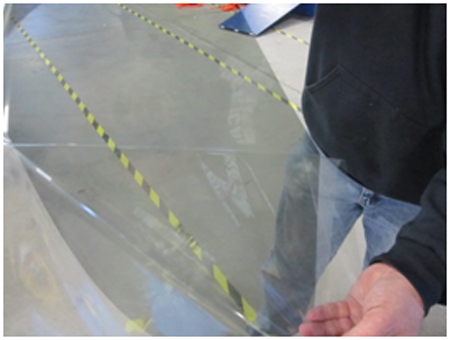
2. Peel the backing film from the tint and lay the tint on the outside of the window, adhesive side out. This is to have the tint in ready position when you are ready to position it in the inside of the window.
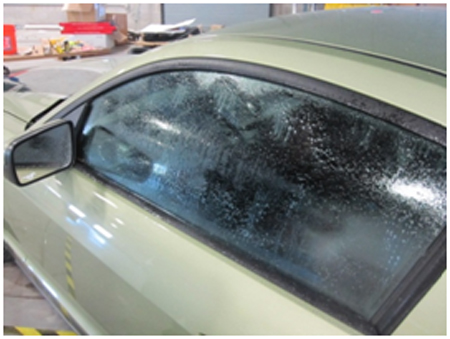
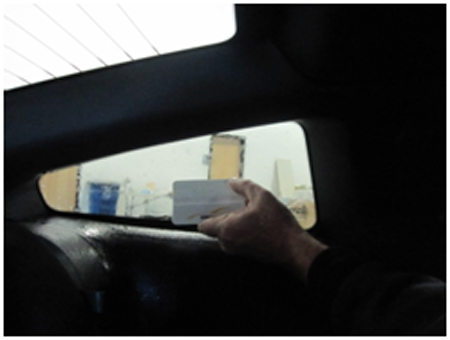
3. Soak the inside of the window in the shampoo/water solution and place the tint on the inside of the window. Position the tint so there is approximately 1/16” of glass showing at the top as shown below.
4. When the tint is properly positioned, use the supplied plastic squeegee to carefully push any air bubbles toward the edges as shown. This secures the top half of the tint to the window before moving to Step 5.
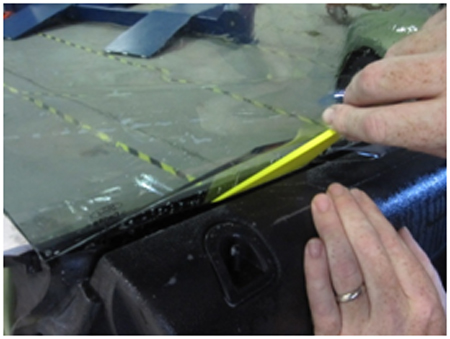
5. Using one of the supplied stuffer tools (whichever one fits your application the best), carefully tuck the tint into the rubber window trim as shown.
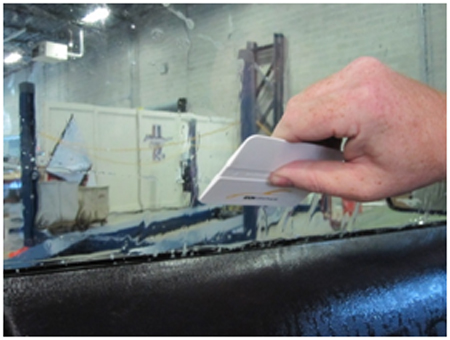
6. Once the tint is fully secured under the rubber trim, use the squeegee to push out any remaining air bubbles. Be sure to use plenty of solution to keep the surface well lubricated so as not to wrinkle the tint.
Installation (Quarter Windows):
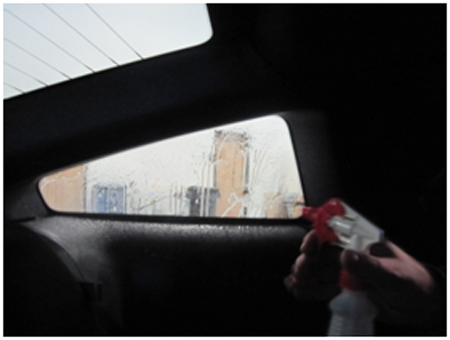
1. Soak the inside of the quarter window with the shampoo/water solution.
2. Carefully peel the backing film from the tint and position the tint on the quarter window.
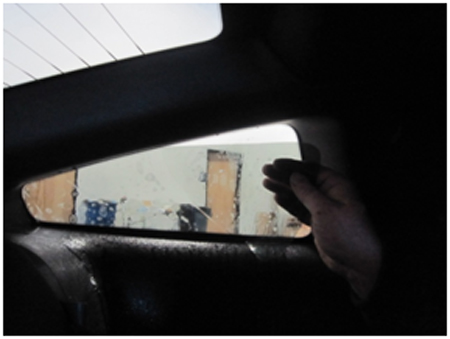
3. When the tint is properly positioned on the window, use the squeegee to push out any remaining air bubbles as shown.
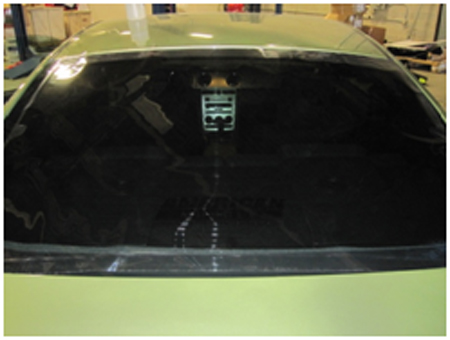
Installation (Rear Window):
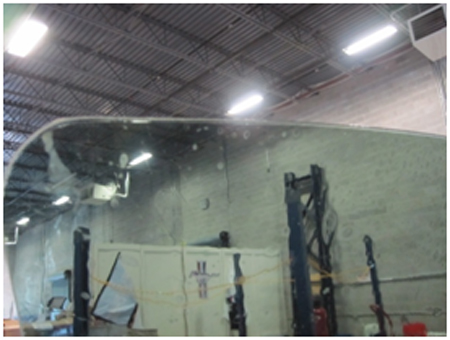
1. Begin by laying the rear window tint over the rear window with the backing out. If necessary, trim any excess backing film from the edges of the tint. Use the squeegee to spread the tint as evenly as possible over the rear window pushing towards the edges.
2. Using a heat gun, heat the tint until it begins to slightly wrinkle while pushing it to the edges with the squeegee, forming the tint to the rear window. Start from the center of the window working outwards and downwards. Apply heat cautiously until you get a feel for how the tint reacts to the heat. Too much heat and you could wrinkle the tint beyond repair, too little could yield little to no results.

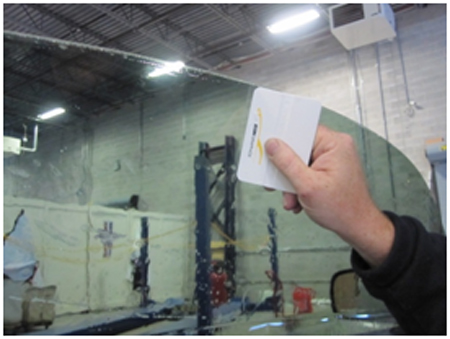
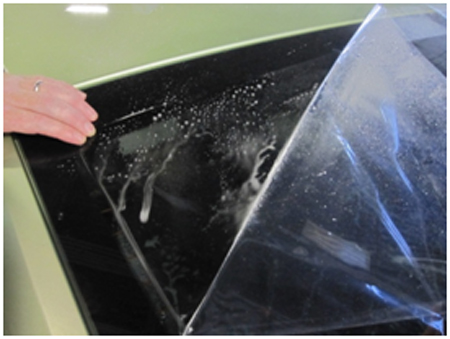
3. Once the tint is fully formed to the shape of the rear window, peel the backing away while soaking the tint with the shampoo/water solution as shown. Also soak the inside of the rear window at this point.
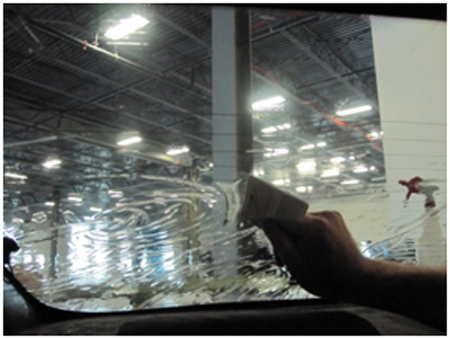
4. Note - It may be helpful to have an extra set of hands for this next step.Once the window and tint are thoroughly soaked in the solution, place it on the inside of the rear window. Use the bottom of the window as a reference point as you will be applying a strip of vinyl at the top of the window. This is because the tint film will not adhere properly to the “dots” at the top of the rear window. If you have a defroster in your rear window, use the supplied knife to cut-out the tint for the defrosters on either side of the window. Once the tint is properly positioned, use the squeegee to push any air bubbles out of the edges.
5. At this point the installation of your window tint is complete. Give the tint 2-3 days (depending on climate) to fully dry and adhere to the window surfaces. Do not open your front power windows for at least 2 full days after the installation, this could possibly damage the tint if opened too soon. Always use ammonia-free glass cleaner when cleaning your window tint.
Installation instructions provided by Manufacturer
