 FREE 1 to 3-Day Delivery on Orders $149+ Details
How to Install Door Seal Weatherstripping Kit - Coupe/Hatchback on your 1979-1993 Mustang
Installation Time
2 hours
Tools Required
- 1/2" SAE or 13mm Metric Wrench
- #2 Phillips screwdriver
- Flat blade screwdriver
- 7mm Metric socket OR a T-20 Torx driver

Shop Parts in this Guide
- Door Seal Weatherstripping Kit (79-93 Mustang Coupe, Hatchback)
- Door Seal Weatherstripping Kit (79-93 Mustang Coupe, Hatchback)
- OPR Exterior Restoration Kit (87-93 Mustang Hatchback)
- OPR Door and Hatch Weatherstripping Kit (79-93 Mustang Hatchback)
- OPR Door and Hatch Resto Weatherstripping Kit (79-93 Mustang Hatchback)
The weather stripping in my car was failing. It stopped absolutely no water from entering the vehicle.
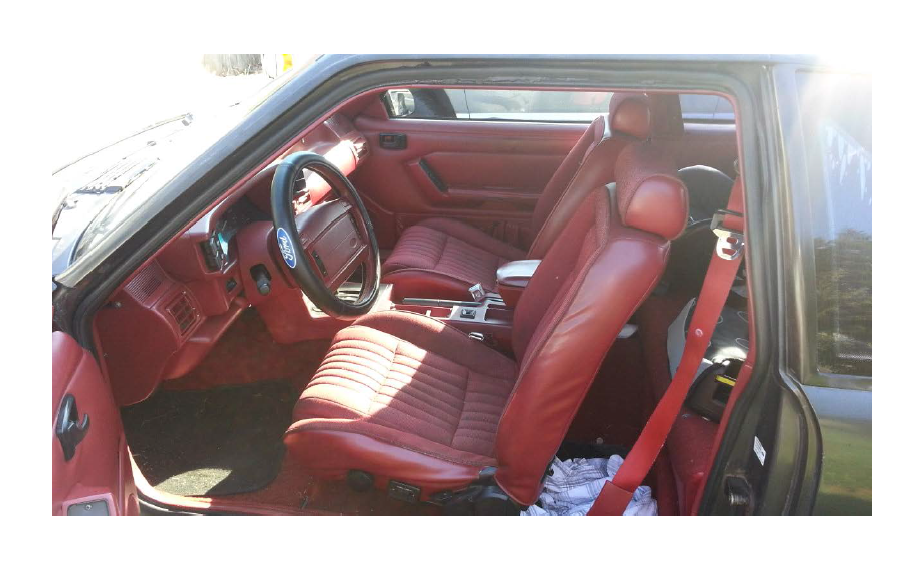
Removal of factory weatherstripping:
1. Disconnect the negative battery terminal using the 1/2" SAE or 13mm Metric wrench. You won't be working with the electrical system, but you will have your doors open for over an hour, which will drain your battery.
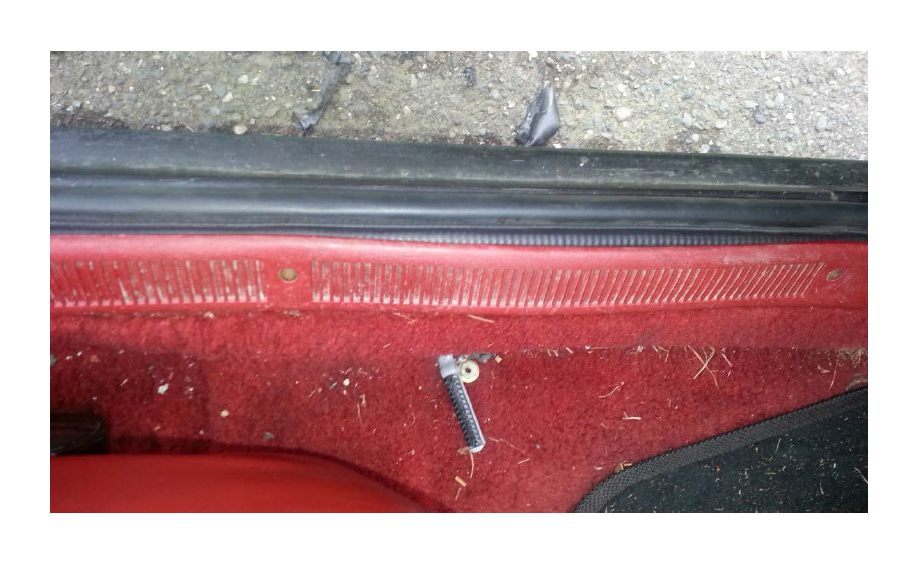
2. Remove the bottom trim panel. There are four Phillips head screws holding this down. Once the screws are removed, the trim panel is loose. Set it and the screws off to the side.
3. Remove the upper trim panel. There are two metal clips holding this in. Pull down slightly on the trim panel, then insert the flat blade screwdriver against the metal clips and push them towards the interior. These clips can be a bit of a pain, but once they release, the panel will pop free.
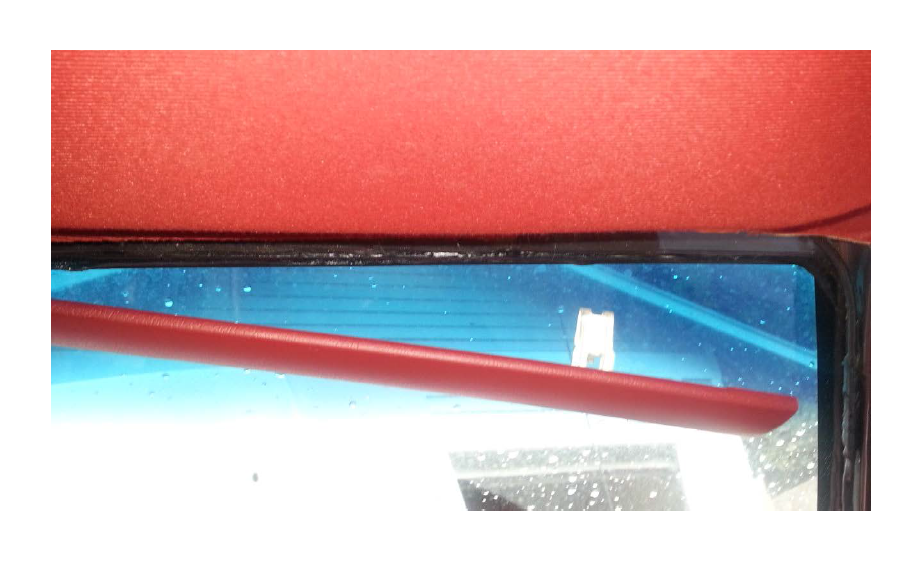
4. Remove the upper windshield to headliner moulding. This pops out the same way as the upper trim panel. You do not have to remove the whole thing, but it makes it a lot easier if doing both sides.
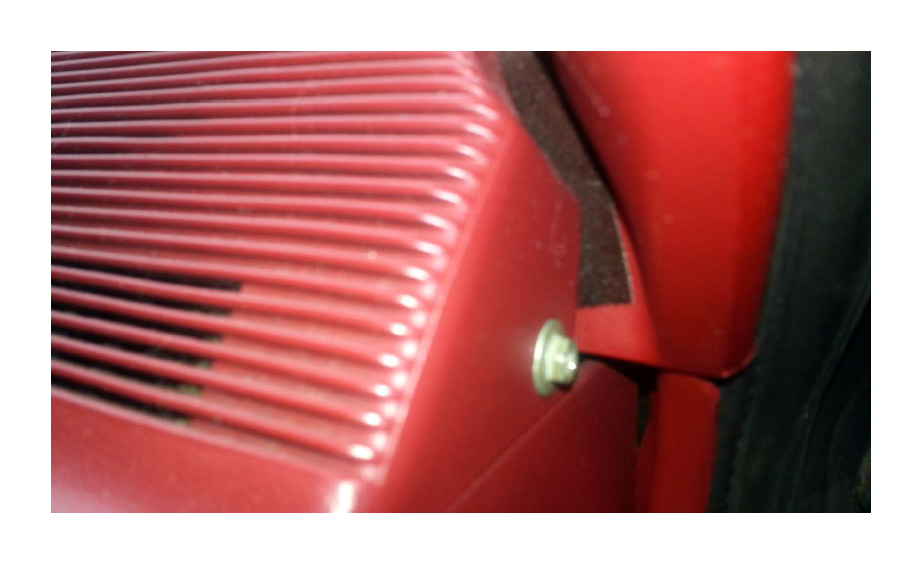
5. Remove the dash speaker cover. There is one bolt holding this in. This is where you will use your 7mm Metric socket OR the T-20 Torx driver. Remove the bolt and pull the panel up.
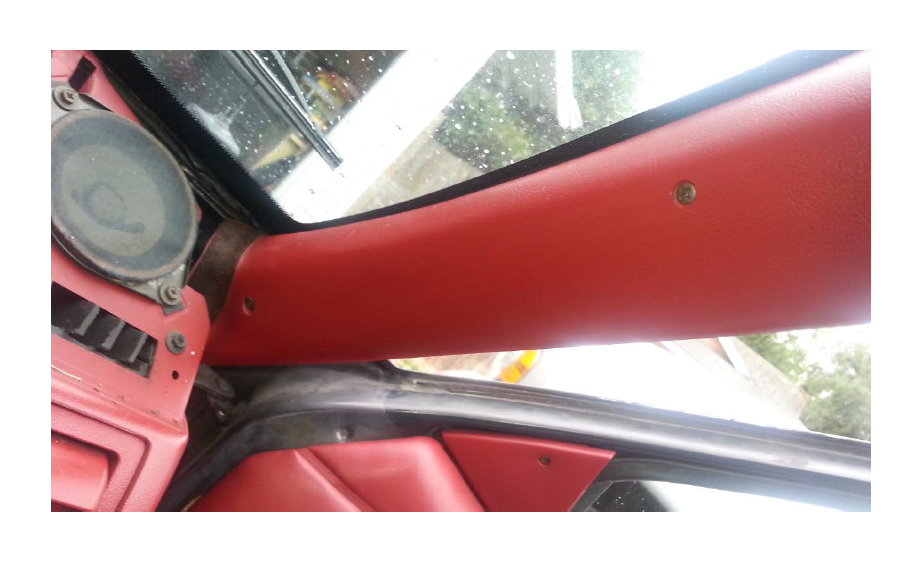
6. Remove the side windshield trim panel. There are three screws holding this in. One at the top which was covered by the top trim panel (mine was broken), one in the middle and one at the bottom by the speaker. These are all Phillips head screws of varying length, so label or remember where you removed them from. Once the screws are removed, it takes a little wiggling to get the panel out
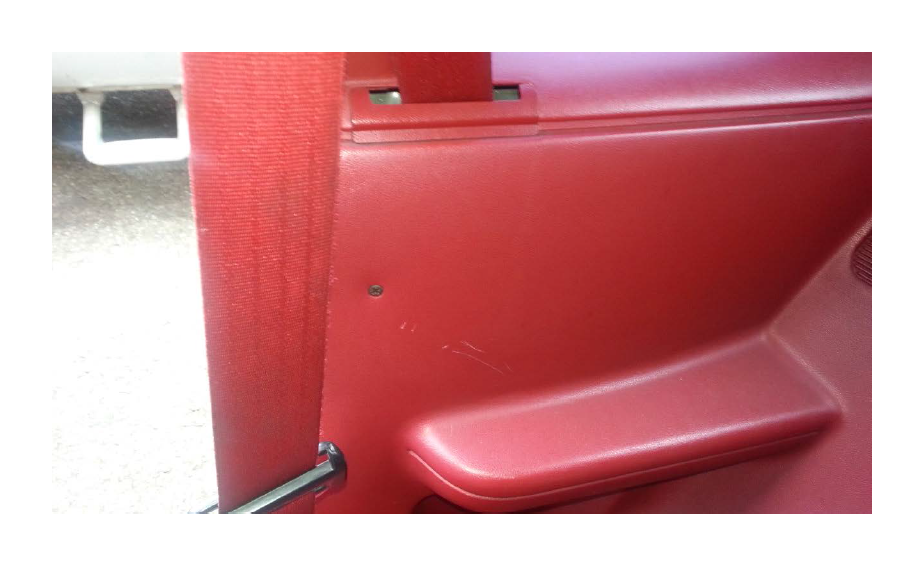
7. Loosen the rear panels. There are four screws holding this panel on, plus the seat belt. One in the top (mine was broken), one directly under the T-45 Torx bolt for the seat belt, one mid-way down the panel, and one near the rear cubby. ****Note: I did not remove the seat belt, mostly because I didn't have the T-45 Torx driver to do it with. If I was to do it again, I would definitely get the Torx driver to do it. I feel that it would save a lot of effort when putting everything back together.

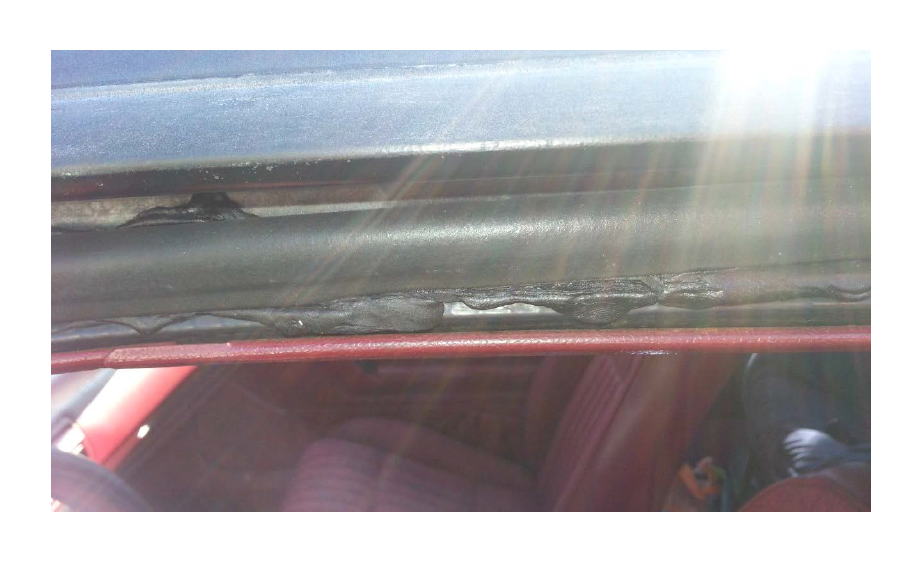
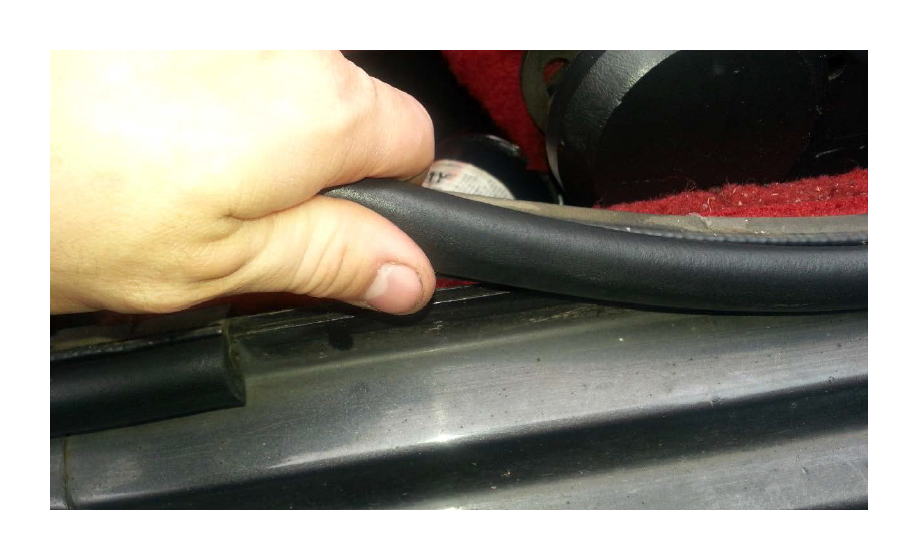
8. The old weatherstripping is ready to be removed. You will see the edges at the bottom of the door. It's easy to remove, just grab and pull. Once you get to the back of the door, be sure to go slow, since there is still some tension on the rear panels.
Installation of the new weatherstripping from AmericanMuscle.com
The new weather stripping goes in exactly how the old came out. Line up the opening in the weatherstripping and firmly push it on the pinch weld. Run it all the way along the car, being sure to firmly push it onto the pinch weld. The corners sometimes take a little massaging. If there are any waves, the weatherstripping is not fully seated.
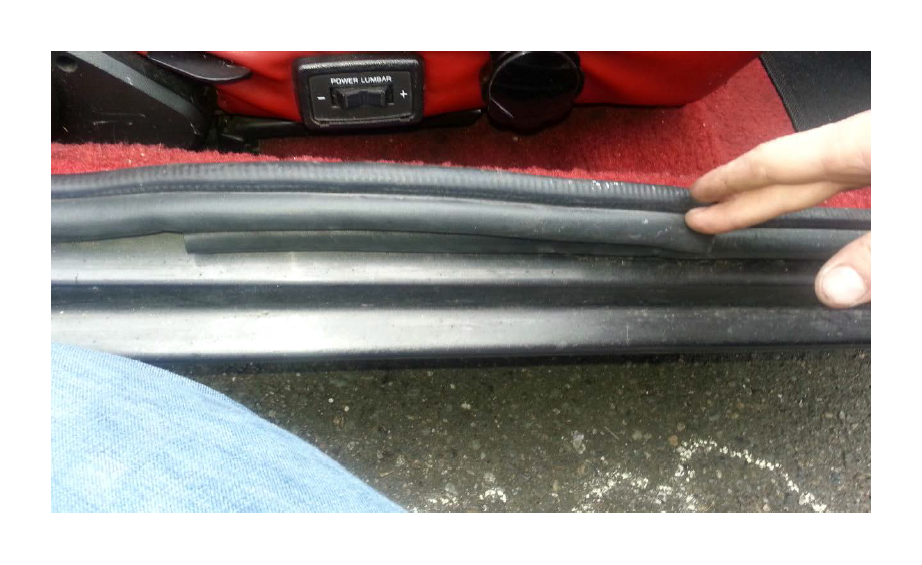
After making it all the way around the door of the vehicle, there will be a bit of extra.
The finishing steps:
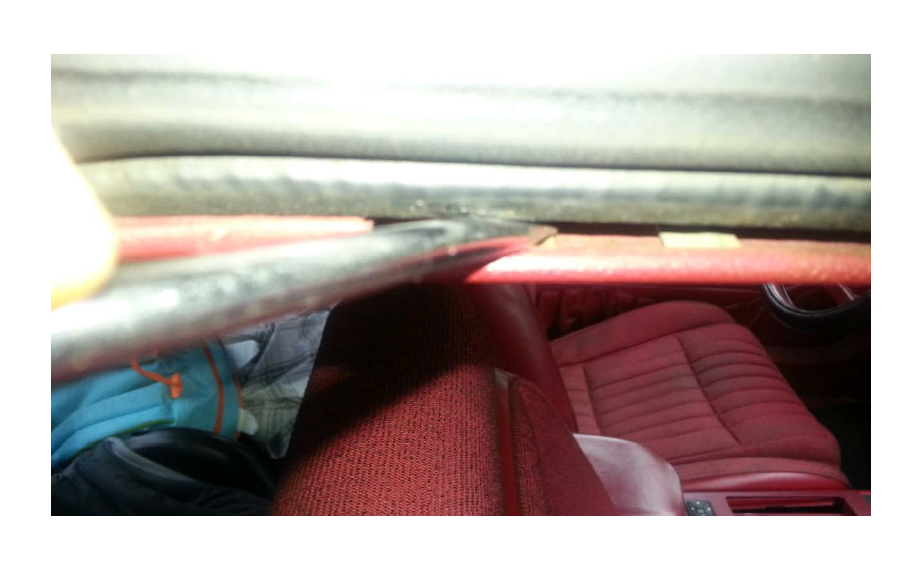
1. Place the extra weatherstripping on top of the portion already seated.
2. Using a razor blade utility knife, cut the outer portion of the weatherstripping. Then cut into the part that seats onto the pinch weld. On both sections of weatherstripping I did, there was a metal tab where I needed to cut.
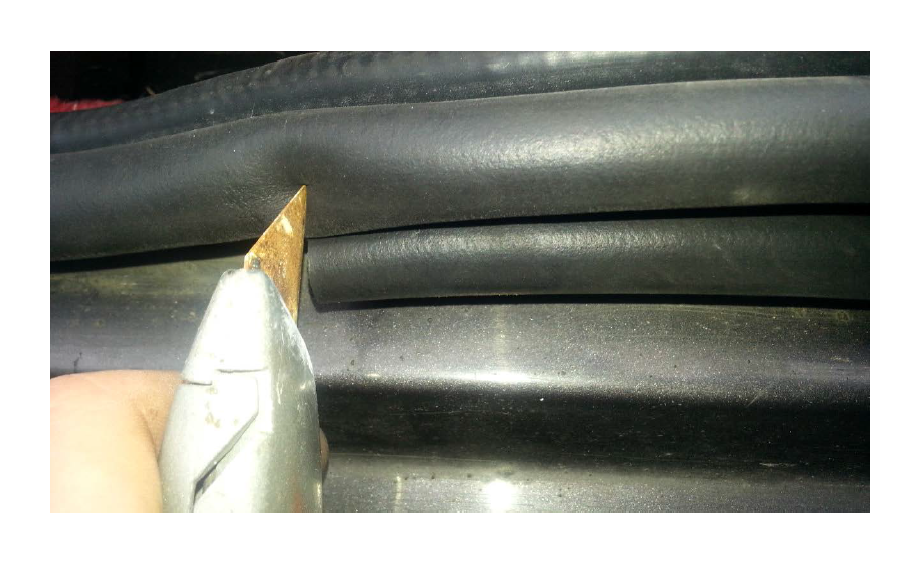
3. Here you can see the small metal tab. Its function is to keep tension on the weatherstripping to keep it clamped on the pinchweld. There are more like it just behind it. You will remove this tab. I was able to pull it out with my fingers.
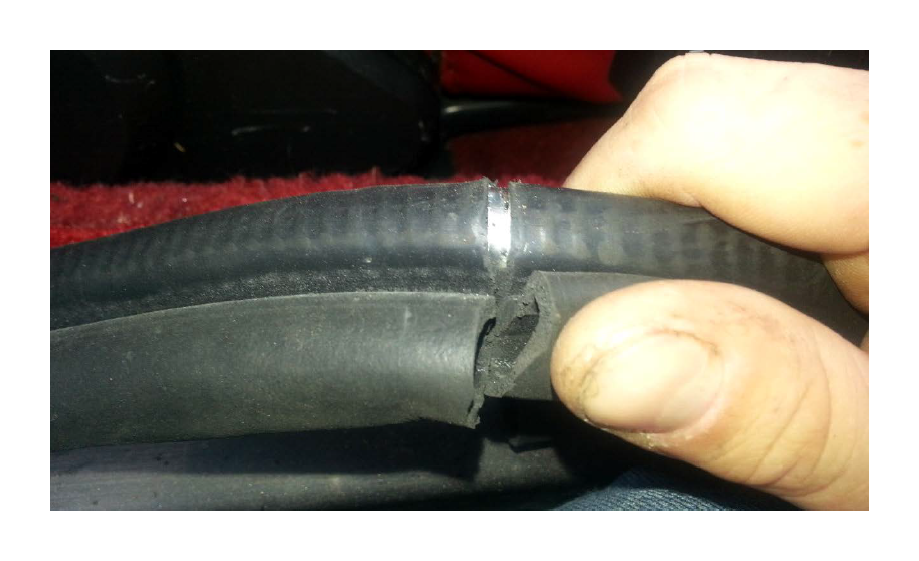
4. Push the cut portion of the weatherstripping onto the pinchweld.
5. Reinstall the trim panels and mouldings in reverse of the order they were removed (go backwards through the guide if you can't remember the order). When I got to the rear of the door, I found it easiest to pull the panels forward, and squeeze the edge over the new weatherstripping.
You're Done! Enjoy your new weatherstripping. No more leaks, and less road noise.
***Note: In hidsight, I should have removed the seatbelt. It would have eased the reinstall of the rear panels greatly. I will be doing it next time.
***Second note: You will need to shut the doors a bit harder, but the old weatherstripping was worn down. You will experience less road noise, since there is a tighter seal.

