 FREE 1 to 3-Day Delivery on Orders $149+ Details
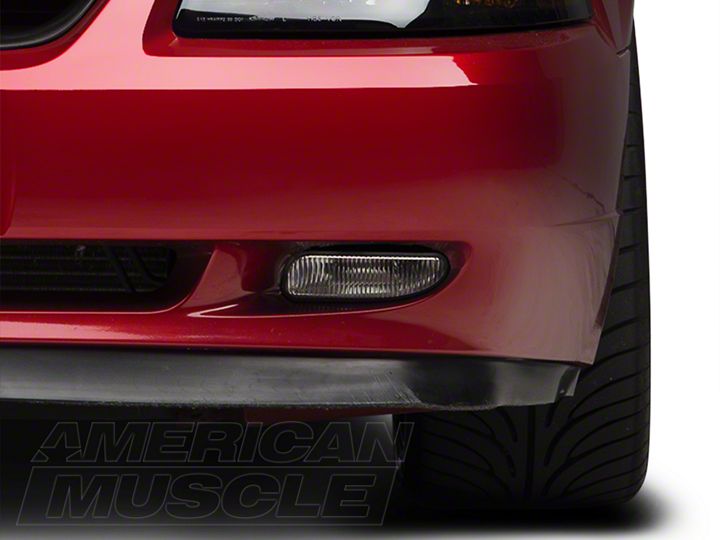
How to Install Replacement Foglights on your 1999-2004 Mustang
Installation Time
1 hours
Tools Required
- 3/8" Ratchet
- 3/8" 12" Extension
- T20 Torx Socket Bit (3/8" or 1/4" with Reducer)
- T20 Torx Screwdriver (optional)
Shop Parts in this Guide
Time Necessary: Approximately 1 hour
These steps were preformed on a 2002 Mustang GT with a chin spoiler.
Tools Required:
• 3/8” Ratchet
• 3/8” 12” Extension
• T20 Torx socket bit (3/8” or if ¼” is
used as shown in picture then a 3/8” to ¼”
reducer will be needed)
• T20 Torx Screwdriver – optional
Note: Depending on ground clearance, a lift or jack
and jack stands may be required.
Note: A long Torx T20 screw driver can take the
place of the ratchet, extension and bit
socket.
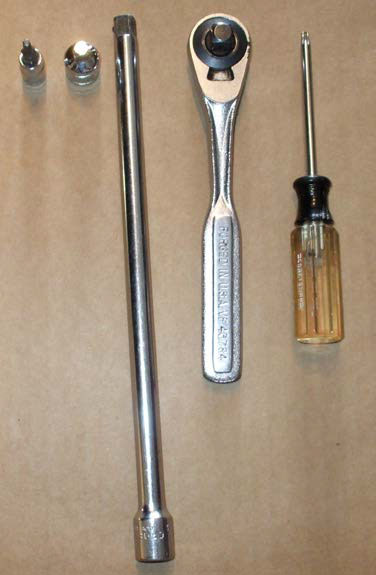
Fig. 1
Removal Procedure:
1. Chock wheels with emergency brake engaged and transmission in gear or in Park if an automatic.
2. If required, lift car enough to be able to allow room under the front bumper area. A lift from one side only is generally enough to allow for access to both fog lights. The fog lights are located in the bumper cover and accessed from the backside of the bumper cover. Note: For most applications it is not necessary to lift the tires completely off the ground or to remove the tires. DO NOT WORK UNDER A CAR SUPPORTED ONLY BY THE JACK.
3. Locate and remove the bottom screw located on the underside of the bumper cover directly beneath the fog light. The Torx T20 screwdriver should work fine for this screw. See Fig. 2.
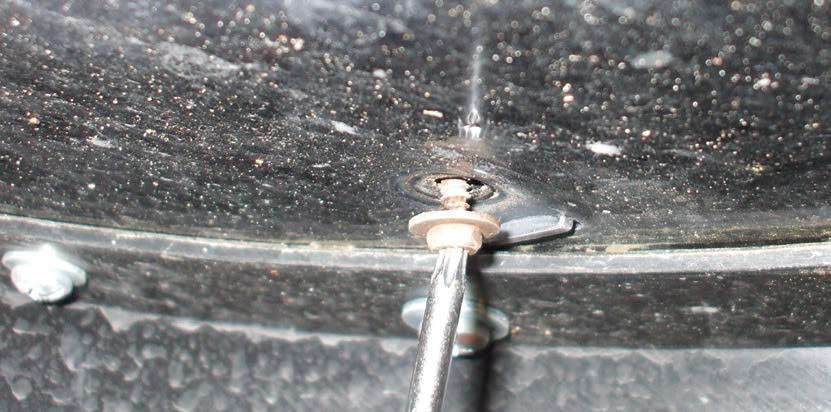
Fig. 2
4. Locate the fog light in the bumper area.
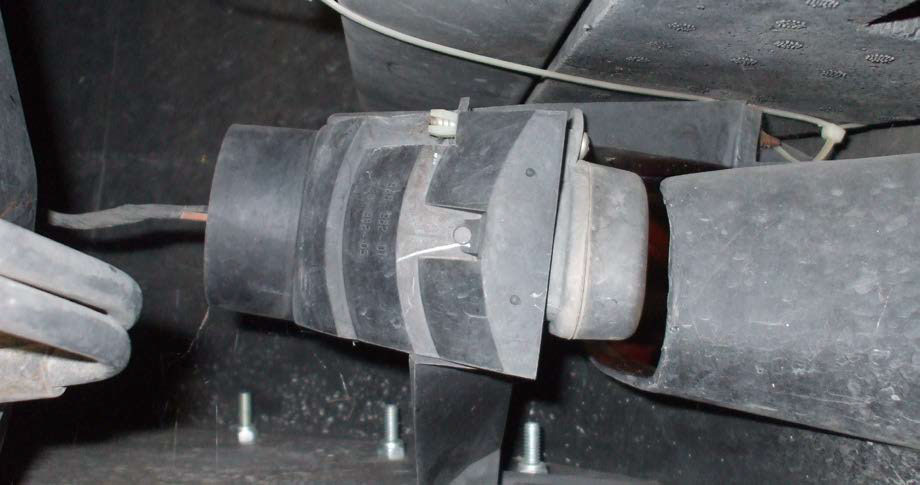
Fig. 3
5. Remove the light wiring harness to allow easier access. A simple left twist on the socket will allow the socket and bulb to be removed or you can unplug the harness from the bulb. The new lights come with bulbs so unplugging the connector will need to be done eventually.
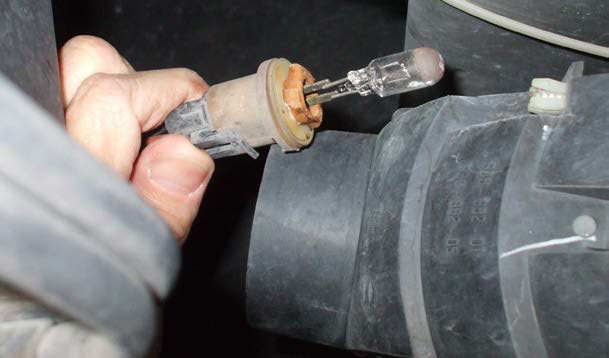
Fig. 4
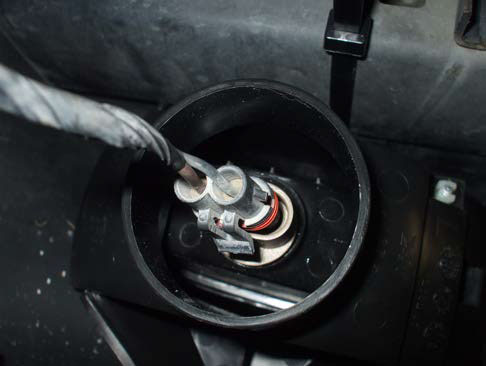
Fig. 5
6. There are two remaining screws located on the top of the fog light bracket.
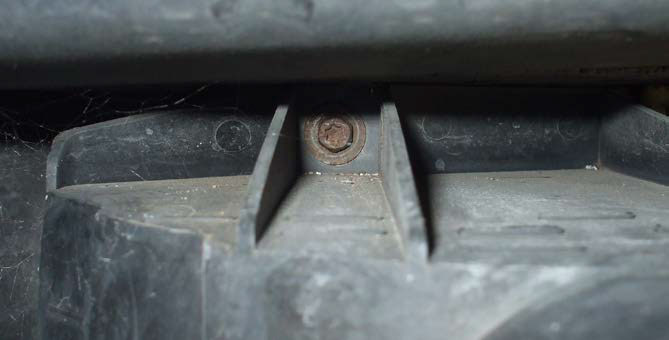
Fig. 6
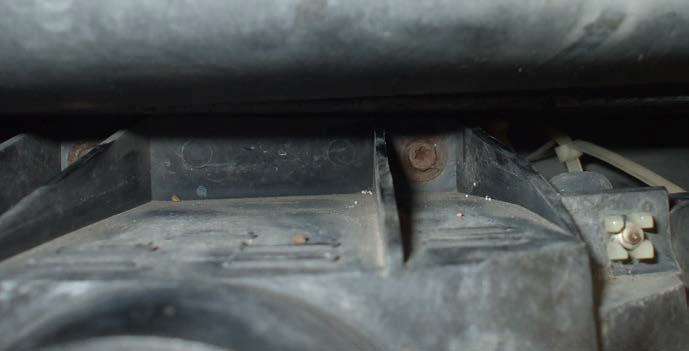
Fig. 7
Generally it is difficult to view the screws as shown in Fig. 6 & 7, but the 3/8” extension with the Torx socket bit will allow you to feel your way to the screw head and loosen the screws.
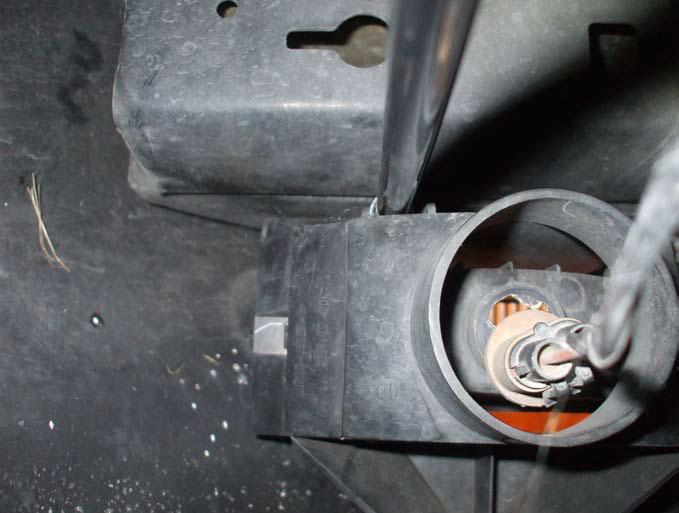
Fig. 8
7. With the top two screws removed, the light can be removed. You will need to remove the retaining clip from the bottom of the old light bracket and install it on the new light bracket.
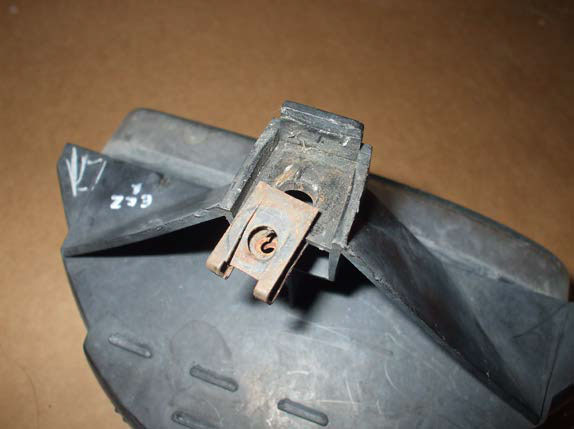
Fig. 9
8. Once the lights are removed the new lights can be inserted in their place. By viewing the light from the center area of the bumper cover you can follow your alignment of the bracket. It is best to start with the outer most screw and angle the bracket so that you can observe the insertion of the screw using the extension and Torx socket bit. Once you’ve inserted the screw, square up the bracket and make a few turns of the screw to start it. Leave the screw loose so that you can position the bracket to start the second screw.
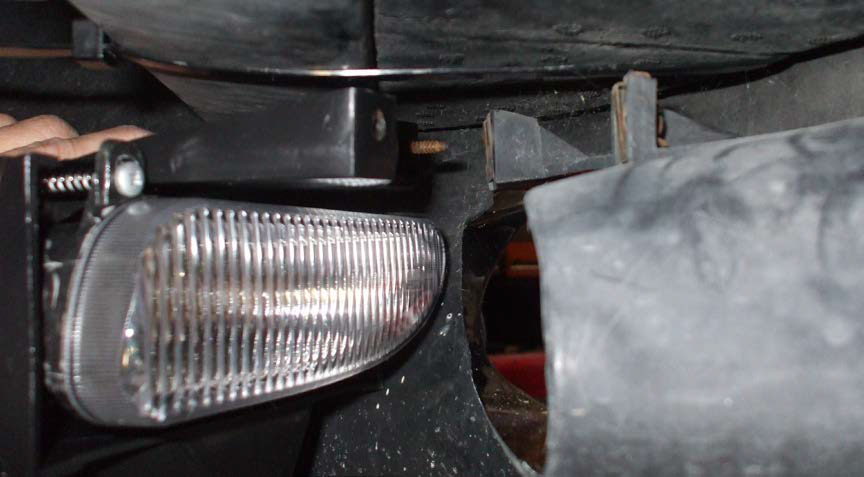
Fig. 10
Once both screws have been started make sure the bottom tab on the bracket is in the slot of the bumper cover as seen in Fig. 2. The tab is sticking through just in front of the screw. Insert the screw.
9. Tighten the screws until snug. Do not over tighten. Plug in the wiring connector, repeat steps for the other side and enjoy.
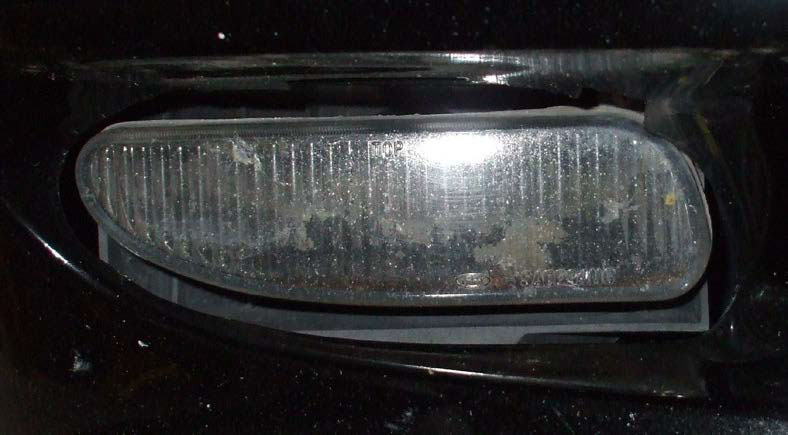
Old vs. New

Installation Instructions Written By AmericanMuscle Customer Forrest Hawes 1.22.2014

