 FREE 1 to 3-Day Delivery on Orders $149+ Details
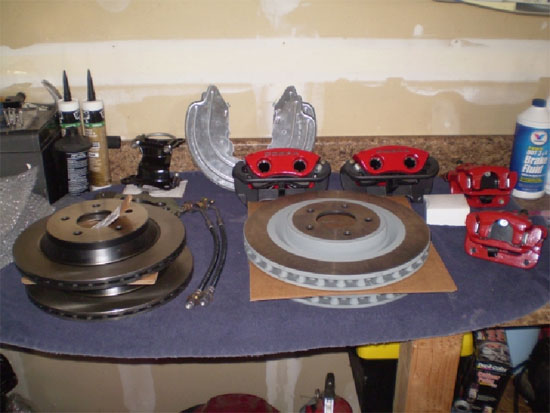
Ford Racing Brake Upgrade Kit Installation Guide
Tools Required
- Jack and Jack Stands
- Standard and Metric socket set, deep and shallow wells
- Standard and Metric wrench set
- 7/16 line wrench
- Soft mallet
- Phillips and Standard screwdrivers
- Clear hose (for bleeding the brakes)
- Anti-seize
- Rear differential fluid
- Rear differential gasket
- Brake fluid
- RTV High Temp sealant
Installation
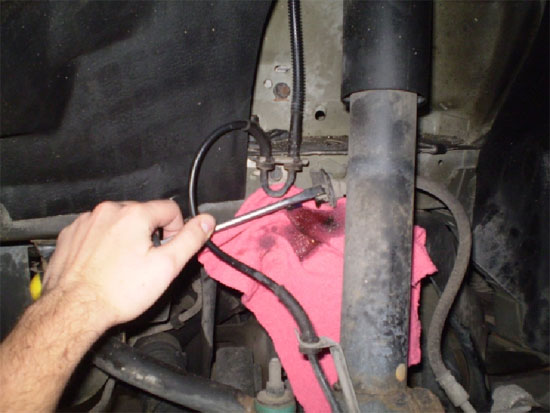
1. Start by disconnecting the battery, for safety, and wait 15 Mins. Jack the front of the car up and place it in jack stands. Remove the front wheels. Start by disconnecting the stock break lines from caliper. This can be done by using a 7/16 inch line wrench to loosen the hardline.

2. Using a flathead screwdriver, remove the retaining clip holding the softline to the body bracket. It is recommended that you place the end of the line as high as possible to reduce the amount of brake fluid that is spilled.
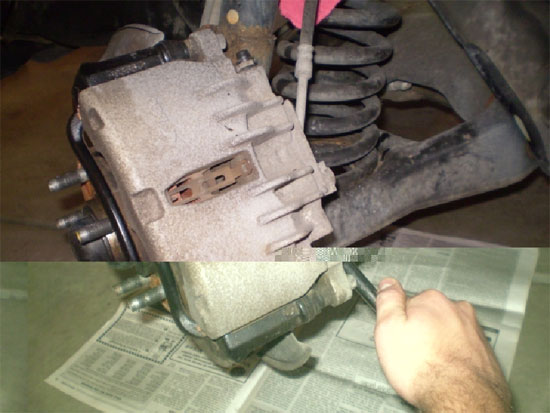
3. Then using a 15mm socket, the two bolts holding the caliper to the spindle can be loosen and removed. (Caution: the bolts holding the caliper may be rusted and hard to remove. WD-40 can be used to remove the rust and help the bolts to move. Let it soak for 10 Mins on bolts before trying.) After this the caliper should be free and can be removed from the car.
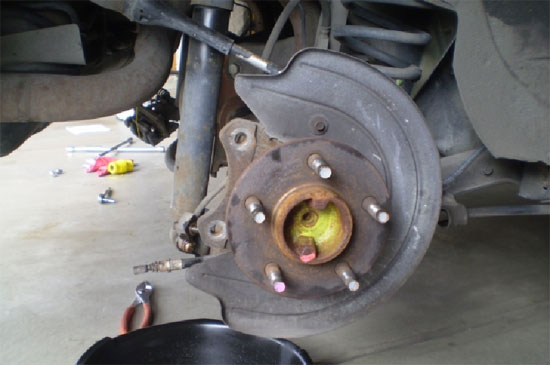
4. There may be some pushnuts holding the rotor to the hub, if so remove them and save them to replace back on the new rotor. Remove the rotor. (Caution: The rotor may be stuck to the hub and require a tap with a mallet to break it loose.) Once the rotor is removed, you should use a wire brush and a rag to clean the hub to help the new rotors seat properly.
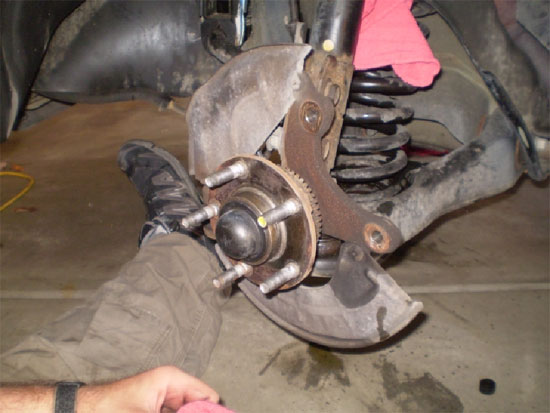
5. After cleaning, a small amount of anti-seize should be placed between the hub and rotor to make future removal easier. The new rotor can be placed back on the hub and the pushnuts be replaced.
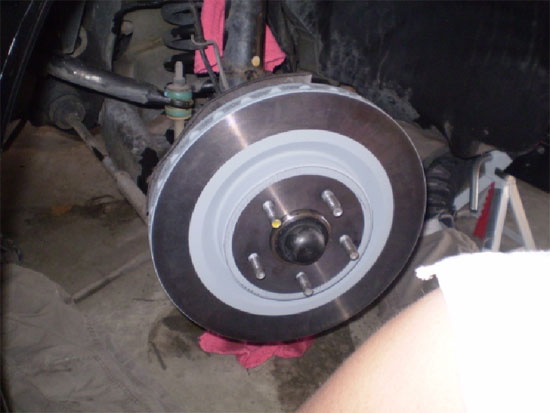
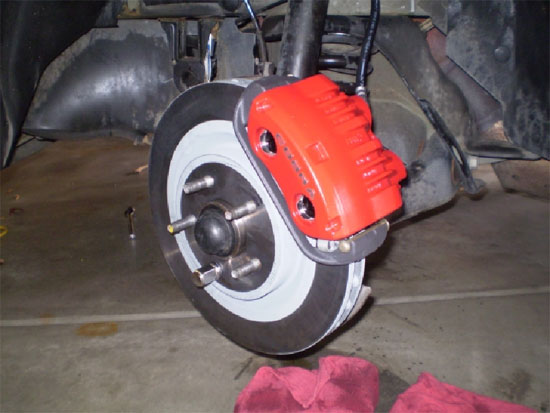
6. It is a good idea to use a little brake cleaner on the rotors before installing the new calipers. It is not required, but is good practice to insure everything is clean and won’t damage the new pads. The new caliper can then be reinstalled using the same bolts and the same holes.
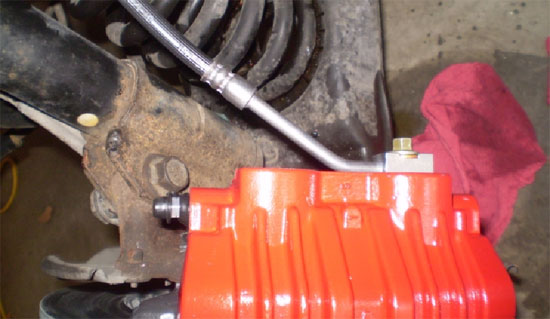
7. Next the new brake lines can be connected to the caliper. CAUTION! The banjo bolts that come in the lines are fine threads and will ruin your calipers if you try and force them in the hole. The proper coarse threaded bolts are included in the kit and must be replaced. After replacing the banjo bolts, the hose line can be threaded into the caliper and the other end can be reconnected to the hardline of the brake system by undoing step 1 and 2. Make sure there are two copper washers on both ends of the banjo bolt.
8. After insuring that everything is tighten and connected properly the front wheels can be reinstalled and the front of the car lowered. Because we will have to come back and bleed these brakes after the rear ones are done, it is not crucial that all lug nuts are put back on the wheel, or that they are completely torqued down.
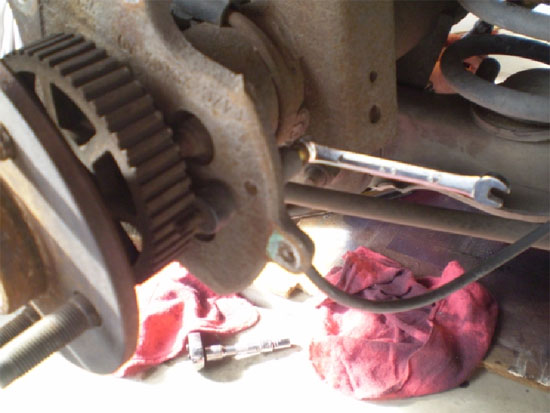
9. Move the jack to the rear of the car, jack up the rear end and support it with the jack stands. Be sure to block the front wheels to prevent the car from rolling. Start by removing the wheels. The brake lines for the rear will be used again so they should be unscrewed from the back of the caliper and placed out of the way. The parking brake cable can be removed from the back of the caliper by pulling on it with a pair of pillars. Again there are two 15mm bolts holding the caliper to the bracket can be unscrewed and the caliper can be slid off. The u-bolt holding the caliper brace can be unscrewed and removed along with the three screws holding on the dust shield. Also the remove the anti-lock speed sensor if equipped.
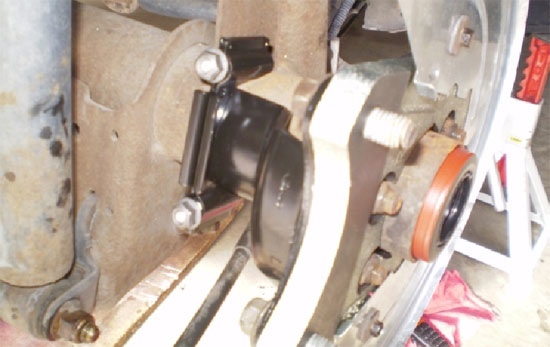
10. Now you must remove the rear differential cover. You need to place a pan under the differential, slowly loosen the bolts. Remove the lower bolts, used a screwdriver to break the seal and hold it open, and let all the fluid drain from the differential. Once all the fluid has drained, you can remove the rest of the bolts and the cover completely.
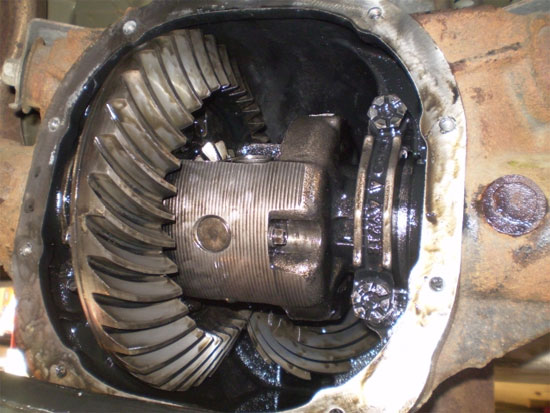
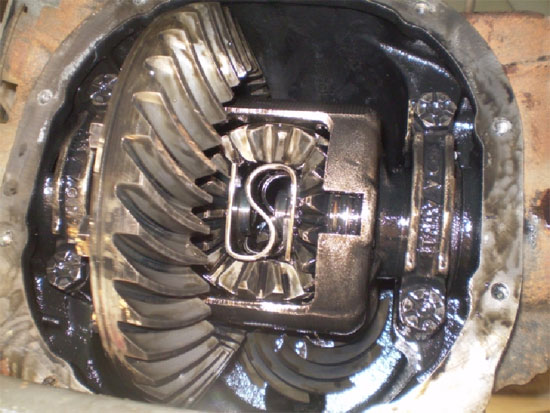
11. Once in the differential, you need to remove the differential pinion shaft bolt so that the differential pinion shaft can be pulled out.
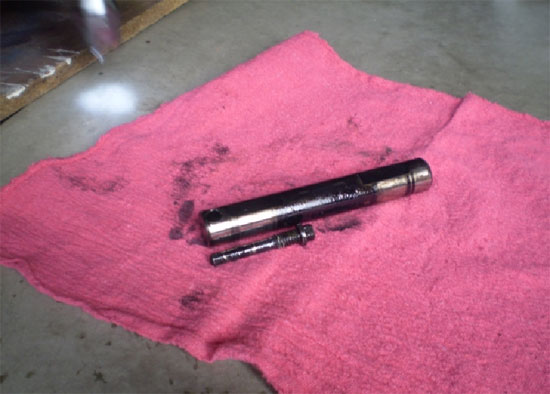
12. Once the differential pinion shaft is removed, the axle shaft can be pushed inward until rear axle shaft retaining u-washers at the button end of the axle shaft are clear of the side gear recess. From this position, the rear axle shaft retaining u-washers can be removed with a magnet. After this the axles can be pulled out of the housing and placed to the side.
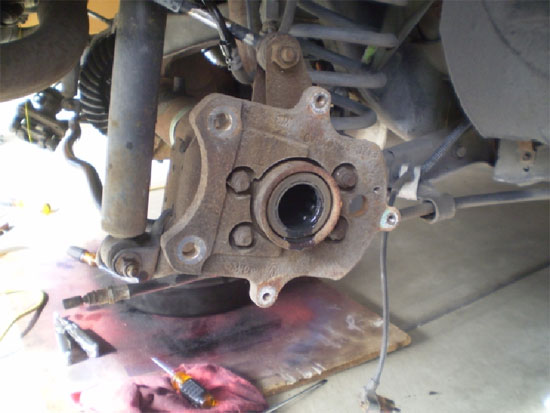
13. Once the axle is removed, the four bolts holding the caliper to axle bracket can be removed. Using the same bolts, the new bracket can placed back in the same spot. The new caliper brace can be installed using the new u-bolt and nuts and the new dustshield can be replaced.
14. Now you need to slide the axles back into the housing carefully not to knock out the bearings and replace the u-washers, the pinion shaft and the pinion shaft bolt. Check to see if the rear axle seal needs to be replaced, this may or may not need tube done, but is recommended. Make sure everything is placed back the way it came out. The old gasket and sealant needs to be scrapped completely from the differential housing and cover. A new gasket needs to be placed on the cover with a small bead of RTV sealant before replacing the cover. Tighten the bolts evenly.
15. After this the anti-lock speed sensor can be placed back into its hole on the bracket. After placing a small amount of anti-seize on the back of the rotors, the rotors can be placed on the axle. The new caliper can be also installed and bolted down with the old bolts.
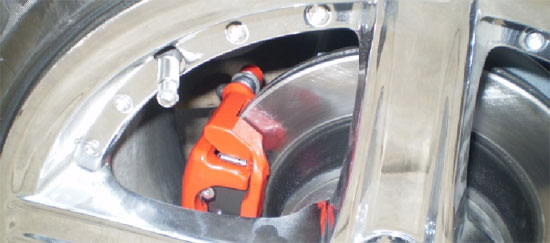
16. At this point the brake lines can be reattached to the back of the caliper. The parking brake can also be reattached to the bottom of the caliper. Recheck that all connections are tight on the front and the rear brake set ups. Fill the brake fluid reservoir with the required DOT 3 or 4 fluid. Also the rear differential needs to be filled with the proper fluid through the value in the front side of the differential.
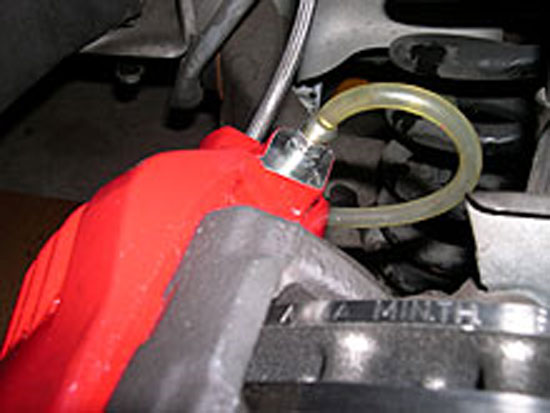
17. Bleeding the brakes takes two or more people. Also it must be done in the following order: Right Rear Left Rear Right Front Left Front. Start by connecting the hose to the bleeder valve. Have one person pump the brakes several times until the pressure builds up. Then hold the brake pedal in and using a wrench, crack open the bleeder value for about a second until air/fluid starts coming out of the hose. You will need to do this several times until when the bleeder value is opened and only brake fluid comes out of the caliper. Do this for all the calipers.
18. Once all the brakes have been properly bleed, the wheels can be been placed back on the car and the car lowered. Reattach the battery and start the car. Test to see if the brakes appear to be working. Then take the car for a short/slow drive around the neighborhood and check to test the pressure of the brakes. Make sure they appear to be working and that the brake pedal feels okay. If anything feels wrong, bring the car back and re-bleed the brakes.
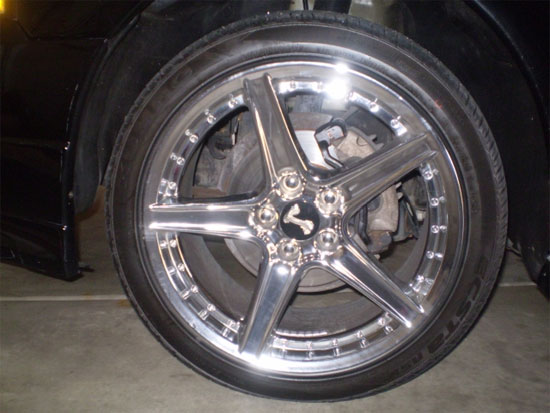
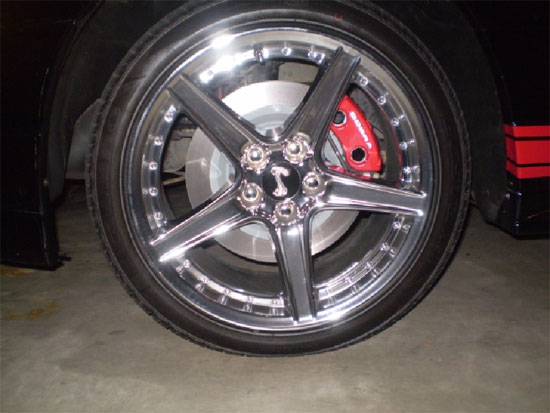
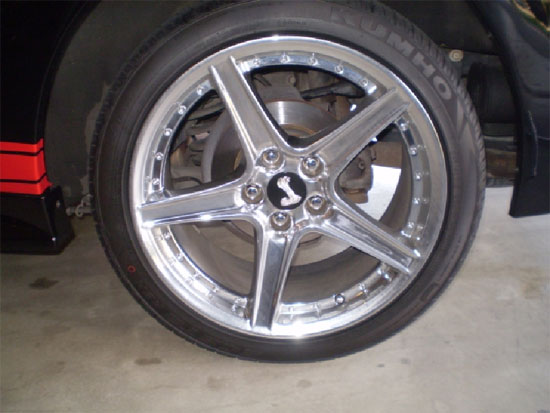
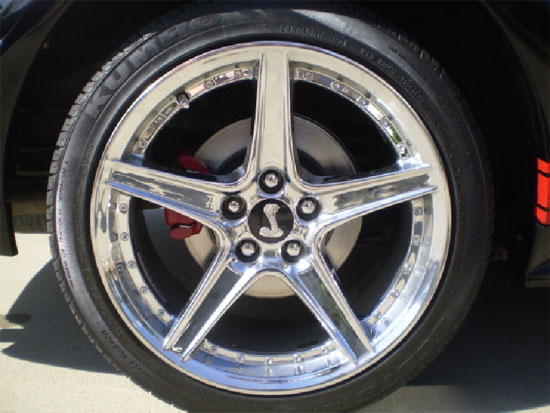
19. The installation is now complete. Enjoy the great stopping power and awesome looks!
Installation instructions provided by AmericanMuscle customer David Van Dyke 11.4.08

