Guaranteed 12/24 Delivery Still Available see item page for details! available on most items - Details
How to Install Ford Racing Heat Range 0 Spark Plugs on you 2011-2012 GT Mustang
Installation Time
2 hours
Tools Required
- 8mm Socket
- 14mm Socket (if Strut Tower Brace exists)
- 5/16" Socket
- Spark Plug Socket
- Long Extension
- Ratchet
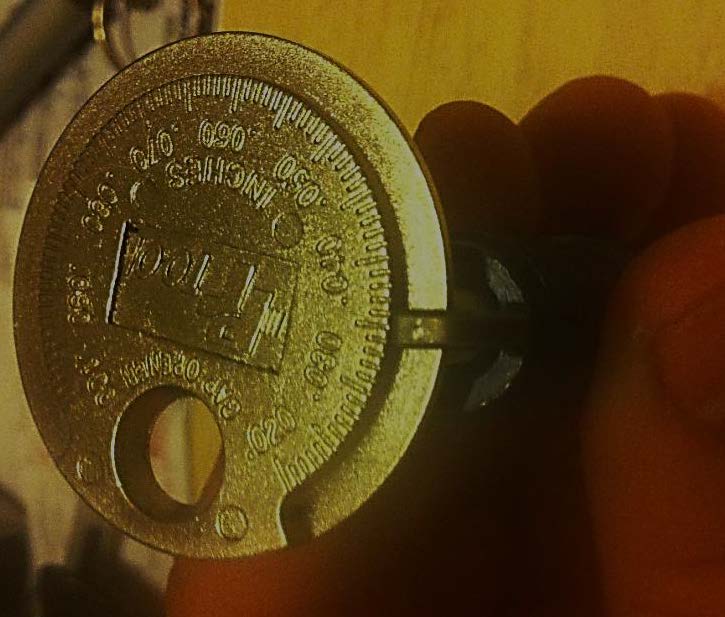
- Spark Plug Gap Tool
- Boot Protector/Anti Seize
- Torque Wrench (if available)
- Compressed air (if available)

Shop Parts in this Guide
Installation
Installation Instructions:
1. Gap all (8) spark plugs to the proper gap. (For Nitrous, Supercharged, or Turbo Mustangs the gap is .035)
2. Disconnect the negative power cable from the battery and the positive cable from the battery. Use the 8mm socket ratchet or wrench to loosen the strap holding down the battery. Remove battery and place in a safe location that is not on the floor.
3. Ensure that the engine is cool for the installation of the new plugs.
4. Use the 14mm socket to remove the strut tower brace (if installed).
5. Starting on the passenger side, disconnect the PCV valve hose and remove the oil cap.
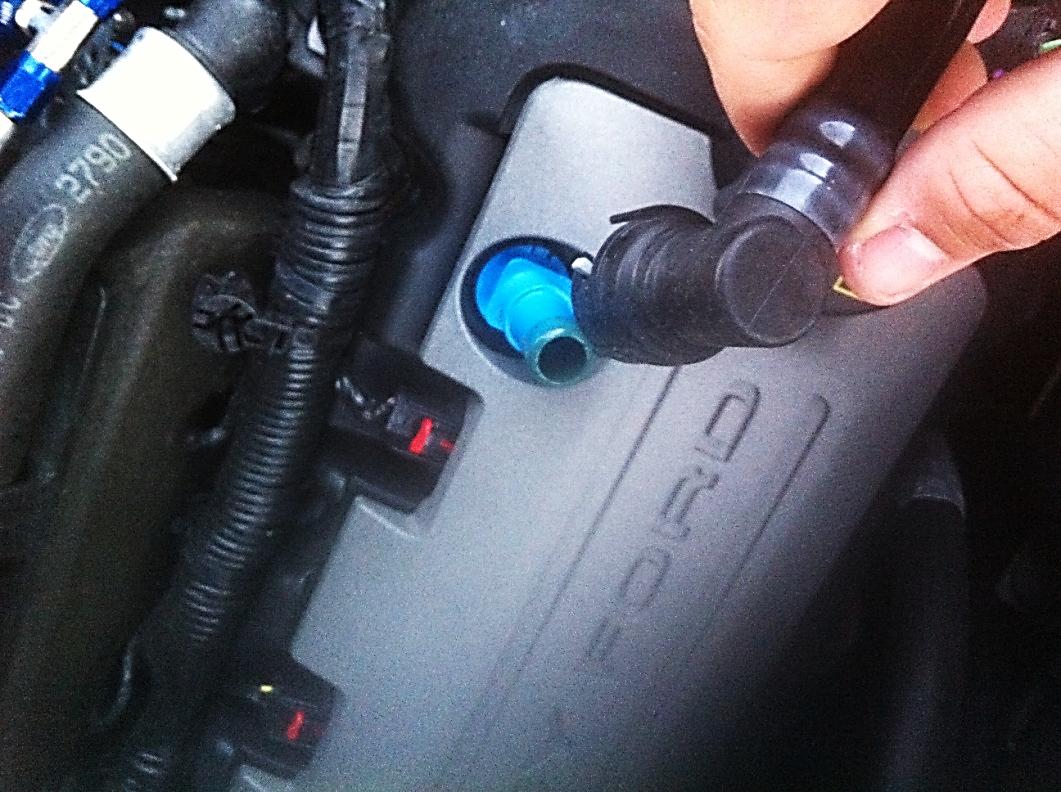
6. Remove the Spark Plug Cover by simply pulling off.
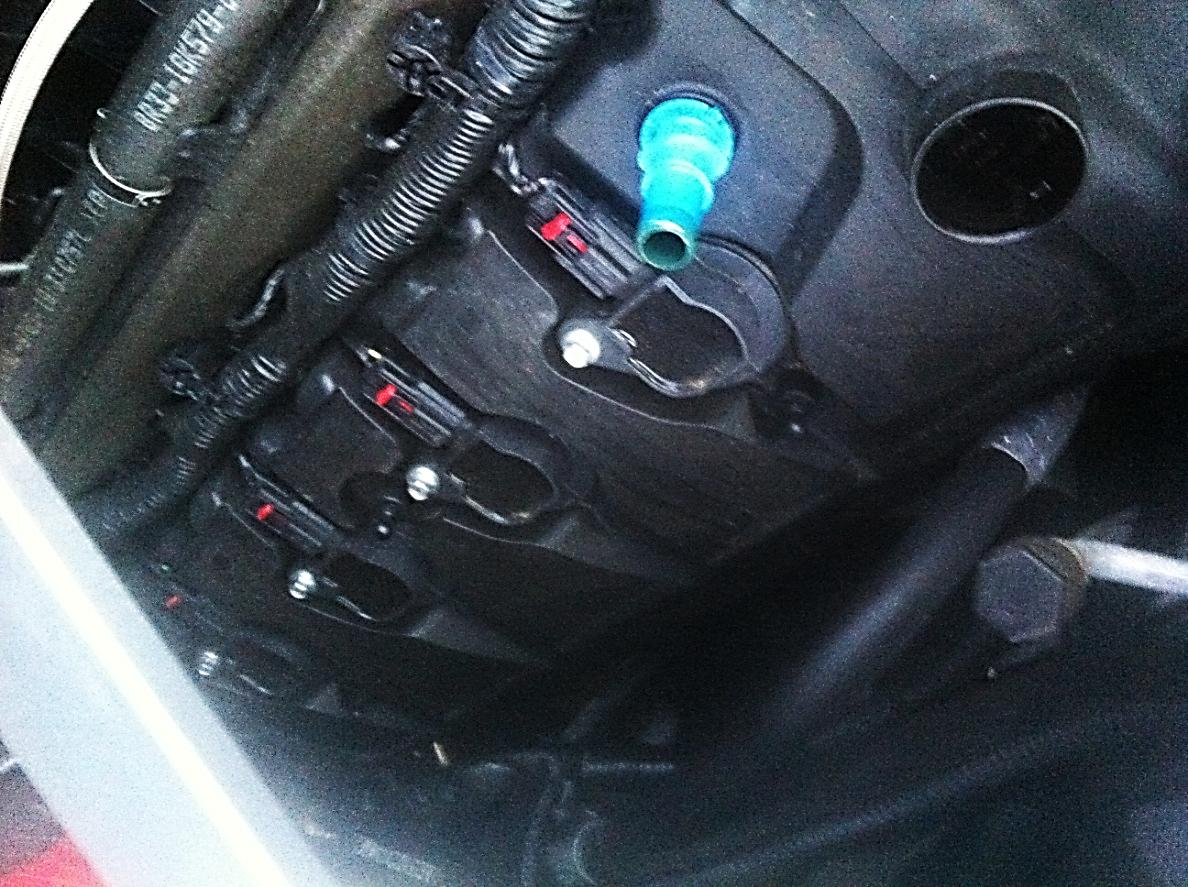
7. Remove the 5/16” bolt holding down the coil and then remove the coil. Check coil to make sure there are no tears, no burn marks, or oil on them. This would also be a good time to upgrade your coils.
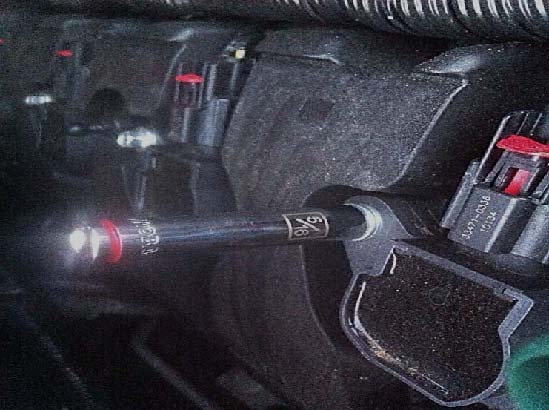
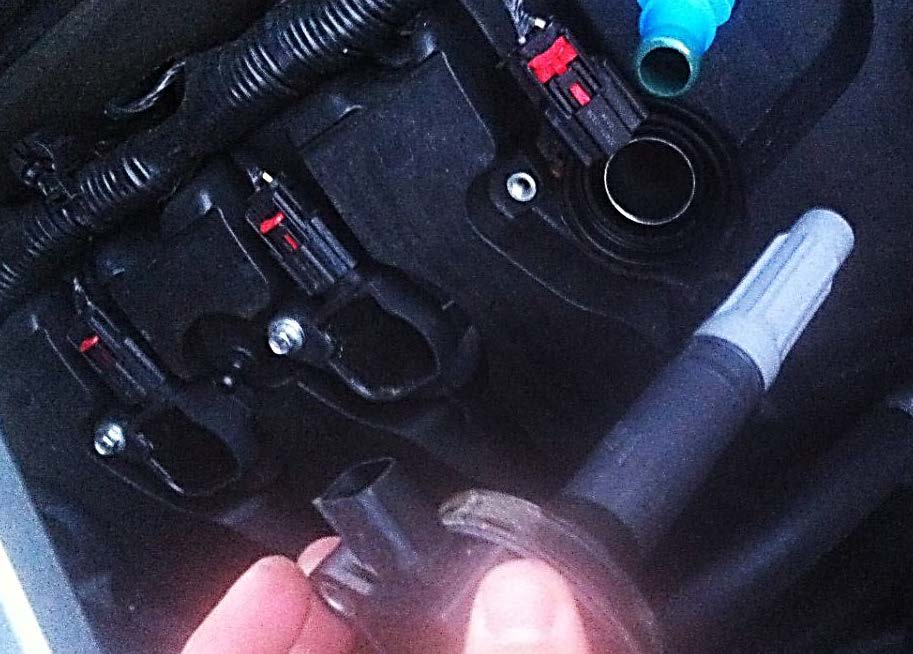
8. Clean any and all debris from around the spark plug prior to removal using compressed air or similar.
9. Using the long extension and spark plug socket, remove the old spark plug. Inspect the spark plug for damage.
10. Put some spark plug Boot Protector/Anti Seize on the new plug prior to installation.
11. Install the new spark plug hand tight. Then torque down to factory specifications. If a torque wrench isn’t available, hand-tighten an additional 1/8 of a turn to ensure they are snug. Make sure they are snug, but not too tight.
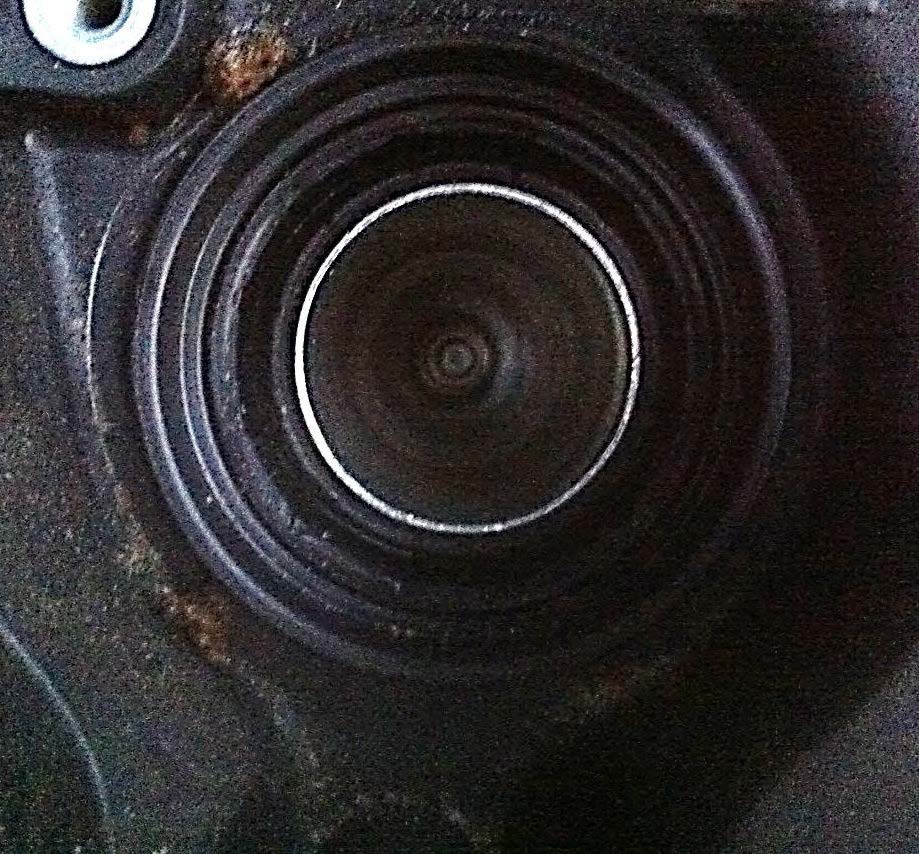
12. Reinstall the coil onto the spark plug, ensuring it has seated completely. Reinstall the 5/16” coil bolt.
13. Repeat the steps for the rest of the spark plugs.
NOTE: For spark plug # 7 (rear of the passenger side), battery removal is necessary for access. For Spark plug #4 (driver side second to the front), Strut Tower Brace removal is needed for access.
14. Reinstall coil cover.
15. Reattach the PCV hose.
16. Reinstall Strut Tower Brace and battery.
17. Reconnect the negative and positive power cables to the battery.
Installation Instructions written by AmericanMuscle customer Ricardo Iglesias 4.4.2012
