 FREE 1 to 3-Day Delivery on Orders $149+ Details
Mustang Hatch Support Strut - LH/RH ('79-'93) - Installation Instructions
Installation Time
60 minutes
Tools Required
- Needle Nose Pliers
- Eye Glass Flat Head Screw Driver or other Small Flat Head Screw Driver
- Rag or Paper Towels
- Rubbing Alcohol (Optional)
- WD-40 (Optional but recommended)
- Broom Handle or Other Way of Holding the Hatch Up (Required)
Installation
1. The first step is to prop open your hatch with an old broom handle, you can also put a towel around the top if you want to prevent scratching the under-side of your hatch.
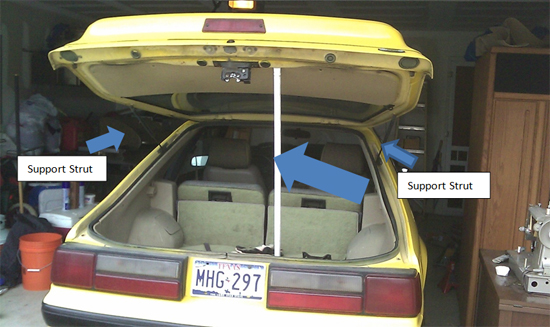
2. Now that the hatch is securely supported you can work freely underneath it. The supports are located on either side of the hatch held in place by a little medal clip. I found it easiest to work a little eyeglass flat head screw driver underneath one edge of the clip and to wiggle it around until it is about 2mm above the support strut. You should also start with the top of the support strut to make the bottom easier.
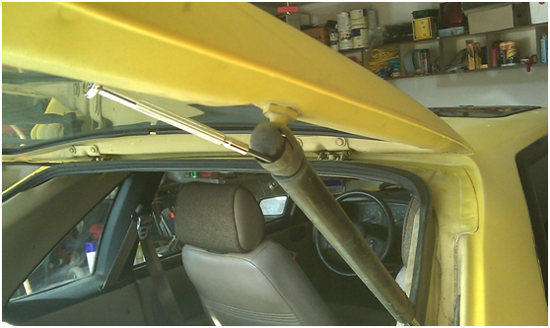
3. After the clip is out, wiggle the strut so that it gets disconnected to the ball that the clip was holding. Now you have one end of the strut off, copy the above for the other side as well before we move onto the second connection.
4. Now we’ll begin working on the second connection, you may wish to clean the end of the strut if it is dirty so you can see the clip more clearly. Since this clip is sideways against the sheet metal it is a lot more difficult to remove it. I found that it was easier to work the screw driver into one side of the clip and completely pull it out of its housing.
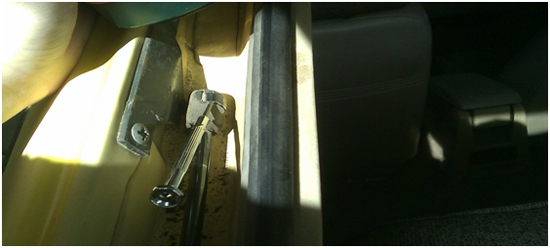
5. Now take your Needle Nose Pliers and pry that little clip all of the way out, you can now jiggle and maneuver the strut away from the ball holding it in place, now do the same for the other side and you should almost be ready to install your new struts.
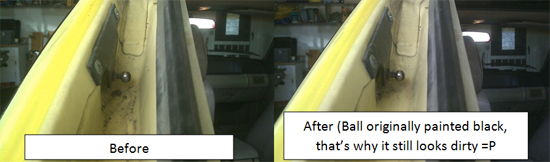
6. What I did next was take the cloth and wet it with rubbing alcohol to clean the balls that hold the supports down. This will cut down on friction between the ball and the new struts therefore not wearing it out as quick.
7. Now we can start installing the new struts, begin with the bottom ball that’s mounted on the car itself, make sure you put the exposed metal strut towards this ball, the housing goes up by the hatch. You may also need to pull the clip out on these if you cannot wiggle it into place, which will make it slide in much easier. Just make sure you DO NOT bend this clip. After the strut is in place, take some WD-40 and apply it to the exposed metal strut, this will help it glide up and down easier.
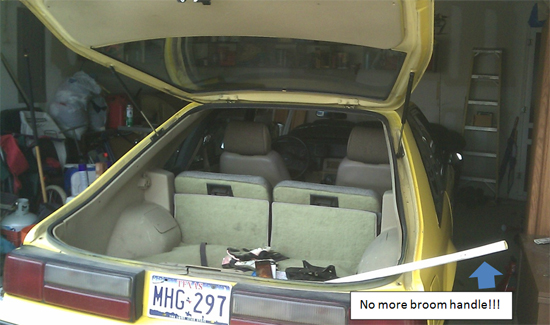
8. And that’s it!! You’re finished; give yourself a pat on the back and put that broom back together, you will not need it anymore!!
Installation instructions provided by AmericanMuscle customer Kyle Baumgard 2.25.10
Related Guides
-
Installation
-
Installation
-
Installation
