 FREE 1 to 3-Day Delivery on Orders $149+ Details
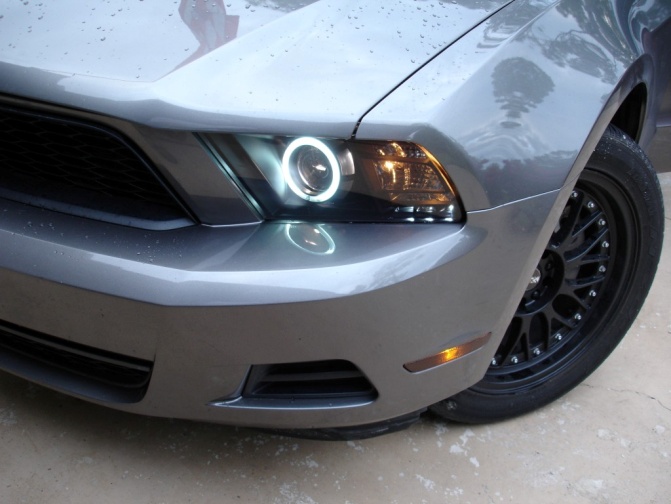
How to Install a Raxiom Smoked Projector Headlights on your 2010-2012 GT, V6 Mustang
Installation Time
1 hours
Tools Required
- 7, 8, 10mm sockets and handles
- Needle nose pliers
- Scissors
- Flat head screwdriver
- Phillips screwdriver
- Towel or blanket
Installation

1. Park on a clean dry surface that you can work on. Place the key in the ignition and unlock the steering wheel then turn the wheel fully to one side and lock into that position by removing the key.
2. Remove the (2) front 7mm bolts from the passenger and driver side, front wheel splash guards. These screws will release the front bumper from that secure point, but nothing will be removed.
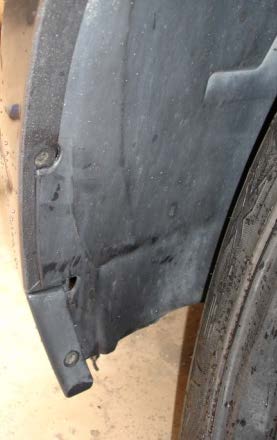
3. Lay a towel or blanket underneath and parallel to the front bumper. Lay on your back facing up and remove the (4) 7mm bolts from under the front of the bumper which attaches to the black plastic splash guard. Nothing will be completely freed at this time, but this will release the bumper from underneath.
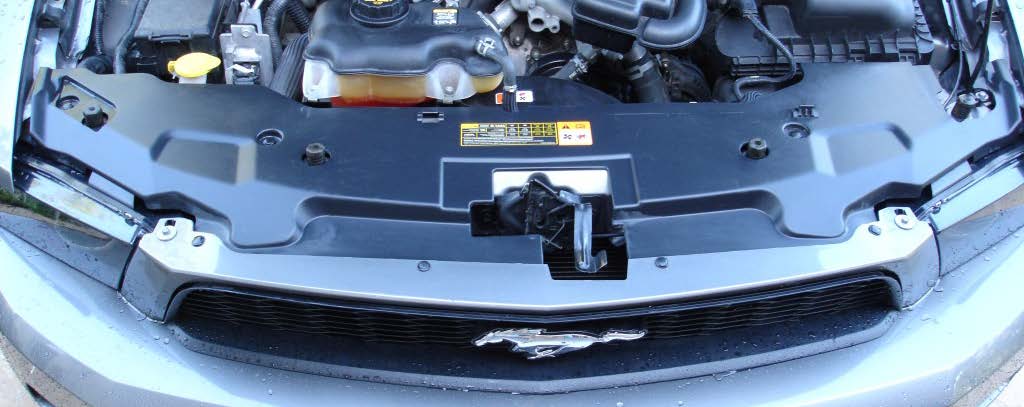
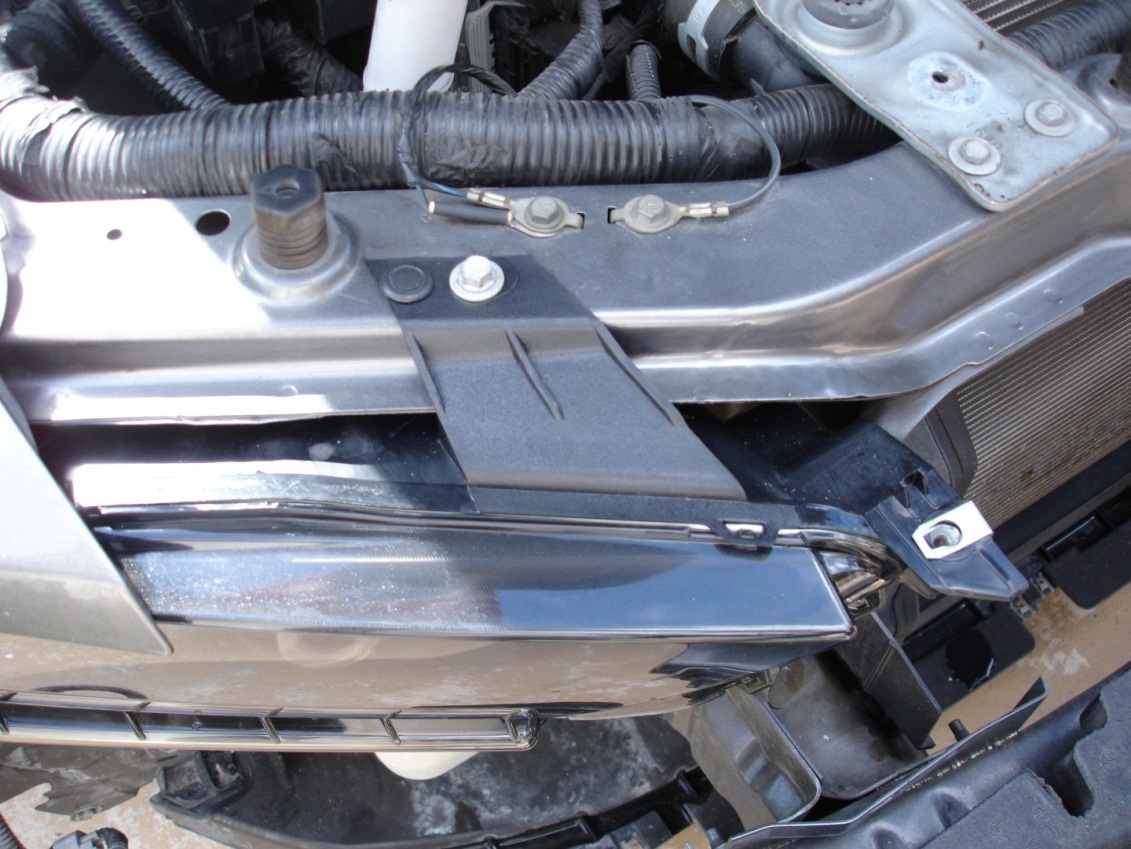
4. Using a flat head screwdriver and/or needle nose pliers remove the (8) plastic retaining clips holding the plastic radiator cover in place. Lift the plastic radiator cover off and set aside.
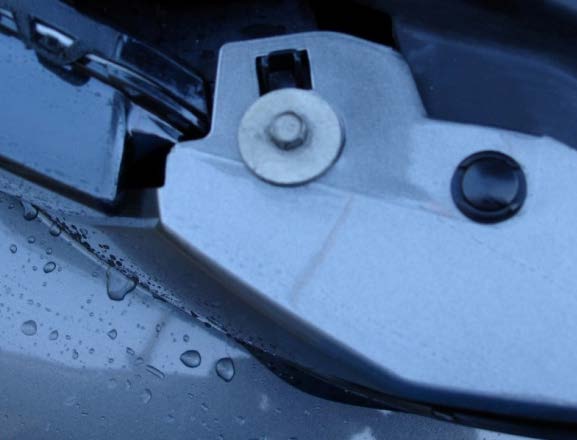
5. Remove the (2) 8mm bolts attaching the bumper cover up top. The bumper is still held on by the plastic tabs directly above these bolts. Leave the bumper hanging on these tabs at this time as this will prevent the bumper from dropping.
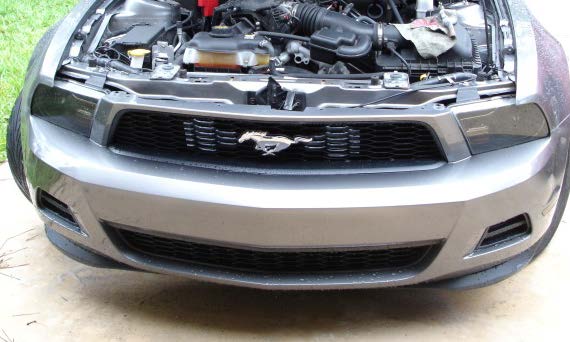
6. Carefully grab and pull the upper corner edge of the bumper next to the wheel well. The bumper is snapped into place here and will pop loose with moderate pressure forward. Work the bumper free, but leave it hanging in place.
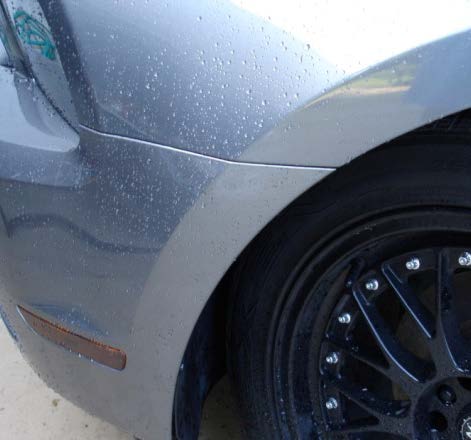
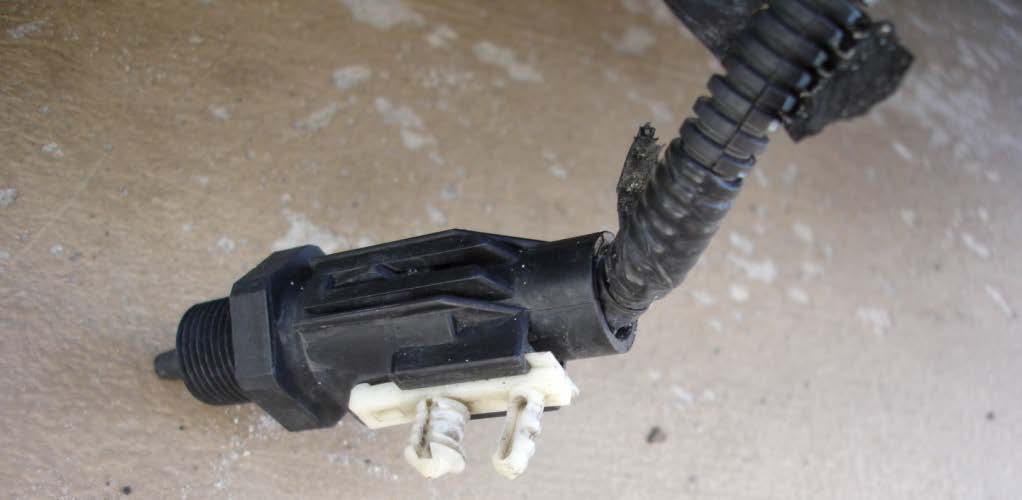
7. Reach behind the bumper and twist the parking light base 90° to release the bulb from the bumper.
8. Repeat steps 6&7 on the other side and once the bumper is released and clear walk in front of the center of the bumper.
9. Carefully lift the bumper up while tilting slightly to clear the plastic tabs which were holding the bumper in place. Gently set the bumper down onto the blanket or towel.
10. Disconnect the temperature sensor from the bumper mount located on the inside of the bumper between center and the driver's side. Now that the bumper is free you can move it to another safe location.
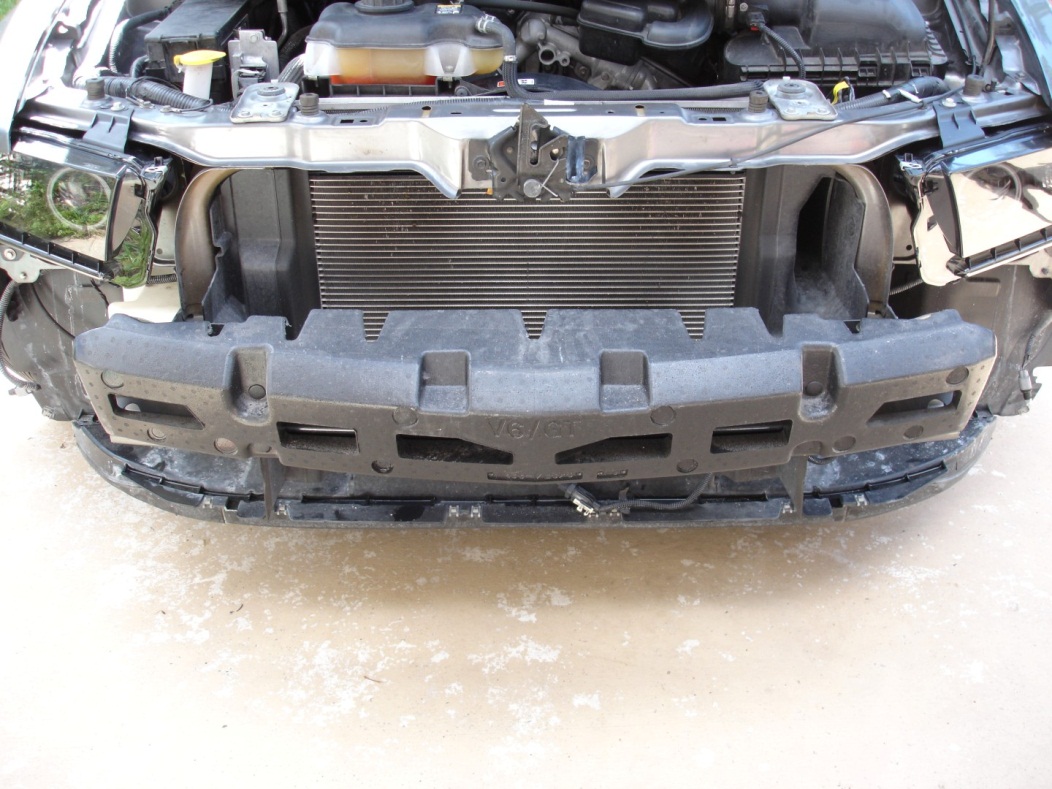
11. There are (3) 10mm bolts securing each headlight. Remove the bottom (2) bolts and then the top bolt from one of the headlights. The headlight is still held in place by a plastic clip which can now be removed with a screwdriver while using your other hand to keep it held up.
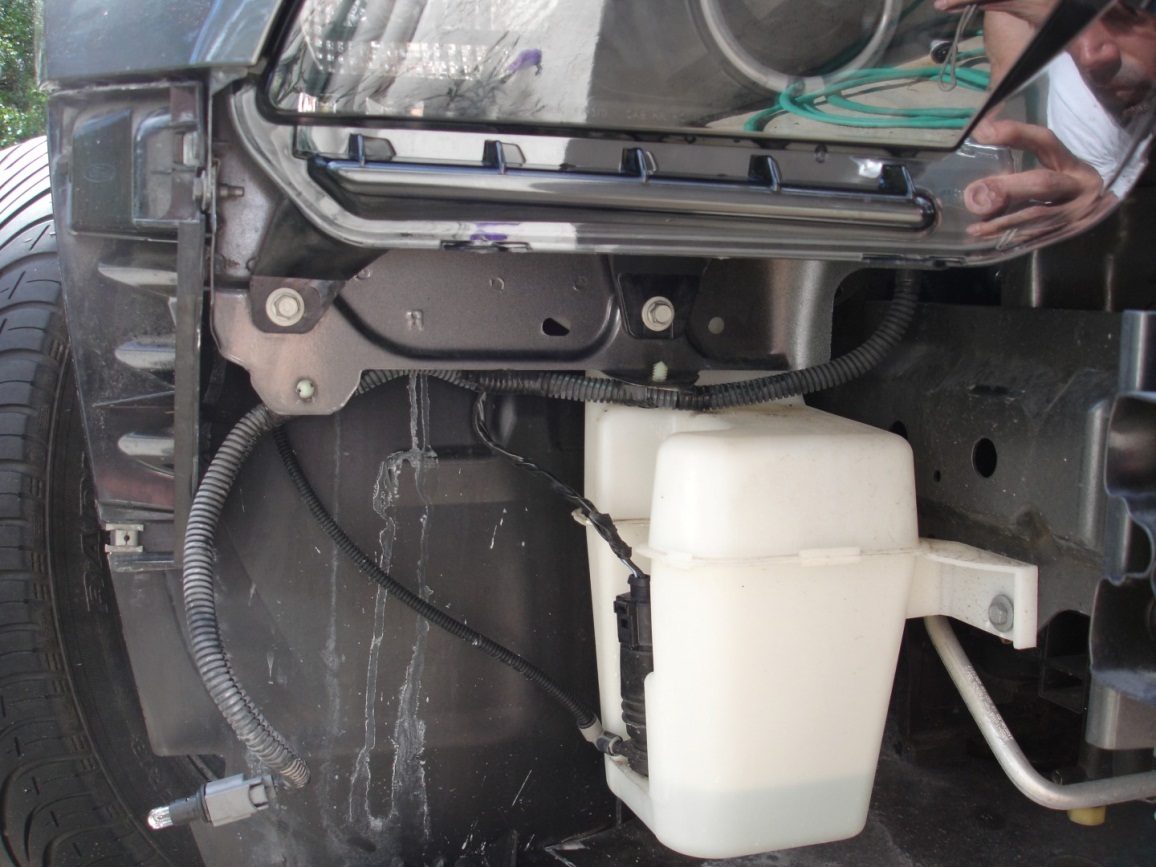
12. After removing the headlight from its attachment position, twist the bulb sockets to release them from the headlight and set the headlight aside. Disconnect the stock headlight bulb at the harness connector and set aside. If your state law requires or you prefer, remove the stock clear turn signal bulb and replace with the supplied amber bulb. Repeat this step with the other headlight.
13. In the front of your car Lay the replacement headlight onto the towel or prop onto something like a box and extend the black and red wires fully.
14. Slide the purple wire exiting the parking/turn signal bulb connector into the supplied splice connector side which is fully open.
15. Take the red wire from the replacement headlights CCFL ring, trim off the exposed copper wire.
16. Slide the end of the red wire into the side of the connector which is only open on one side. Hold the red wire inserted fully and squeeze the metal crimp down fully with pliers. Holding the connector, lightly pull on both wires to make sure they are secure. Close the plastic catch on the connector.

17. Repeat this process attaching the black wire from the headlight to the black/yellow wire from the parking light. Wrap the connections in electrical tape to secure and protect them.
18. Have the plastic clip which secures the headlight on top available. Lift the headlight up and connect the wire harnesses connector by squeezing and snapping them together.
19. Now slide the headlight into mounting position and pop in the plastic clip to hold the headlight in place while making sure the wires and rubber vent boots are clear from being pinched.
20. Repeat steps #13-19 with the other headlight.
21. Test the replacement headlights for turn signal, parking, low beam and high beam functionality. If everything works correctly finish securing the headlights with the bolts and reversing the above steps to secure the bumper back into place.
22. Congrats, you now have an awesome new look for your pony!
Projector Headlight Alignment (vertical adjustment only model)
Align the headlights in the dark by parking on a flat surface of 25' distance facing a flat wall following this procedure.
1. Using a 5/16" socket adjust the vertical turn screw using the top adjustment knobs clockwise (beam up) until they stop. Park so the headlights are within 2' of the wall and turn the headlights on. Mark the point of focus for the low beams for each headlight. Also, make a vertical mark on the wall where the centerline of the car is. These 3 locations should be marked on the wall with tape or chalk. Back the car so the headlights are 25' away from the wall.
2. Using a level place a horizontal line on the wall which measures 2 " lower than the point of focus marks.
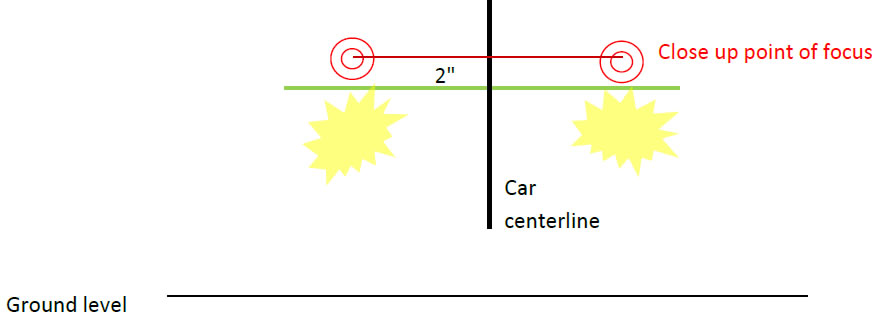
3. Parked with the headlights 25' from the wall turn the low beam headlights on and cover one side with a towel to leave only the beam being adjusted visible.
4. Using a 5/16" socket adjust the vertical turn screw counterclockwise (beam down) using the top adjustment knob until the top edge of the low beam is just under the point of focus minus 2" line. The adjusted beam should be positioned as shown above in yellow.
5. Repeat on other side.

