 FREE 1 to 3-Day Delivery on Orders $149+ Details
How To Install a Kirban Adjustable Fuel Pressure Regulator for your 1986-1993 Mustang 5.0L
Installation Time
1 hours
Tools Required
- 5/32 Allen Wrench
- 1/8 Allen Wrench
- High Pressure Fuel Gauge
- Pliers
- Small Flat head Screwdriver
- Shop Towels or Rag
1. Locate the Schrader valve on your application. It looks similar to a tire valve stem. If you follow the fuel line from the injectors you will most likely locate it near the firewall or directly on the fuel rail. Using the small flat head screwdriver depress the center pin and relieve the fuel pressure in the fuel line. Using a shop towel or a rag over the area will catch any fuel that escapes.

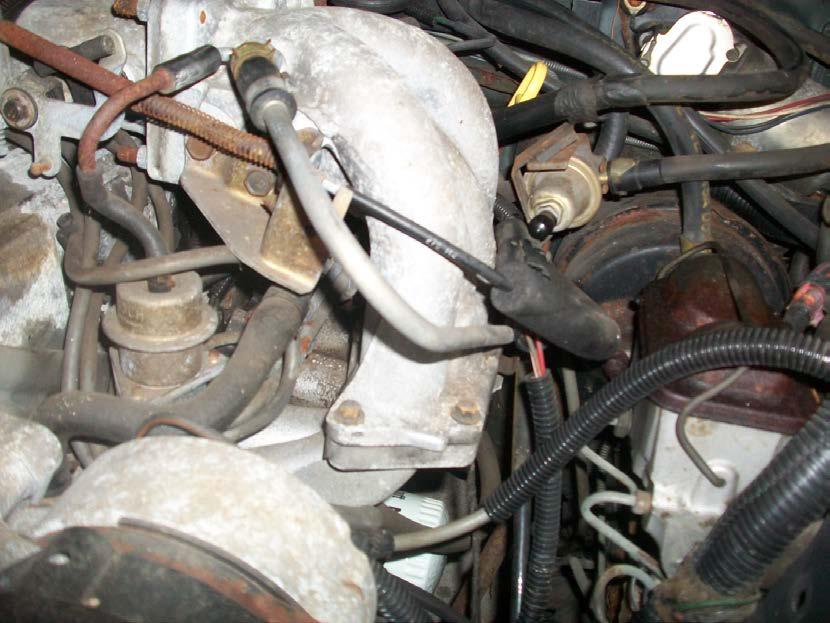
2. Locate the stock fuel pressure regulator. This will most likely be attached to the fuel rail. It will have small black vacuum line coming from the top. In this picture it is the brass colored item on the left near the intake runners.
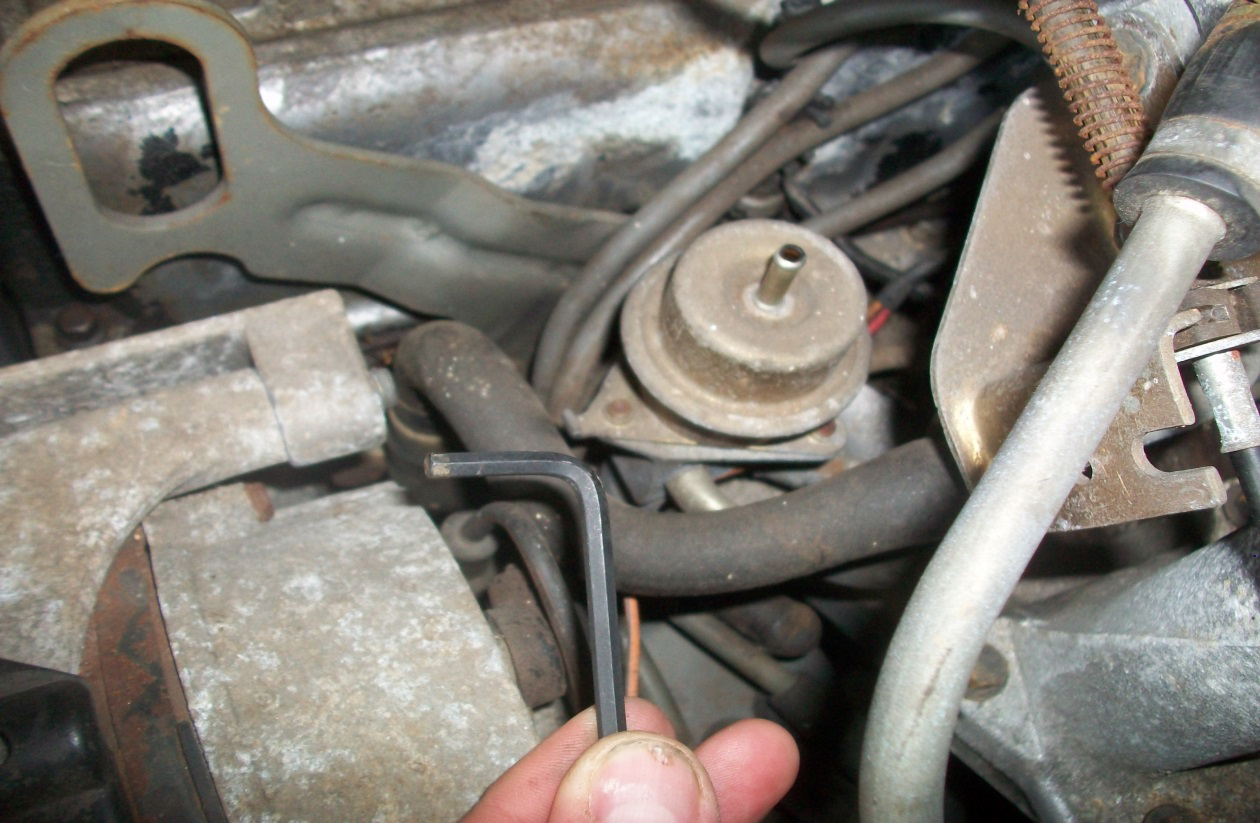
3. Using pliers, remove the retaining clip holding the vacuum line in place. The line runs from the intake to the regulator. You only need to remove the portion attached to the regulator. Inspect this vacuum line to make sure there are no cracks or signs of dry rot. Be sure to save the retaining clip.
4. Loosen and remove the three 10/32 socket head cap screws from underneath the regulator. Access to these bolts is limited but the short side of the 5/32 Allen wrench should work nicely.
5. Remove the regulator. Use another shop towel because as you remove the regulator any leftover fuel will escape from the old regulator.
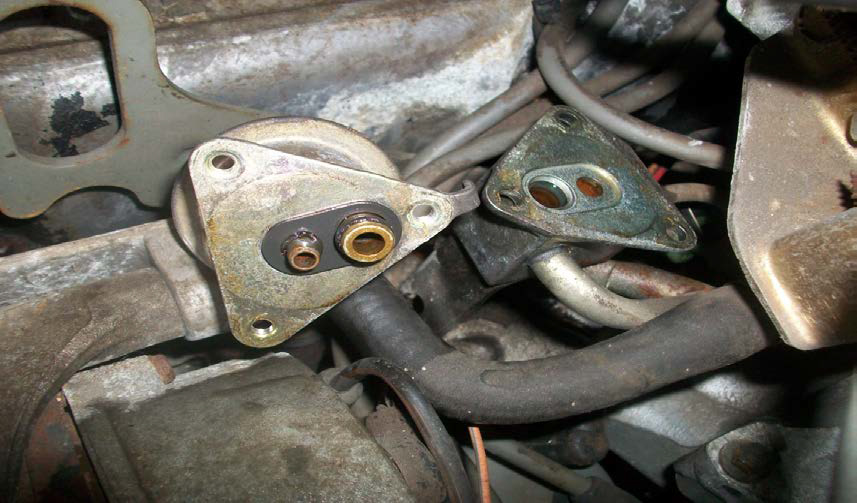
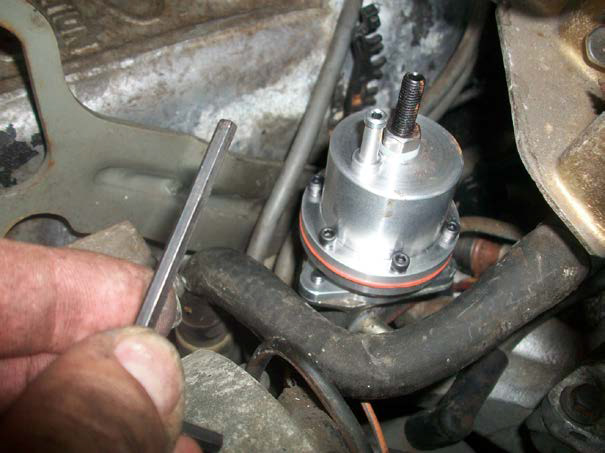
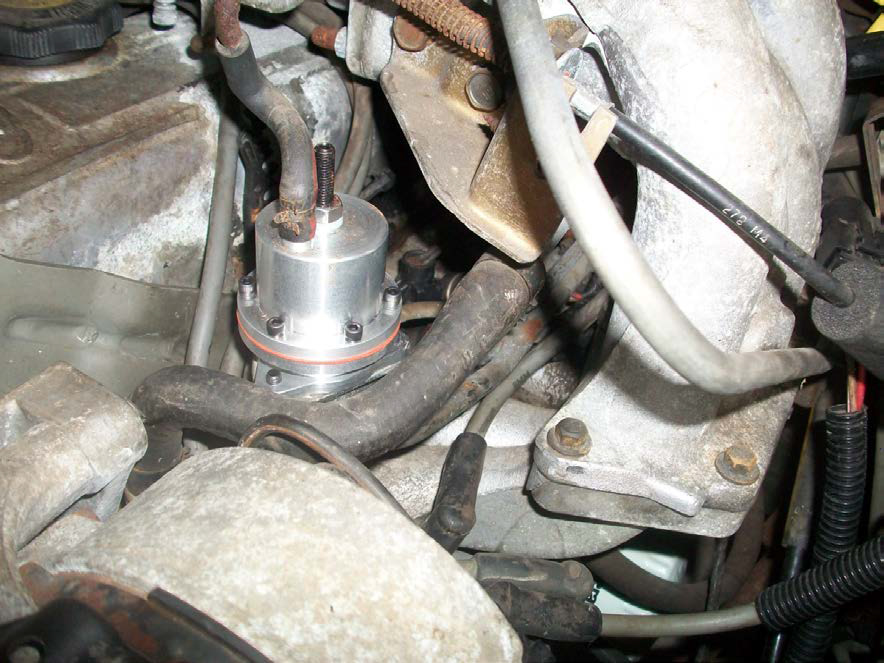
6. The adjustable regulator will be installed in the reverse order of the previous steps. Install the new regulator and use the new 10/32 socket head cap screws supplied by Kirban. Use the 5/32 Allen wrench to tighten and secure the three screws.
7. Turn the ignition several times to build fuel pressure back into the system. Check the new regulator for any leaks and to be sure the three screws are all tightened. If no leaks are found proceed to the next step. If leaks are found check to make sure the new regulator has been seated correctly. Ensure that no debris is lodged in between the mounting surfaces.
8. With the vacuum line still removed from the new regulator attach the high pressure fuel pressure gauge to the Schrader valve.
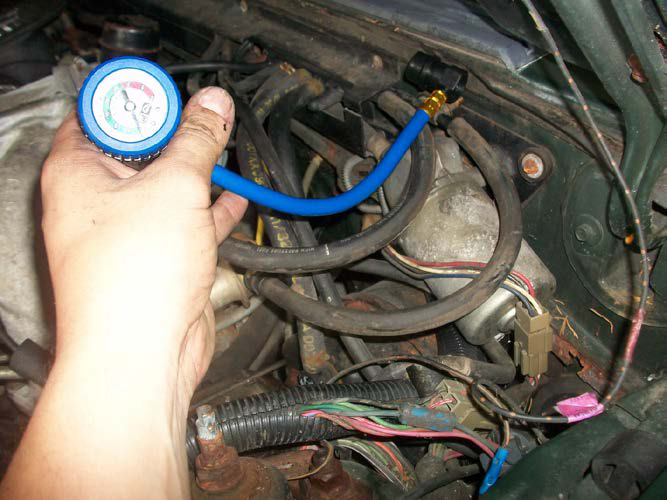
9. Start the vehicle. Using a 1/8 Allen wrench, adjust the fuel pressure to the factory setting of 43 PSI. Modified cars will require extra fuel pressure and stock cars usually respond better to slightly lower pressure. Fuel pressure in excess of 60 PSI is not recommended for street applications.
10. When the desired setting is reached you can hand tighten the silver lock nut on the adjustment screw to keep your setting. Reattach the vacuum line and use your pliers to secure the retaining clip. The fuel pressure should drop approximately 1 PSI for each PSI of vacuum.
11. Turn off ignition and remove fuel pressure gauge.
Installation Instructions written by AmericanMuscle Customer Nicholas Esposito 8.8.2013
