 FREE 1 to 3-Day Delivery on Orders $149+ Details
How To Install a KONI STR.T Rear Shock for your 1994-2004 GT, V6, Mach 1; 1994-1998 Cobra Mustang
Installation Time
2 hours
Tools Required
- Ratchet
- 15mm Deep Socket
- 18mm Wrench
- 19mm Deep Socket
- Impact Gun (optional)
Shop Parts in this Guide
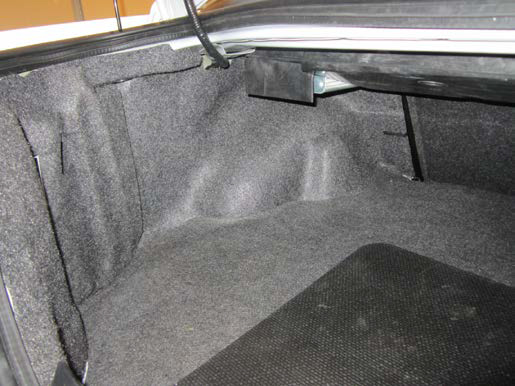
1. Before raising the rear of your vehicle first open your trunk and remove the trunk side panel to gain access to the top of the rear shock mount.
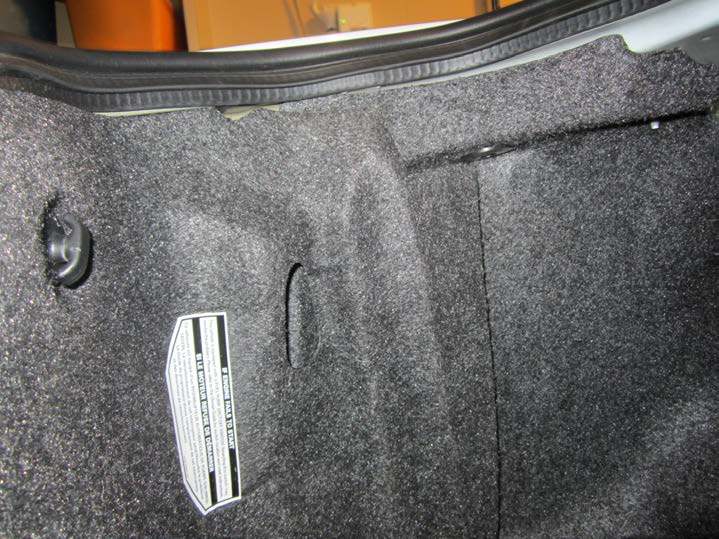
2. You will notice there is a metal clip that holds the panel to the back seat support, you can simply remove this by pulling it straight out, you also have to remove one twist on nut on the rear by the taillight as well as a push on nut on the top side shown in the picture.
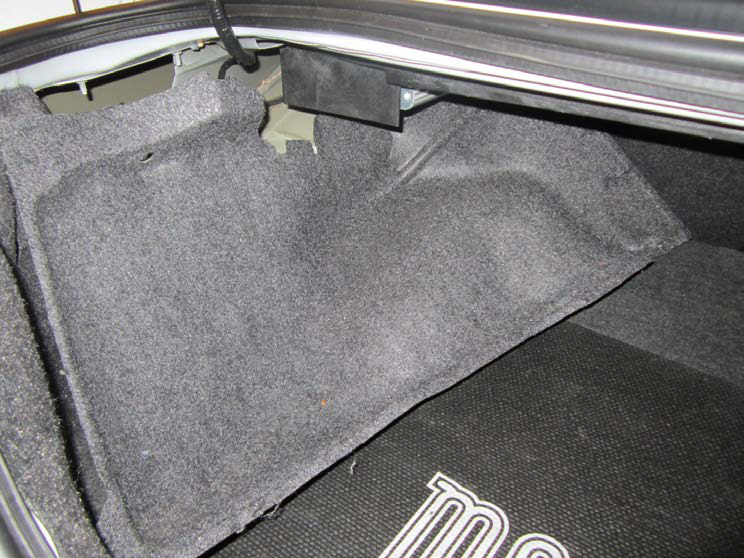
3. Once you have removed all the panel retainers you can start to wiggle the panel out of place, I found it easiest to slide the bottom of the panel out rather than the top. Once the panel is free, put it aside in a safe place.
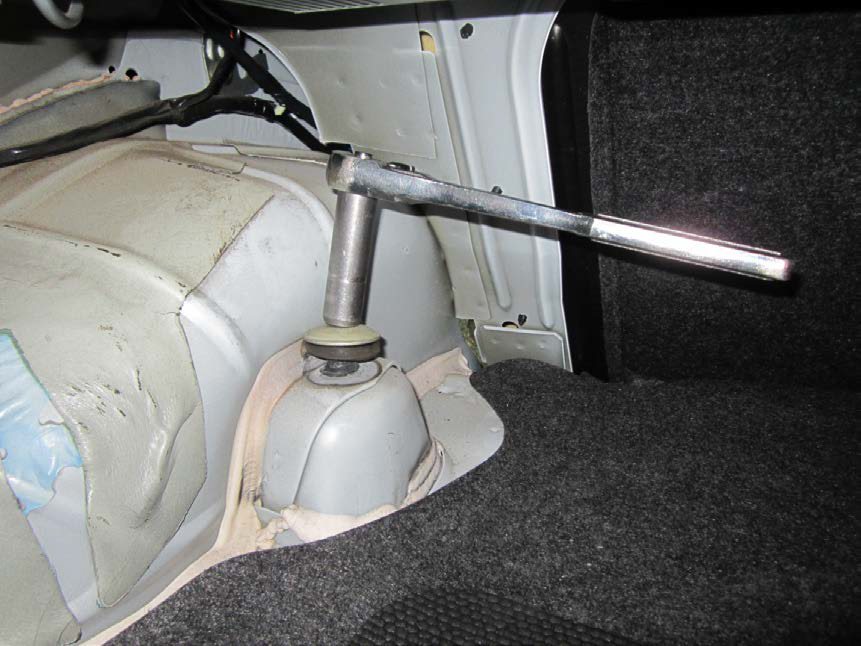
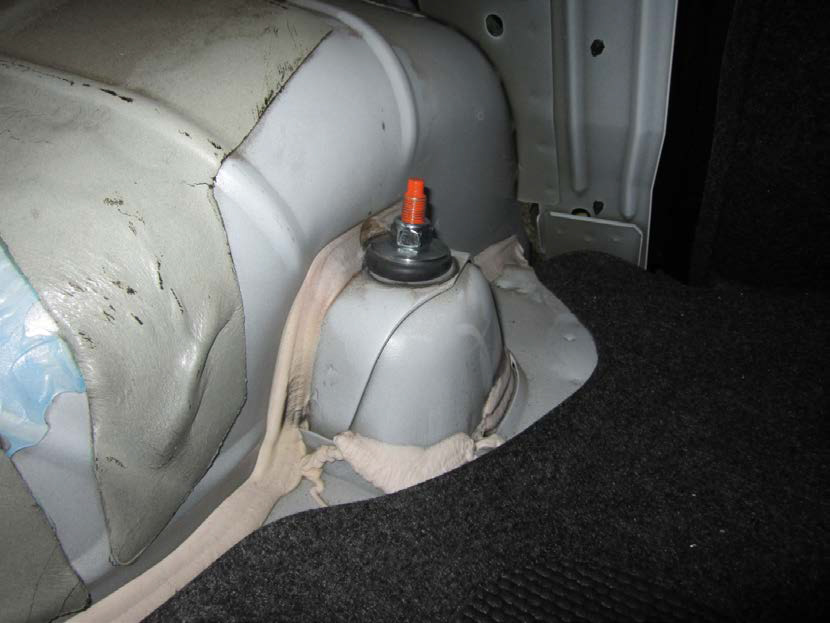
4. With the panel removed you can now see the top of your rear shock mount. You will need a 15mm deep socket to fit over the nut, It is much easier if you have an impact gun to remove this nut however it not completely necessary. Remove the nut.
5. With the nut removed it is time to jack up and the rear of the vehicle and support it on jack stands.
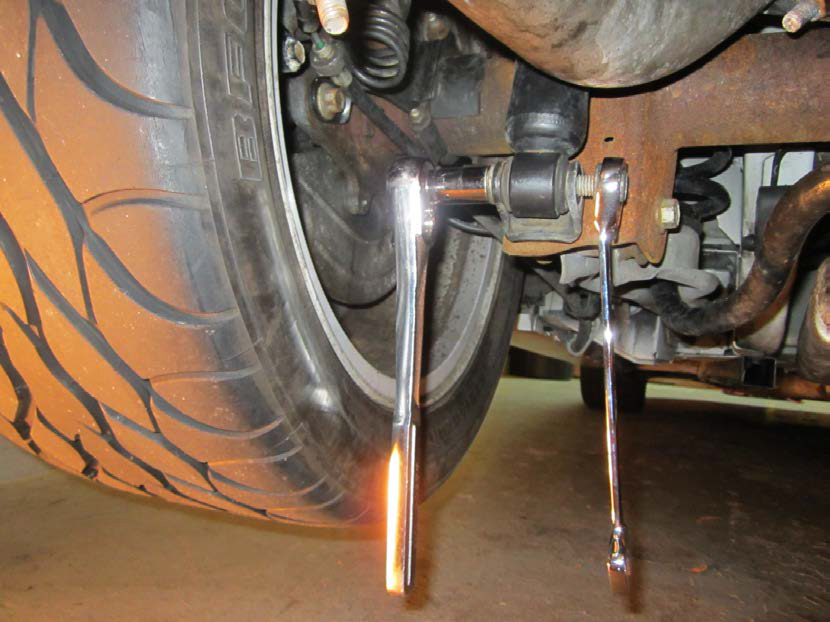
6. Working under the vehicle, take your 18mm wrench and place it over the nut on the bottom of the shock. Now take your 15mm socket and place it over the bolt on the bottom of the shock. Break the bolt loose and remove it. After the bolt is removed your shock may simply fall out or it may be stuck in the top of mount, if it does not fall out after the bolt removed, lightly tap the top of the shock with a mallet until it drops out.
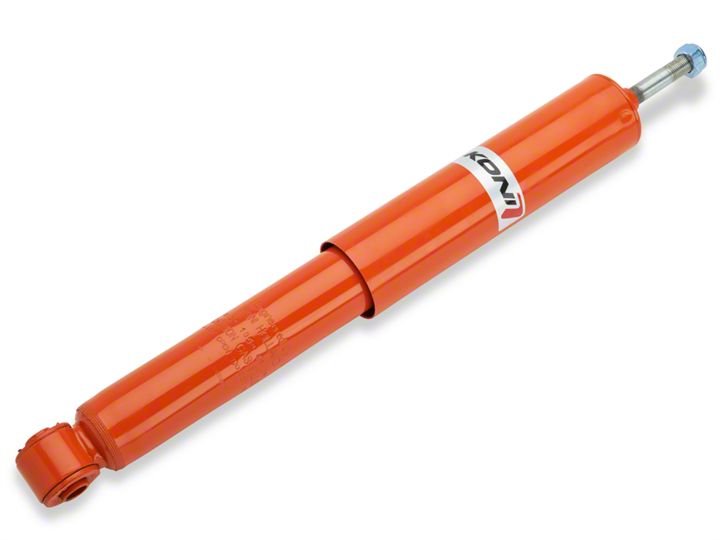
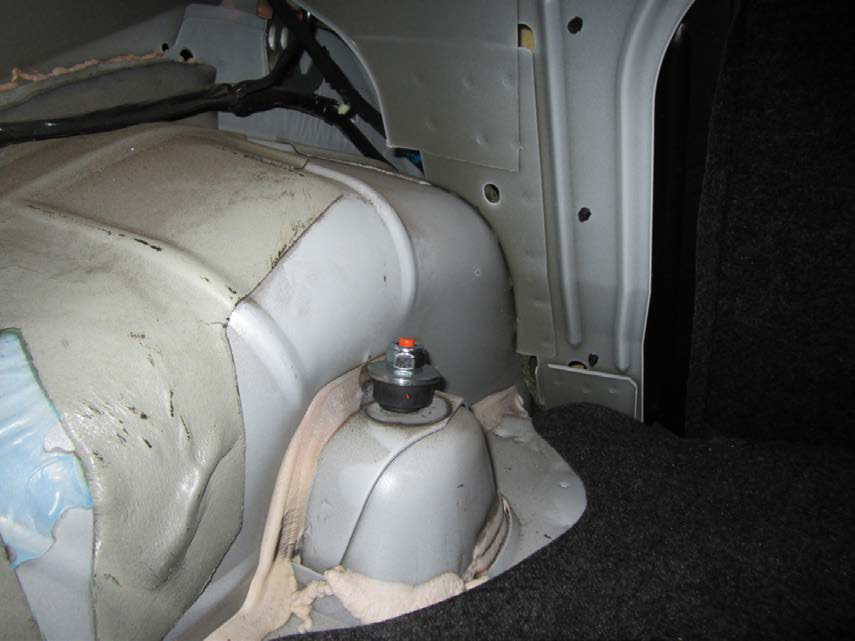
7. Now prepare your new Koni Shocks. This is how the bushing should look when installed on the car; the space in between bushings is where the body will sit.

8. Place your new Koni shock into the top shock mount and start the top shock nut first, but do not completely tighten this nut until later.
9. Working under the car again, reinstall the bolt and nut removed earlier with your 18mm wrench and 15mm socket. Fully tighten this bolt, then remove the jack and jack stands so the vehicle is flat on the ground.

10. Now you must fully tighten the top rear shock mount nut that was started earlier, again it is must easier to use an impact gun to do this however not completely necessary. Use your 19mm deep socket and fully tighten the nut down.
11. Your new Koni Shock is now completely installed; reinstall your truck panel by first sliding it into place than reinstalling all the retainers removed earlier. Push the clip back into place at the seat and the top of the trunk, then twist the retainer on by the taillight. Take your car for a drive and make sure everything feels right. Your Install is now complete!

Installation Instructions Written By AmericanMuscle Customer Anthony Bragg 1.2.2014

