Guaranteed 12/24 Delivery Still Available see item page for details! available on most items - Details
How to Install Krona Performance B.A.M.F. Downpipe - Catted on your Mustang
Installation Time
3 hours
Tools Required
- 7/8 Wrench
- 13mm wrench
- 13mm deep socket
- 13mm standard socket
- Large pliers or channel locks
- Long 3/8 extension
- 3/8 drive socket
- Anti-seize
- Spray lubricant
- Common Sense

www.kronaperformance.com
2015+ Ford Mustang Ecoboost Down Pipe B.A.M.F. Installation Guide
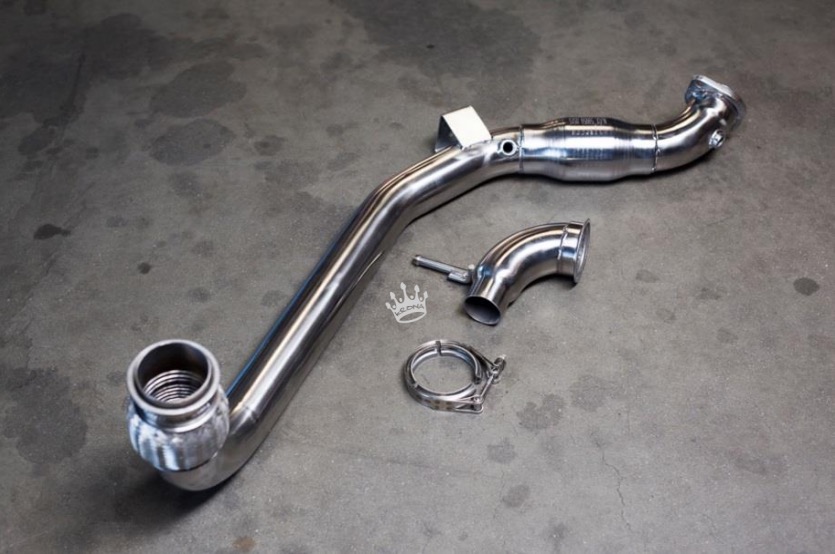
Included components:
Krona 3” downpipe (with or without catalyst)
Clampco 3” v-band clamp
Krona 3” to 2 ¼” factory cat back adapter elbow
Downpipe bracket hardware kit (bolts)
Disassembly and Removal
1. Place the vehicle in a secure location and allow the vehicle to cool. Support the vehicle high enough off the ground that you can work easily under the car (please be very diligent when supporting the vehicle, you will not be able to enjoy your new exhaust system if the car falls on your head).
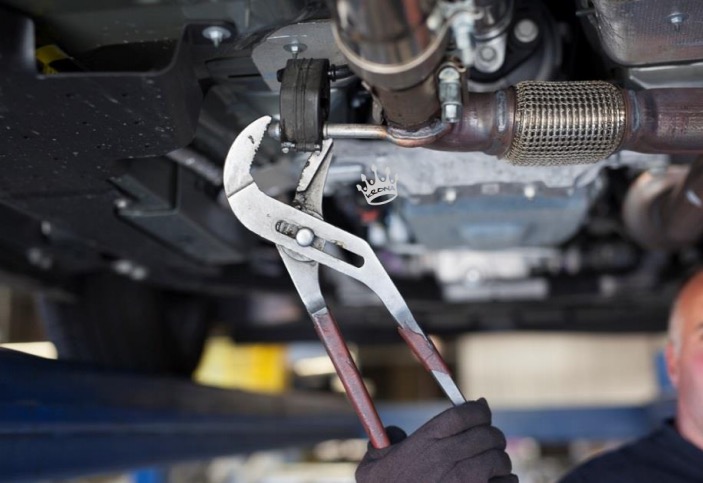
2. Once the vehicle is securely supported you may now loosen the factory band clamp (x2 15mm bolts) attaching the downpipe to the mid pipe/resonator. This is also a good time to remove the rubber exhaust hanger connecting the downpipe to the body of the vehicle. This is easily done with some spray lubricant and large channel locks or pliers. Use care to not damage the rubber hangar as you will be reusing it on your new Krona down pipe.
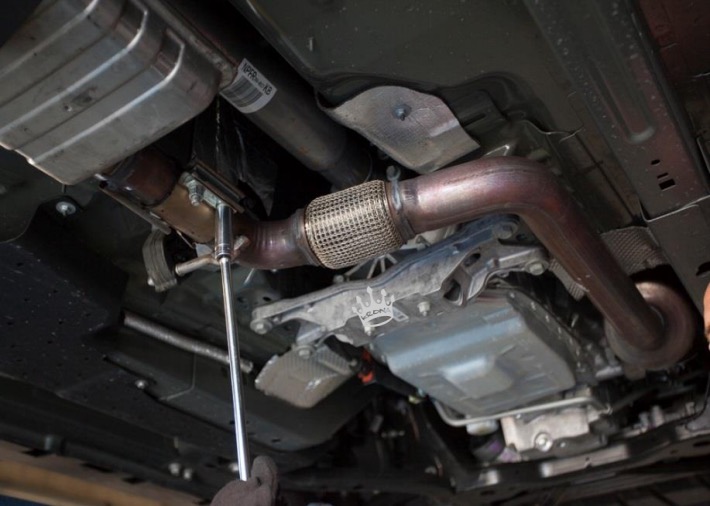
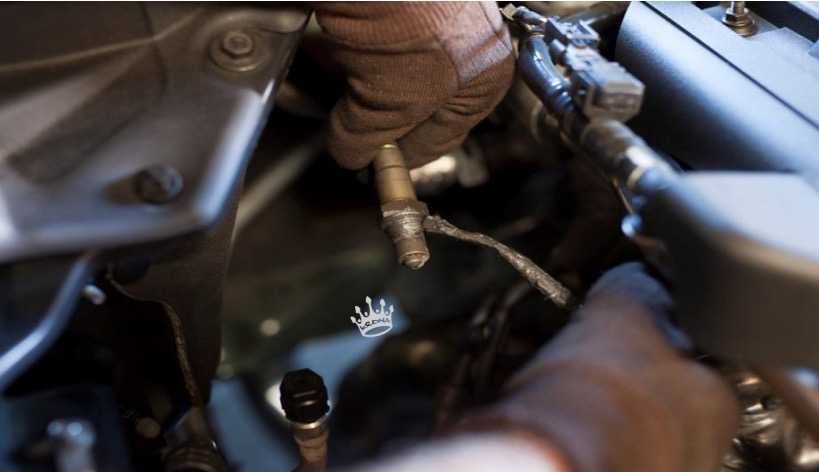
3. The secondary O2 sensor may now be unplugged and removed from under the car (7/8 wrench). This is best to unplug from the top of the vehicle.
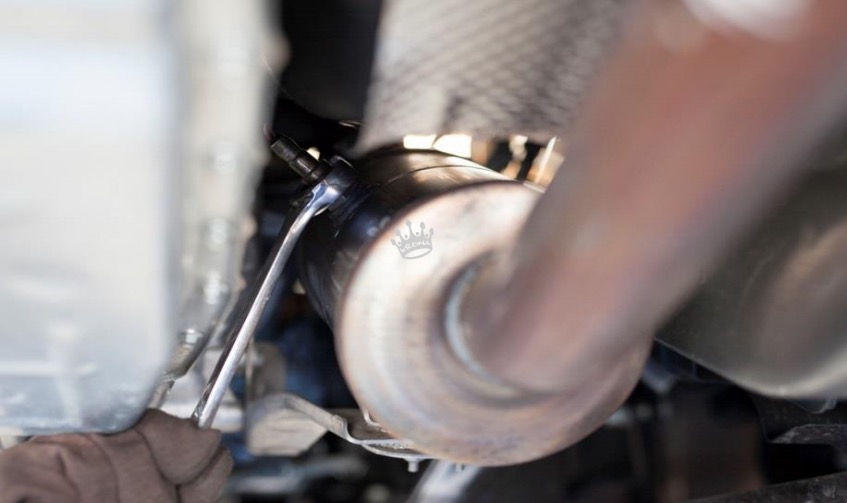
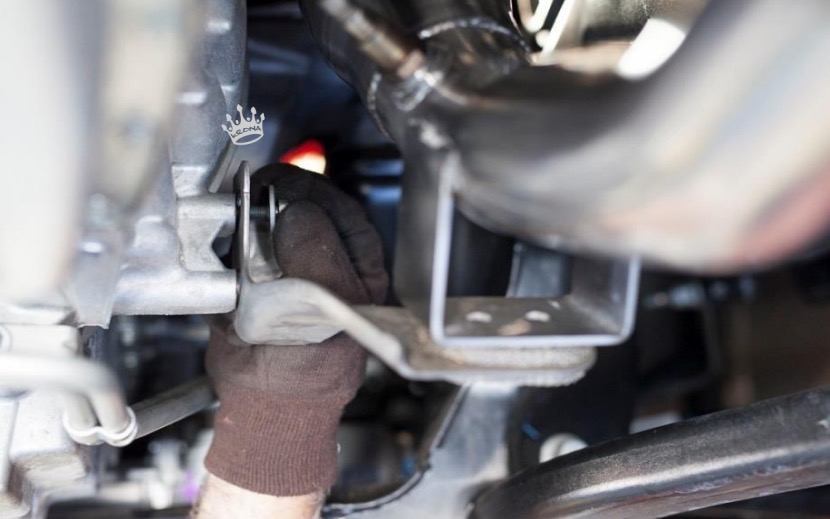
4. Next you may remove factory downpipe bracket holding it to the side of the transmission. (x2 13mm bolts) This is also an excellent time to remove the bracket from the factory downpipe (x2 13mm nuts).

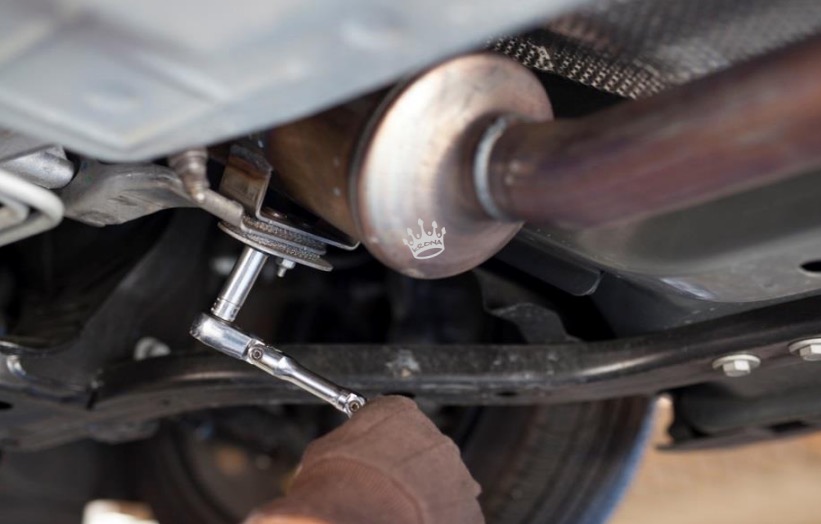
5. Now you may unplug and remove the primary O2 sensor from the top of the downpipe (7/8 wrench).
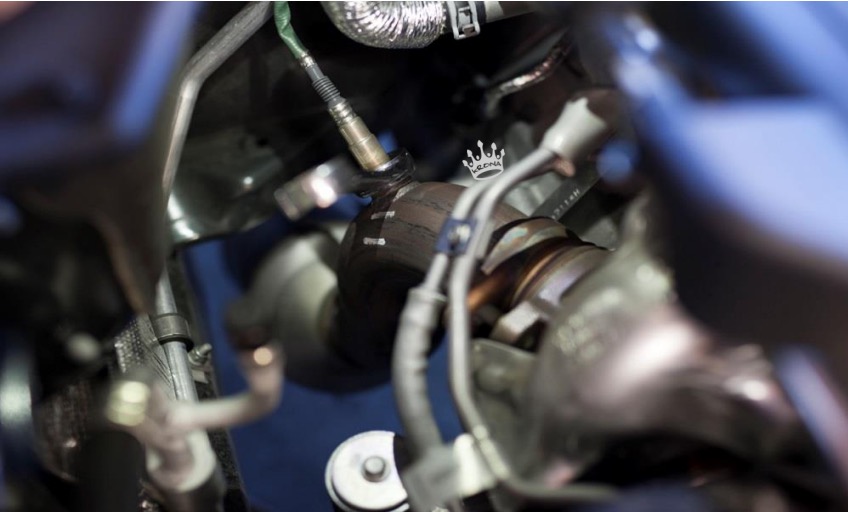
6. Your downpipe is almost ready to be removed. From the top of the vehicle you may now remove the two top turbo flange nuts using a 15mm deep wall socket or a 15mm wrench.
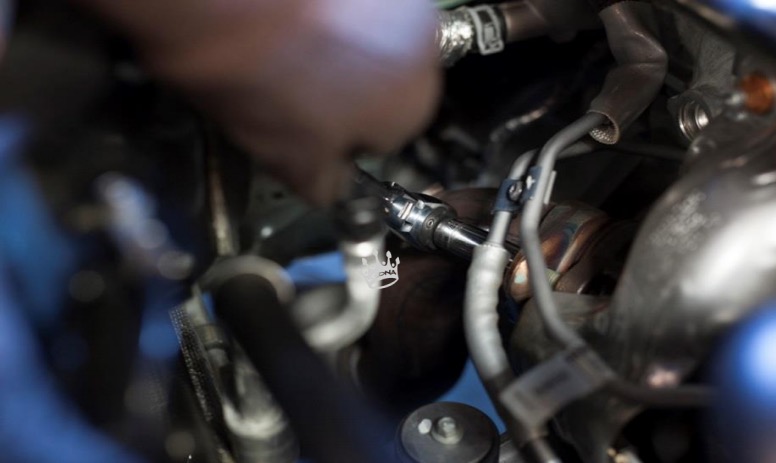
7. Moving back to the underside of the vehicle, you have one more turbo flange nut to remove using a 15mm deep socket and ratchet.
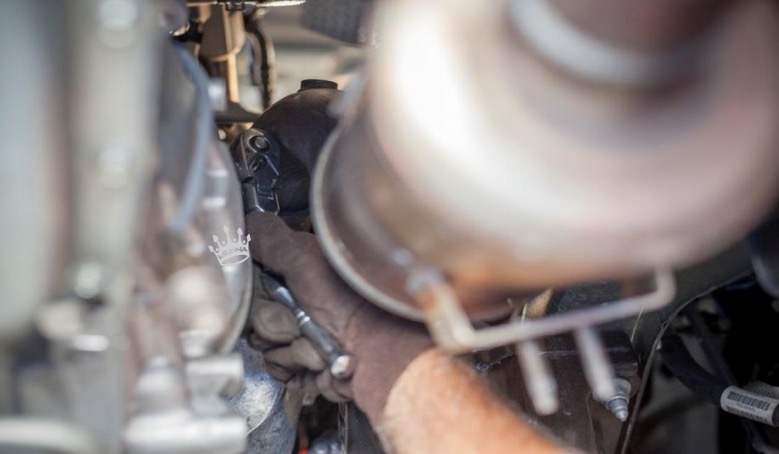
8. Everything is now loose and your factory downpipe is ready to be removed from the underside of the vehicle. Carefully slide the downpipe out of the connection with the mid pipe (this was loosed in step 2) by pulling the downpipe. It should be relatively easy to slide free.
Installing Your New Downpipe
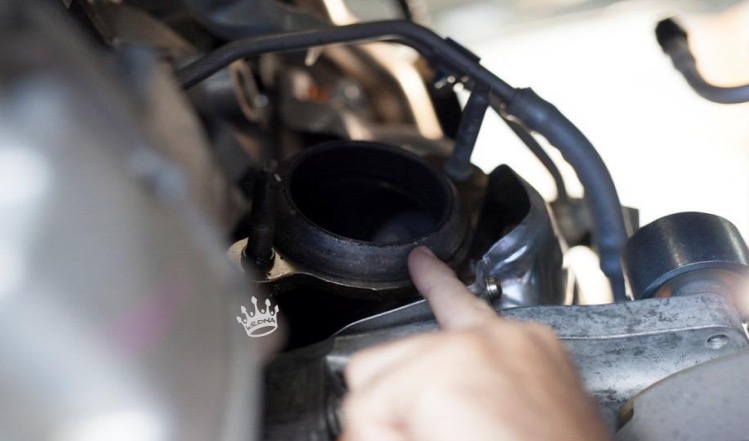
1. Before starting the reassembly of the exhaust it is very important to locate the fire ring gasket which mates the downpipe to the turbo flange. It is possible that it could stick on the turbo itself and also sometimes fall off when the downpipe is removed. Either way, it’s time to locate this piece and inspect for damage. These are easily reusable and only fit on the turbo in one direction. Re install on the turbo flange as shown.
2. Now you are ready to install your new Krona 3” downpipe (as if you weren’t ready before you started reading this novel, am I right?). From the bottom of the vehicle carefully slide the downpipe up and align it with the turbo studs. Having an extra set of hands or a stand to hold the downpipe in position makes this a lot easier for this step. Now that the downpipe is aligned with the turbo flange you will need to reinstall the factory hardware to connect the down pipe to the turbo. It is best to start each nut by hand then evenly tighten them down.
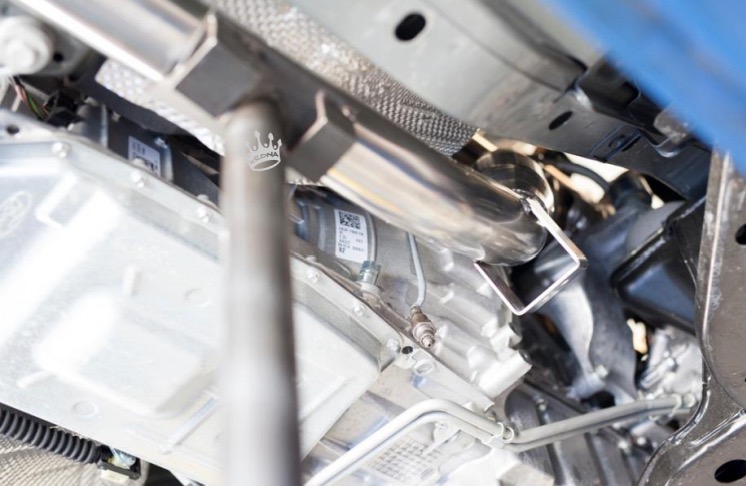
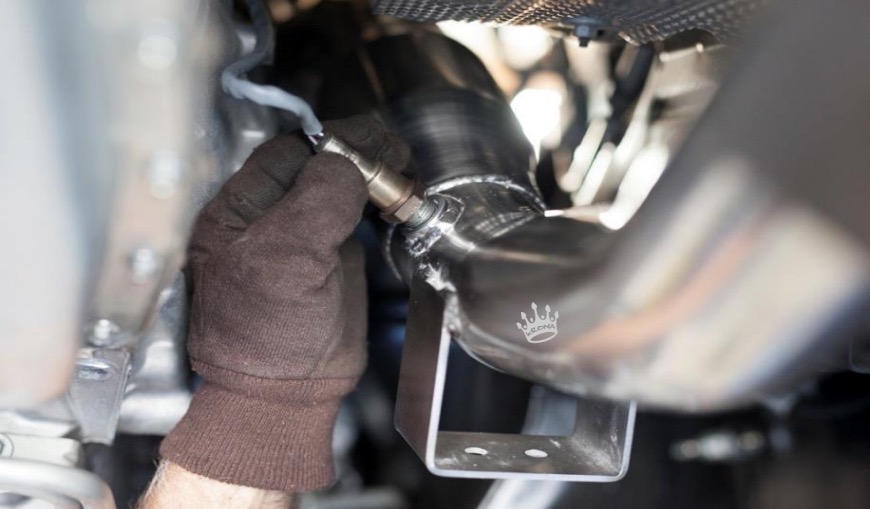
3. This is also a good time to reinstall the factory O2 sensors. Reinstall the primary O2 sensor from the top of the vehicle and the secondary O2 sensor from the bottom. We recommend applying anti-seize on the threads ONLY to help in any future removal of the sensors. Use caution to ensure no anti-seize gets on the sensor itself as this will cause premature failure.
4. Next, reattach the downpipe bracket to the transmission and then to the down pipe. You will need to use the supplied Krona mounting bolts as the factory ones will not be long enough to reach through the Krona bracket. We recommend tightening the bracket to the downpipe prior to the transmission.
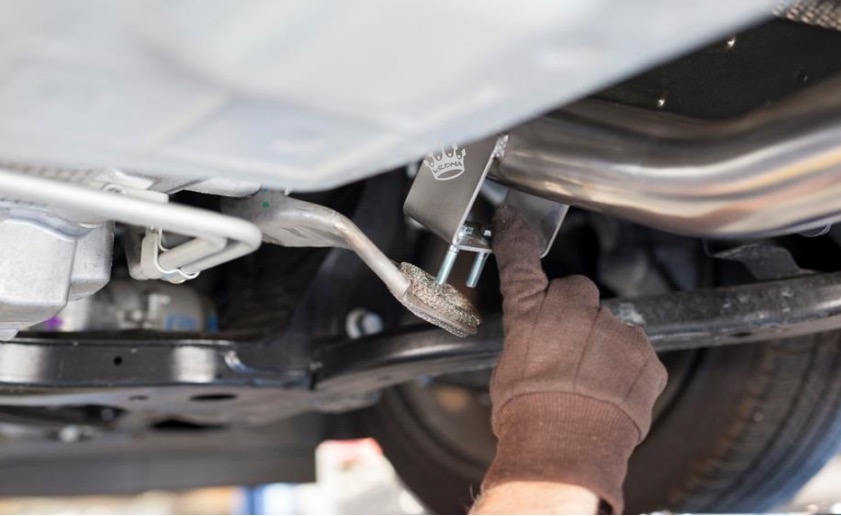
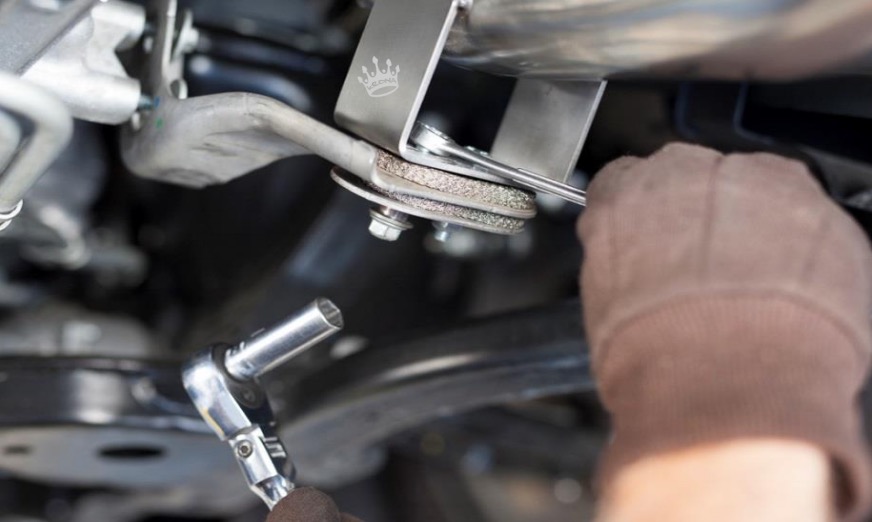
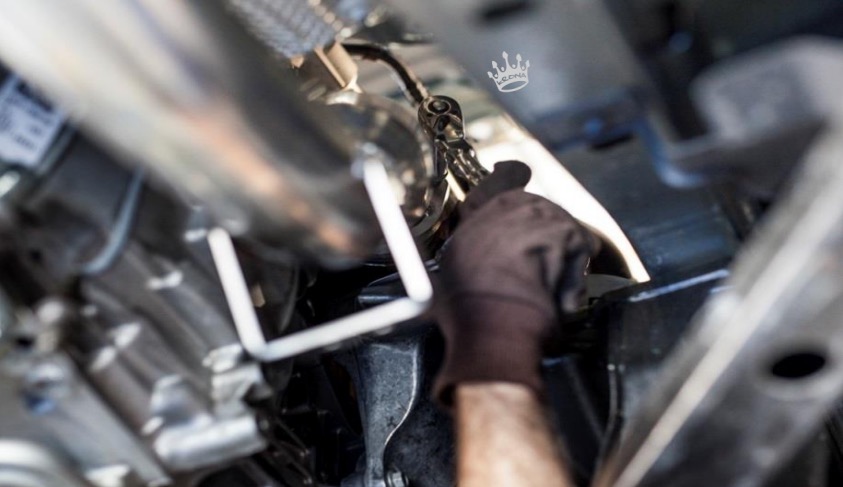
5. With the downpipe now bolted in place you may now install your down pipe adapter. Before butting the two pipe ends together, slip the exhaust hanger into bracket on the adapter pipe as show. This process is made easier by using a generous coating of lubricant on both sides of the exhaust hanger. Slide the reduced section into the factory clamp and then slide the V-Band clamp over the downpipe and index as shown. Do not tighten this connection at this time and instead make sure it is just snug enough to hold the adapter pipe in place.
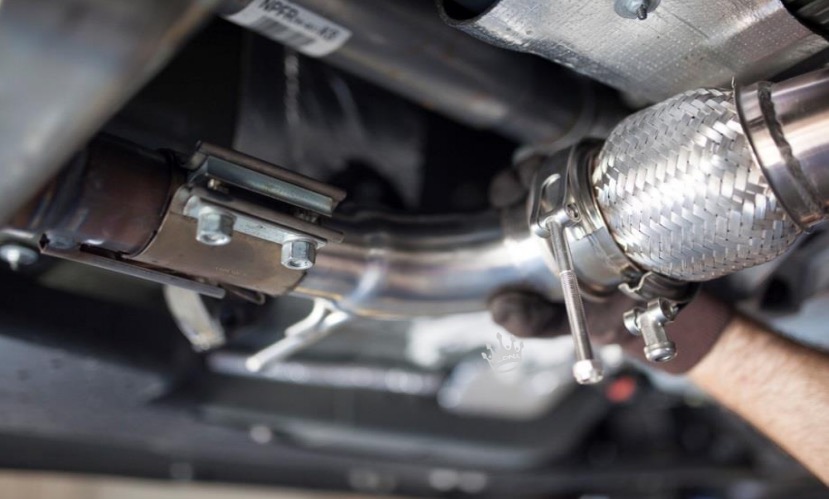
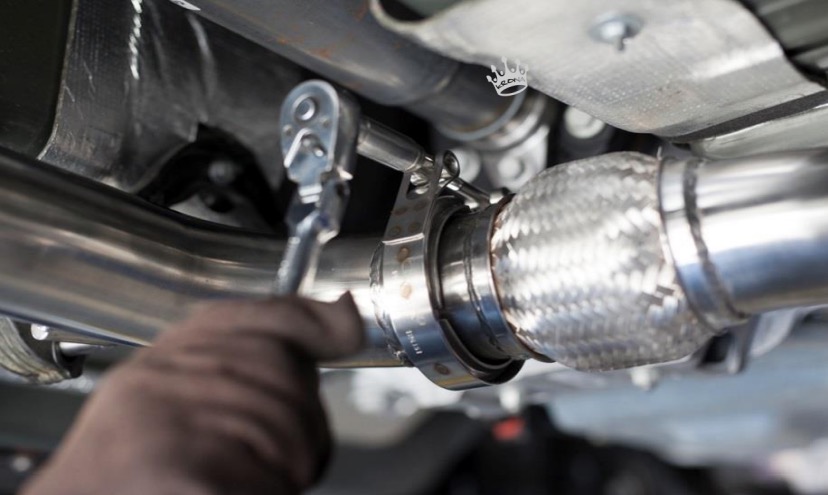
6. Ensure that all pieces are aligned and fitment is correct. Now tighten down the V band clamp and then your factory slip connection.
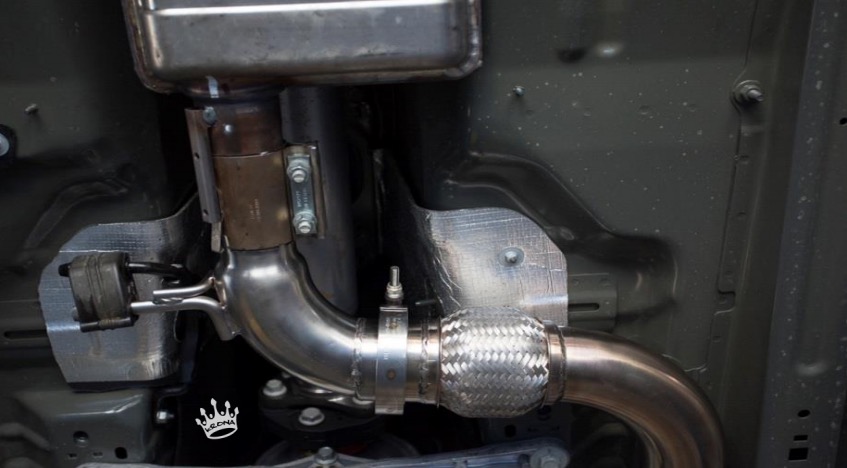
7. Final assembly should look as shown.
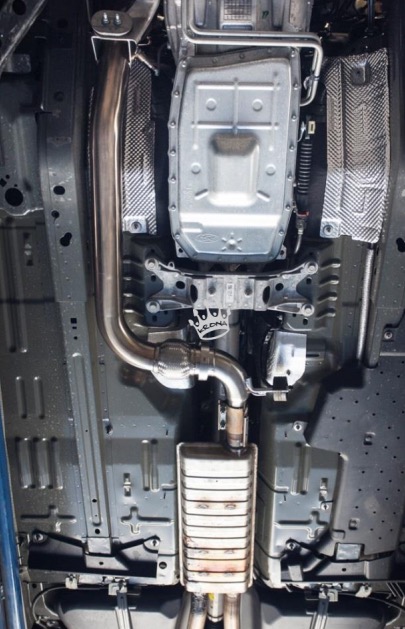
8. Now go let everyone within a 30 mile radius know that you just installed the best exhaust system on the market!
Final Check-Off List
1. Double check that all connections are tight.
2. Ensure your O2 sensors are installed and the wiring is reconnected.
3. IMPORTANT: Wipe the system clean of all dirt, finger prints or debris using a glass cleaner, simple green or similar. Once the exhaust gets hot, any remaining dirt particles will be burned onto the finish and become permanent.
4. Start your car and check for leaks…..and to hear your new B.A.M.F. Krona Exhaust system!
Note: It is completely normal for the exhaust to smell initially and for the first couple drives. This will slowly dissipate as the system heat cycles several times.
Upon breaking the system in and the thermal expansion and contraction of the metal it may be necessary to retighten the turbo studs and exhaust band clamps.
If you have any questions or comments please feel free to send us an email: [email protected]

