 FREE 1 to 3-Day Delivery on Orders $149+ Details
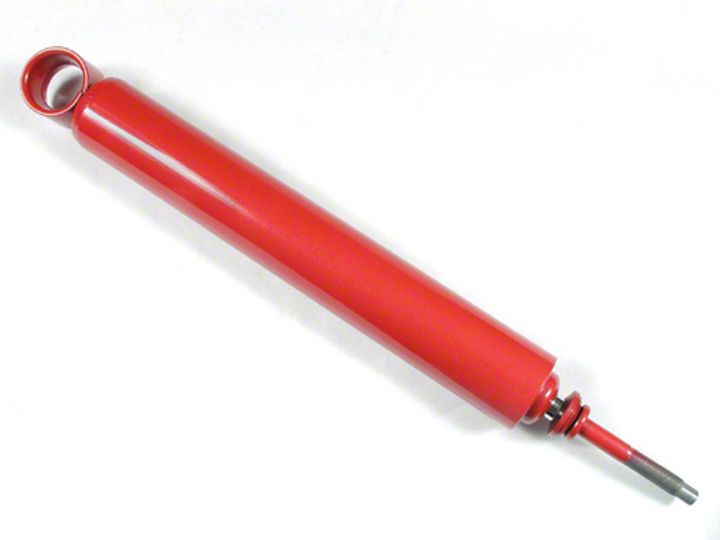
How to Install Lakewood 50/50 Rear Street/Strip Shock on your Mustang
Shop Parts in this Guide
Congratulations, you have just purchased the finest Drag Shock available on the market today. These shocks have been built using only top quality components to provide you with many years of superior service.
NOTE: Lakewood Drag Shocks are completely hydraulic and must be installed with the body down and the shaft up for proper operation.
CAUTION; 90/10 shocks are for STRIP USE ONLY. All other shocks may be used on street driven vehicles. If vehicle is driven on the street, extra care should be taken until you get the feel of the handling characteristics of these shocks.
When changing shocks standard cautions should be observed to avoid any possibility of bodily injury. Do not get near or under vehicle until you are confident that it is safely supported and will not move or fall from its raised position.
1. Use safety jack stands, never use bumper jack to support vehicle
2. Block wheels to prevent movement in either direction ~*
3. Work on level ground
INSTALLATION:
1. Remove original shocks, and compare with the new Lakewood Drag Shock. Some shocks are supplied with different hardware components for different applications.
NOTE: New shock length may be different from "OEM" shock. Lakewood Drag Shocks have been engineered to compensate for this variance.
2. Determine correct hardware to be used for your application.
NOTE: If sleeve is needed it may be necessary to use several washers (supplied) as spacers to equal original sleeve length.
3. To install Polyurethane Bushings into shock with eyering end, spray both parts liberally with Silicone. Then press bushing into eyering by hand until centered (It may be necessary to lightly tap bushing in with hammer).
SLEEVE INSTALLATION — After bushing has been installed, spray bushing and sleeve with silicone and tap sleeve into bushing with brass hammer. CAUTION: Be careful not to damage end of sleeve.
BAR PIN INSTALLATION — After bushing has been installed, spray bushing and bar pin with silicone. Start bar pin in bushing by hand, then tap bar pin thru bushing with brass hammer until centered on shock eyering.
4. Mount shock on vehicle in original location and check for interference.
NOTE: When securing shock absorber mounting, be careful not to over-tighten. Polyurethane bushings should only be moderately compressed.
A. Never grip chrome shaft with pliers, vise, etc. Nicks and scratches will cause leaks and shock failure.
B. On several rear applications it may be necessary to slightly file edge of control arm for proper clearance.
C. On applications where shock goes through lower control arm, it may be necessary to remove metal clips or slightly enlarge hole to install new shock.
Always measure full extension height of vehicle front end to insure shock absorber will have proper travel. Most vehicles will never be able to achieve full compression even after vehicle has been lowered.
NOTE: When installing front shocks be sure to inspect compression bumpers for damage. If a compression bumper is damaged it must be replaced to avoid the possibility of damage to shocks and other suspension components.
FOR BEST RESULTS:
On Street/Strip applications, remove front sway bar for Strip use and attach for street operation.
For best ET's with 90/10 shocks, front shock extension on initial launch may need to be limited depending on vehicle horse power, converter stall-speed (automatic) and type of tiie used.
