 FREE 1 to 3-Day Delivery on Orders $149+ Details
How to Install MAC Axle-Back Exhaust on your 2011-2013 Mustang V6
Installation Time
1 hours
Tools Required
- Car Ramps or Jack and Jack Stands
- 3/8” Socket Wrench
- 3/8” Socket Extensions (3” and 6”)
- 13mm Socket
- Rubber Safe Spray Lubricant
- Rotary Cutting Tool
Original Exhaust Removal
1. Raise the rear end of the car using the car ramps or a jack and jack stands. WARNING: Always use jack stands when using a jack. When using ramps, set the emergency brake and block the front wheels.

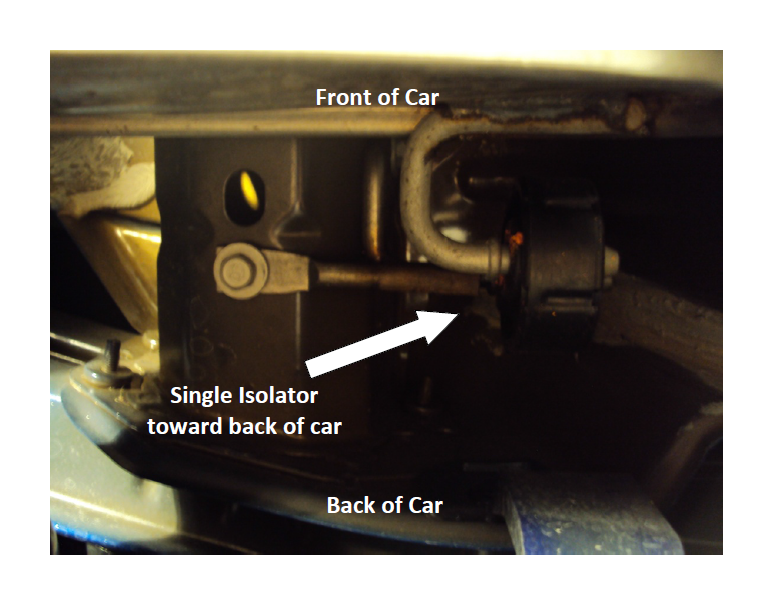
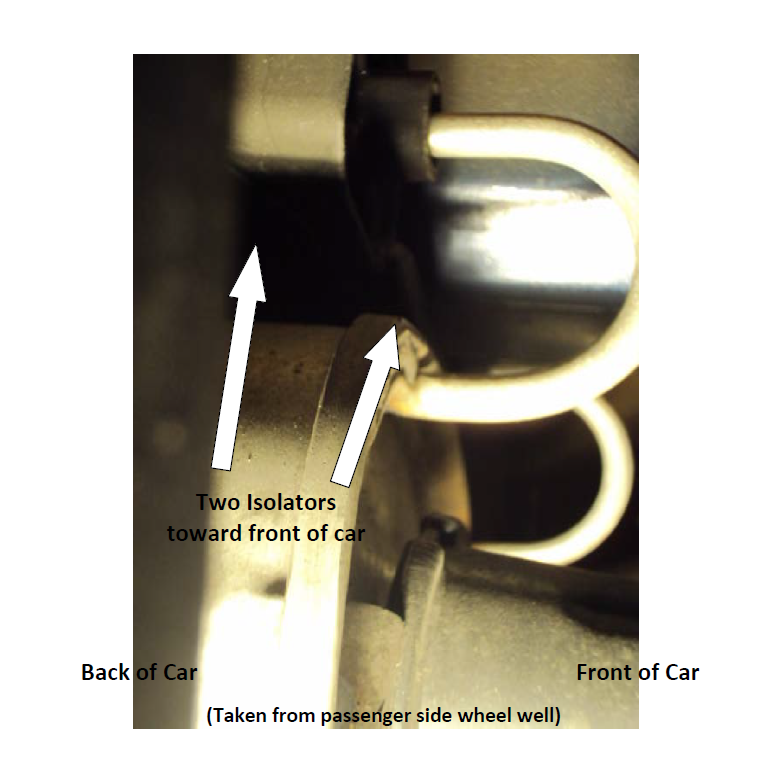
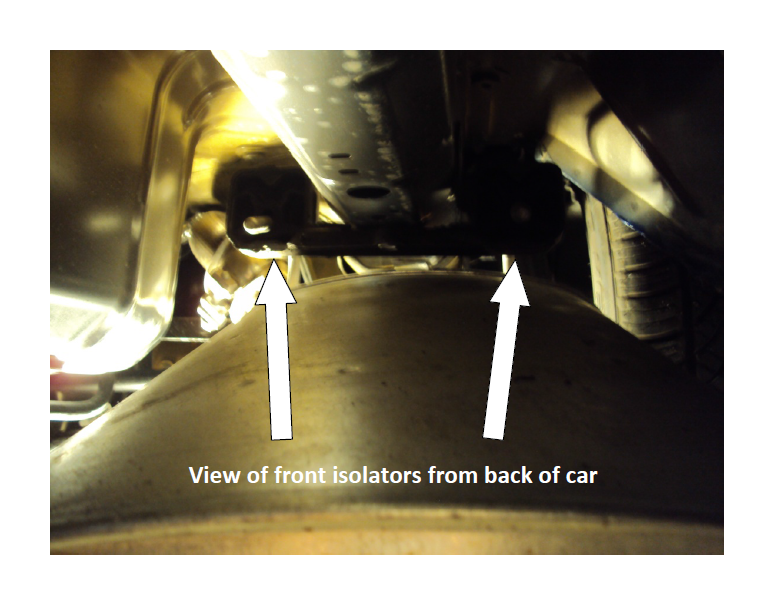
2. (optional) Lubricate the rubber exhaust isolators using the rubber safe spray lubricant. There are three (3) rubber isolators per side. There is one (1) isolator toward the rear bumper of the car and two (2) isolators toward the front of the car. (See pictures below)
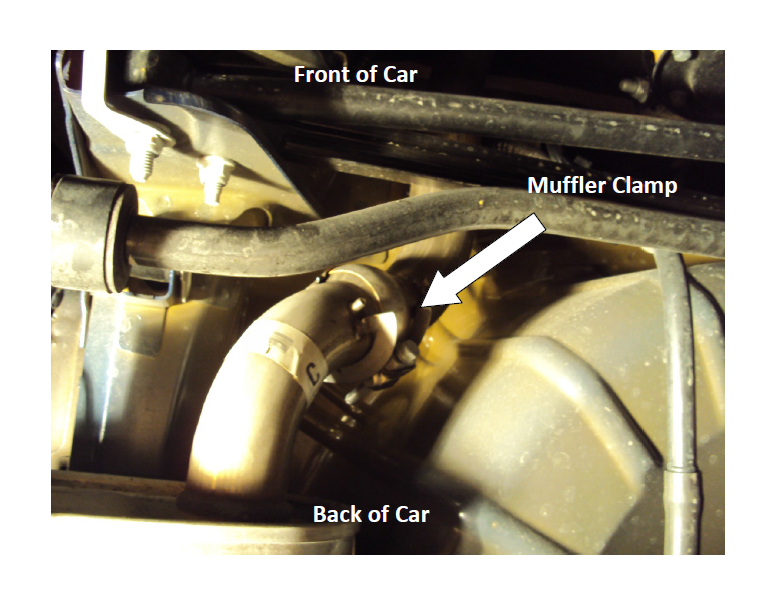
3. Working on one side at a time, loosen the exhaust clamp using a 13mm socket and ratchet.
Note: careful not to damage the clamp as you will need it to install the new mufflers (cutting instructions below)
4. Remove the hanger located toward the back of the car from the rubber isolator.
5. Gently slide the muffler assembly toward the front of the car sliding the hangers out of their rubber isolators. WARNING: The stock exhaust system will be totally disconnected at this point so be prepared.
6. Repeat steps 2 through 5 on the other stock exhaust system.
NOTE: There is less clearance on the driver side. You will need to remove the back support then twist the muffler to begin releasing the driver side support.
Exhaust Clamp Removal
7. Remove the exhaust clamps from the stock exhaust systems. The metal tab is soft enough to bend back and forth until it breaks and the clamp is freed. Alternatively, use a rotary cutting tool to cut the tab.
Installing the Mac Axle-back Exhaust
8. Place one exhaust clamp on each of the new exhaust systems.
9. Working one side at a time, insert the front 2 hangers from the new exhaust system into their isolators.
10. Match up the pipe of the new exhaust to the existing exhaust pipe. Note: do not tighten the exhaust clamp yet.
11. Slip the back hanger into its isolator.
12. Loosely tighten the exhaust clamp connecting the existing exhaust pipe to the new muffler.
13. Center the muffler tips with the body panel accordingly.
14. Fully tighten the exhaust clamp.
15. Repeat steps 9 through 14 to install the other Mac axle-back exhaust system.
NOTE: Similar to the removal, you will need to first install the driver side bracket into its isolator, followed by the passenger side. This is to get around the clearance issues.
16. Start up the vehicle and check for exhaust leaks. If any leaks are detected, check the exhaust clamps for proper tightening and positioning.
17. Lower your car and enjoy your Mac Axle-back Exhaust System.

