 FREE 1 to 3-Day Delivery on Orders $149+ Details
How to Install MAC Dual Exhaust Conversion Kit on Your 2005-2009 V6
Installation Time
3 hours
Tools Required
- Jack and stands or a hoist.
- 11mm, 13mm & 15mm sockets and spanners
- 7mm Tap & die set
- Dremmel with cutting blade or similar for cutting bumper
- Angle-grinder or similar tool for cutting old exhaust

Shop Parts in this Guide
Installation
Included Parts:
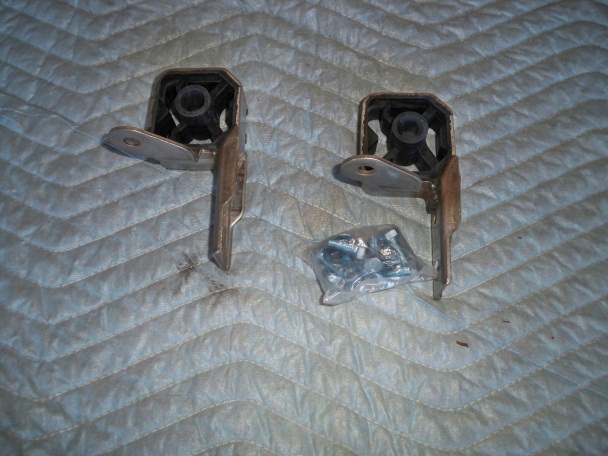
Hanger Kit:
- 2 exhaust hangers,
- Bag of bolts and washers
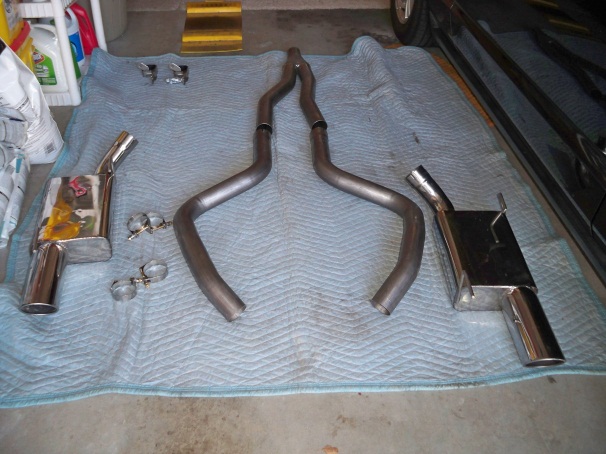
Exhaust:
- 3 exhaust sections – 1 Y-section and 2 over-axle mid-pipes
- 2 mufflers
- 4 clamps
Removal Instructions:
1. Jack up the car and place on stands.
2. Using a 13mm socket or spanner, remove the three hangers supporting the muffler. The hangers on the front and rear of the muffler have (2) 13mm bolts that need to be removed. The center hanger (the one that will be discarded) has a single 13mm bolt to remove.
3. Discard the hanger from the center support.
4. Use the 15mm socket to loosen the clamp holding the muffler to the mid pipe.
5. Remove the muffler by wiggling it from side to side.
6. Now use the 15mm socket to loosen the two bolts on the clamp holding the mid-pipe to the Y-joint.
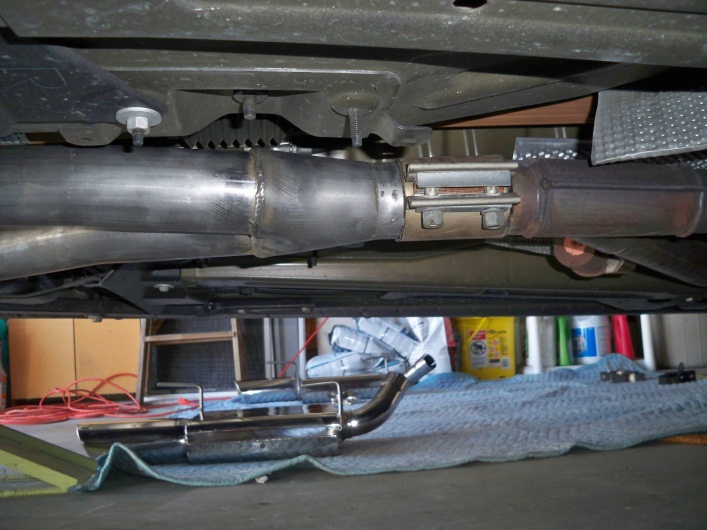
7. Wiggle the mid-pipe to get it out of the housing.
8. If you are using a hoist you will now be able to remove the mid-pipe. If you are using jack-stands you will need to cut the mid-pipe somewhere in front of the axle as there isn’t sufficient room under the car to get it out. Be careful when cutting as you are working right next to the fuel tank.
Install Instructions.
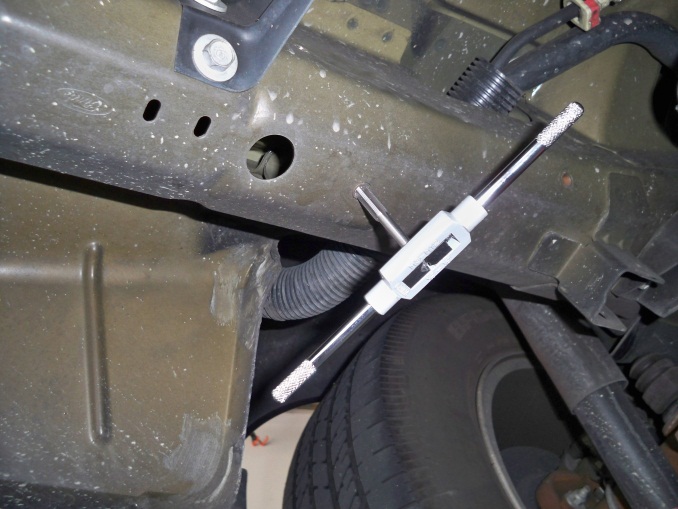
9. Tap the holes on the left side of the frame to allow for the install of the new hangers. The frame on the left is already drilled for the hangers since it is the same frame used on the V8 which has dual exhausts. Use a 7mm tap to tap the 4 holes. You may be able to just screw the bolts in as the metal is soft. Try with a spare bolt.
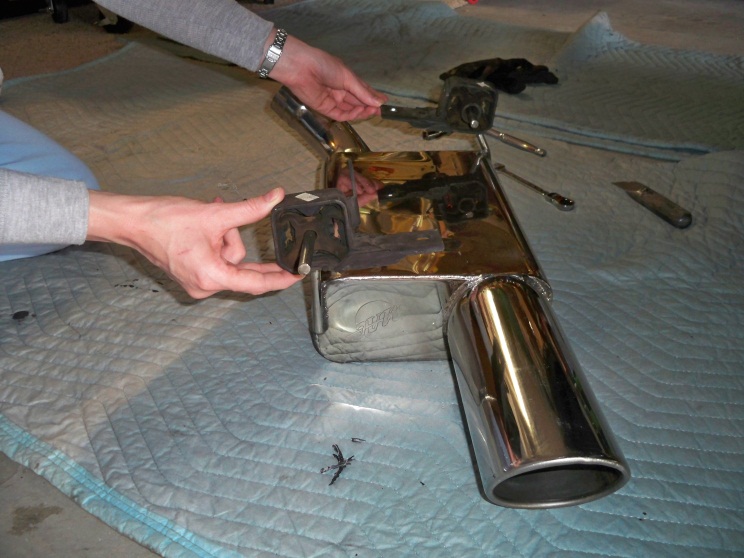
10. Slide the hangers onto the passenger side muffler and mount. You will need to enlarge the cutout in the bumper about ¼” in order to clear the new tailpipe. Start with about 1/8” and test fit. Continue enlarging until you have around 1/8” clearance around the tailpipe.
11. Measure 21 inches from the center of the number plate to the left. You can check the measurement by measuring from the center of the number plate to the start of the cutout on the right-hand side. Both should be equal. This is the inside position of the cutout you will need to make for the left-hand muffler.
12. Place painters tape over the bumper where you will need to cut on the left-hand side.
13. Cut out the piece from the bumper to match the cutout on the right-hand side using your cutting tool.
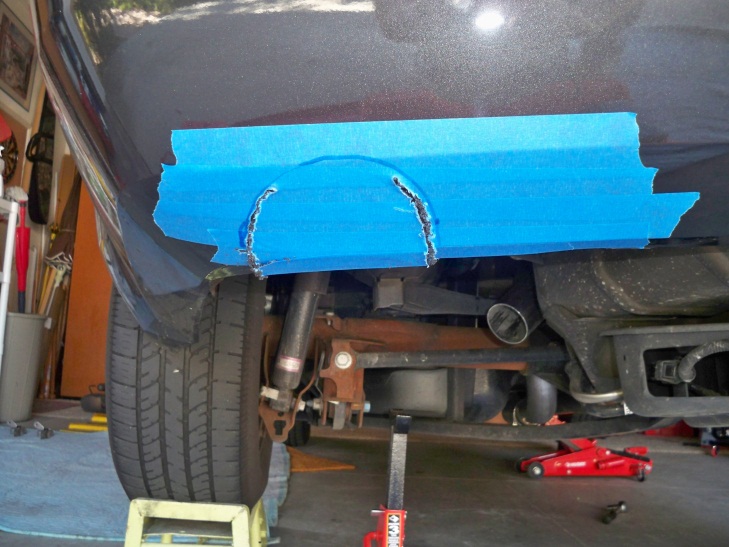
14. Remove the tape and clean the edges of your cut with sandpaper making sure not to damage the paint on the bumper.
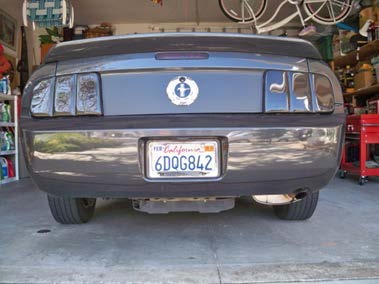
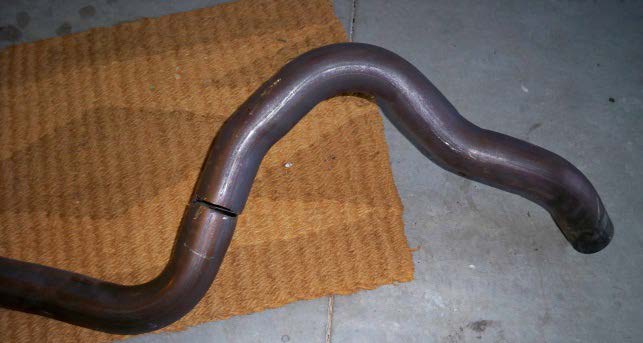
15. Install the splitter pipe to the Y-joint. The bends should go towards the left side of the car.
Photo below taken from rear of car showing the correct orientation of the splitter pipe.
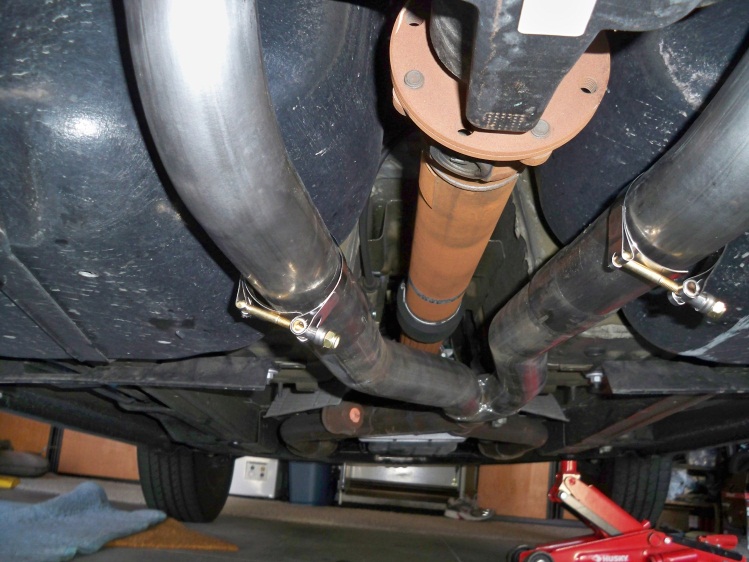
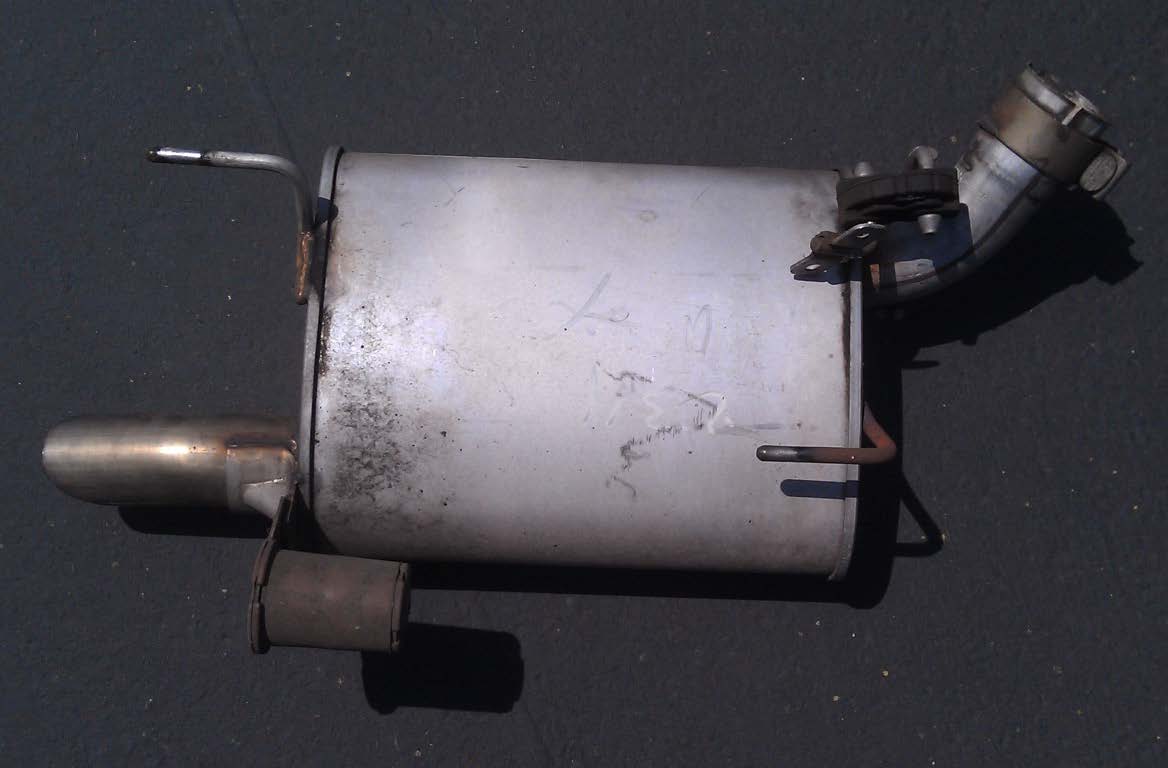
16. Compare the two new mid-section pipes to the old pipe to identify which is the correct pipe for the right-hand side. Place one of the clamps on the end of the pipe. Maneuver the pipe over the axle and then connect to the splitter and the muffler. Don’t tighten at this time.
Right Side mid-pipe View from rear
17. Repeat this procedure with the left-hand mid-pipe.
18. Tighten the hangers and then tighten the clamp holding the muffler to the mid-pipe.
19. If you find that the muffler is not level, you can adjust the angle of the mid-pipe until the muffler lays flat. This can be done with light taps from a rubber mallet on the upper bend of the mid-pipe above the rear axle.
20. Working from the mufflers forward, tighten the clamps and check for clearance between the pipes and body. Adjust as required.
21. Finally, use Windex or similar product to thoroughly clean the mufflers and tail pipes of any fingerprints etc. Heat will burn these into the steel and leave marks.
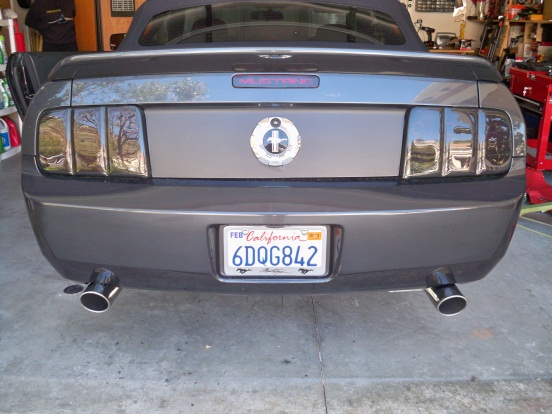
22. Step back and admire your handiwork.
Installation instructions provided by American Muscle customer Gary Petzer 5.9.12
