 FREE 1 to 3-Day Delivery on Orders $149+ Details
How to install MAC Chrome Long Tube Headers on your 1996-2004 (GT) Mustang
Installation Time
12 hours
Tools Required
- Lug Nut Wrench
- Transverse Bar
- Air Ratchet
- ¼’’, 3/8’’ and ½’’ Ratchets
- Sockets: 8mm, 12mm, 13mm, 15mm, 21mm, 24mm
- Deep Well Sockets: 13mm, 15mm, 18mm
- Flex head Extension (3/8 and ½)
- ½’’ breaker bar
- Box-end Wrenches: 10mm, 13mm, 15mm, 18mm
- Torx bit E8 (or ¼’’ box end)
- Prybar
- Hammer/Mallet
- Pliers
- Long Screwdriver
- Anti-Seize
- PB Blaster
- Air drill
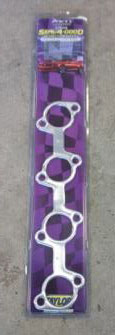
- Header Gasket
- Coil spring compressor tool
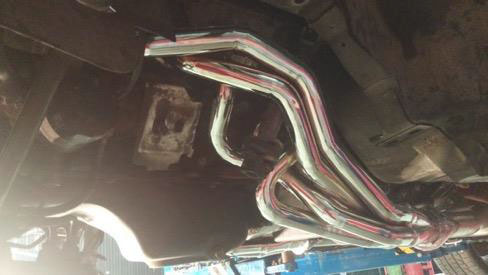
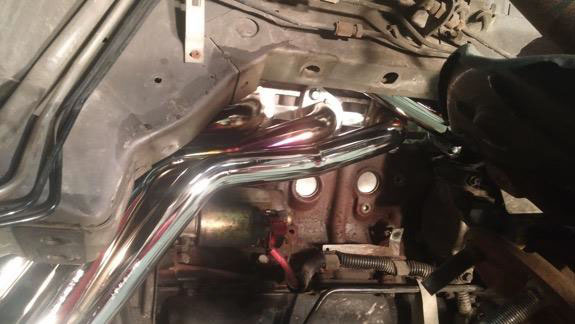
MAC Long Tube Chrome Headers Install Guide
Install Vehicle: 2003 Ford Mustang GT automatic
Note:
- A car lift was used for this installation and is strongly recommended
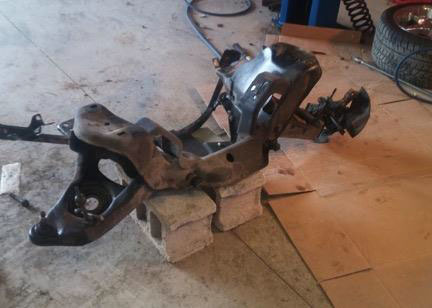
- Removal of the K-member is also strongly recommended. By removing, you can clean the area, and be able to torque the header bolts down a lot easier
- A wheel alignment is recommended after completion
1. Loosen lug nuts using lug removal socket (13/16’’)
2. Lift car and put on jack stands, remove front tires
3. Disconnect battery (8mm), then turn key on (allows
for steering components to move)
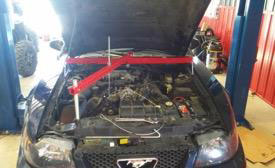
4. Assemble Transverse Bar to support engine:
You can put the support bars on any sturdy metal surface
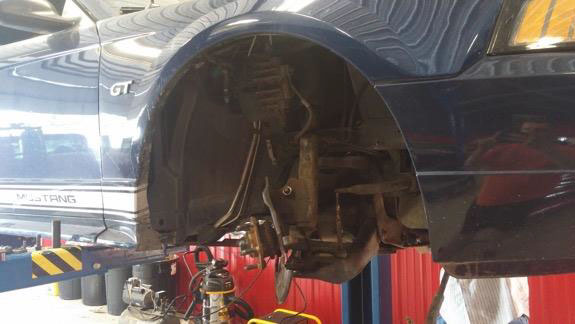
5. Remove brake calipers from spindles (15mm) and
hang calipers out of the way using zipties
6. Remove the abs sensors (T8 or 1⁄4’’)
7. Remove abs sensor bracket from spindle (24mm)
8. Place floor jack and 2x6 under lower control arm to support coil tension
9. Remove struts from spindles (24mm), then disconnect the tie rod ends (remove
cotter pin first, 18mm), then sway bar linkage (15mm) and knock out the strut bolts (be careful, springs are under tension)
Note- my car has lowering springs that are just 13’’ instead of the stock 15’’, therefore I was able to remove the coil springs without a spring compressor tool. For safety, I used a ratchet strap from the spring to the k-member to make sure it didn’t go shooting across the shop
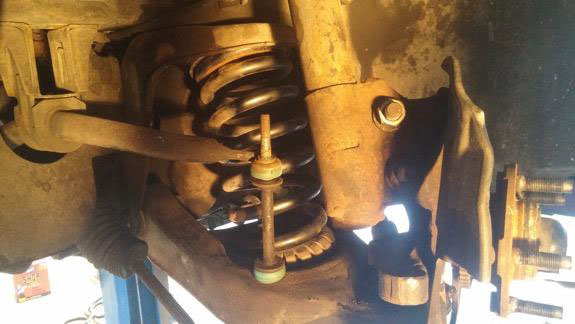
10. Lower floor jack to let spring decompress – carefully push the lower control arm down to remove coil spring (repeat steps 5-10 for each side)
11. Remove plastic wheel wells by removing the plastic fastener with pliers
12. Remove steering shaft where it connects to the steering box (13mm)
13. Remove the steering rack from the front of the K-member (15mm for the front 2 bolts
and 18mm on the back 2 nuts). A prybar might need to be used. Ziptie this up out of the way.
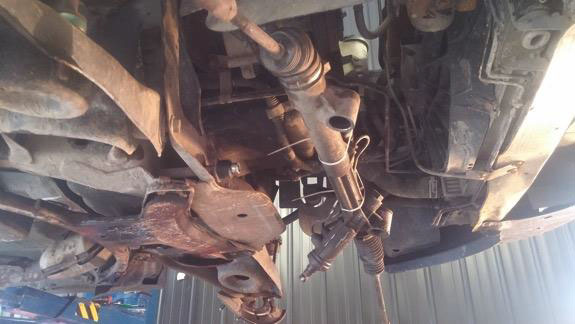
14. Remove the K-member by disconnecting the g-load brace toward the back of the k- member (I snapped several of the smaller bolts off, so be very careful and use lots of PB Blaster)
15. Lower vehicle, and support k-member with floor jack. Remove the 2 motor mount bolts (18mm), the 2 spring perch area bolts on each side, and the 2 rear bolts and lower k-member.
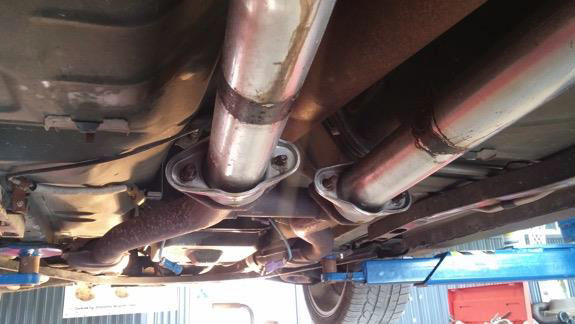
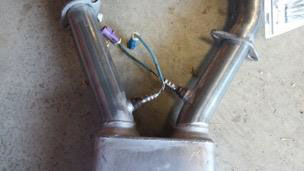
16. Raise vehicle, disconnect O2 sensor and remove stock h pipe (13 and 15mm) from catback (4 bolts) and exhaust manifold (2 bolts on each side)
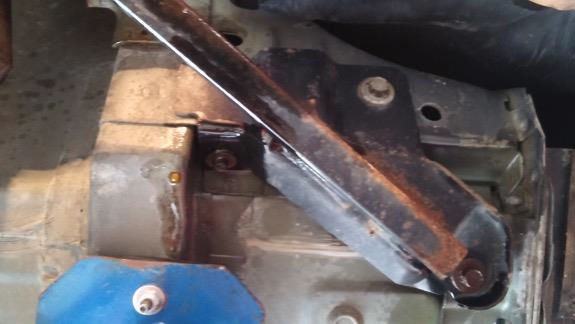
17. Remove motor mount on passenger side (13 and 15mm). I only needed to remove the passenger side mount to get the headers to fit, but you might have to remove the driver’s side mount as well.
Note: Now would be a fantastic time to replace the starter if you think it is going out. It is very easy to get at the upper bolts now.
18. Spray the exhaust manifold bolts and EGR Tube with PB Blaster and take a break to let the penetrating lube do its job.
19. On the driver’s side, remove manifold bolts with a 13mm deep well socket BY HAND,
do not use air powered tools. If just the nut comes off, do not worry. Just leave the stud in and reuse it. No sense in stripping, or breaking it off and needing to tap and die, when you can just leave it in there and use reuse it.
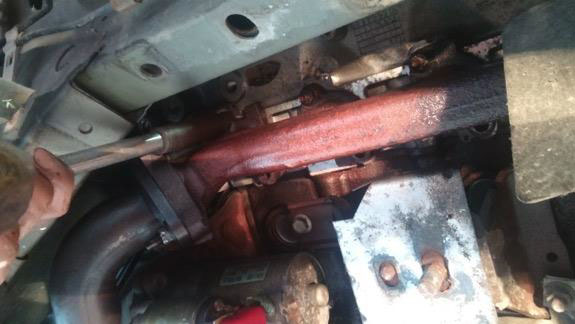
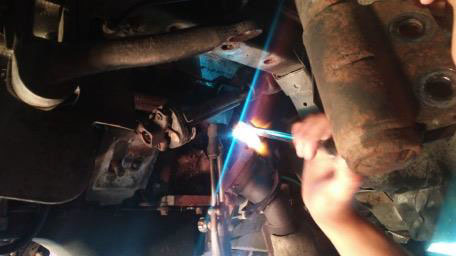
20. Remove EGR tube from its adapter (1-1/16’’ for the EGT tube, and 1’’ for the adapter. Mine was very stuck and required heat from a torch to remove.
21. Remove O2 sensors from removed manifold and h-pipe and install them on the new headers and midpipe

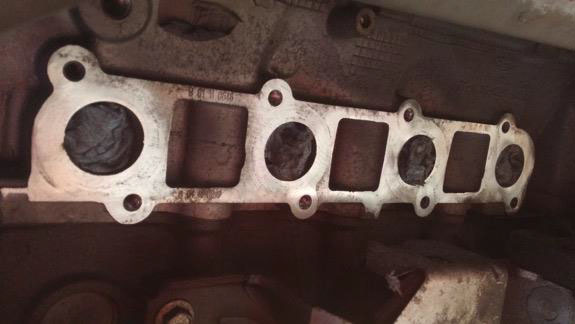
22. Put a paper towel in each exhaust manifold port to keep dirt and grime out. Remove the exhaust manifold gasket. Using the air drill and cleaning pads, clean the area where the gasket was very well and finish by spraying it down with break parts cleaner.
23. Loosen the oil dipstick tube (8mm). I only had to loosen it, but you may have to
remove the tube.
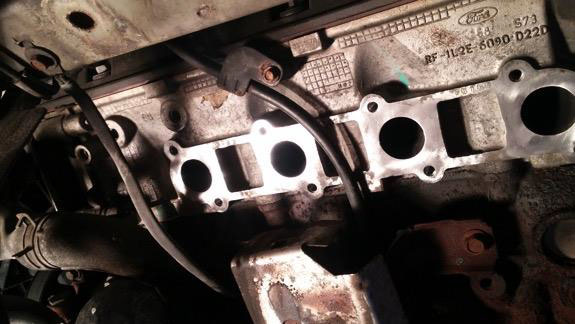
24. Install new header gasket. I used a Percy’s dead aluminum gasket because I didn’t want to have to replace it down the line, but it’s up to you.
25. Tighten dipstick tube
26. Remove paper towels
27. Install the headers. Finger tighten a few bolts to support the header.
Install the ERG fitting and tube. Apply a small amount of never-seize to each bolt, and finger tighten all bolts.
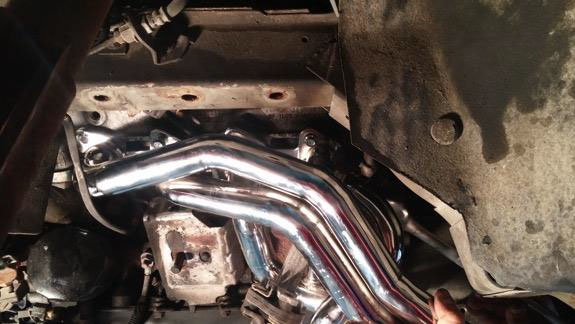
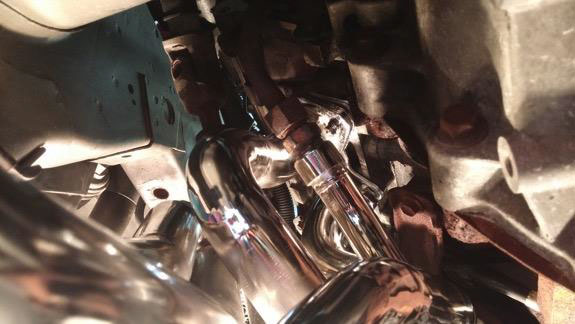
28. Using a 12mm deep well socket and flex head, carefully tighten each bolt. Do NOT over tighten, and go slow to give the gasket some time to form a nice seal.
29. Repeat steps 19, 20, 22, 24, 26 for the passenger side.
30. Reinstall the motor mount(s) (13 and 15mm)
31. Reconnect the O2 sensors
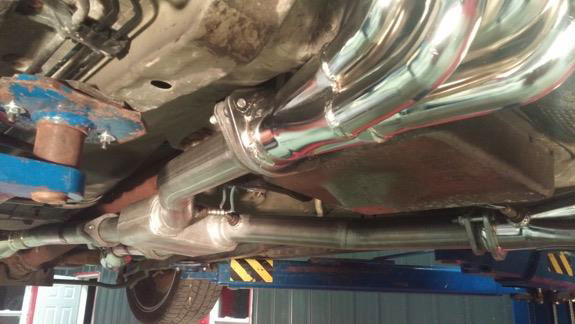
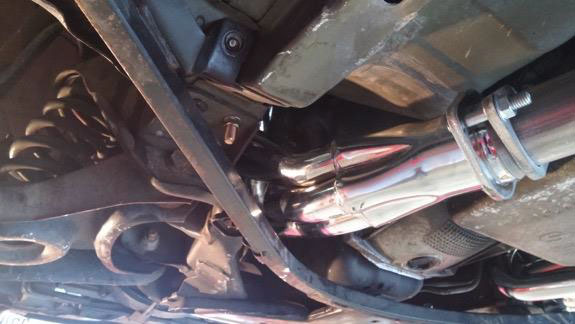
32. Using the supplied hardware, screw in the h-pipe studs onto the flange.
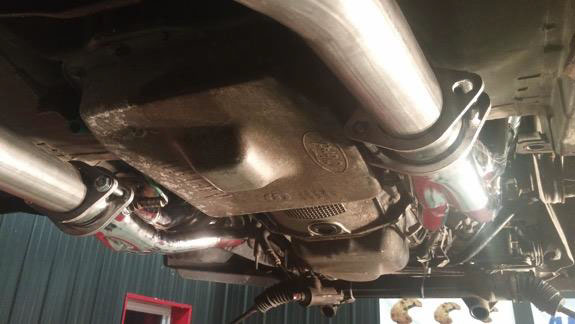
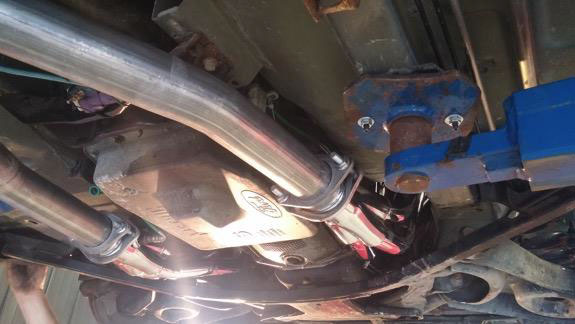
33. Install the shorty midpipe and connect its O2 sensors as according to its directions.
Note: I chose the MAC Prochamber, but it’s up to you. As you can see in the picture below, it was very difficult getting the passenger side to line up. I had to use to floor jack and 2x6 to lift it up high enough to get everything it to fit.
At this point I did a heat cycle. Lower the car, connect the battery, and start the engine and let get to operating temp and run for about 30 minutes. Be careful, because the engine is only being supported by the transverse bar. DO NOT rev the engine. Just let everything warm up. If your mustang’s bolts were as stubborn as mine were, and you used as much of PB Blaster as I did, it will smoke... a lot. Do not be alarmed if it runs bad, the car is just learning it has headers and doesn’t have all of the restrictive backpressure it used to have. If no leaks are detected, shut it off, disconnect the battery and let it cool.
34. Gently torque down the header bolts for a last time
35. Install the K-member the reverse of removal (15mm, 18mm, 8 bolts). Then install the G-load bolts (15mm)
36. Lower the transverse bar

37. Install all of the motor mount bolts (18mm)
38. Reinstall the steering rack (15mm, 18mm)
39. Install steering shaft by carefully sliding through header, tighten bolt (13mm)
40. Install springs carefully, the reverse of removal
41. Install strut to spindle using strut bolts (21mm, 24mm)
42. Install abs sensor to spindle using T8 or 1⁄4 wrench
43. Install sway bar linkage (15mm)
44. Reattach the tie rod (18mm and cotterpin)
45. Reattach brake rotors and calipers (15mm)
46. Attach the plastic wheel wells using the plastic fasteners
47. Using 13/16 deep well socket, put wheels back on the car.
48. Reconnect the battery terminals (8mm)
49. Start the car and take it for a nice test drive. If the car pulls one way or another when you take your hands of the steering wheel, it will probably need aligned.
This guide was created by American Muscle customer Tyler Smith on May 26, 2015
