 2024-2026
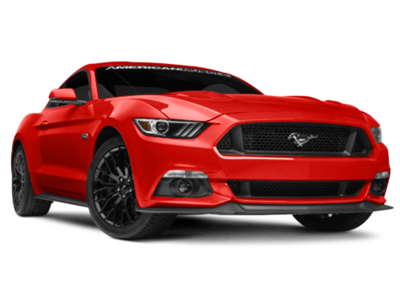 2015-2023
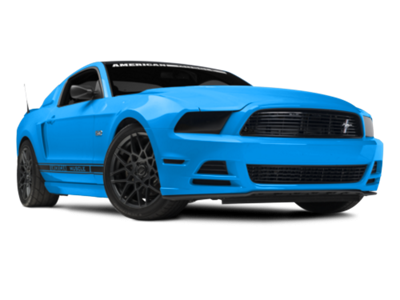 2010-2014
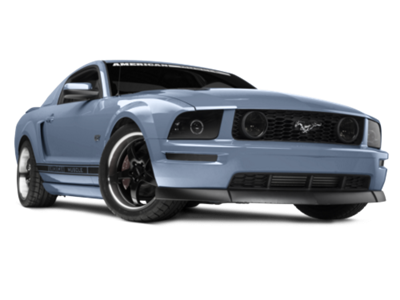 2005-2009
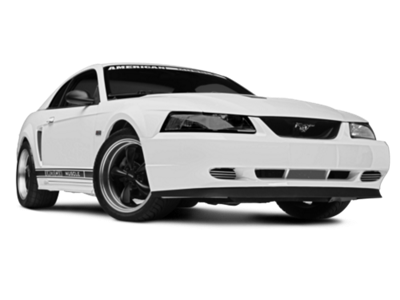 1999-2004
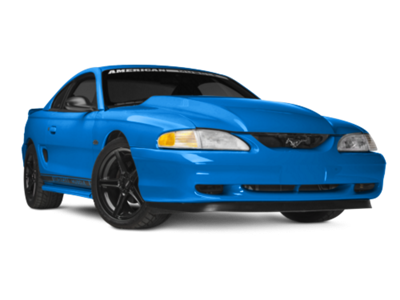 1994-1998
 1979-1993


Installation Time
(approx) 2 Hours
Difficulty Level:
Light to Moderate mechanical skill required.
Installation Guides
No guide available for this part yet.
 FREE 1 to 3-Day Delivery on Orders $149+ Details
$609.99 pair
CONFIRM THIS FITS YOUR VEHICLE!
Saved - View your saved items
We're sorry. We couldn't save this product at this time.
or use
Features, Description, Reviews, Q&A, Specs & Installation
| Headlight Type | Projector |
| Headlight Housing Color | Black |
| Headlight Lens Color | Smoked |
| Headlights Output | HID / Xenon |
| Headlight Style | Aftermarket Style |
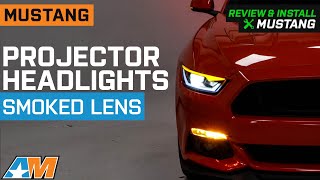
Modern Lighting Solution. The Sequential Projector Headlights; Matte Black Housing; Smoked Lens is the ultimate upgrade for Mustang enthusiasts looking to enhance their car's appearance and lighting performance. Crafted from high-quality composite, these headlights are built to last and withstand harsh weather conditions, ensuring your investment will endure for years to come. The matte black housing and smoked lens provide a bold and aggressive look to your Mustang's front end.
Installation. This product is easy to install and should take only about 2 hours to install due to having to remove the front bumper.
Warranty. There is a 1-year warranty on this product.
Application. The Sequential Projector Headlights; Matte Black Housing; Smoked Lens fits 2015-2017 Mustang and 2018-2022 Mustang GT350 and GT500 models.
CA Residents:  WARNING: Cancer and Reproductive Harm - www.P65Warnings.ca.gov
Installation Info
Installation Time
(approx) 2 Hours
Difficulty Level:
Light to Moderate mechanical skill required.
Installation Guides
No guide available for this part yet.
What's in the Box

