 FREE 1 to 3-Day Delivery on Orders $149+ Details
How To Install a Rear Parking Brake Cable for your 1993 Cobra Mustang
Installation Time
2 hours
Tools Required
- One jack and four jack stands.
- One socket wrench with a 12mm, 13mm ( ½ inch, 12 point DEEP WALL DO NOT FORGET THIS) and 3/8 socket
- Socket extension(s)
- Torque wrench is advisable, but not necessary to torque the drive shaft if you wish
- Pry bar (you may or may not need this)
- Flat head screwdriver
- Needle nose pliers
- Grab a couple of decent size zip ties

Shop Parts in this Guide
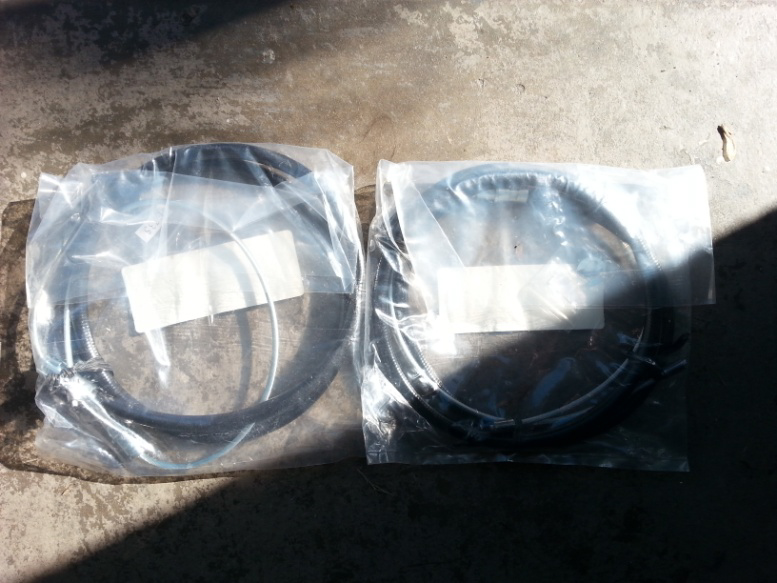
Materials in the box:
Brake Cable
Notes
This guide was written with pictures from a 93 Mustang LX 5.0 with an SN95 Cobra brake upgrade. This does not make any difference in steps because they are the same for all years. The only difference between the 88-92 and the 93 models is the length of the conduit (black protective coating) for the cables. This guide was also done using a Ford Racing adjustable front E-brake cable. This is overall not a hard job, but I strongly advise if you have never done a job like this before, please get a buddy who has to help you. If it’s one thing on a car you do not want to get wrong, it’s brakes. You WILL have to take the drive shaft out, it’s not hard at all, but if you get nervous, why not ask for help? Do not use this guide as gospel. Everybody has their own way of doing things and always use torque specs and procedures from sources that you trust.
Installation Instructions:
Before you begin, be sure you have read through this guide, are confident you have the correct cables for your car, and have a plan/know what to do to adjust the E brake back into place. Now is the time to decide if you are going to purchase a Ford Racing adjustable E brake cable (advisable) or stick with your stock cable. Figure this out first before because once you take off the old cables the springs in the E brake will loosen and you will have to reset them. This guide will NOT help you with that. Now admire the new cables… smugly.
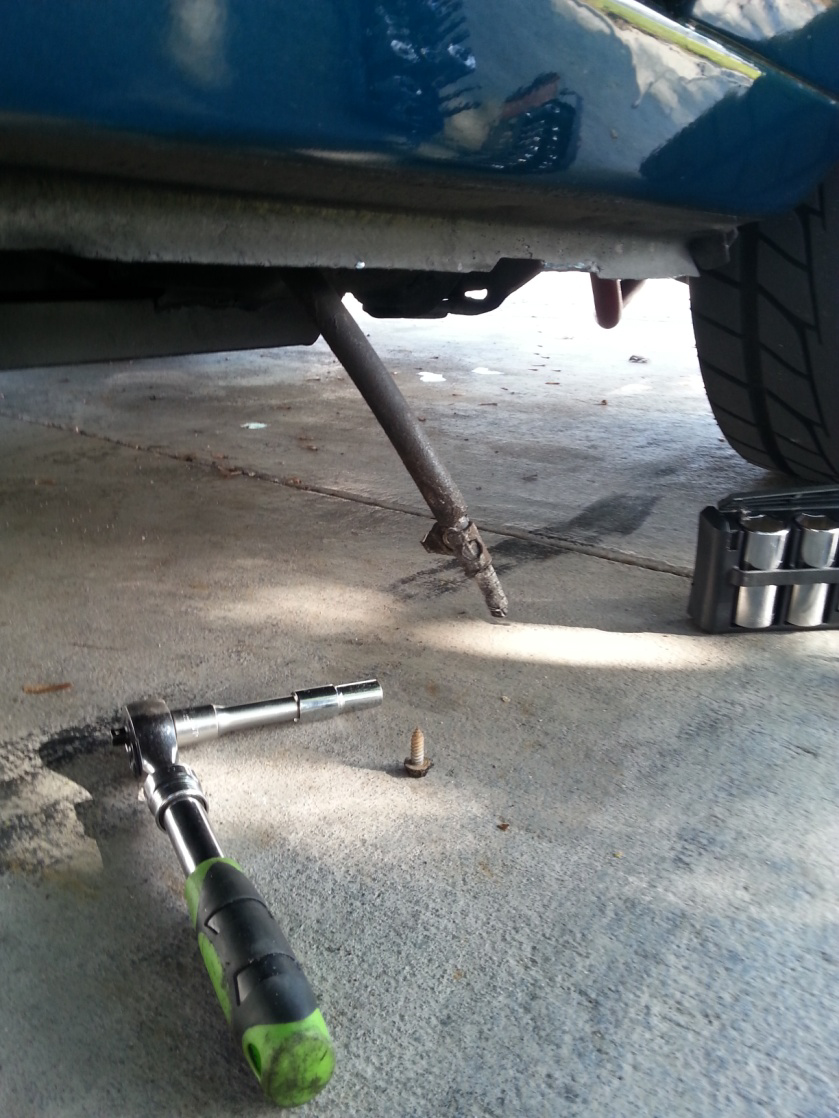
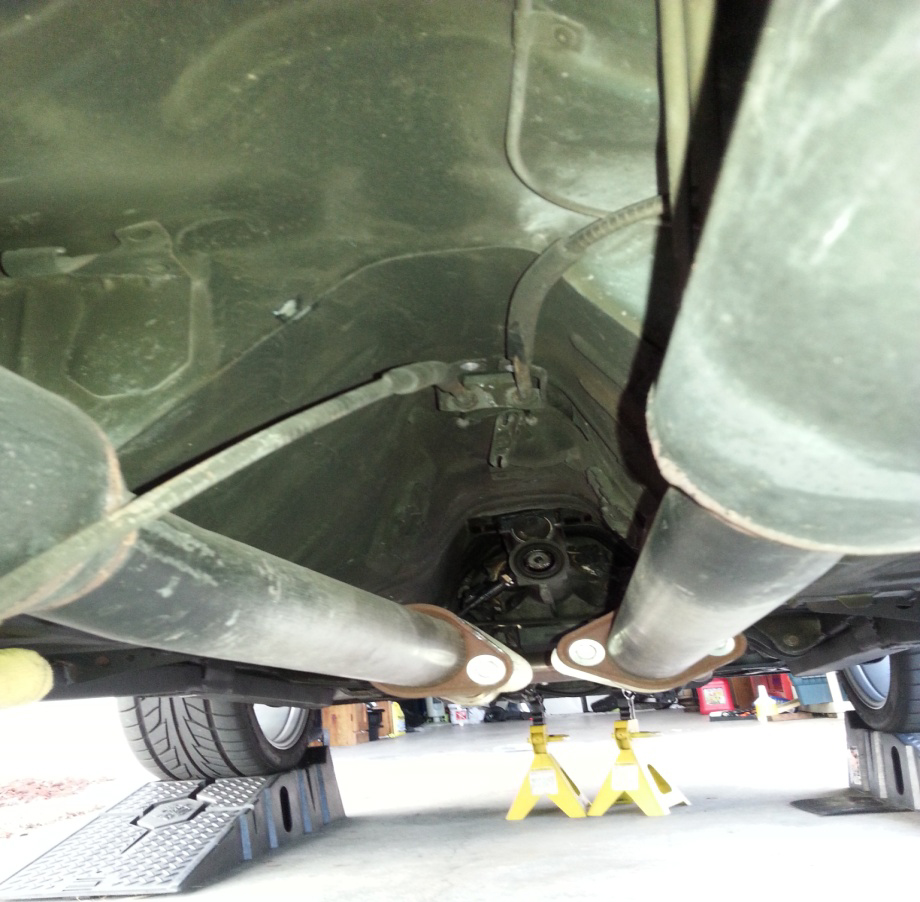
1. Jack up the car and safely put the car on jack stands. Be sure the car cannot role, is secured, and is safe to go under. Put the car in park (or 1st gear for manual transmission), so you can take the drive shaft out.
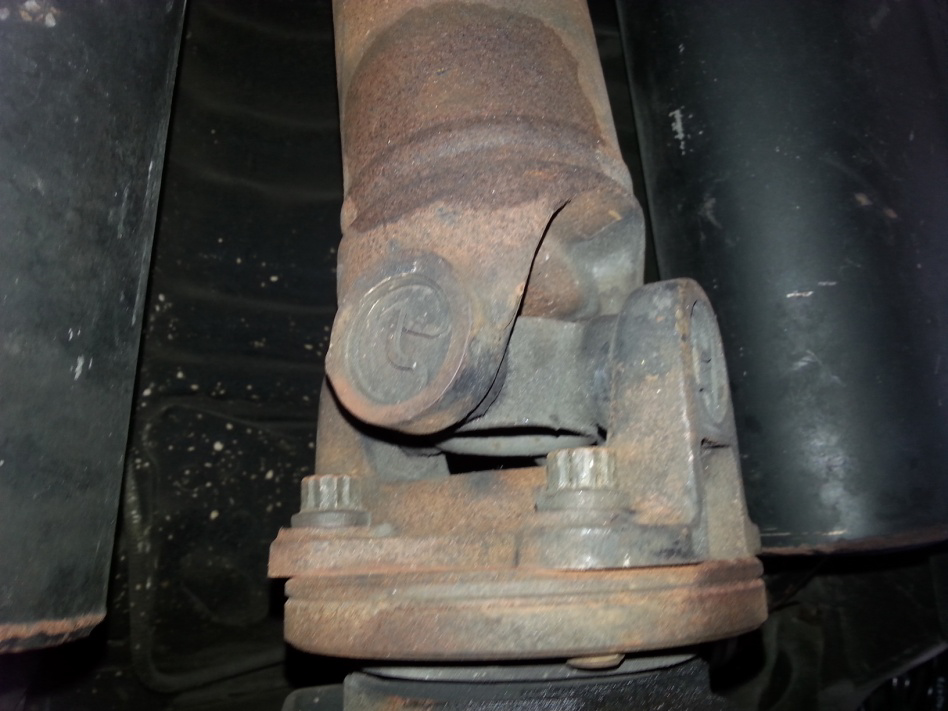
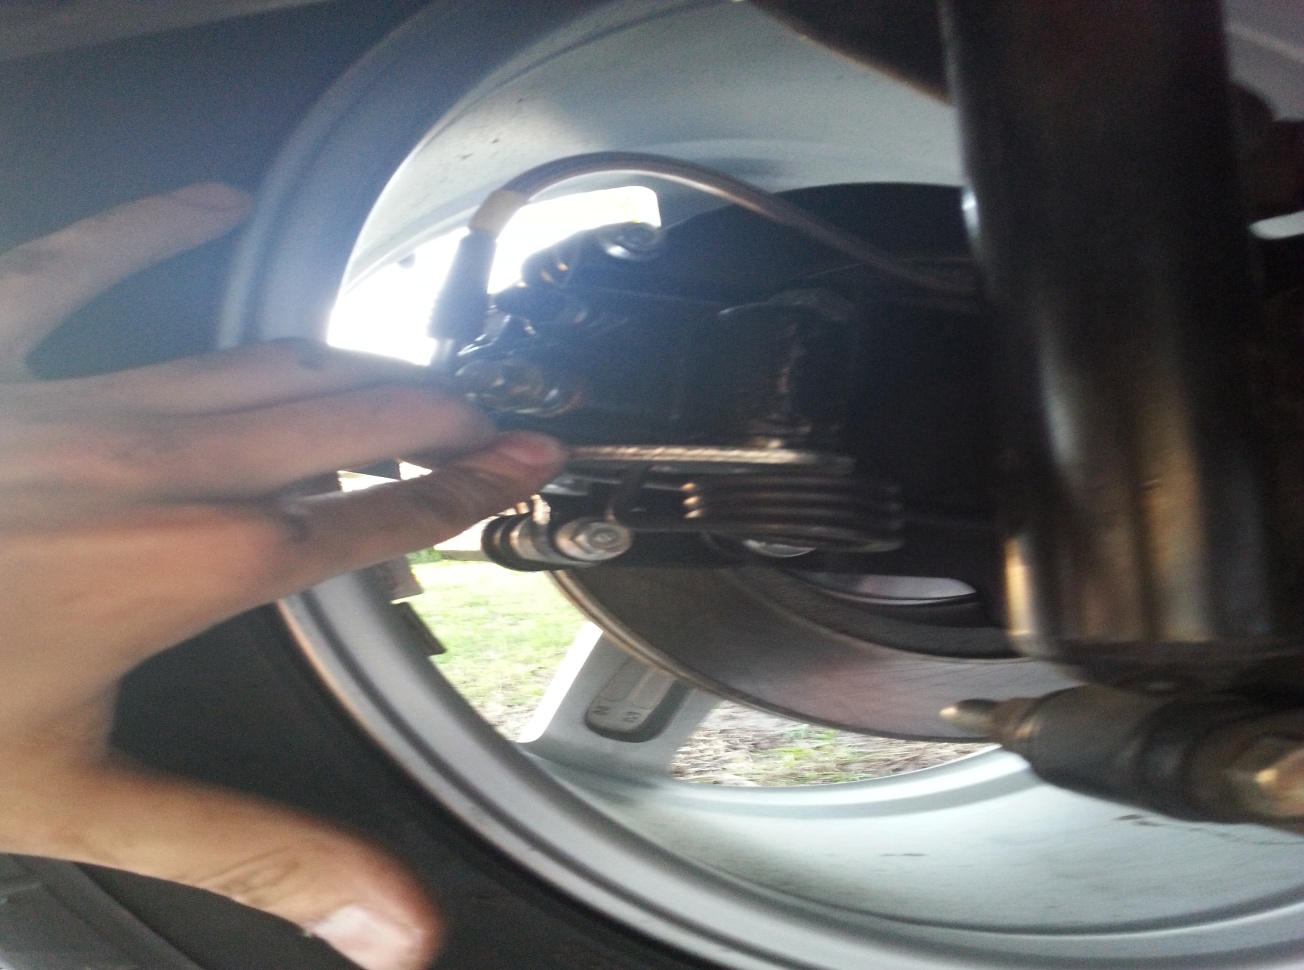
2. Before you do anything, you WILL need to take the driveshaft out in order to access the end of the brake cables above the drive shaft. Take your 12mm 12 point socket and take out the drive shaft. If you never done it before, all you have to do is put the car in 1st gear or Park, get the right angle to take the 2 of the 4 bolts out on the end toward the rear, put it in neutral in order to rotate the drive shaft to get the proper angle for the other 2 of the 4 bolts, put it back in 1st or park, take the other two bolts out, and pull the driveshaft down and toward the back of the car. It should slip right out. If a LITTLE transmission fluid comes out, this is totally normal
3. Now I had to convert from drum brakes to rear disc brakes here, so I cut the back of my old cables (couldn’t use them anyways). This is the time to unplug your old lines (starting from the back). Simply unhook them starting from the rear. Be sure the parking brake handle is down and there is no tension on the line. If it’s too hard… you can carefully cut the lines. You are putting in new cables anyways.
All you have to do here is pull the line toward the rear of the car and off the tab. Then take the C-clamp off with your needle nose pliers, then pull the line out toward the front of the car.
4. There is a bracket on the side of the car in front of the rear tire. Find it and take your 3/8 socket to take it off.
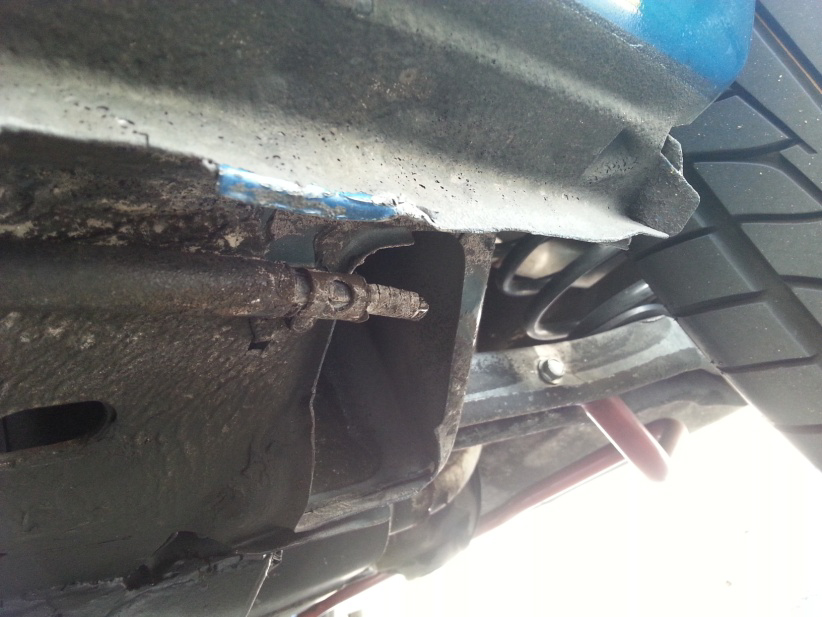
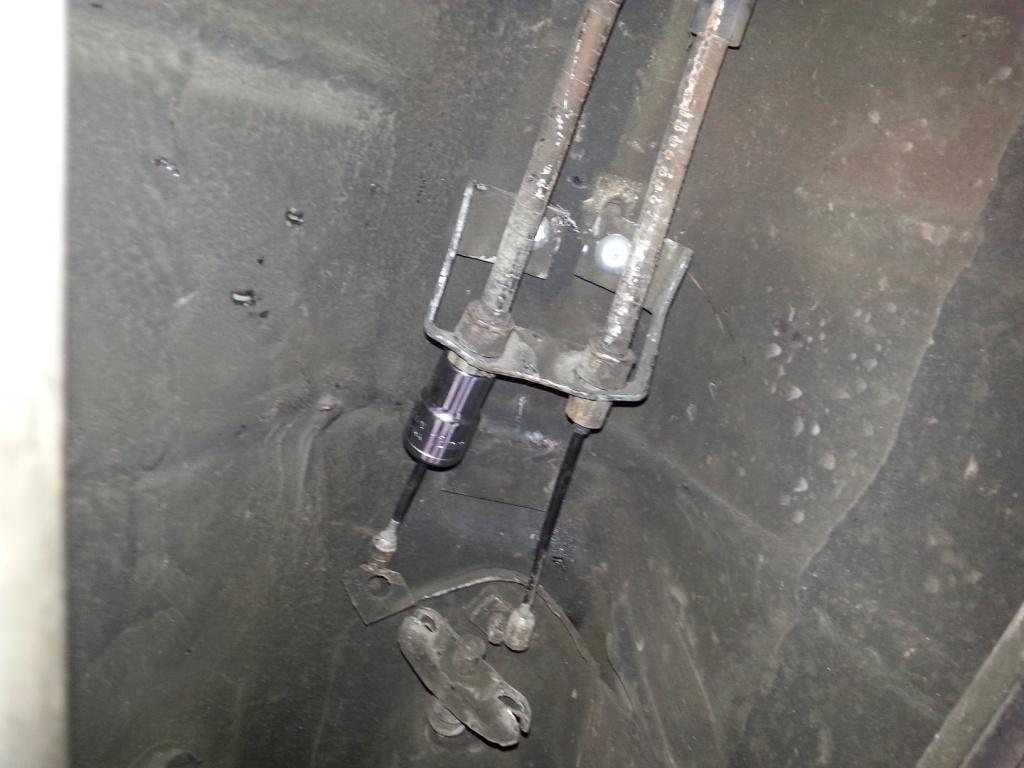
5. Push the line inside toward the center of the car. Once it’s pushed through you will notice a bracket on the frame of the car, simply unhook it.
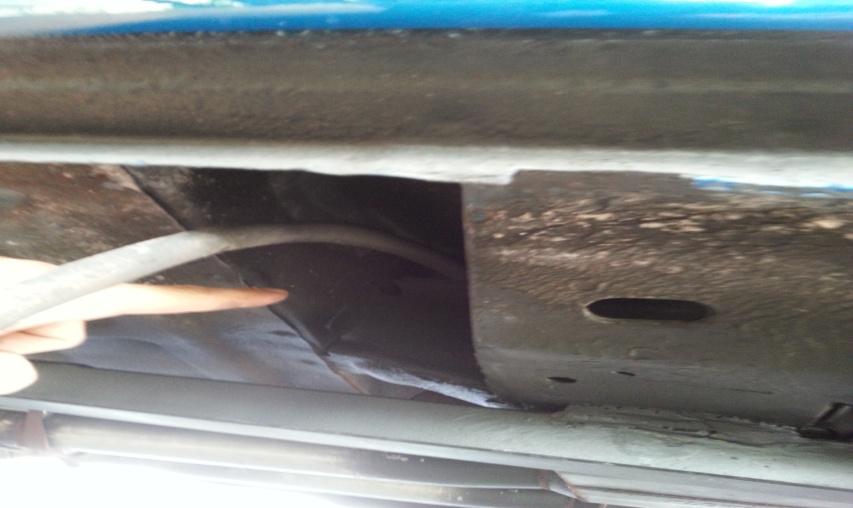
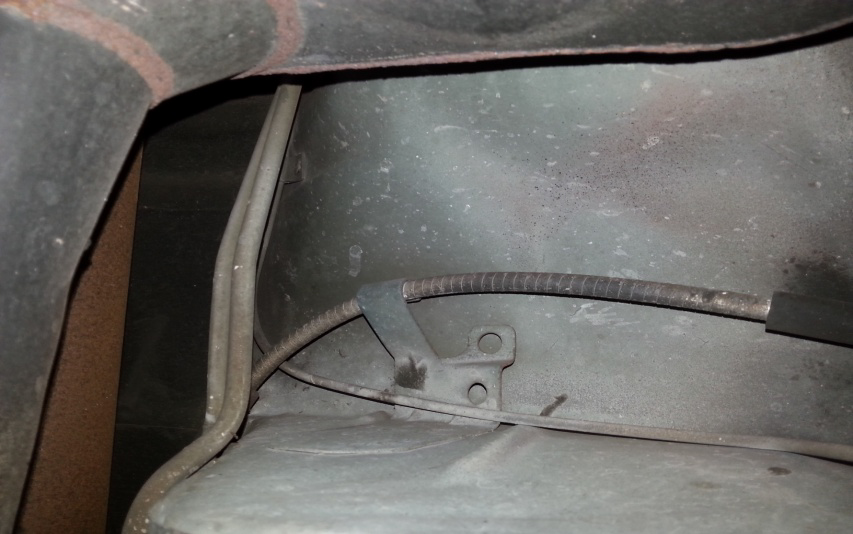
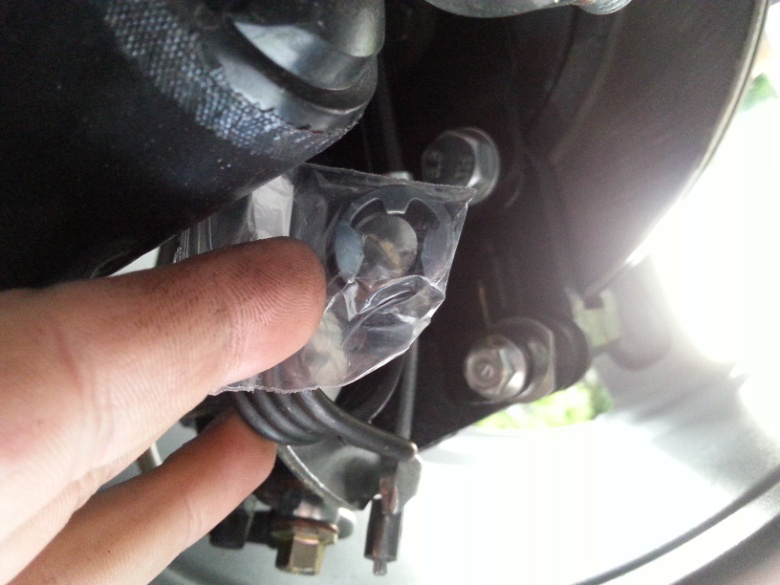
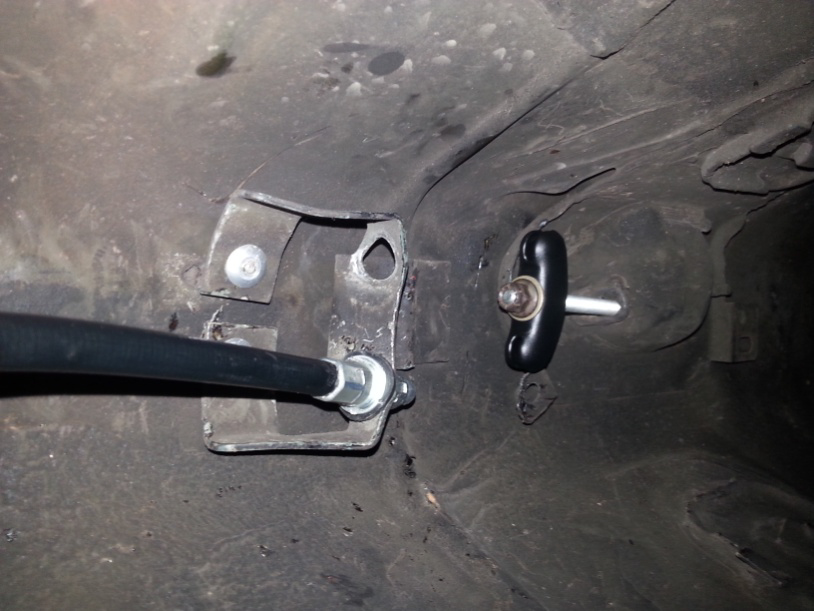
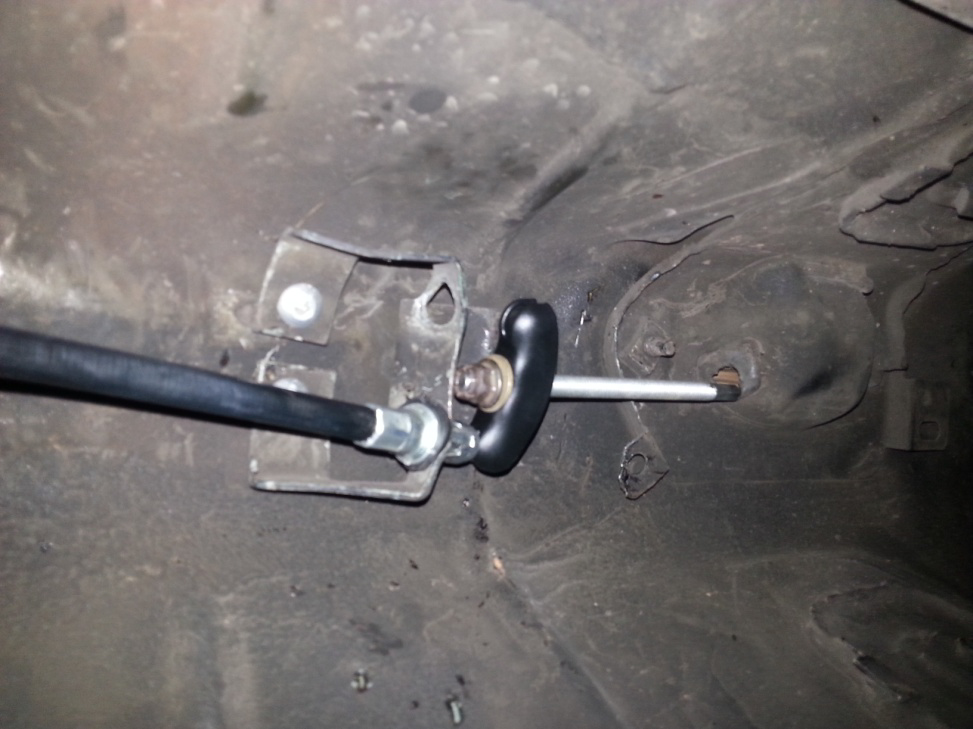
6. Since you have the cable off from the rear of the car and the drive shaft out, you should have no problem locating, accessing, and unplugging the end of the lines. To unplug the end of lines, take two fingers and easily lift them off the bracket.
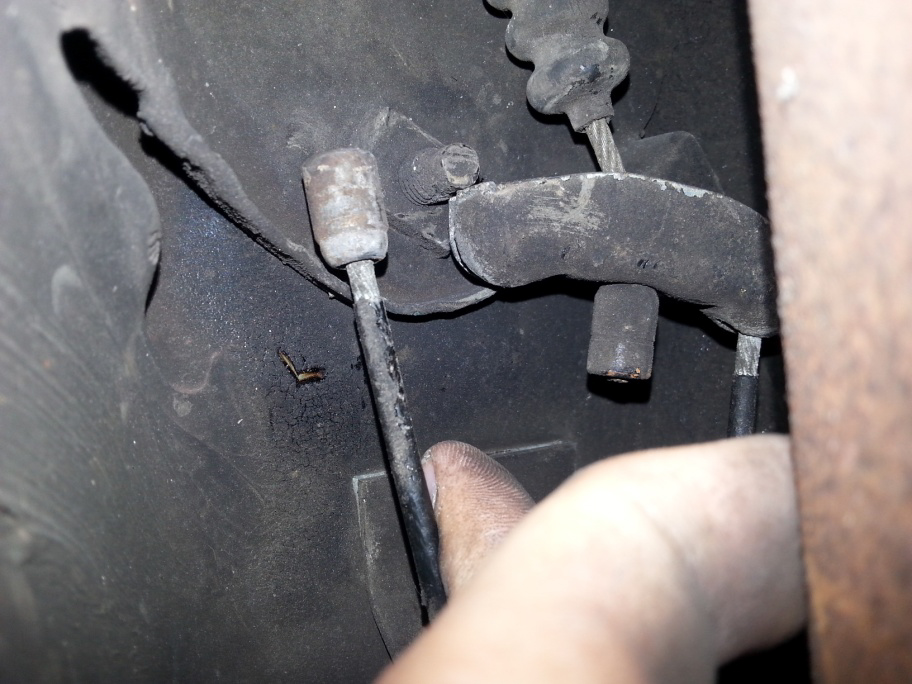
7. Unplug the old line from the last bracket. Take your 13mm 12 point ½ inch DEEP WALL socket, put it over the metal part of the clamps holding the lines, push down, and wiggle them out. I put my socket on my socket wrench and it made this much easier. In the picture this is obviously not a deep wall, I just used it to show you what you had to do. I also pulled out the inside of the cable to make it easier. Remember, just wiggle it out.
8. Do the exact same procedure for the other side. It’s all the same steps.
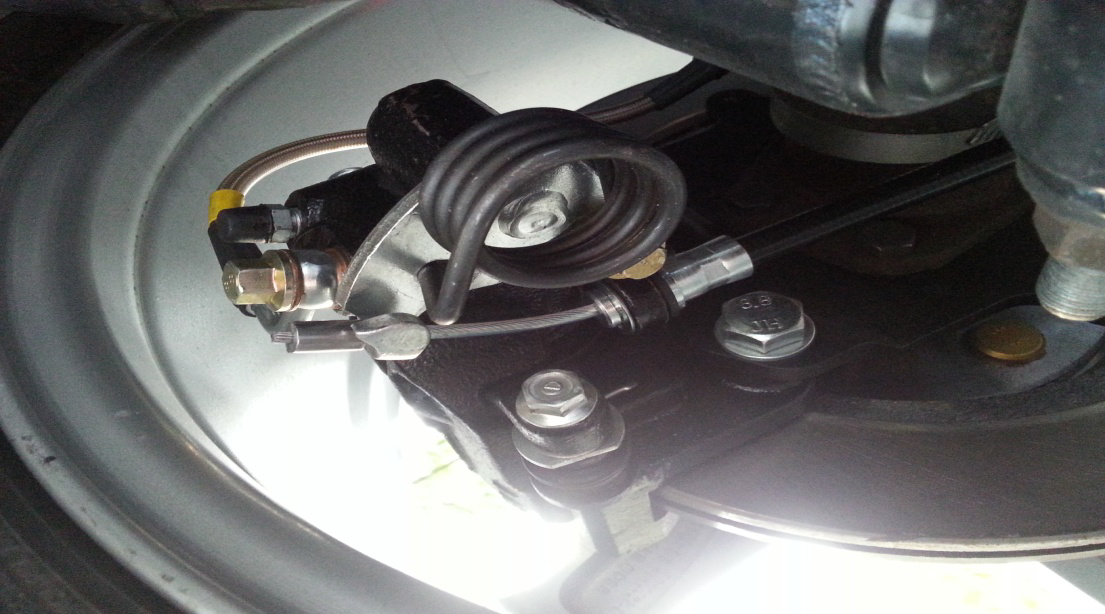
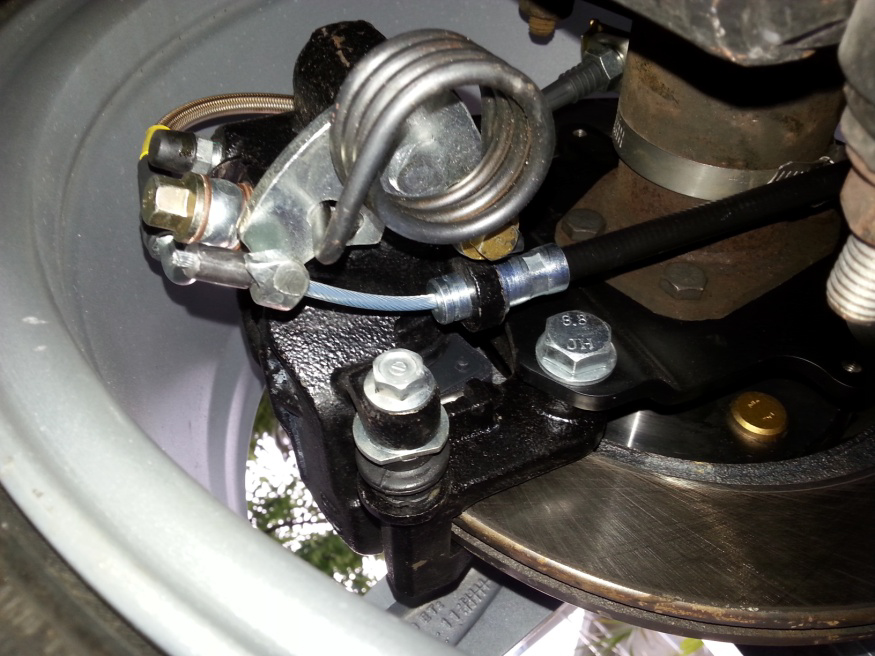
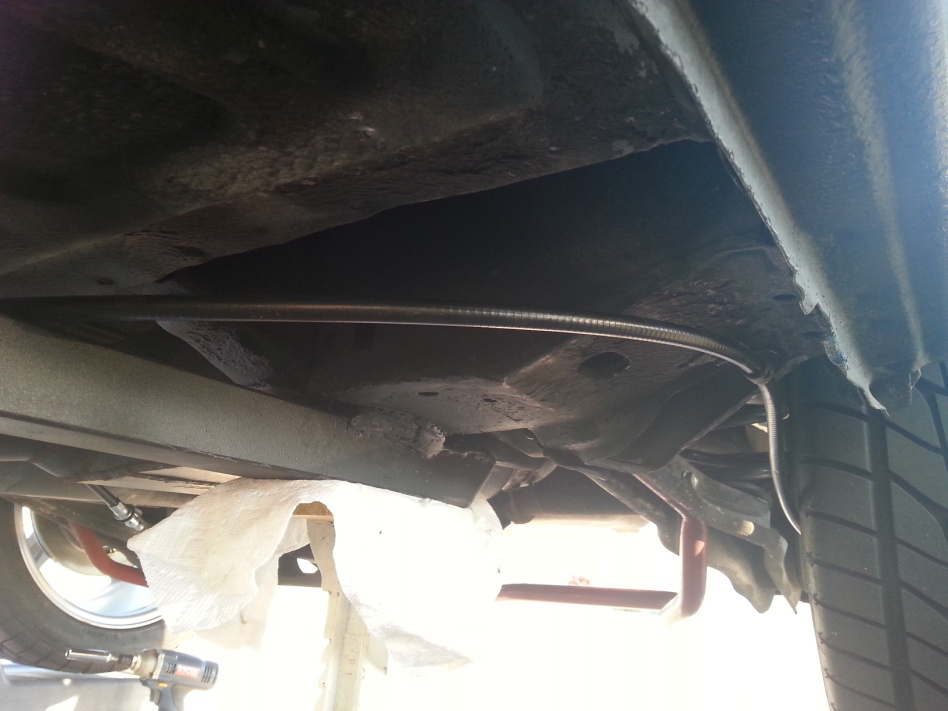
9. Now that the old cables are out, it’s time to put the new ones in. Start from the rear and plug in your new cable in the back. Push the cable through the hole on the caliper, hook the end of line, and put a C-clamp on it.
10. Feed the line through in the same way your old one was until you reach the center of the car. Once it’s feed through it will be easier to put the bracket back on the side of the car. Take your 3/8 socket and plug the bracket back in and tighten.
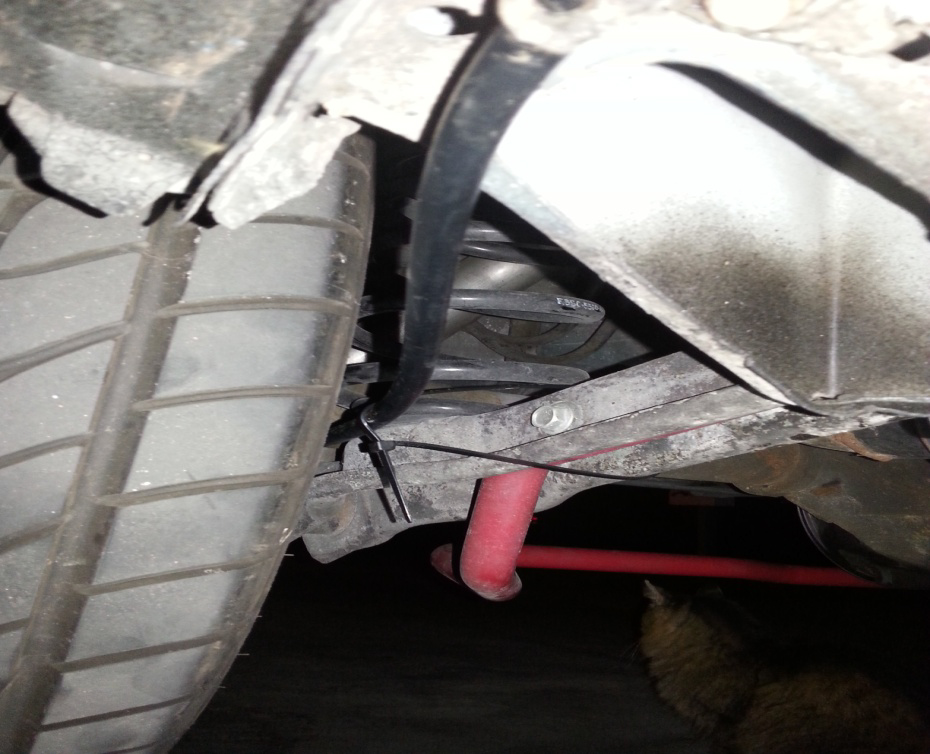
You may notice that the cable may or may not rub against the tire. It is common for people to have to zip tie them to the control arms. I had to.
11. Hook the cable back in to the bracket.
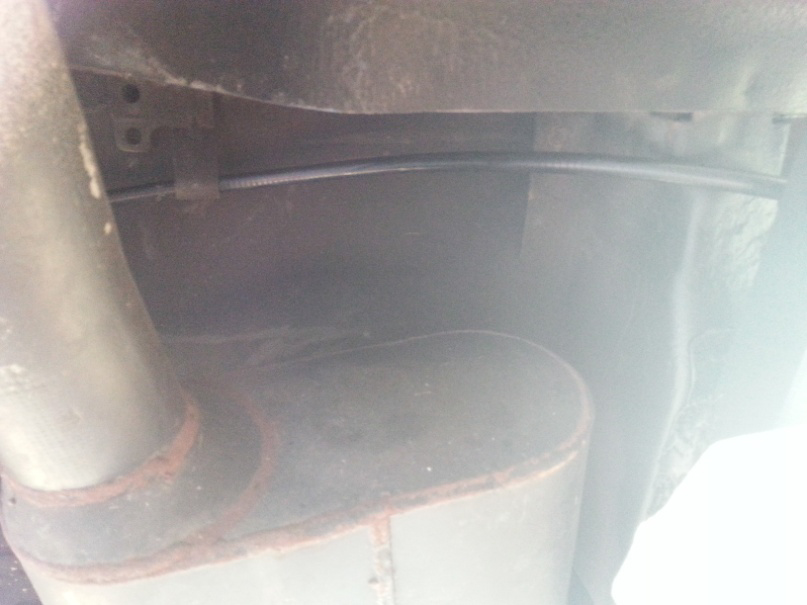
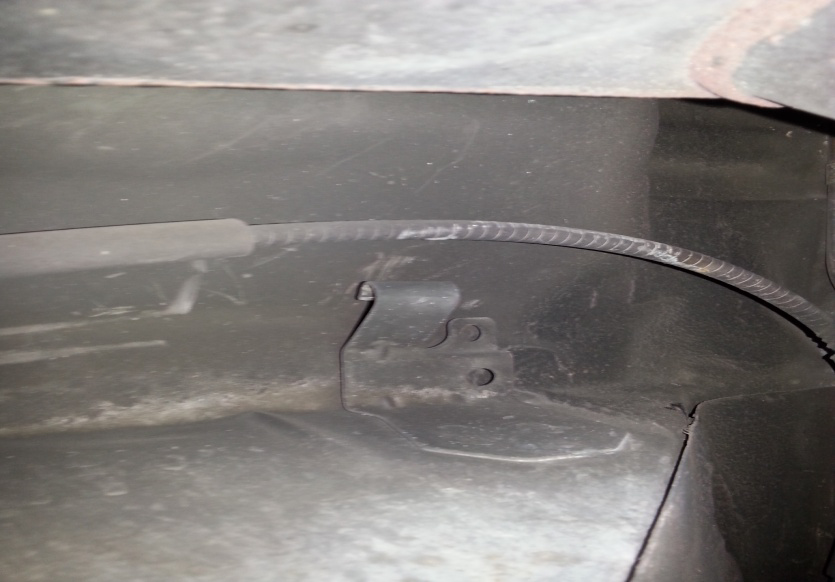
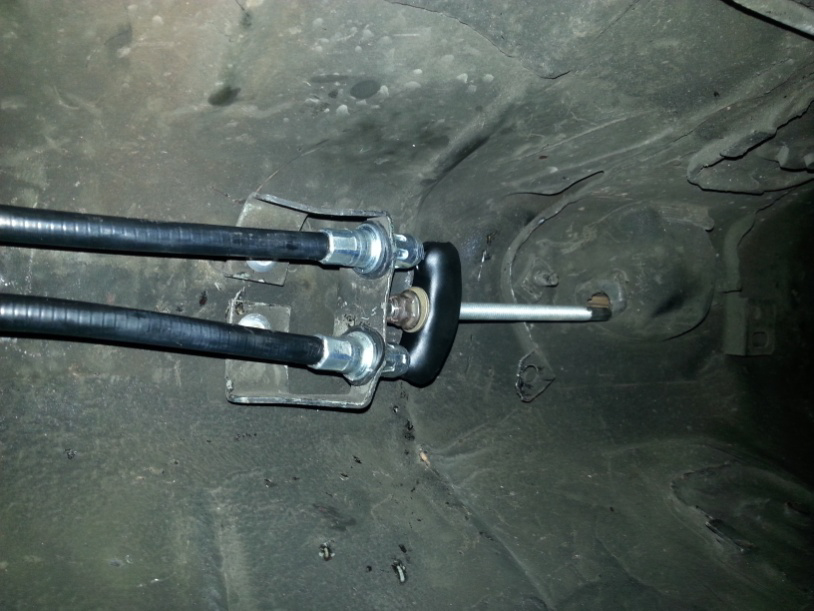
12. Now it’s time to plug the cable back into the mounting bracket. I had to open the holes a little with a drill in order to push the cable through. This will take a mixture between a little pushing, WD40 if you wish, and needle nose pliers to pull it through.
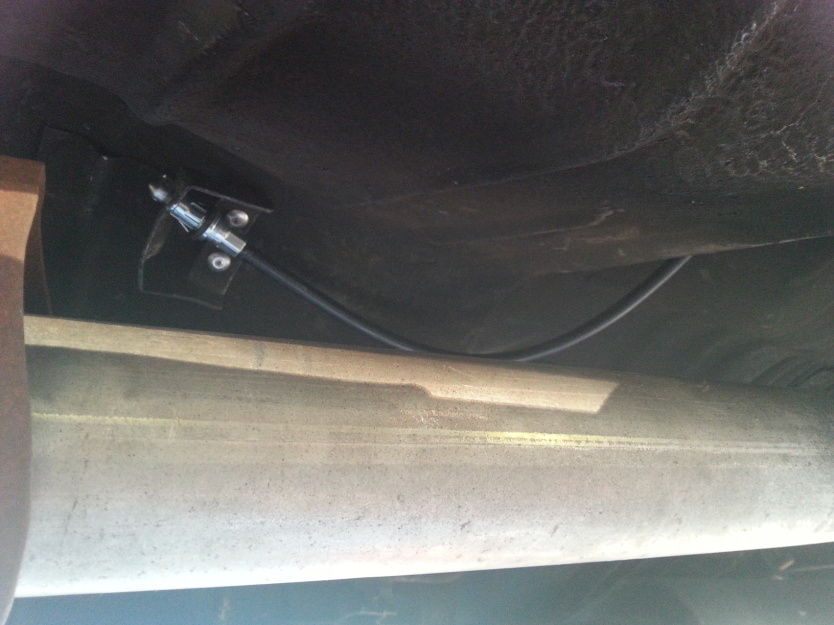
13. Hook the new line up the bracket. This may be somewhat hard because the cables are new and not stretched out yet. Once it’s hooked your good.
14. Do the same procedure to the other side of the car. If you have the stock E brake cable still there you should have to adjust the stock set up back in place. If you have the Ford Racing adjustable E brake cable, see that guide.
15. Now zip tie the cables to the control arm if necessary so the tires do not rub.
16. Put the driveshaft back in.
17. Safely put the car back on the ground.
Before you take it for a test drive be sure that you stiffen up the new lines by pulling the E brake and stretching out the new lines for at least 20 minutes. Take it for short a test drive and be sure that you have the parking brake cable adjusted properly and the lines are not too tight to the point where the brake pads are dragging on the rotors when the parking brake is disengaged. Also, be sure it is not too loose to the point where the parking brake does not engage at all. Once you have that figured out, you’re done!!!
Installation Instructions Written by American Muscle Customer Joseph DeCresie 4.22.2014
