 FREE 1 to 3-Day Delivery on Orders $149+ Details
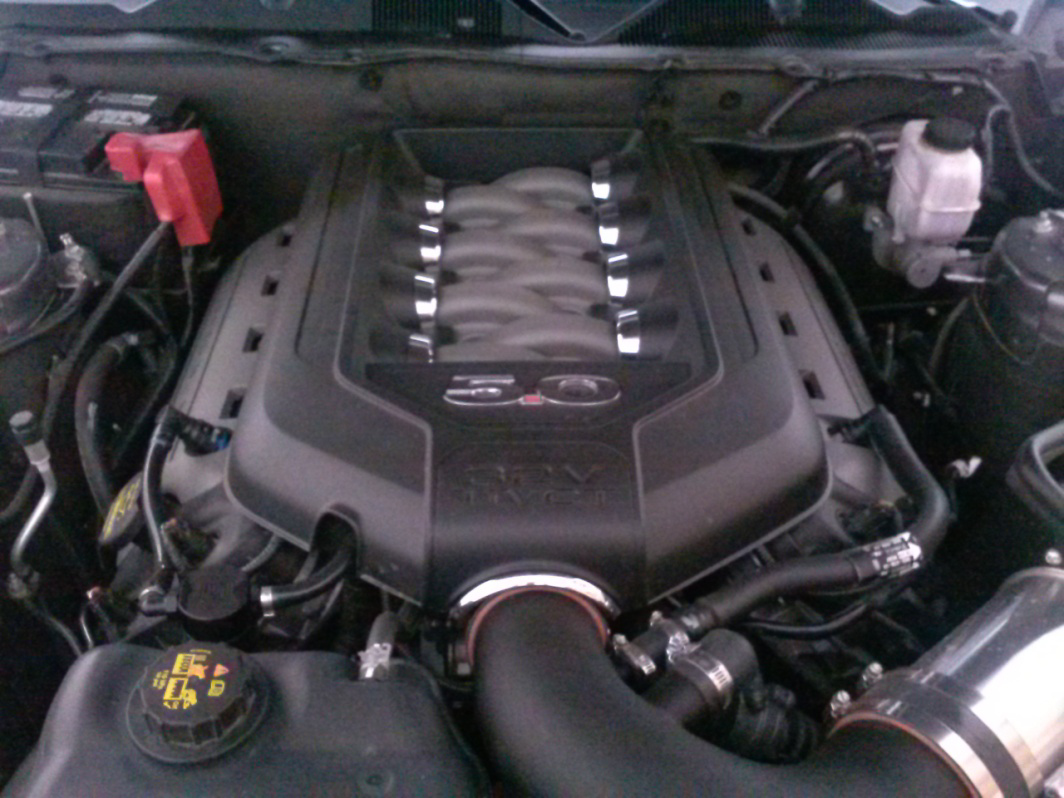
How To Install Performance Distributors S.O.S. Coil On Plug Kit on Your 2011-2014 Mustang GT
Installation Time
90 minutes
Tools Required
- Ratchet
- 12" Ratchet Extension
- 5/16" Socket
- 5/8" Deep Socket
- Torque Wrench (optional)
- Wire Spark Plug Gauge
- Flexible Retrieving Tool / Spark Plug Boot Pliers
- Needle-Nose Pliers (optional)
- Anti-Seize Lubricant
- Performance Distributors Electrical Grease (Supplied)

Shop Parts in this Guide
Installation:
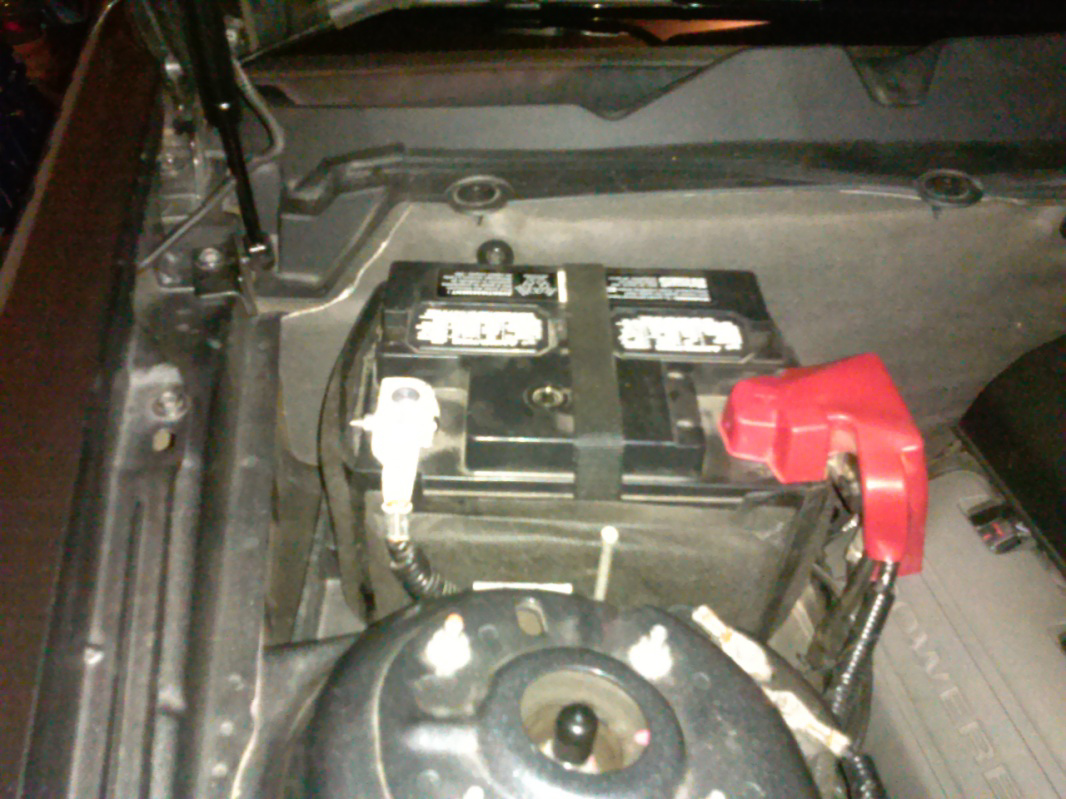
Step 1: Remove Battery
Use a 5/16” socket to remove the battery terminals and battery retaining strap.
NOTE: Instructions say to disconnect the negative battery terminal. I found it much easier during the installation to remove the battery for more workspace.
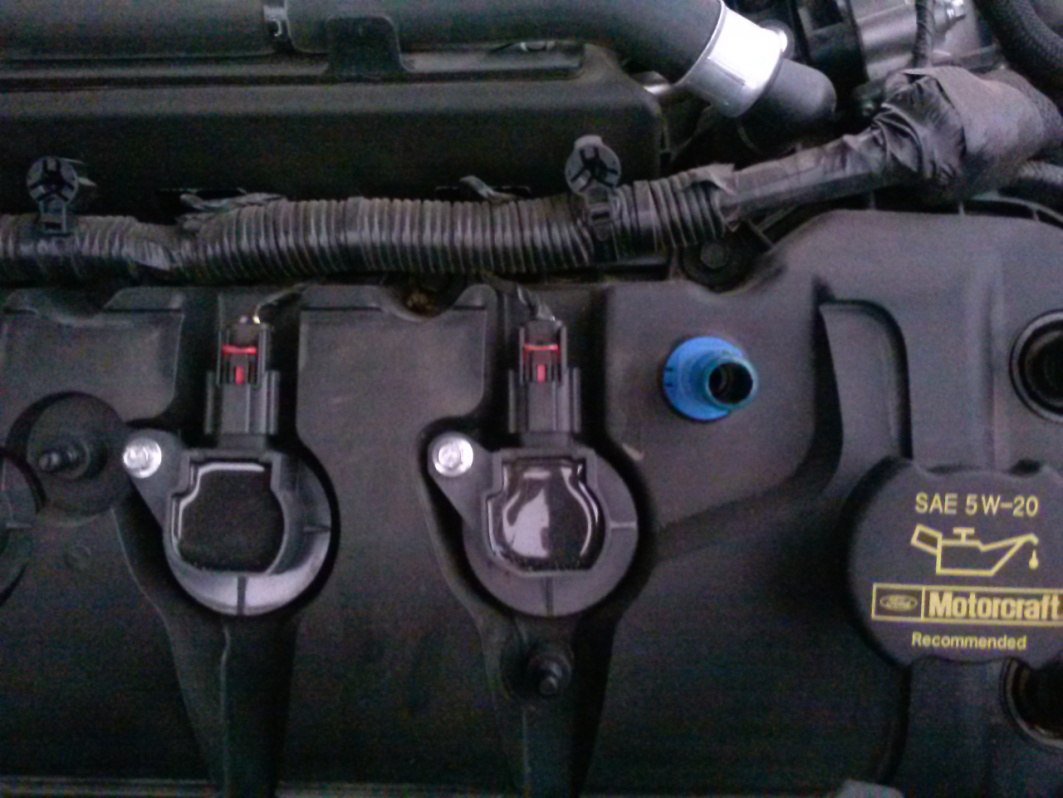
Step 2: Remove Engine Cover, Oil Catch Cans, Coil Covers

Step 3: Disconnect Coil Electrical Connector
Pull up on red training clip. You may need to use a decent amount of pressure to remove the plug. I used needle-nose pliers between the coil body and the plug to prevent breaking the plug.

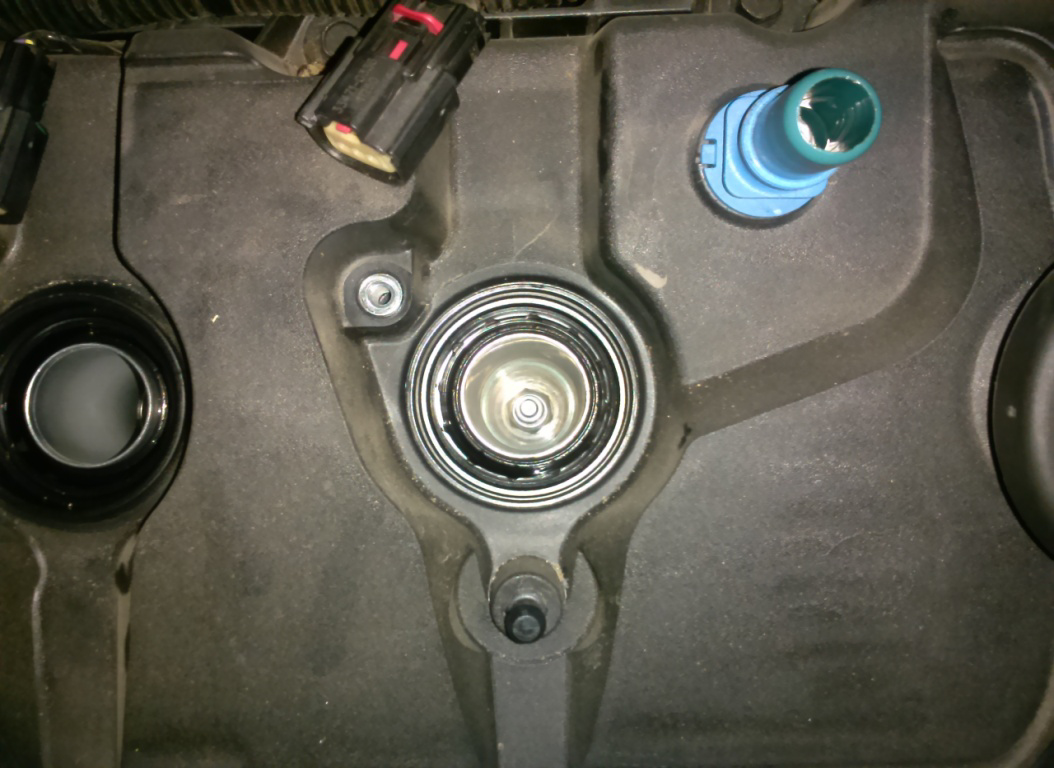
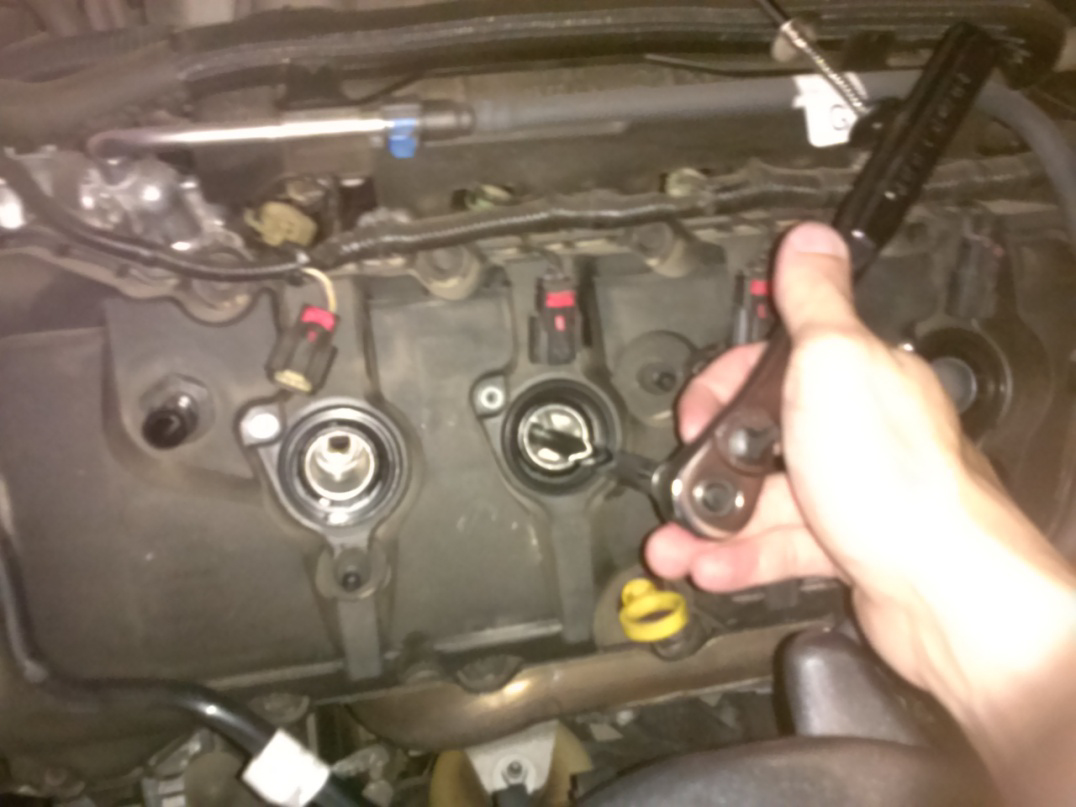
Step 4: Remove Coil Retaining Screw
Using a 5/16” socket, remove the coil retaining screw. The coil can now be removed by hand.
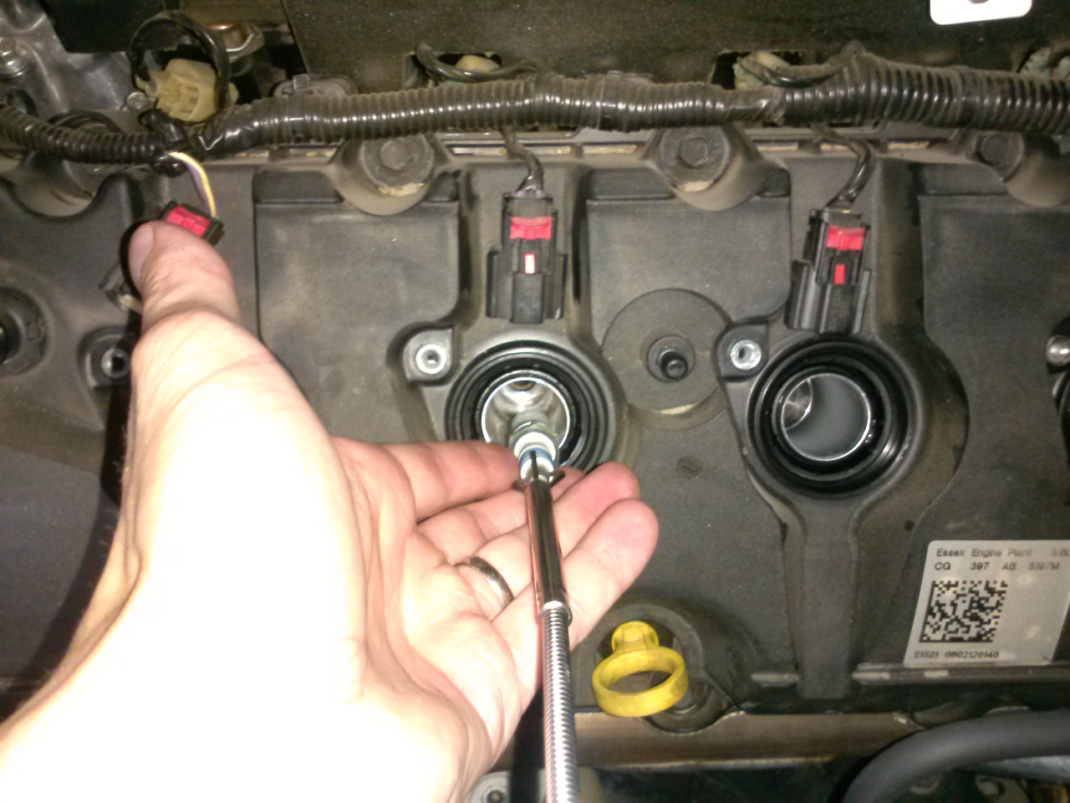
Step 5: Remove Spark Plugs
Using a ratchet with extension and 5/8” deep socket, loosen each spark plug. With a retrieving tool or spark plug pliers remove each spark plug.
Step 6: Re-gap Spark Plugs
Using a wire spark plug gauge, re-gap your spark plugs to 0.55”.

Step 7: Apply Anti-Seize Lubricant to Spark Plugs
Anti-seize lubricant can be purchased at your local auto parts store. It does not come with the coils.

Step 8: Re-install Spark Plugs
Using a retrieving tool or spark plug pliers, ensure the spark plug is not cross-threaded. Once the spark plug is threaded properly, tighten with ratchet, extension and a 5/8” deep socket.
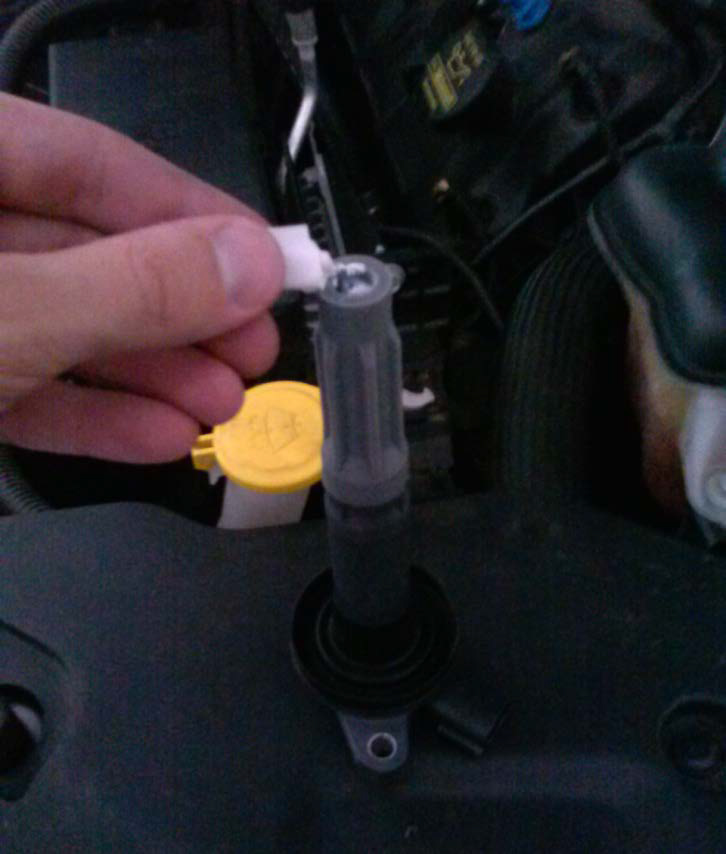
Step 9: Apply Performance Distributors Electrical Grease to Coils
Using the supplied electrical grease, apply a small amount to the end of each coil.
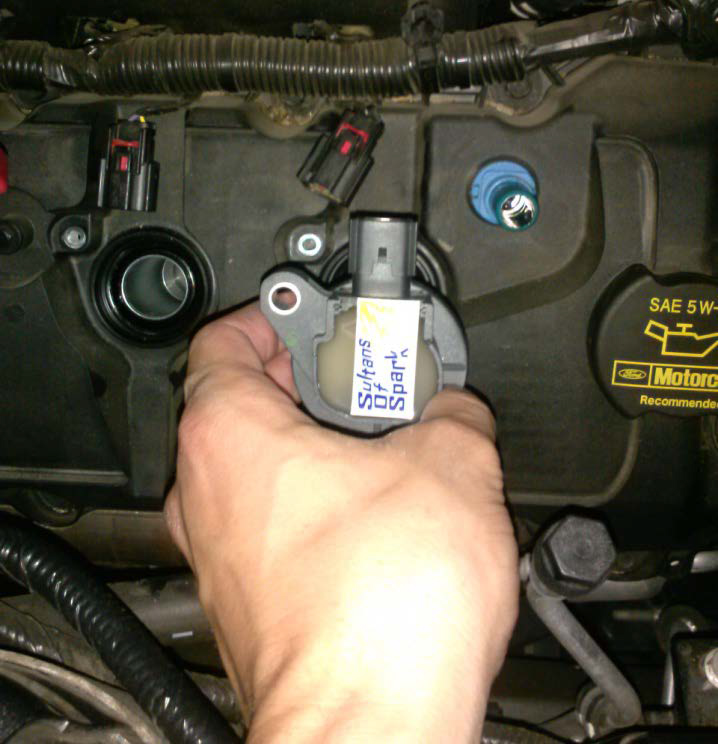
Step 10: Re-install Coils
Place each coil back into the engine ensuring the rubber fitting creates a seal.
Step 11: Reconnect Coil Electrical Connector and Re-Install Coil Retaining Screw
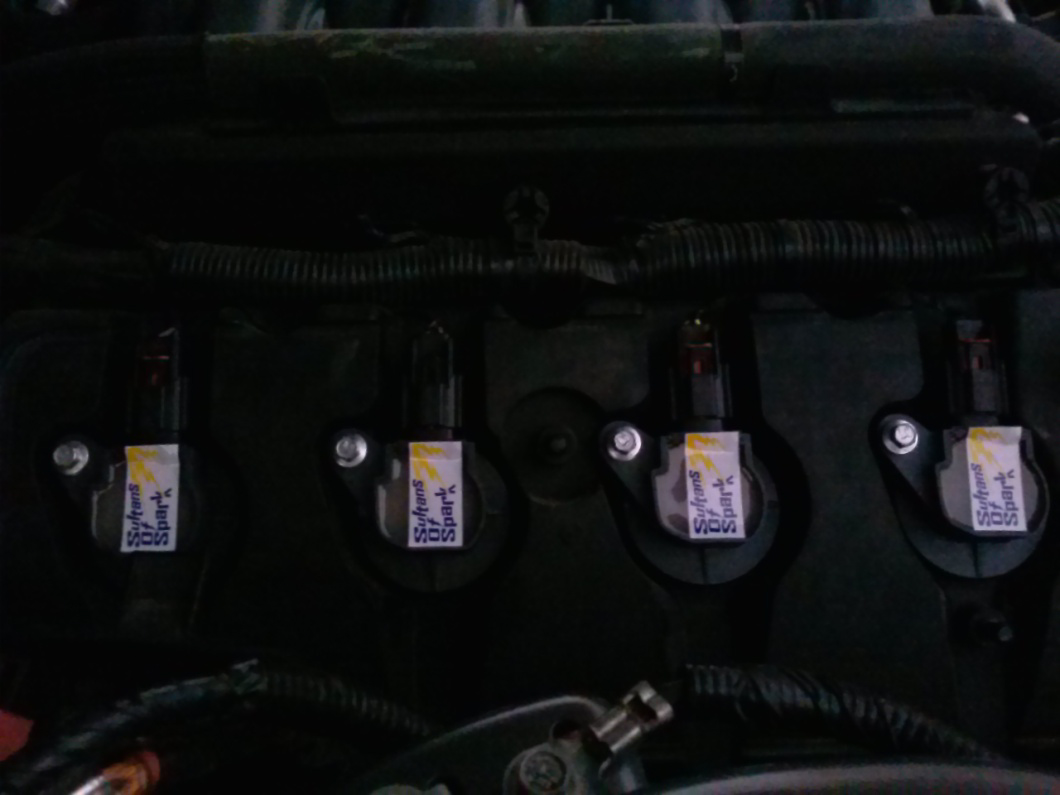
Step 12: Reconnect Engine Cover, Oil Catch Cans, Coil Covers
Step 13: Reconnect Battery
Use a 5/16” socket to reconnect the battery terminals and battery retaining strap.

Installation Instructions written by AmericanMuscle Customer Jake Donaldson 7.16.2014

