 FREE 1 to 3-Day Delivery on Orders $149+ Details
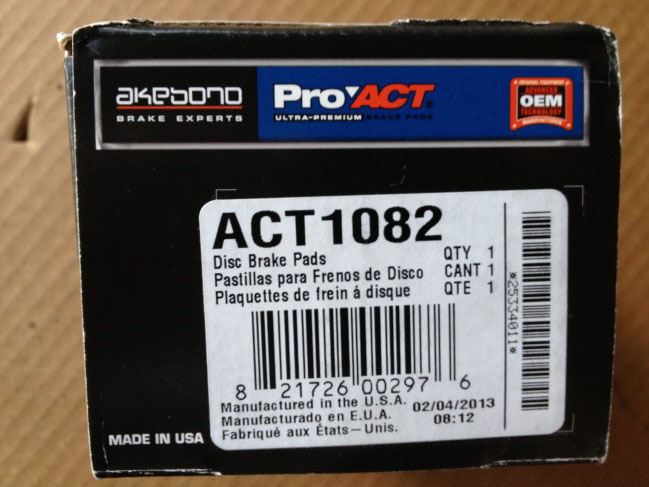
How To Install Akebono ProAct Ultra Premium Ceramic Rear Brake Pads on your 2005-2014 Mustang
Installation Time
1 hours
Tools Required
- 13mm socket
- Ratchet
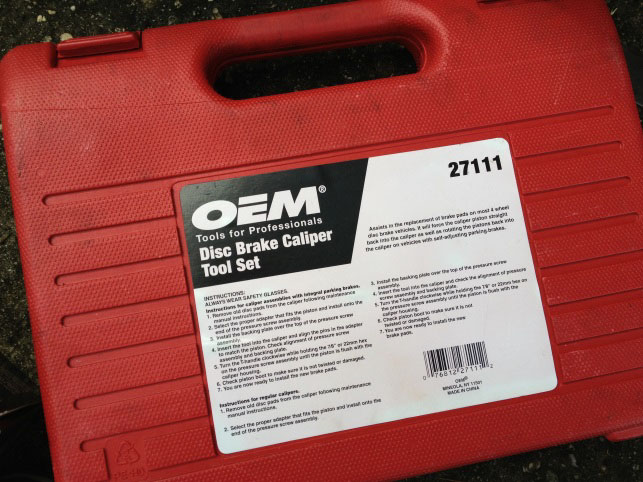
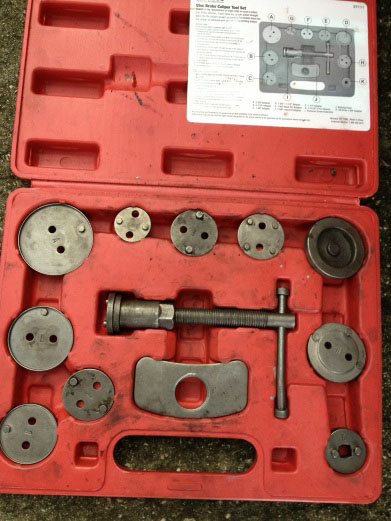
- Disc Brake Caliper Tool Set
- Floor Jack
- (2) Jack Stands
- Wheel Chocks
Removal Procedure:
1. Place wheel chocks in front of front tires.
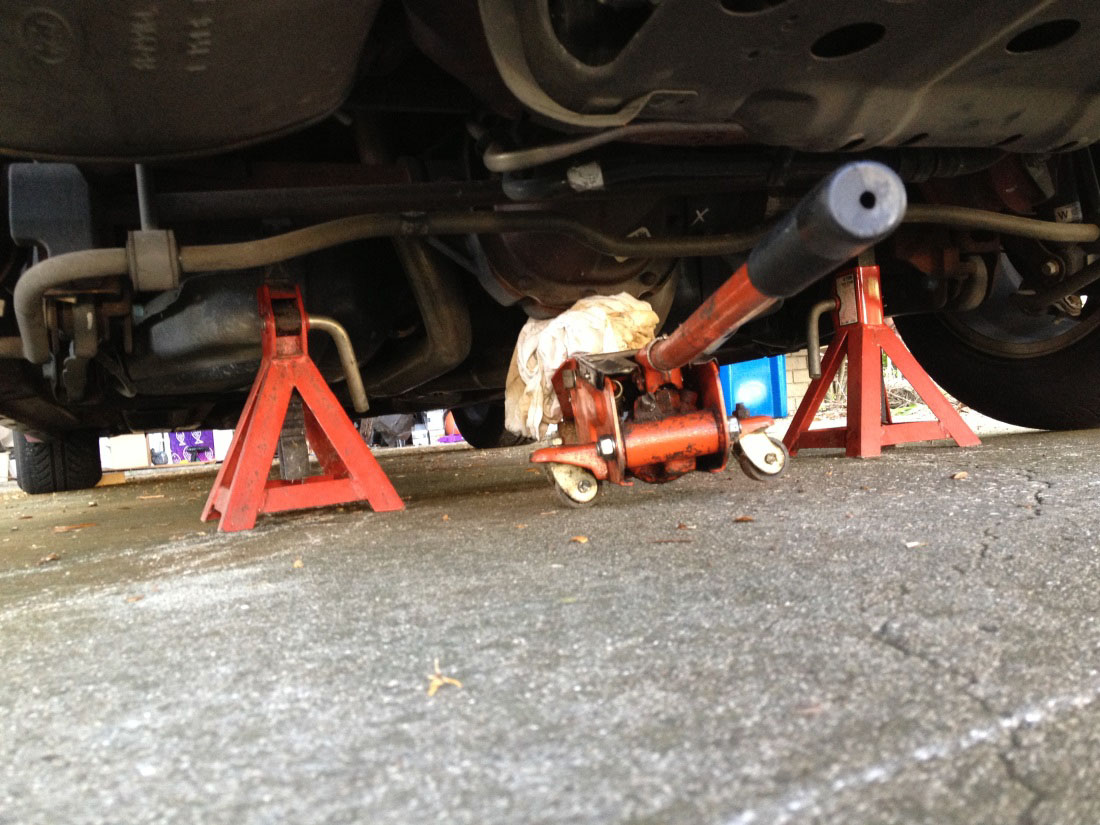
2. Jack up the rear of the Mustang in accord with procedure in the owners manual.
3. Support the raised rear-end with jack stands at proper points.
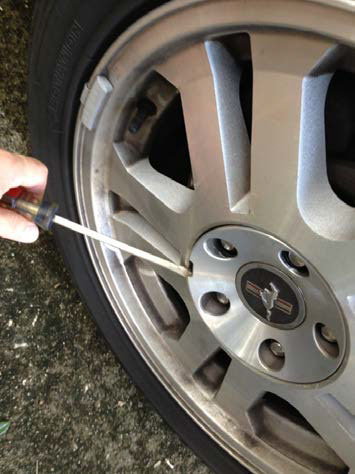
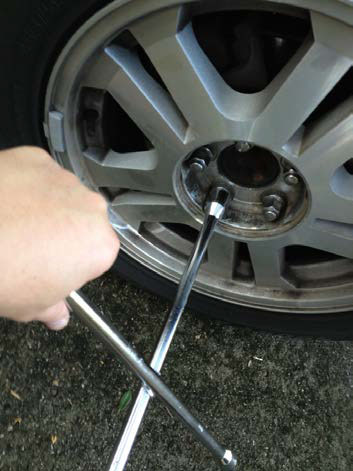
4. With the vehicle safely supported on the jack stands, remove the rear wheels. Some wheels have a center cap that needs to first be removed to get full access to the lug nuts.
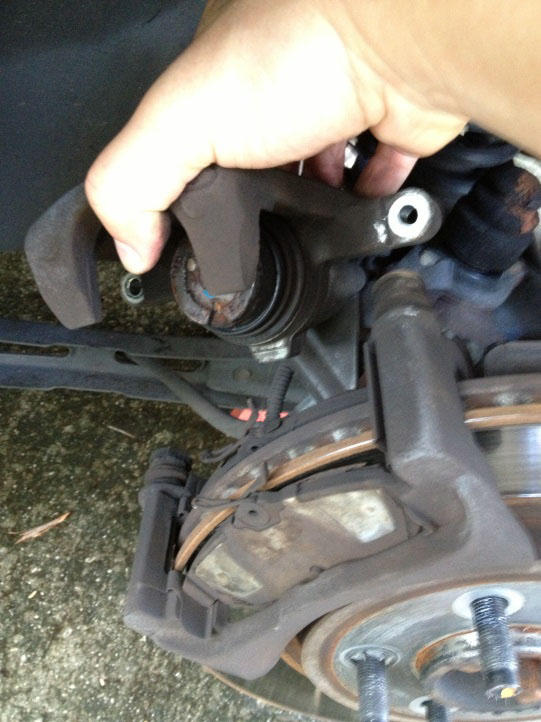
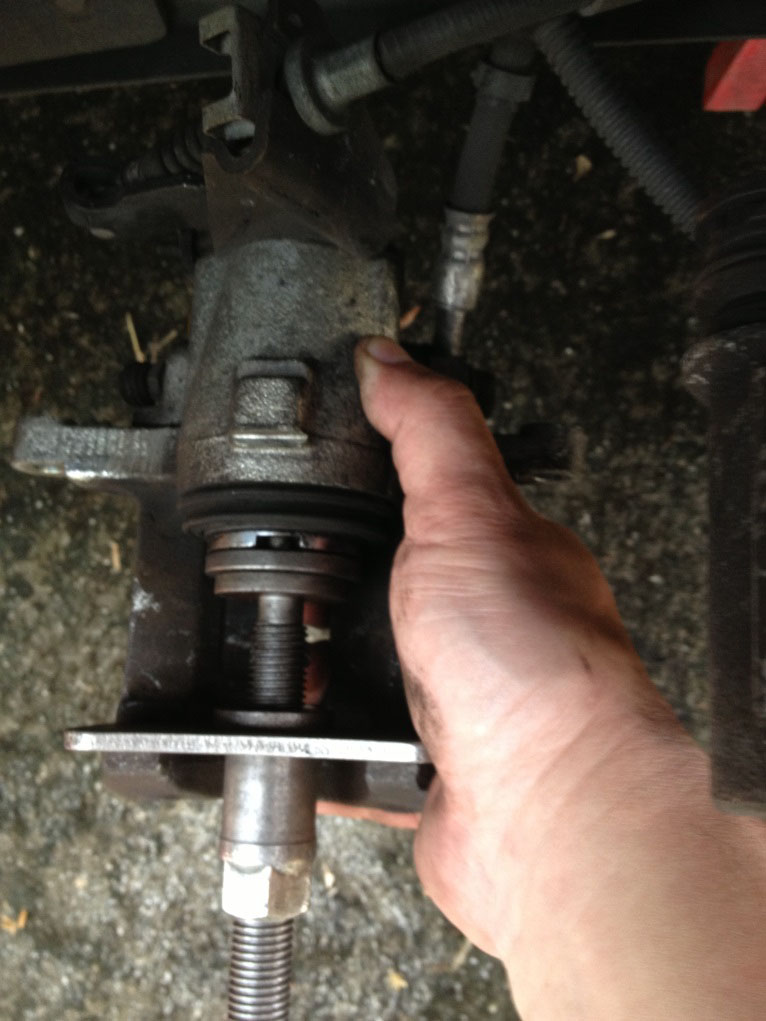
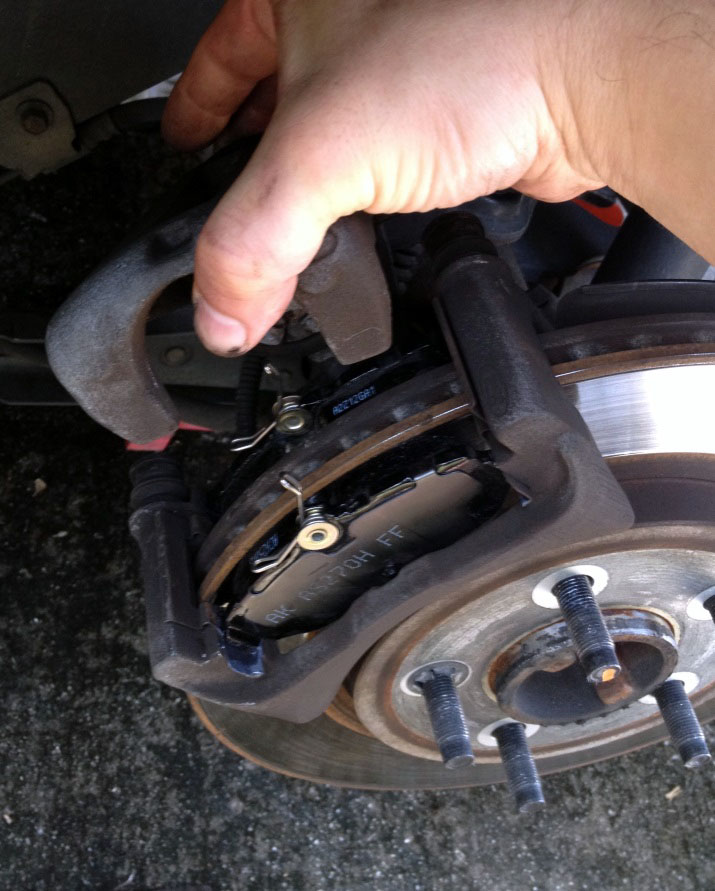
5. With the wheels now off, use the 13mm socket and ratchet to remove the two bolts that hold the brake caliper to its bracket.
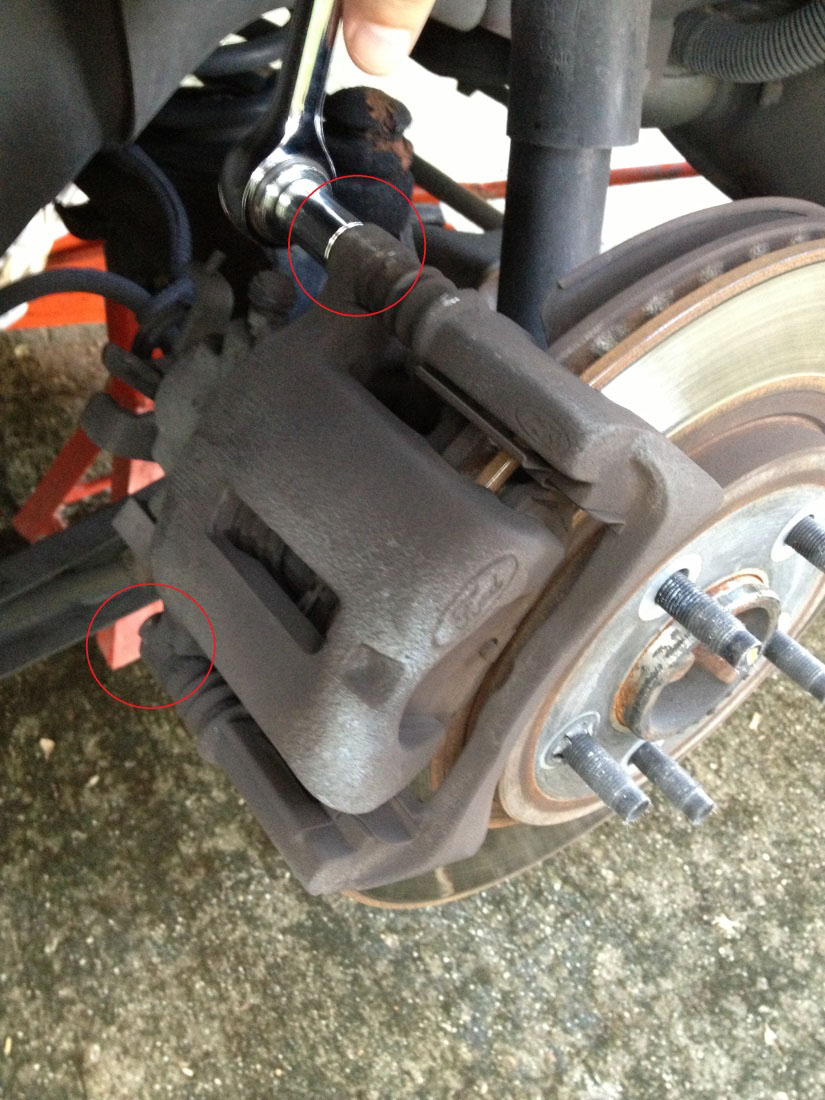
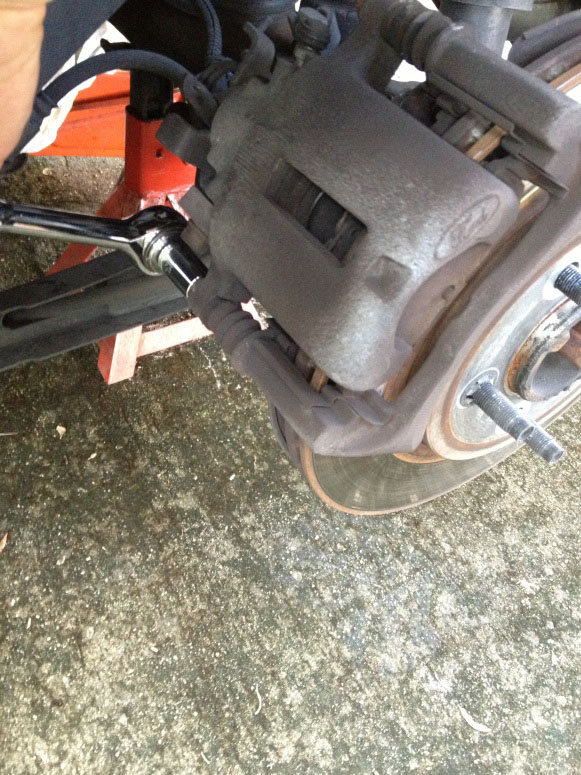
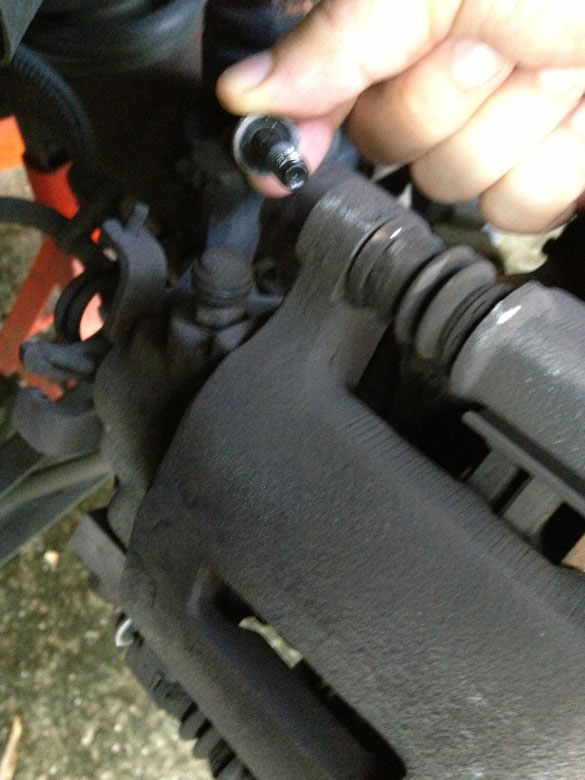
6. Once the caliper bolts are removed, the caliper can be lifted off its bracket. Be sure not to let the caliper dangle by the brake lines when setting it aside. While visible, inspect the lines for any cracking or excessive wear. Also check the rotor for any grooves or irregularities.
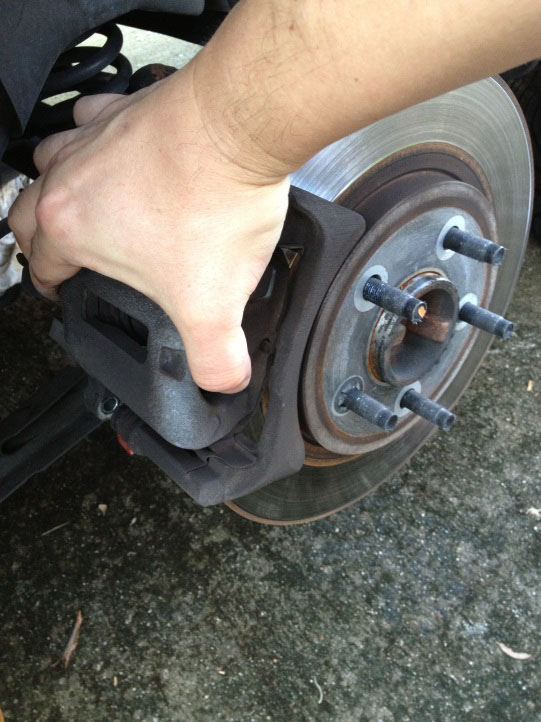
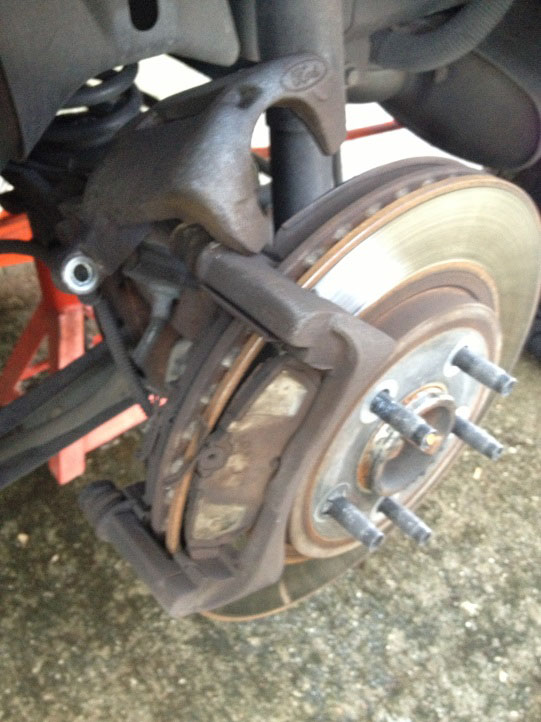
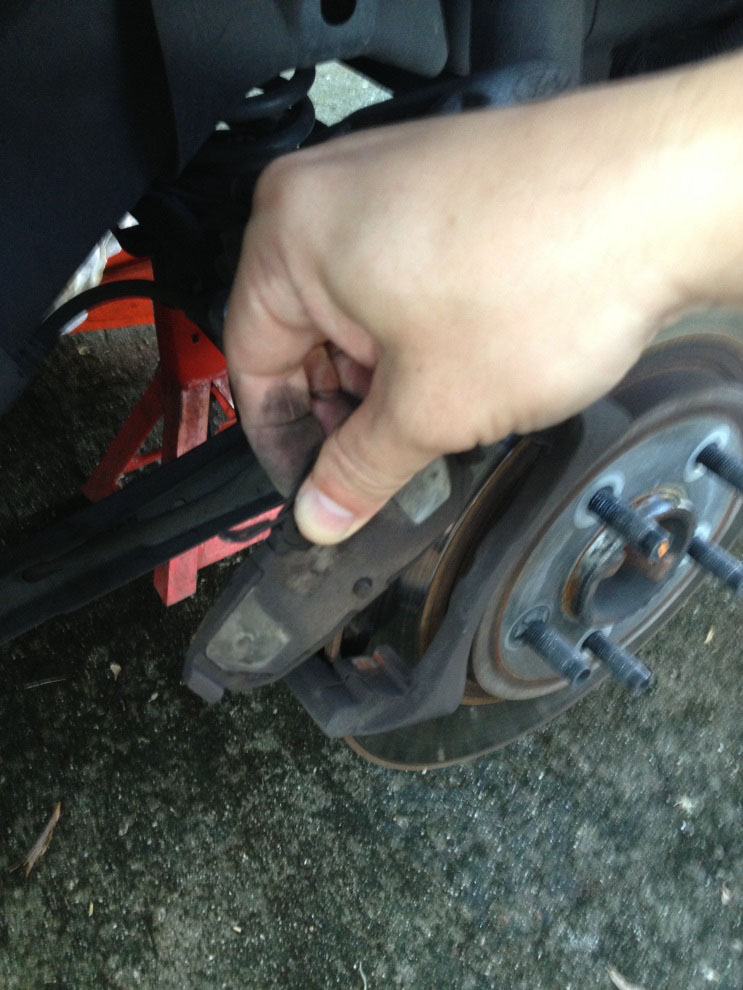
7. With the caliper out of the way, you can now remove the old brake pads.
Installation Procedure:
8. First you will need to compress the caliper piston. On the rear disc brakes you cannot simply compress the piston with a c-clamp as you can with the front brakes due to the design of the rear calipers incorporating the parking brake. You need to turn the piston as it is being pushed in. This is where the disc brake tool set comes in. Many discount auto stores rent them for free.
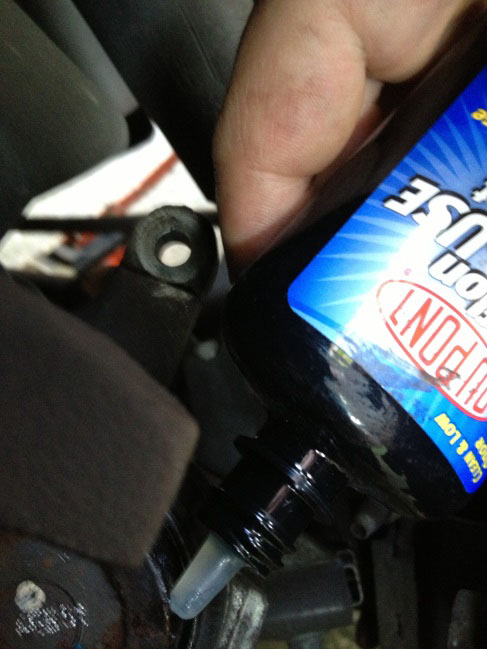
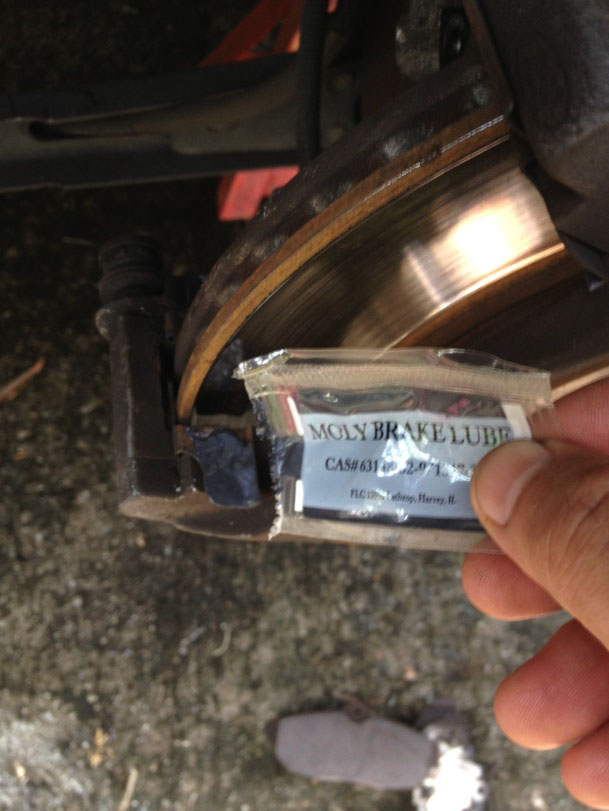
9. First apply some type of lubricant to the area where the piston and its rubber boot come in contact, to prevent any binding when the piston is being compressed.
10. You will notice that the piston is notched at the top and bottom. In the disc brake tool set you will see several adapters. Find the one that fits the piston and attach it to the end of the pressure screw assembly.

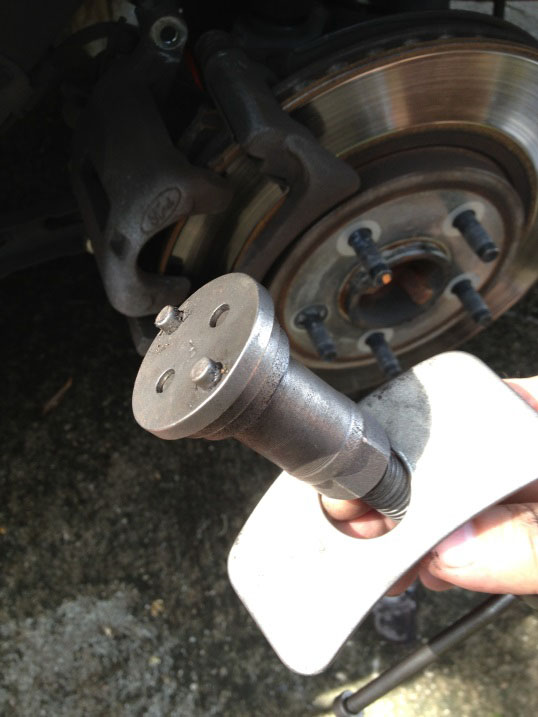
10. Insert the tool in the caliper, aligning the pins in the adapter with the piston. Turn the hex screw until the backing plate is flush with the other side of the caliper. Now turn the handle clockwise until the piston is flush with the caliper. The first few turns are probably going to be very tight. Keep an eye on the piston boot that is doesn’t get twisted or damaged.
11. Make sure that the piston notches return to the same position, the 12 and 6 o'clock positions, as a pin on the pad aligns with the one notch.
12. Apply some lubricant on the end plates in the caliper brackets. Be sure not to get any on the disc. If you do get anything on the disc or the face of the pads be sure to clean it with brake cleaner before reassembly.
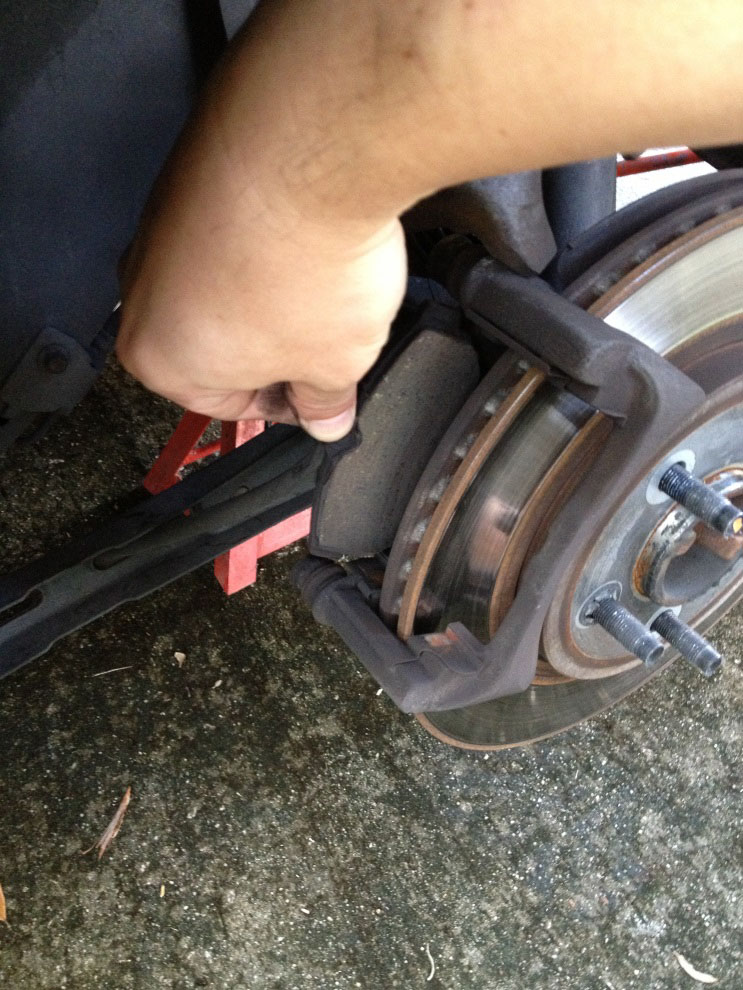
13. Install the new brake pads. One of the pads will have a metal tab on the bottom. Install this one in back as it will not fit properly in the front position.
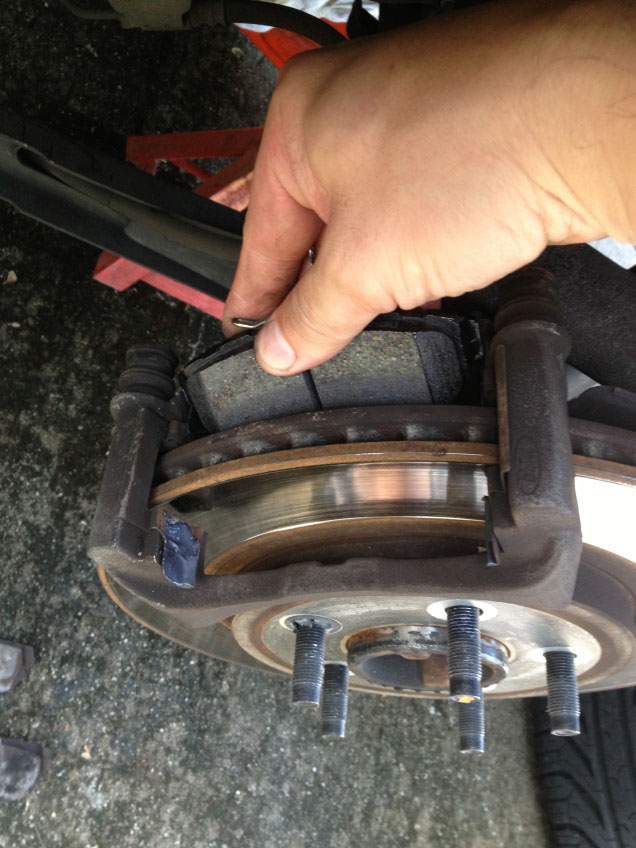
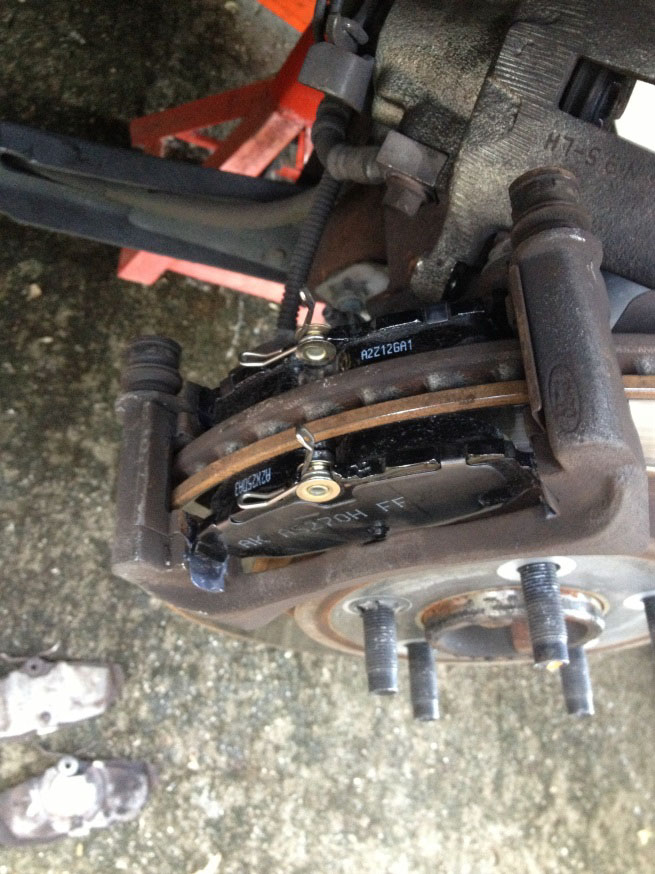
14. Now reinstall the caliper, ensure neither of the springs on top of the pads are poking through the top of the caliper and bolt it up.
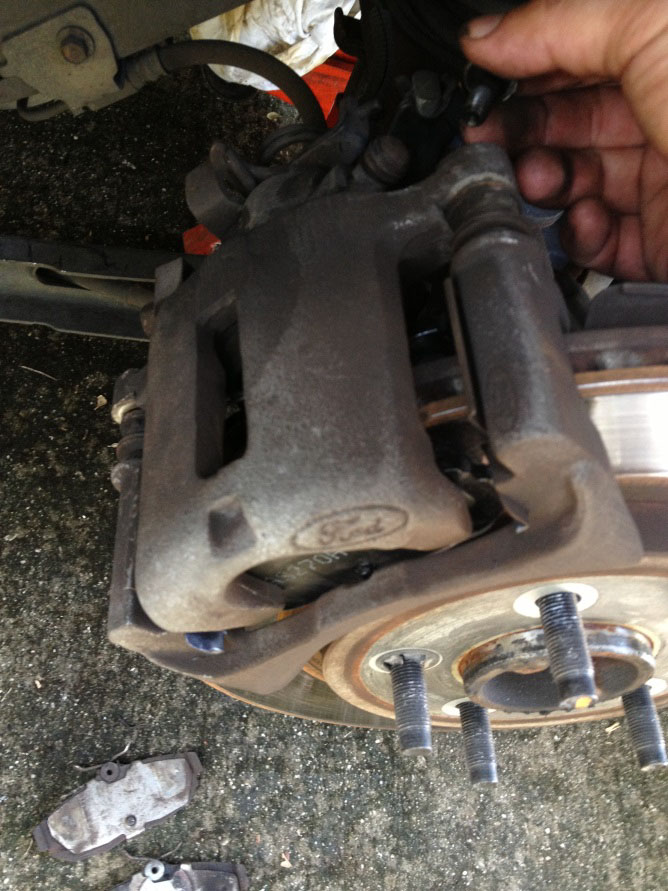
15. Ensure everything is in place and tightened up, then reinstall the wheel.
16. Repeat for the other side.
Installation instructions written by AmericanMuscle customer Steven Sock 7.27.13

