 FREE 1 to 3-Day Delivery on Orders $149+ Details
How to Install a Raxiom OE-Style GPS Navigation w/ Bluetooth & Back-Up Camera in your 2010-2014 Must
Installation Time
2 hours
Tools Required
- Pry Bar Set 11/32 in. socket and rachet 7mm socket (I used a 9/32in) Small Phillips head screwdriver Starhead/Torx screwdriver
Installation
Starting Units
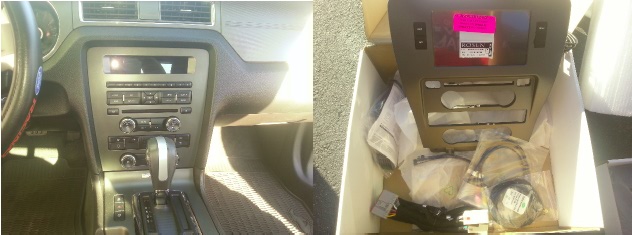
1. Turn your Mustang's key to the run position, put gear in sport mode. (You will see I didn’t do this right away and it made it a lot harder). It will give you much more room when working on the system.
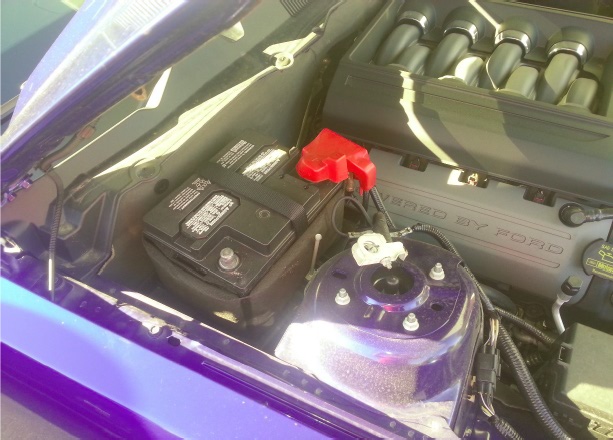
2. Disconnect the battery using 11/32in. socket.
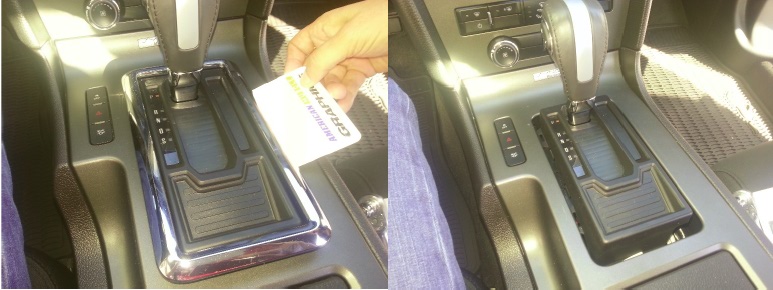
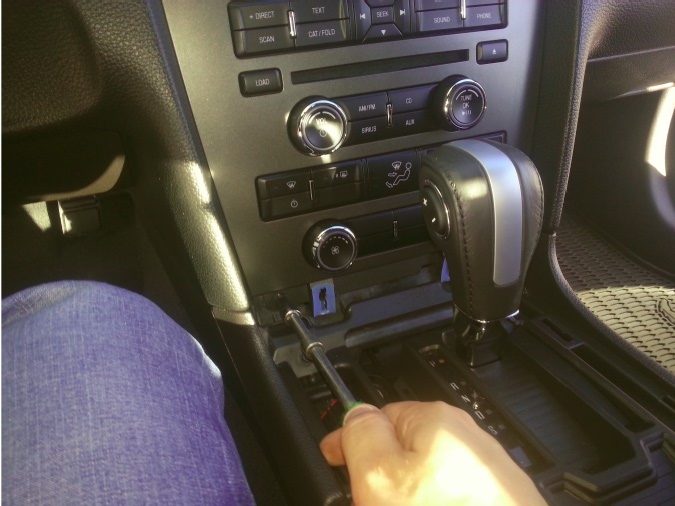
3. Use pry tool to remove chrome trim from around the gear shifter. (Note: in picture, a pry tool was not used, a piece of hard plastic sufficed.
4. A. Use pry tool to remove center console. Note: hard plastic will suffice.
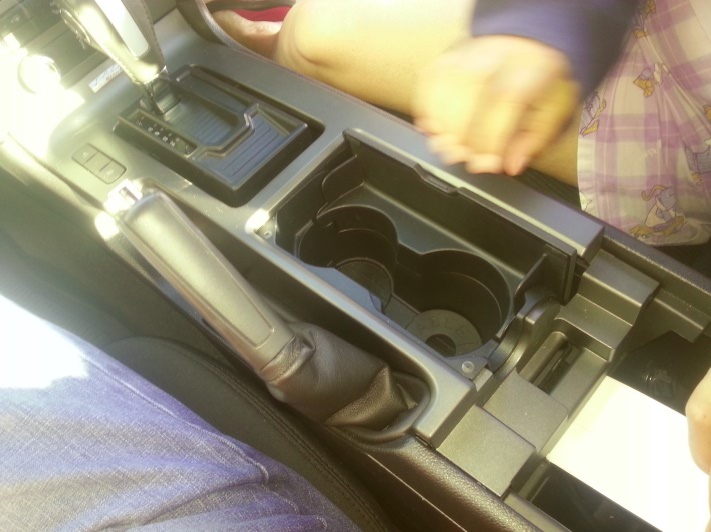
B. Be sure to disconnect trunk release wire from consol.
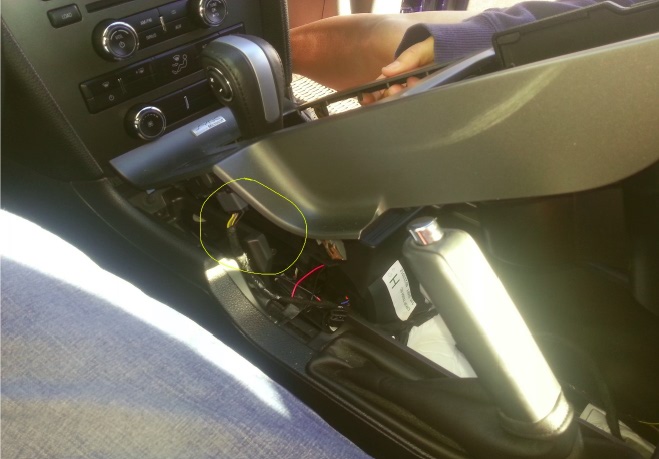
Console removed
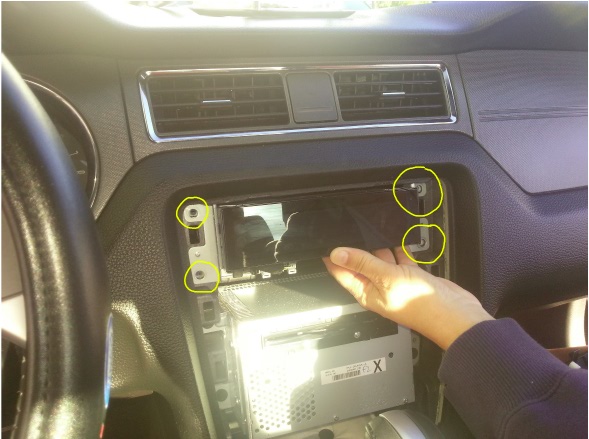
5. A. Remove the two 7mm (9/32) bolts holding OEM display unit.
B. Using pry tool, remove OEM display unit.
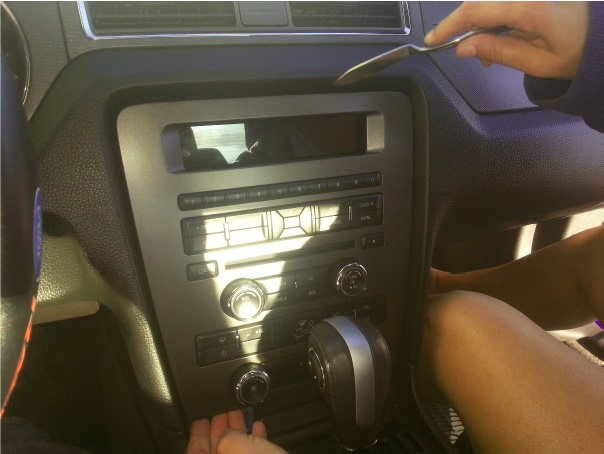
C. Disconnect climate control wires.
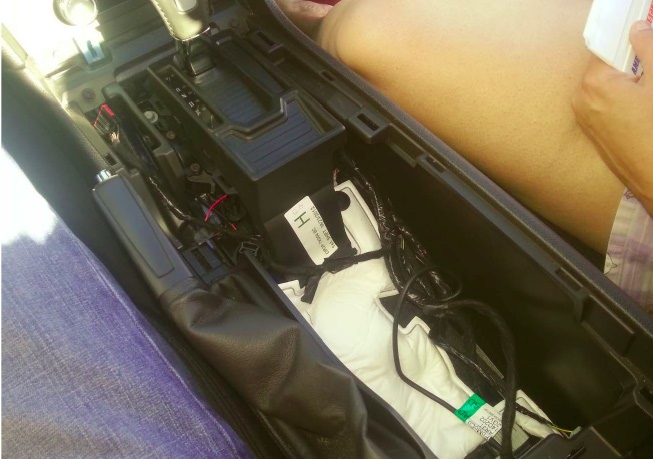
6. A. Remove SYNC Unit. Note: It is held in by four 7mm (9/32 in.) bolts.
B. Remove the two phillips screws from the left and right brackets. Set the SYNC Unit aside as you will be using the factory SYNC Unit later.
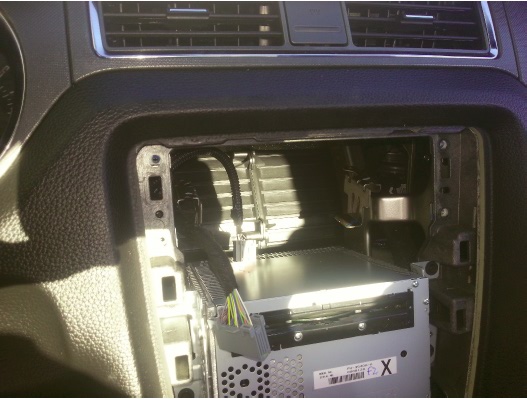
7. Remove Air Conditioning module by lifting up off of its mounting bracket. (Factory instructions say to be extremely cautious as this unit is very fragile. I do not find this to be the case; I had to lift off with moderate force and it works fine.)
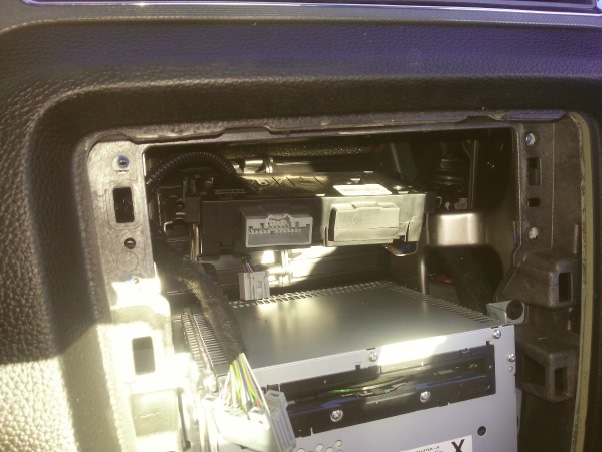
After AC Module has been removed.
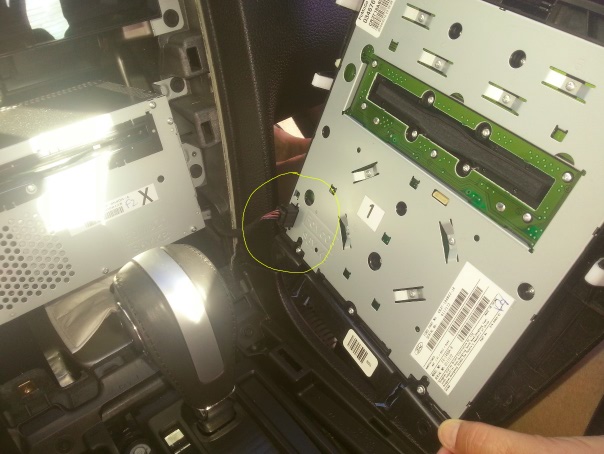
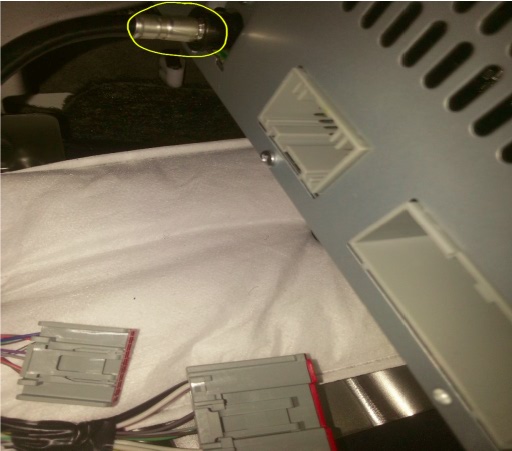
8. Remove the factory radio which is held in by four 7mm (9/32in.) bolts.
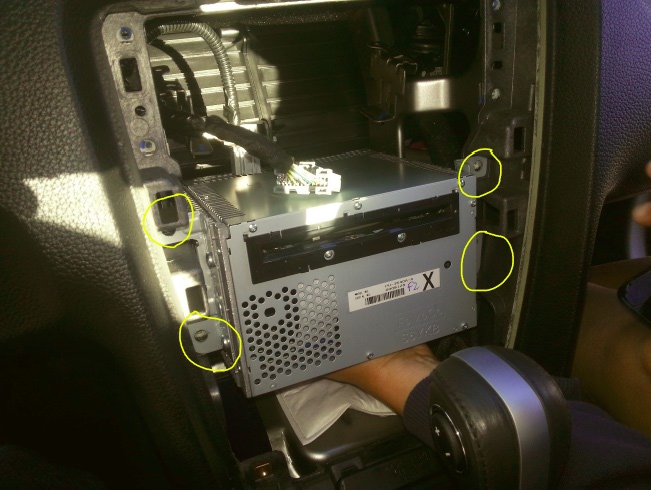
Note: Be sure to disconnect the 3 wires before removing the radio unit. The antenna is removed just by pulling, but takes some force. Make sure to hold metal part of wire as shown in picture.
9. A. Wrap SYNC display and AC module in included foam pieces.
Note: The foam pieces are larger than you need as you will have to leave the back of both of them open for their connectors.
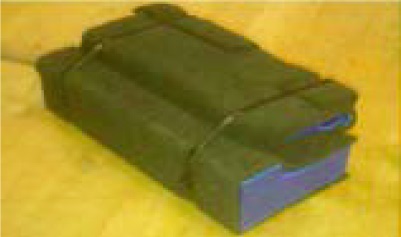
This photo is property of Raxiom, as it is from the factory instructions.
B. Connect AC and SYNC unit back to their factory wiring harnesses and place them inside the dash. Note: you will have to place them back farther than the original brackets to make room for the touch screen unit.
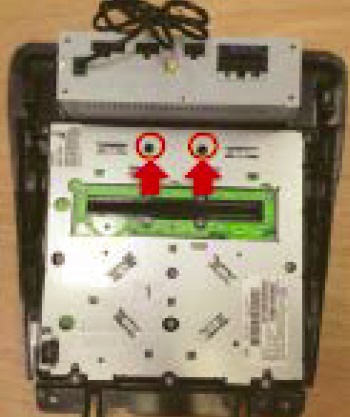
10. Remove the 15 torx (starhead) screws from the OEM radio that are marked in the picture below.
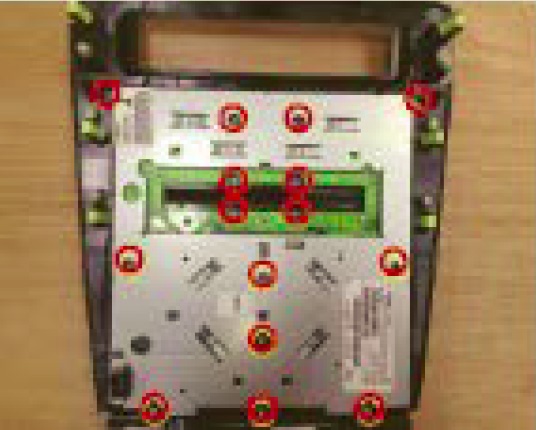
This photo is property of Raxiom, as it is from the factory instructions.
11. Install the OEM radio controls to the new touch screen radio bezel using 13 of the 15 torx (starhead) screws. Note: The two screw holes in the top center are not used.
This photo is property of Raxiom, as it is from the factory instructions.
12. Prepare the touch screen radio bezel for installation by removing the yellow clips and rubber stoppers from the factory bezel and placing them on the touch screen radio bezel in their corresponding locations.
13. Connect the Rosen T-harness to the OEM harnesses.
Note: Make sure to connect the GPS antenna as it is separate from the harness.
14. Connect the OEM radio to the Rosen T-harness and secure with factory 7mm bolts (9/32in) in original location.
***2010 – 2012 Mustangs have a different left speaker wire than 2013***
(Mine was mislabeled, I have to use the 2010-2012 wire on my 2013 Mustang GT)
Note: The wiring diagram provided can be used, but all wires only fit in their correct places.
15. A. Connect the power harness and the radio face climate control harness. At this time, you should have all harnesses connected and be ready to place the bezel in the dash. ***Check to ensure all harnesses are connected SECURELY***
16. B. Connect battery and test unit to ensure everything is working properly.
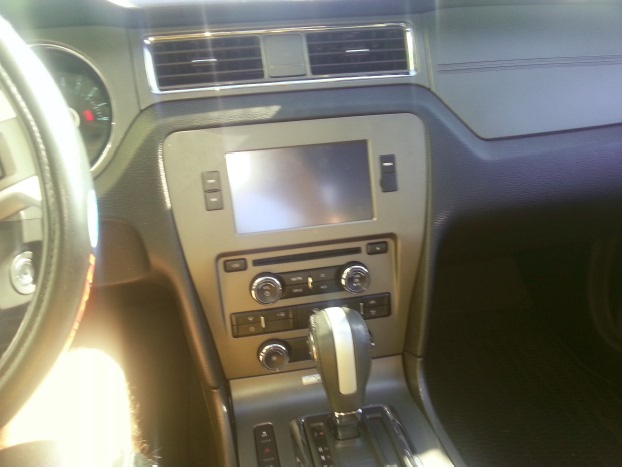
Carefully snap the radio face into the vehicle. Secure with two factory 7mm bolts. (9/32in) Note: This took a slight amount of force as it fit very tightly.
17. Replace center console by snapping it in its original place.
**Make sure to reconnect trunk release harness***
18. Snap chrome trim around gear shifter back into place.
Post Installation
Optional
As AmericanMuscle states there are many paths in which the GPS antenna and back up camera wire can be ran from your Raxiom GPS Navigation. (Back up camera doesn’t have to be installed) This is simply the method I chose to install these.
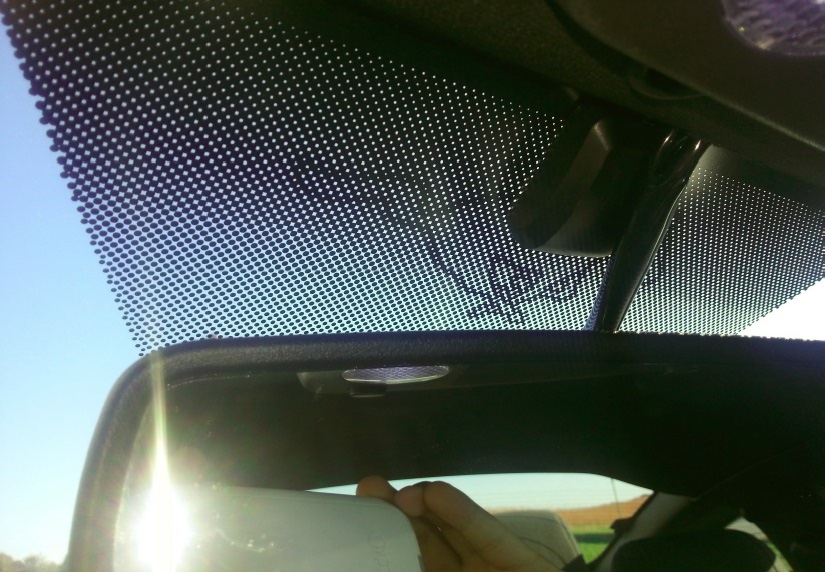
GPS Antenna Wire
I ran this behind the dash and steering column and up the A-pillar on the driver side. The A-pillar easily snaps off with the use of pry tools. I then tucked the wire inside the felt and ran it behind the rear view mirror as shown in picture. I used double sided 3M tape to keep it up.
Post Installation
Back Up Camera Wire:
-I ran this wire down the passenger side under the carpet underneath the door sill. (Easily removed with pry tools)
- The wire then runs behind the trim in the back seat. (Easily removed with pry tools)
-I then removed the back seat. I ran the wire under the seat then under the carpet in the trunk.
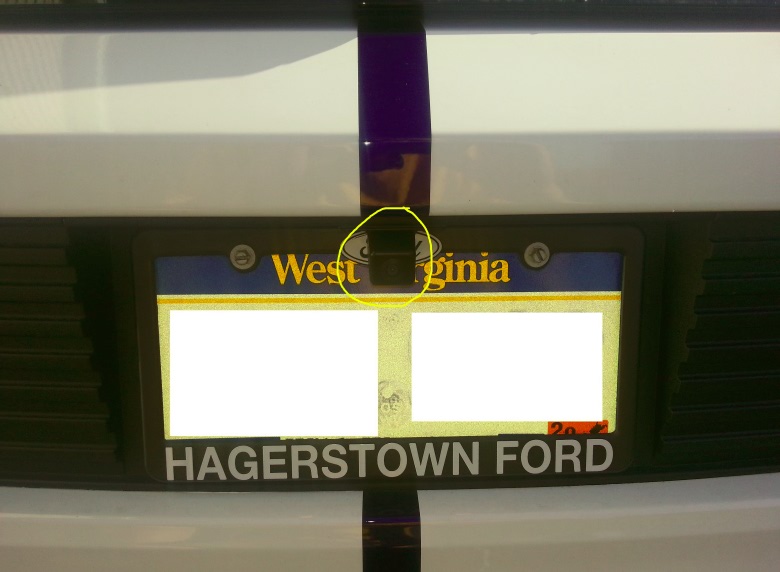
-I used a pry tool to remove the trim in the back of the trunk. I ran the wire out through the frame through the factory hole in between the two LED license plates lights. This hole was not big enough to fit the camera connecting wire so I used a drill to make the hole slight wider, and had to drill a hole in the plastic covering piece. (This is not an issue as it is covered by the camera)
I had to remove the tail light and the trim above the license plate.
Post Installation
I can’t stress enough that this is an optional path that I chose to run. Others have run this wire without drilling and using various paths.
Installation Instructions Written By AmericanMuscle Customer Chuck Moore 11/5/2013
