 FREE 1 to 3-Day Delivery on Orders $149+ Details
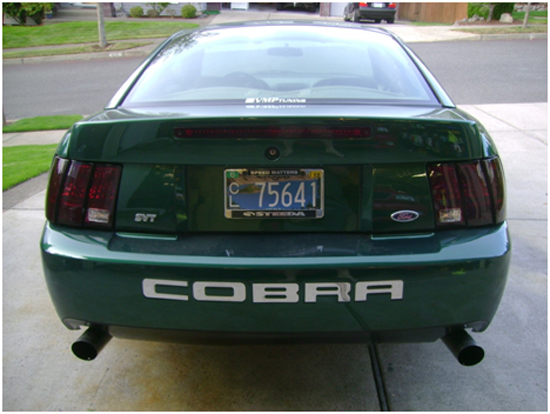
Raxiom Smoked Mustang Tail Lights ('99-'04) - Installation Instructions
Installation Time
2 hours
Tools Required
- 1/4 inch or 3/8 inch Drive Socket Wrench
- 7/16in Deep Socket (1/4 inch or 3/8 inch Drive)
- Plastic Body Panel Fastener removal tool
- (Two) Flat Head Screw Drivers

Shop Parts in this Guide
Installation
Removal of Stock Taillight:
1. First thing you need to do is open the trunk and locate the plastic trunk hinge surround covering the trunk latch.
2. Next remove the four plastic body panel fasteners with the body panel tool. (if you have one) If not you can use two flat head screw drivers together to pry the fasteners out.
3. Now remove the plastic panel from the trunk.

Here you can see the surround panel and the four fasteners, and also the center trim panel beneath it.
4. Next locate the push on plastic fasteners on the trunk panel behind the taillight and pull them right off of the stud.
5. You should now be able to take out the center trunk panel. Remove it and then take the side inner trunk panels out of the car. You now have full access to the tail lights.
6. You should see 4 long studs with bolts on them behind the panels that you just removed. Using your 7/16in socket and wrench remove the 4 bolts from the tail light studs. Be sure you don’t lose these bolts, as you will need them to put back on your new tail lights.
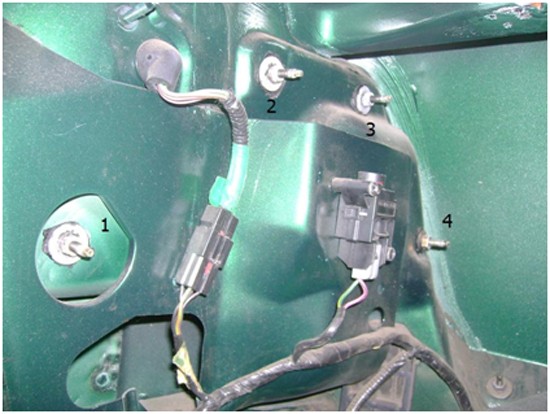
Here you can see what is behind the side trim panels, the four studs and bolts that hold the tail light housing to the car.
7. Once you have the four nuts removed, carefully pull the tail light housing away from the body of the car, making sure you don’t scratch your bumper or quarter panel.
8. With the housing removed, make a note of which bulbs go in which position, so you don’t mix them up when you go to re-install them.
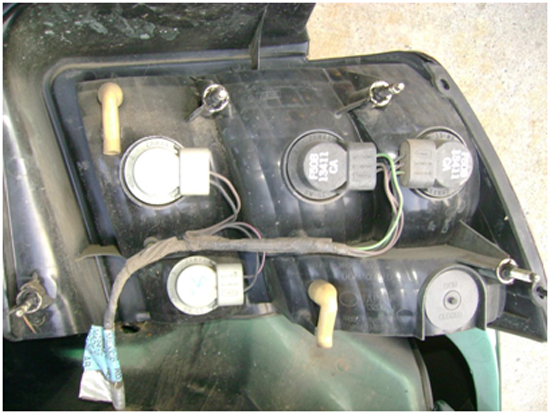
Here you see the reverse side of the factory housing. Make sure and note the locations of each light position.
9. Carefully remove all 4 of the bulbs from the back of the housing. They only take a quarter turn to unscrew from the back.
10. If you haven’t already, check your new smoked housings to be sure they aren’t cracked or broken before you install them.
Installation of New Raxiom Smoked Mustang Tail Lights
1. Re-install the bulbs into your new housings.
2. Carefully put the housing back into the back of the car making sure not to break the plastic alignment tabs on the ends.
3. Before you put the nuts back on, it’s a good idea to turn on your lights and turn signals and make sure all your bulbs are working properly.
4. Now you can put the four nuts back on the new taillight studs and tighten them until they are hand tight. Do not over tighten them, because you can break the housing. Remember you are pulling a plastic housing up against metal.
5. Now the first side is complete. Repeat the process for the other side and make sure to check those bulbs also before re-installing.
6. Once both sides are installed and working properly, put the side trunk panels back in and then the center trunk panel. Now press the stud mounted fasteners back in where you removed them.
7. Now reinstall the center plastic surround piece around the trunk latch. It’s easier to install if you put the bottom push fasteners in first to locate it, and then the top ones should go right in.
8. Close the trunk and you’re done, and enjoy your new Raxiom Smoked Mustang Tail Lights (99-04)
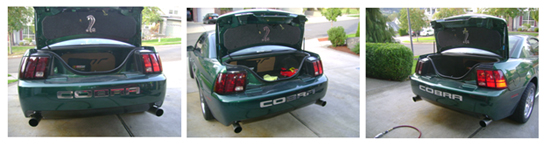
Here is a comparison of the new smoked light (Driver Side) to the factory light. (Passenger Side)
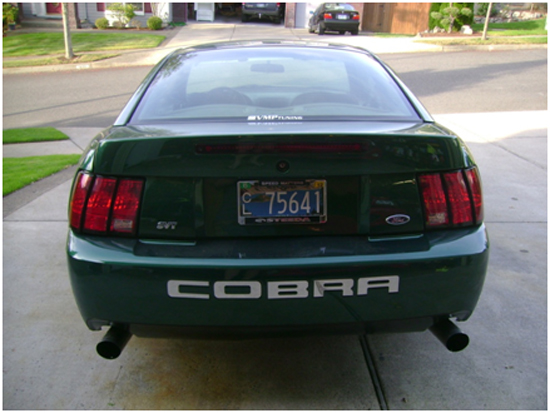
And finally here is a comparison of the factory lights (Top) to the new Smoked lights. (Bottom)
Installation instructions provided by AmericanMuscle customer Andrew Tamlyn 10.14.10
Related Guides
-
Installation
-
Installation
-
Installation
