 FREE 1 to 3-Day Delivery on Orders $149+ Details
How to Install Rear Struts on Your 1994-2004 Mustang GT, V6 or Mach 1 & 1994-1998 Cobra
Installation
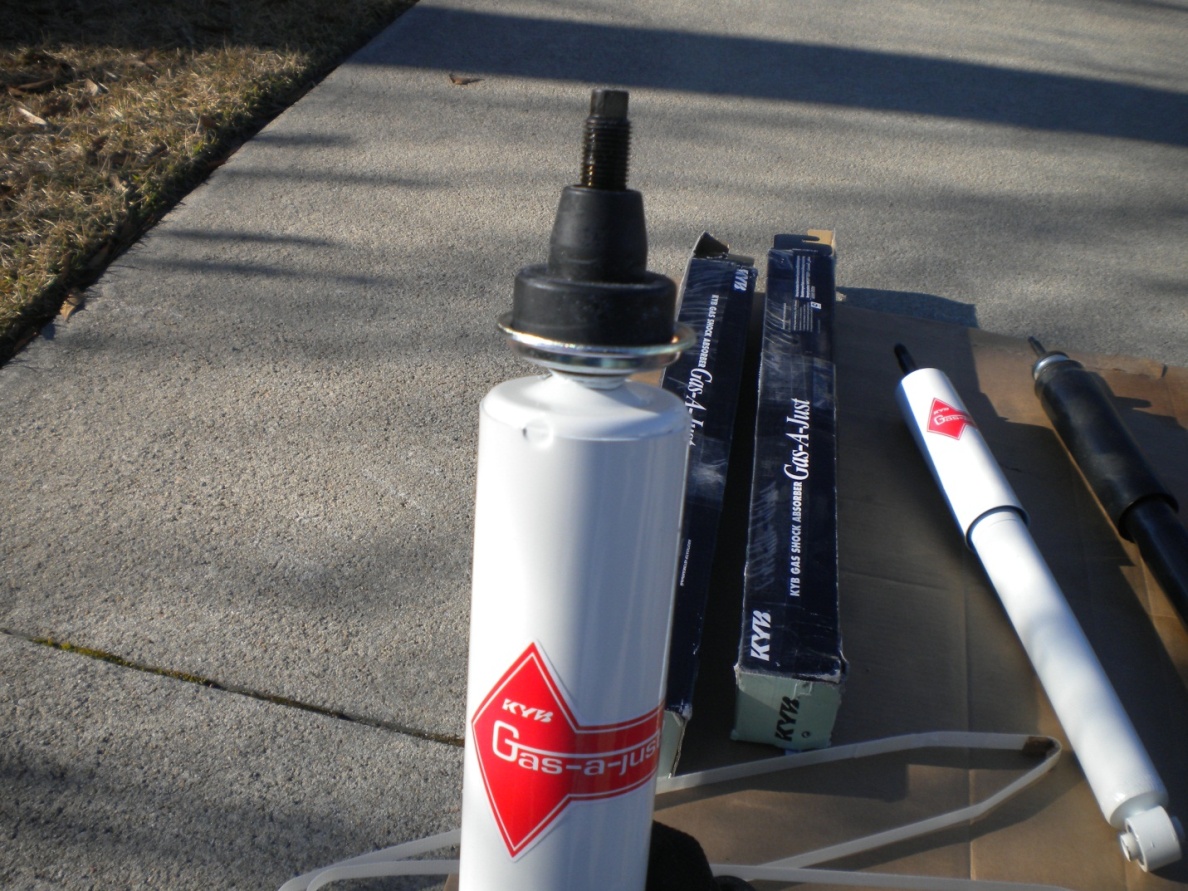
Please Note: This install was completed on the KYB Gas-A-Just Rear Shock, but the installation instructions can be referenced for any brand rear shock.
Removal Procedure:
1. Engage emergency brake and put transmission in gear; automatics use Park.
2. Place bricks or wheel chocks in front of and behind each of the front wheels.
3. Open trunk and begin by removing the (4) plastic fasteners holding the trunk latch trim cover using the fastener removal tool. Remove trunk latch trim cover.
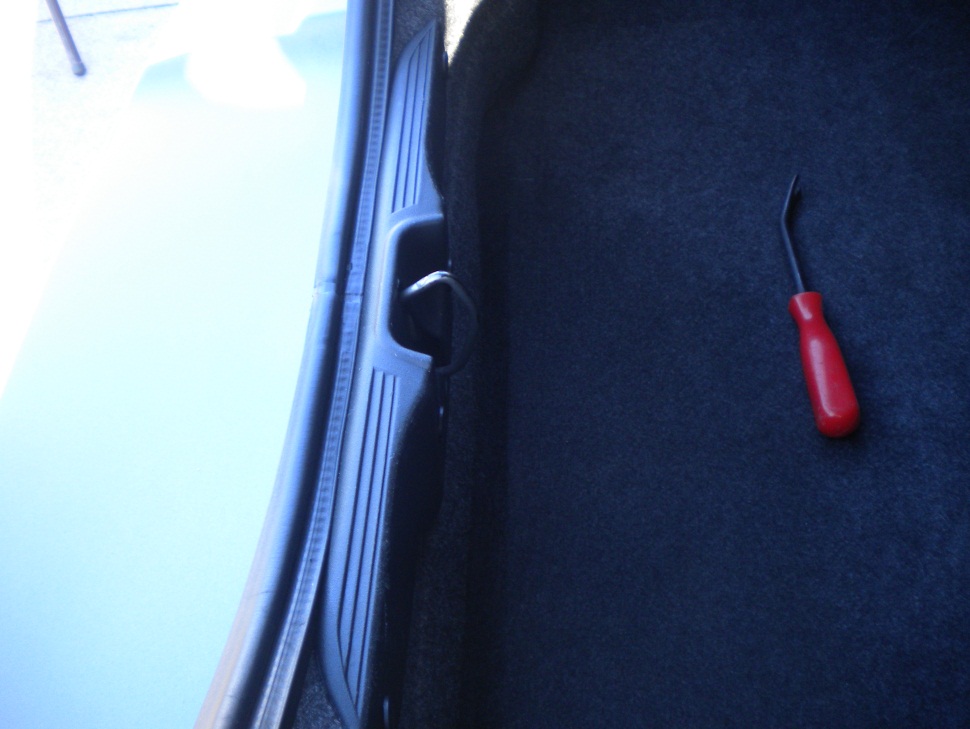
4. Remove the (2) grocery net hooks located on either side of the back trunk lining by unscrewing them by hand.
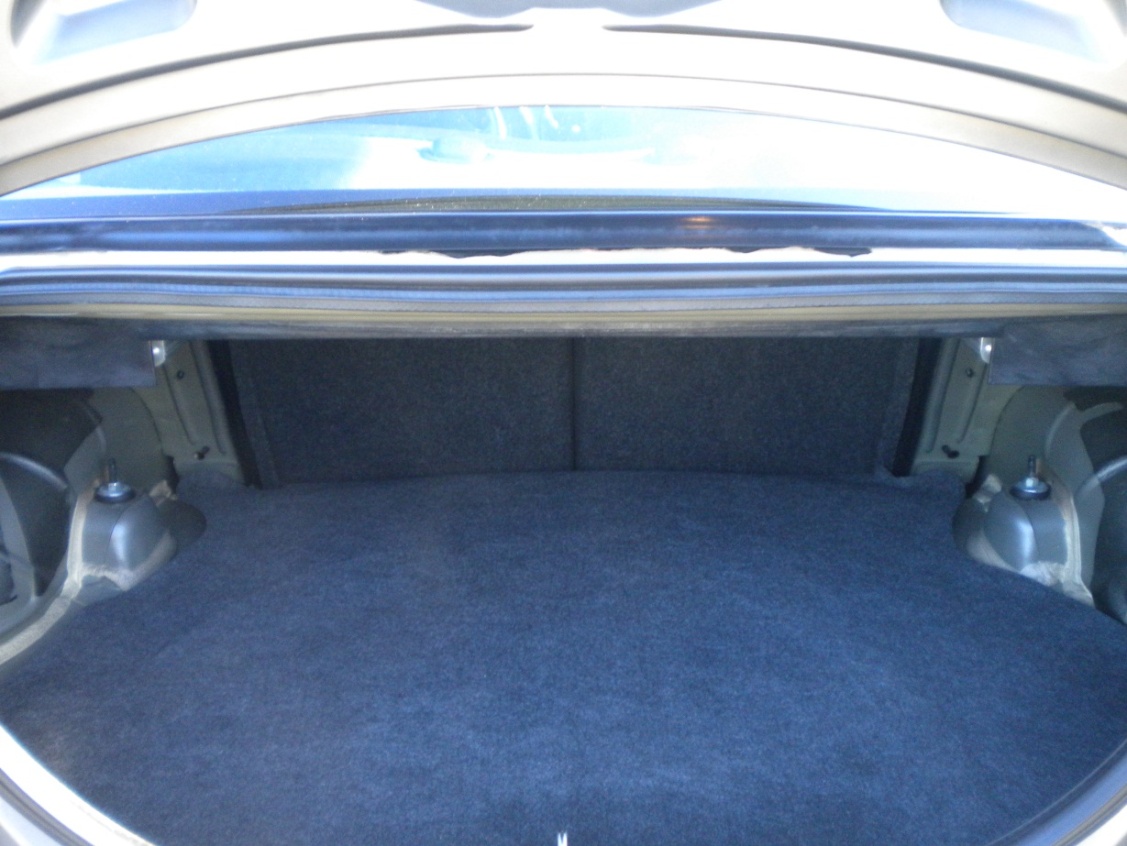
5. Remove back trunk lining from vehicle.
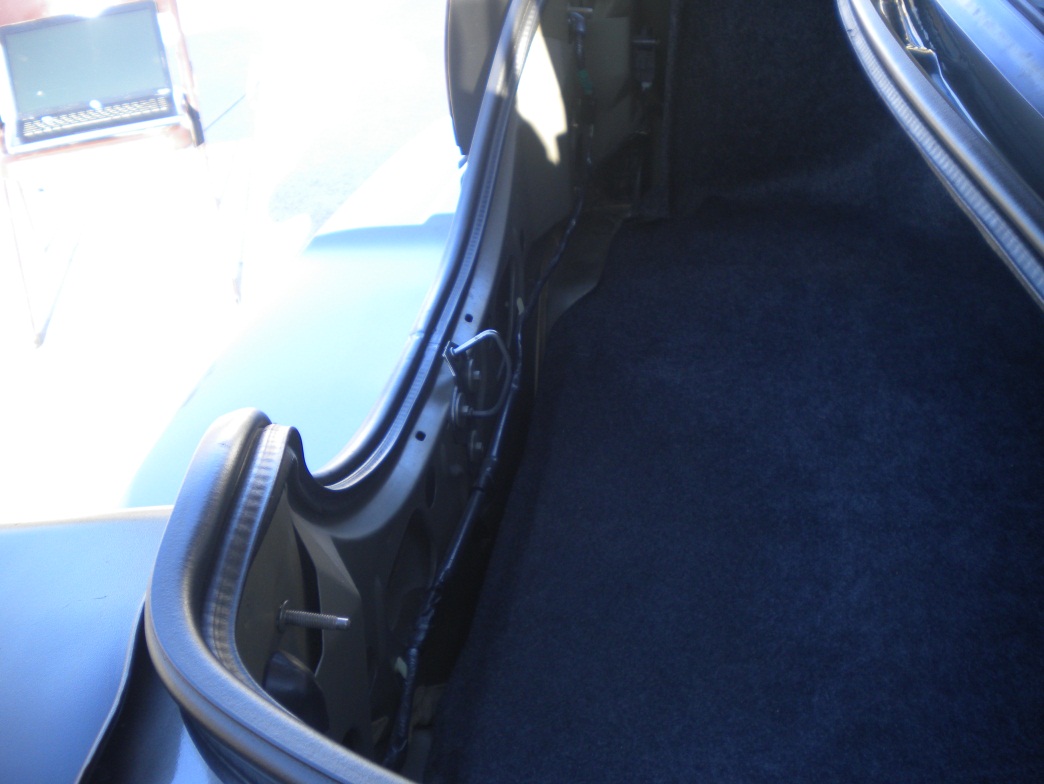
6. Unsecure left and right side trunk trim panels. Remove both trim panels from trunk area.
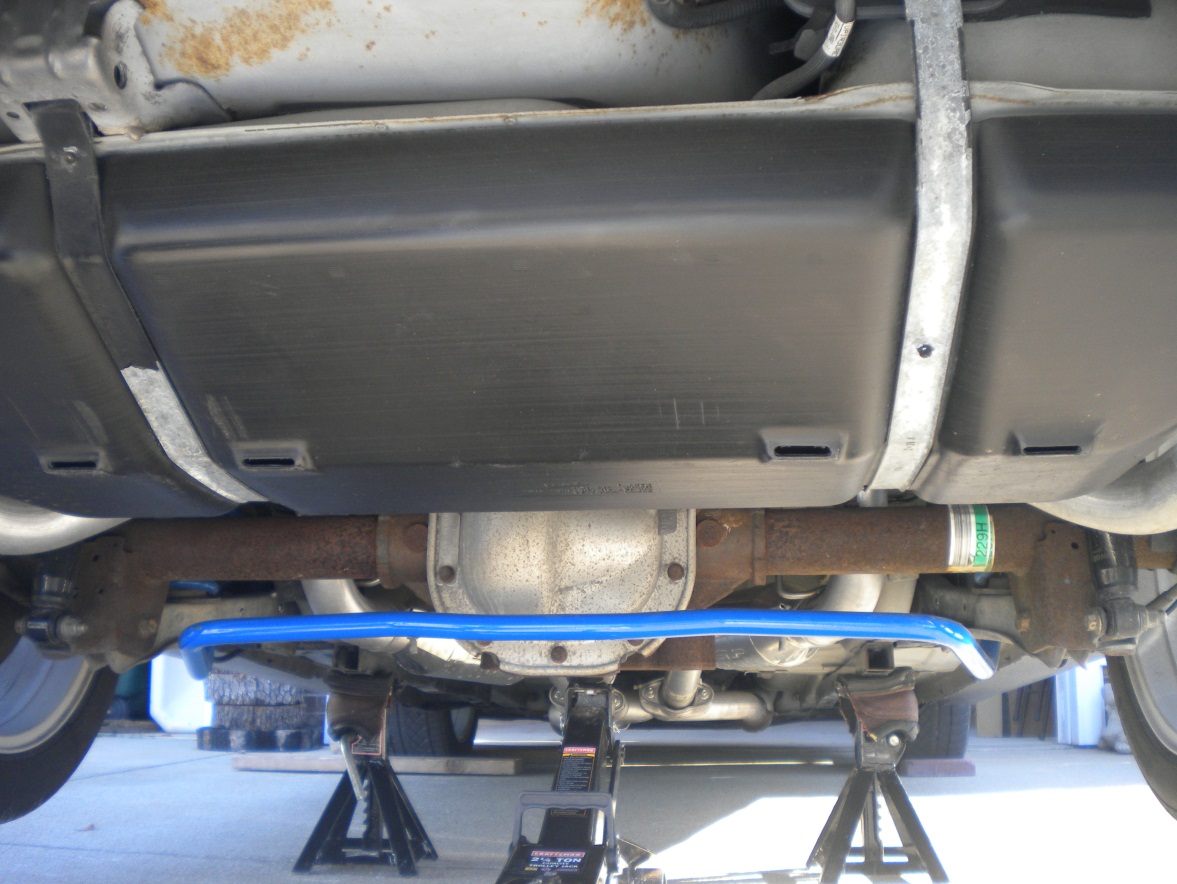
7. Carefully raise the rear of the car by placing the jack at the front of the rear differential. Place jack stands on either side of the vehicle under the sub frame.
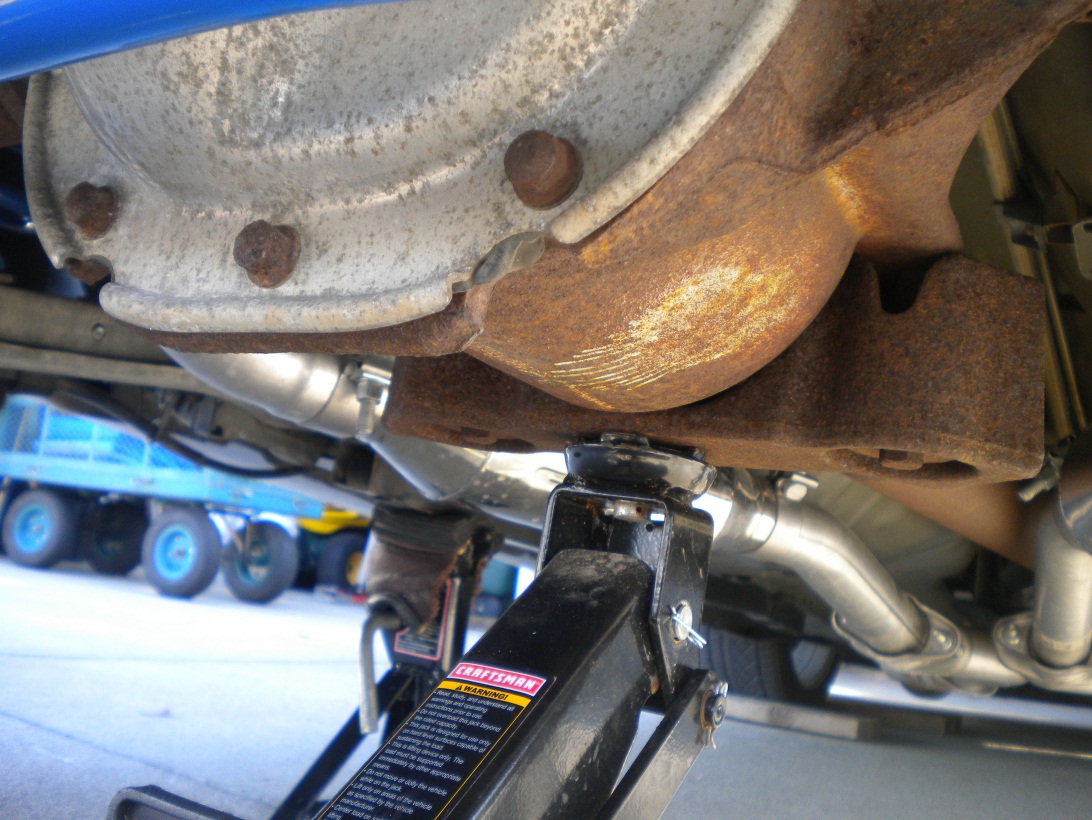
8. With the rear of the car securely raised, place floor jack at the front of the rear differential and raise the back axle only slightly, as to put a load on the rear suspension components.
9. Remove the top nuts of the shocks using the 14mm socket and ratchet. You may discard the bushings and all other hardware as KYB provides new bushings and hardware. If the shock turns when attempting to remove the top nut, use pliers or vise grips to hold the top of the shock’s stud and use a 14mm wrench to remove the nut.
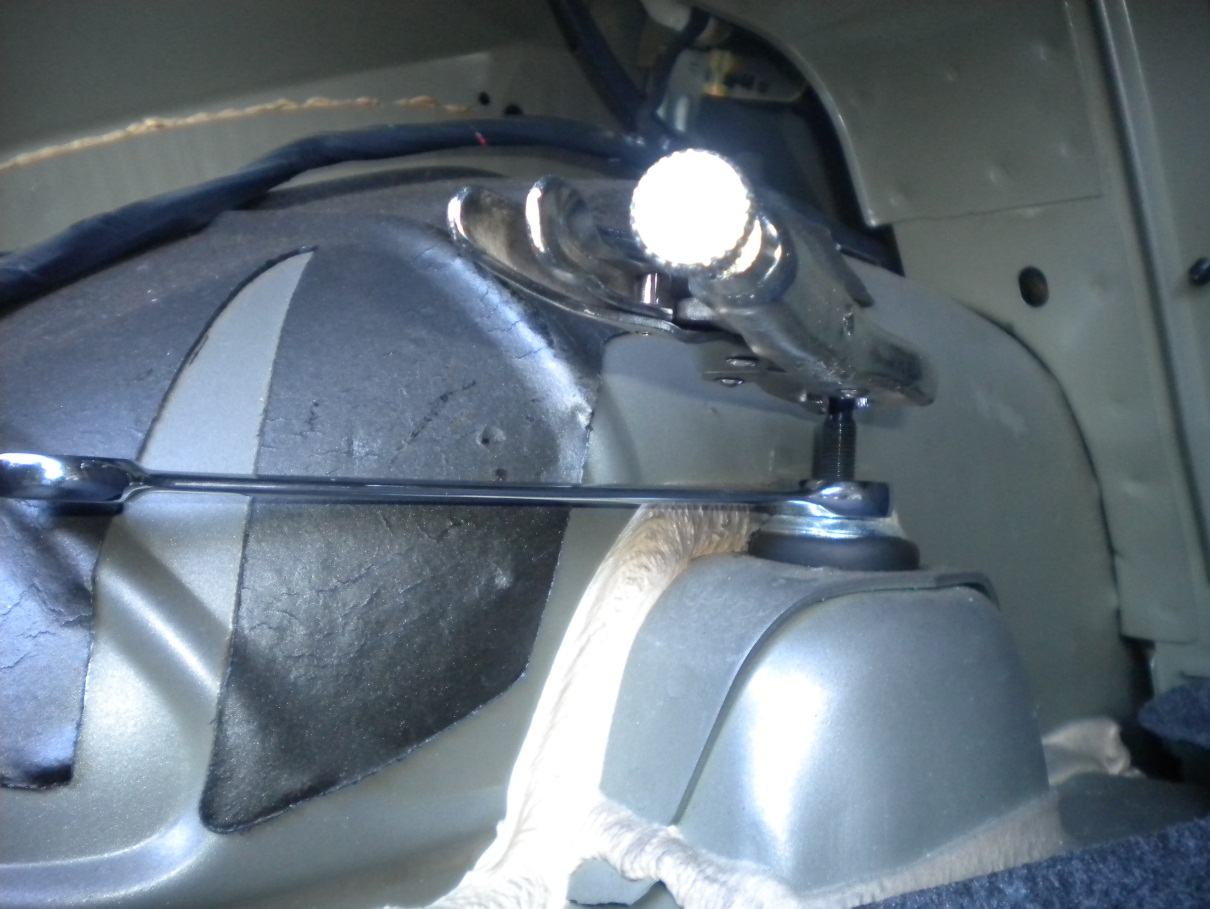
10. Once the top nuts and bushings are removed, lower the rear axle of the car. The studs at the top of the shocks should now be sitting lower in the strut towers.
11. Now locate the bottom of both shocks.
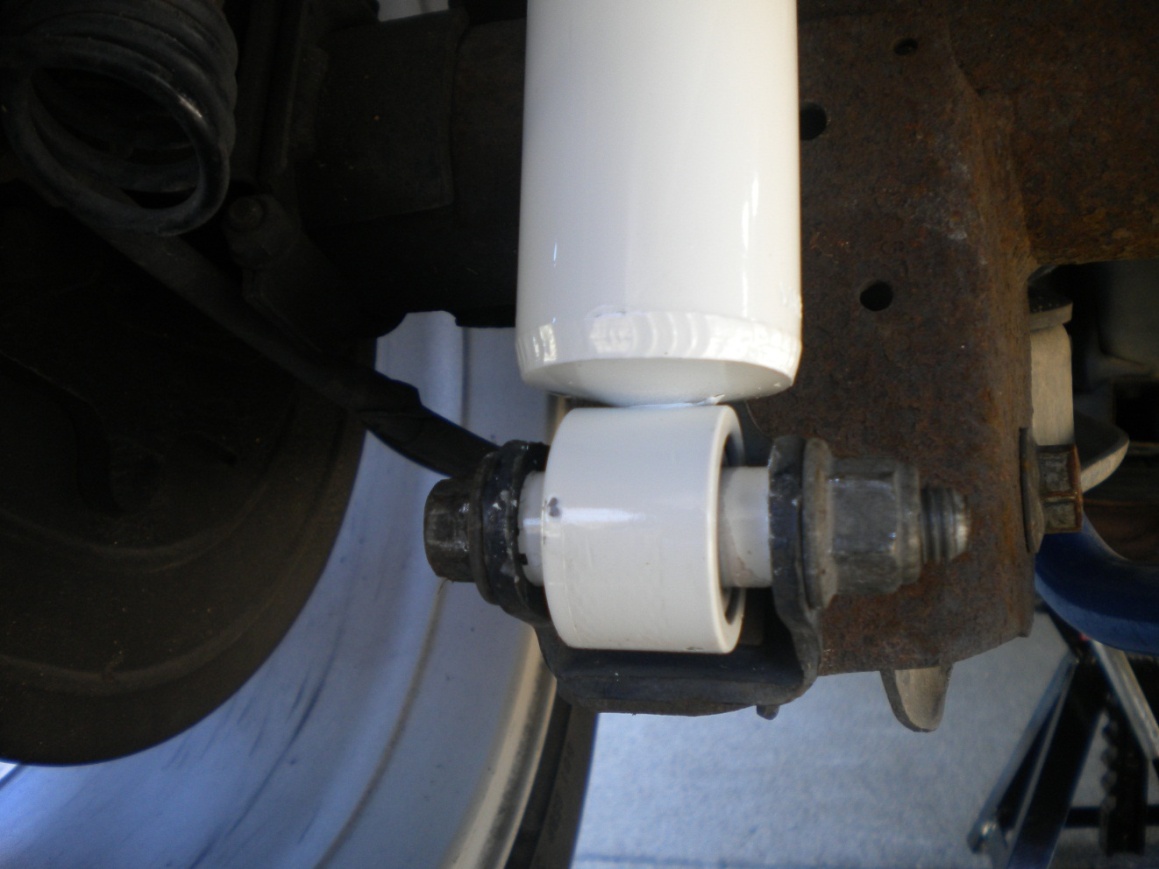
12. Using the 18mm socket and ratchet on the nut and the 15mm wrench for the bolt, loosen and remove the hardware securing the bottom of the shocks to the rear axle. Set this hardware aside as it will be reused.
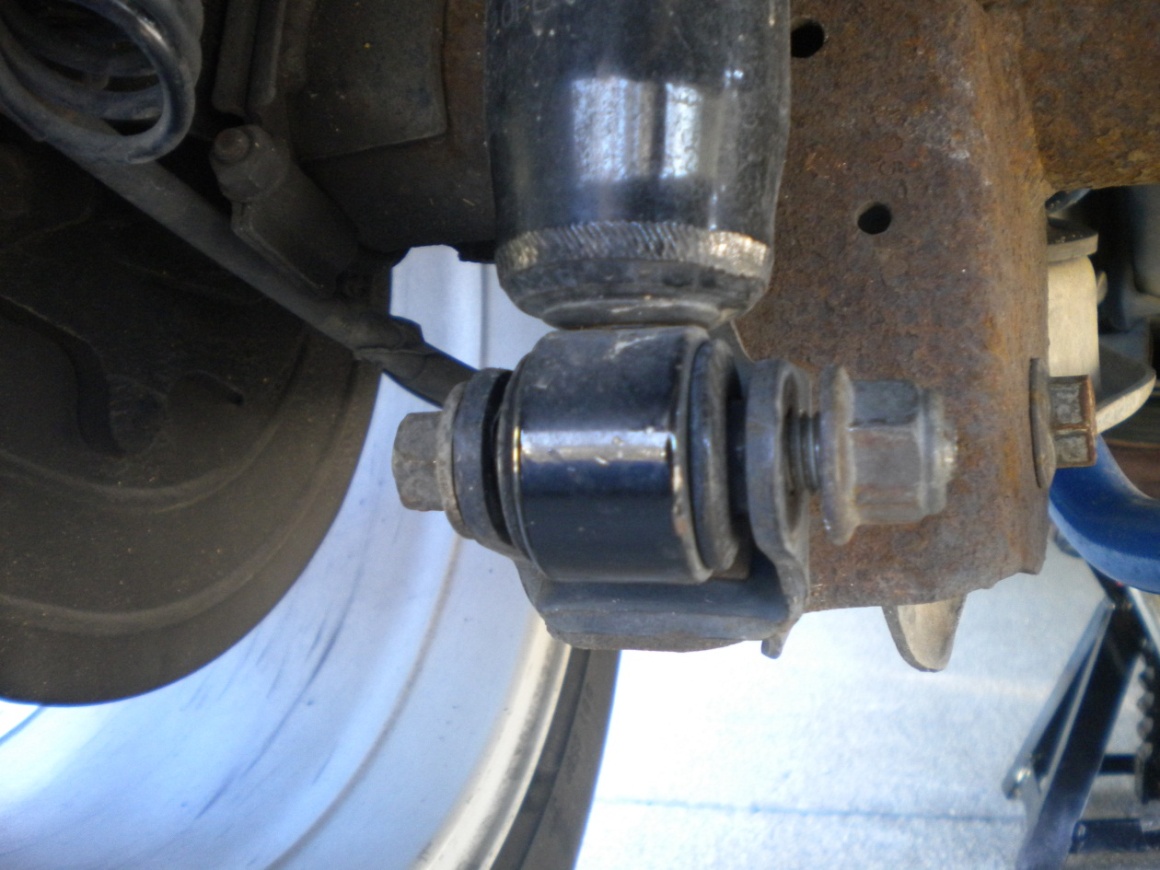
13. Carefully remove the old rear shocks from the vehicle.
14. Check the rear strut towers for the old bushings because they may be stuck. Remove the bushings if they are still there.

Installation Procedure:
1. Place the provided hardware on the top stud of each shock as shown below:
2. Raise the new shocks up the strut towers and align their top studs into their respective holes.
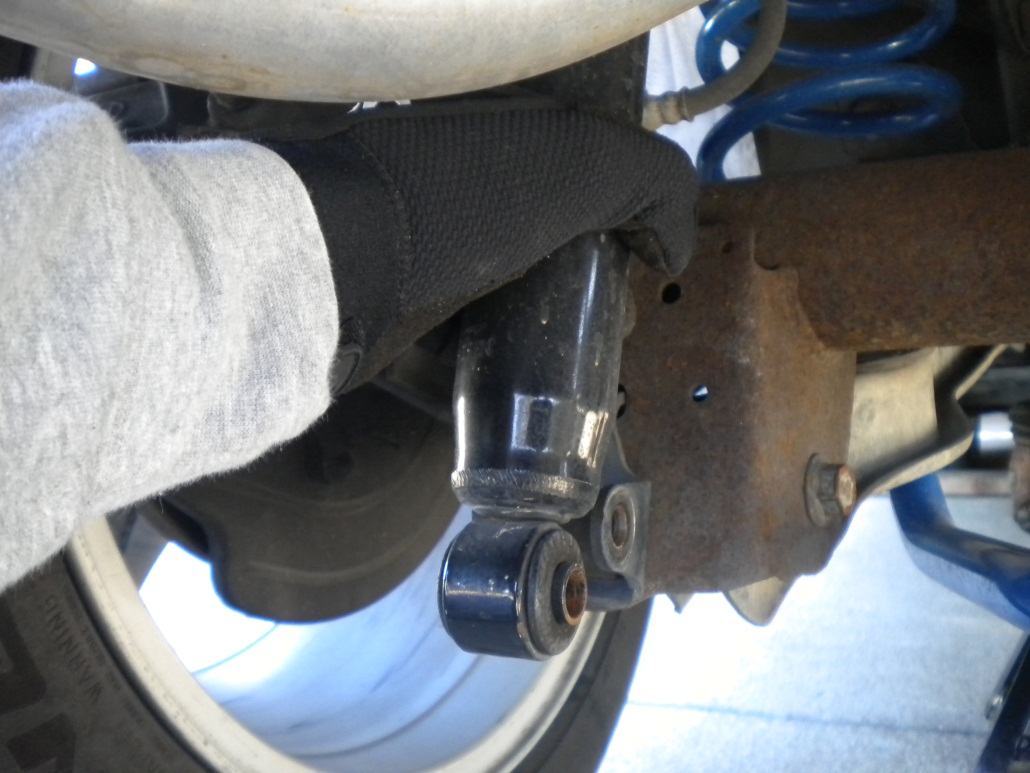
3. Reusing the factory hardware, push the old 15mm bottom bolt through the bottom of the rear shock, attaching it to its lower mount on the axle. Attach the 18mm nut and tighten to 57-75 foot pounds with the torque wrench.
4. Raise the rear axle of the car with the floor jack at the front of the differential enough to load the rear suspension.
5. Now that the top studs are fully through their holes, place another bushing and washer on top as shown below:

6. Tighten the new 19mm top nut to 25-34 foot pounds using the torque wrench.
7. Go back over each nut and bolt to ensure it is correctly tightened.
8. Raise the car off of the jack stands and carefully lower it back down.
9. Reposition right and left side trunk trim panels back into the trunk of the car.
10. Re-install the rear trunk lining. Then screw on the (2) plastic grocery hooks securing the rear trunk lining to the car by hand.
11. Re-install the trunk latch trim cover and press the (4) plastic fasteners into their respective places.
12. Remove bricks or chocks from around the front tires.
13. Enjoy improved ride quality!

Installation Instructions written by AmericanMuscle customer John Collmann 1.26.12


