FREE 1 to 3-Day Delivery on Orders $149+ Details
How to Install a Roush Rear Wing Spoiler on your 2005-2009 Mustang
Installation Time
2 hours
Tools Required
- “All Purpose Cleaner”
- Masking or Painter’s Tape
- Scissors
- Center Punch
- Hammer
- Cordless Drill with 1/8”, 5/16”, 7/16”, & 1/2” drill bits
- Ratchet
- 8mm, 10mm, & 13mm sockets
- 4mm Allen wrench
- Heat Gun or Blow Dryer

Shop Parts in this Guide
Contents:
• Spoiler
o Center
o Left (Driver’s)
o Right (Passenger)
• Templates
o Center
o Left (Driver’s)
o Right (Passenger)
• 4 Strips of 3M Double-Sided Tape
o 12mm x 1230mm (2x)
o 12mm x 93mm (2x)
• Nuts (6x)
• Bolts (6x)
• Allen Head Bolts (2x)
• Foam Pads (10x)
o Discs (2x)
o Rectangles (2x)
o Rectangles W/ Holes (2x)
o Triangles (2x)
o Diamonds (2x)
• Plastic Caps (2x)
***Be sure to check for all required contents and proper fitment before installing or painting.***
1. Removal of Stock Spoiler (If you do not have one, skip to step 2)
a. Tape spoiler to deck lid to prevent the spoiler from falling off and damaging any part of the car.
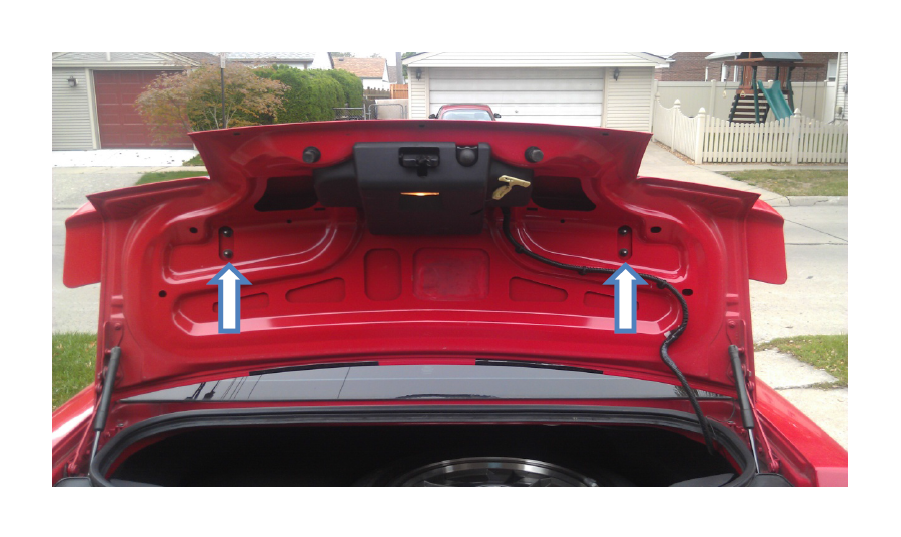
b. Open trunk and remove 4 nuts (10mm) holding the spoiler on.
Note: In the picture below, the white arrows show the 4 nuts to remove.
c. Lower the trunk and lift spoiler from trunk
i. If it does not lift easy use a heat gun or blow dryer to heat up and loosen the glue and then remove the spoiler.
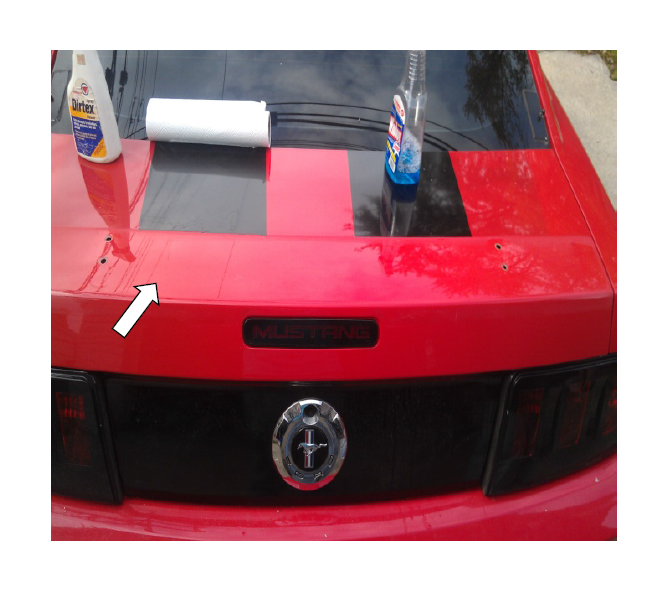
d. Be sure to thoroughly clean any leftover foam or glue.
Note: In the pictures below, see that all foam/ glue is thoroughly removed from trunk.
2. Clean Trunk
a. Using an “All purpose cleaner” clean the entire area on the trunk in which the new spoiler will rest.
i. Be sure to clean the rear panels in which the 2 side spoilers will rest also.
3. Install Templates (Double check all alignments on this step. If not your spoilers won’t fit proper and you’ll have to drill more holes.)
a. Cut out all 3 templates along the solid lines as stated on templates.
b. Using masking or painter’s tape, tape three templates to trunk and rear panels.
i. IMPORTANT: Check that the dotted line aligns between the center and side templates.
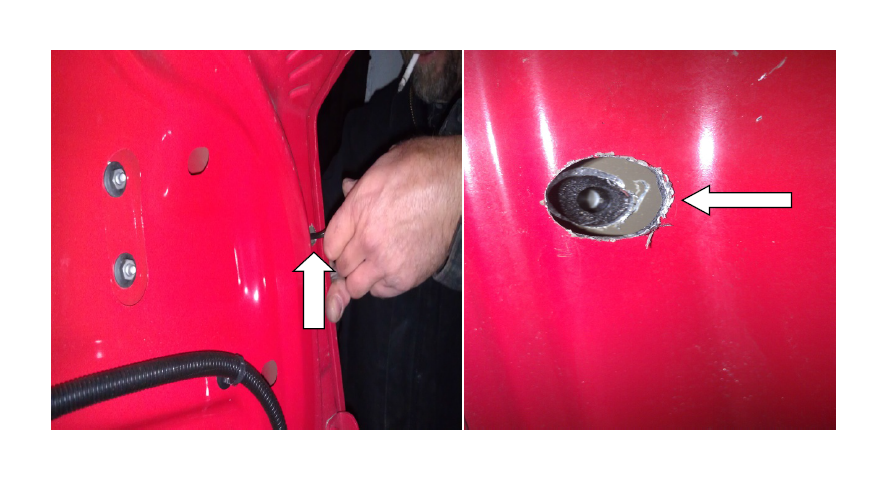
Note: In the picture below the hand shows the dotted line connected through the center and side templates.
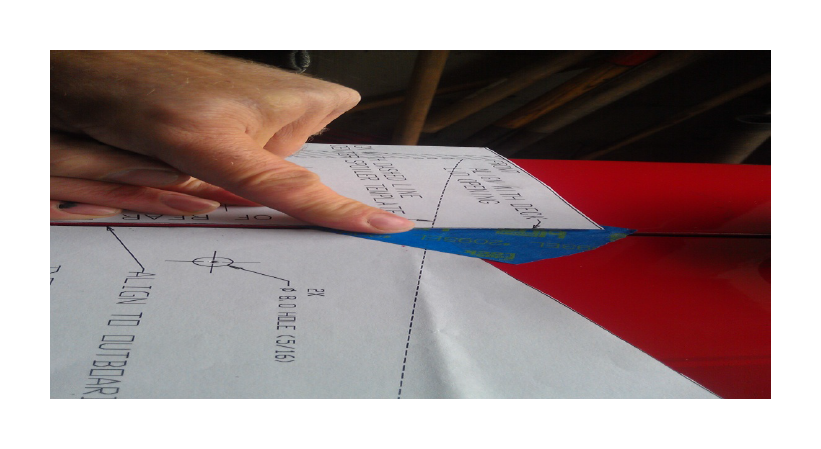
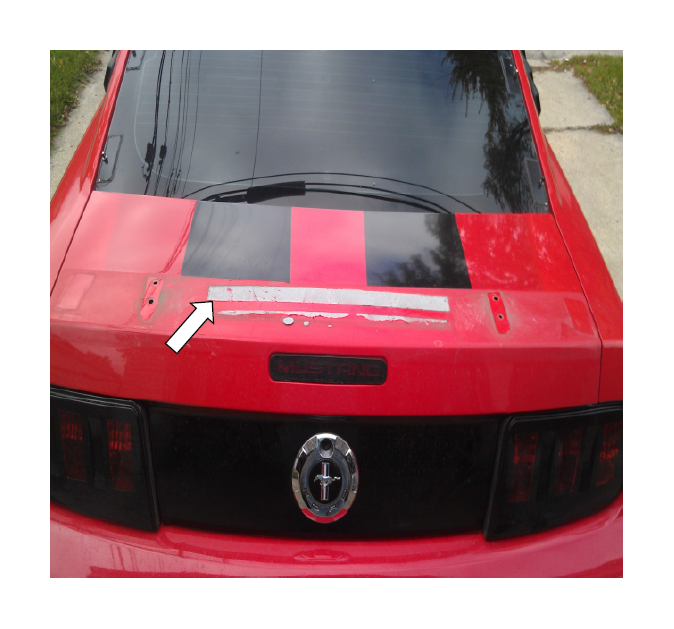
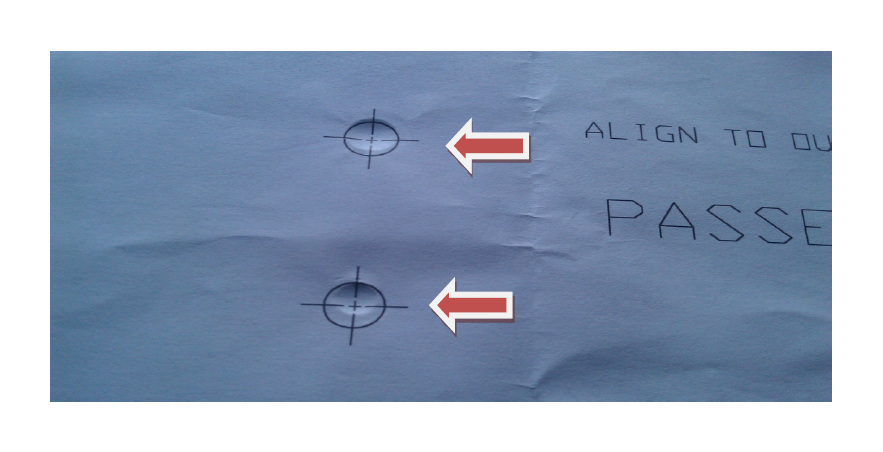
c. If you had a stock spoiler you can also check the template holes are aligned with the factory spoiler holes. (If you previously did NOT have a spoiler, skip this part.)
Note: In the picture below the red arrows show checking the alignment of the template holes with the factory holes.
4. Drill Holes
a. Using a center punch, punch holes into all holes displayed on the templates (14x). If you had a stock spoiler you do not have to punch the center four holes on the center template.
b. Using 1/8” drill bit, drill through all center punched holes.
i. On the outer 2 holes of the center template be sure to drill all the way through the deck lid AND Reinforcement sheet metal.
c. Using 5/16” drill bit, drill through the 8 holes on the 2 side templates and the outside 2 holes on the center template.
i. On the outer 2 holes of the center template be sure to drill all the way through the deck lid AND Reinforcement sheet metal.
d. Using 7/16” drill bit, drill through the four inside holes of the center template.
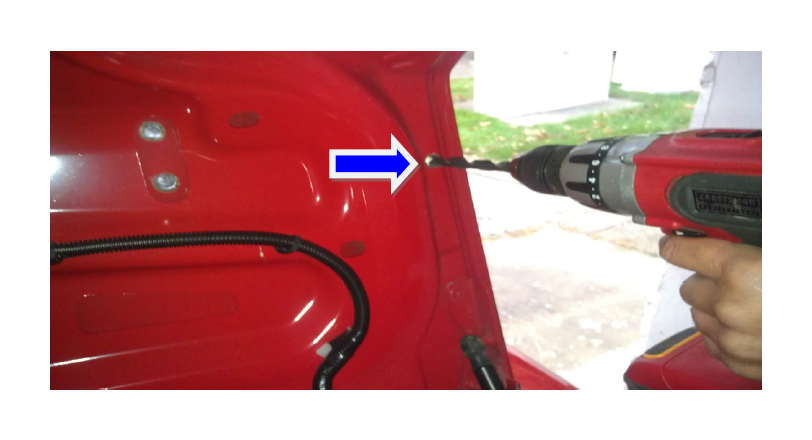
e. Open Trunk. Using ½” drill bit, drill through the two outer holes of the center template from inside of the trunk. Drill through the reinforcement ONLY and NOT through the top sheet metal.
i. Note this part is only to fit the 1/2” plastic caps. If you are not wanting to use these caps. Do not drill these ½” holes.
f. Remove all templates and tape.
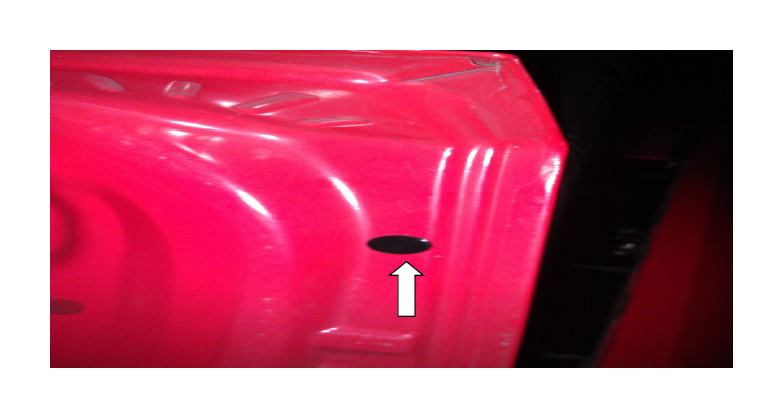
Note: In the picture below, the blue arrow shows the ½” hole drilled for the plastic cap.
5. Apply 3m tape & Foam Pads
a. Safely lay the 3 spoiler pieces upside down onto something soft so it won’t scratch your spoiler.
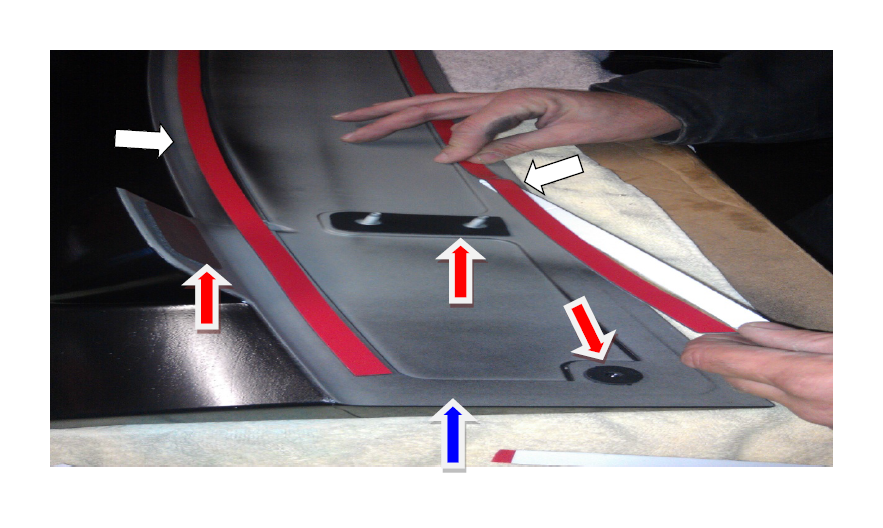
b. Stick the 2 long pieces and 2 short pieces of 3M double sided tape along the guide lines on the center spoiler. Keep the red side up on the tape. Use your fingers to help guide the 3M as you lay it onto the center spoiler.
c. Apply pressure to 3M tape to ensure that it adheres to the spoiler.
d. Peel off the backing to the foam pieces and apply them into the marked locations on your spoiler.
Note: In the picture below, the white arrows show where to place the long pieces of tape and the blue arrow shows where to place the short pieces of tape. The red arrows show the pad locations on the center spoiler.
6. Apply Spoiler to Car to check alignment
a. Place center spoiler into four holes in middle of the deck lid.
b. CAREFULLY lift trunk while holding spoiler in place.
c. Tighten four nuts (10mm) onto the four studs attached to center spoiler enough to hold in place.
d. Ensure the two side holes of the center spoiler align.
Note: In the picture below, the white arrows show the location of the side holes to verify alignment.
e. Remove the two bolts holding the trunk liner in place. One on each side of the car (13mm). Move liner aside.
f. Place one of the side spoilers into the corresponding side on the car.
g. Tighten the nut (10mm) onto the single stud, but leave loose enough so you can move the spoiler to align the three other holes.
h. From inside the trunk look into the 3 holes and verify alignment.
i. Carefully move the side spoiler to help locate the holes.
i. Once holes are aligned, install 3 bolts into holes (8mm) and tighten nut and bolts completely.
j. Repeat e. – i. to other side spoiler.
7. Final Install of center spoiler
a. Hold center spoiler in place and remove bolts of center spoiler and lift off of trunk.
b. Lower trunk lid.
c. Peel red backing off of 3M tape on center spoiler.
d. Place center spoiler into holes and apply pressure to spoiler to ensure adhesion of 3M tape.
e. While holding spoiler in place, open trunk lid and install and tighten 4 nuts (10mm) and 2 Allen head bolts (4mm) to outside holes.
f. Close trunk and check fitment between center spoiler and side spoilers.
i. If adjustment is needed, adjust only the side spoilers.
g. Open trunk and check that all bolts and nuts are tight.
h. Re-install the trunk liner and 2 Bolts (13mm).
i. If using plastic caps, place in outside holes of center spoiler.
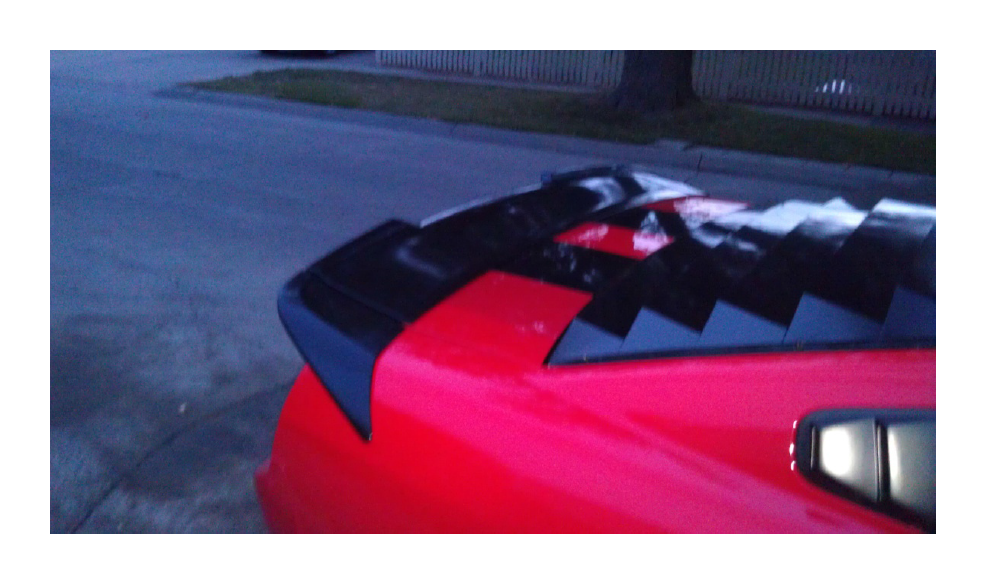
Note: In the picture below, the white arrow shows the plastic cap location.
8. Enjoy spoiler!!!