FREE 1 to 3-Day Delivery on Orders $149+ Details
How to Install a Roush Stage 3 Front Fascia on your 1999-2004 Mustang
Installation Time
3 hours
Tools Required
- 11 mm deep socket
- 9/32 shallow socket
- ¼ drive ratchet
- Rivet gun
- Flashlight
- Wiring tool
- Electrical tape
- ¼ socket with Phillips bit
- Phillips stubby screwdriver
- Butt connectors
1. Prepare Roush Bumper.
1.1. Using the 8 supplied screws (9/32) install the fog light into the bumper. Orient the plugs toward the bottom of the bumper.
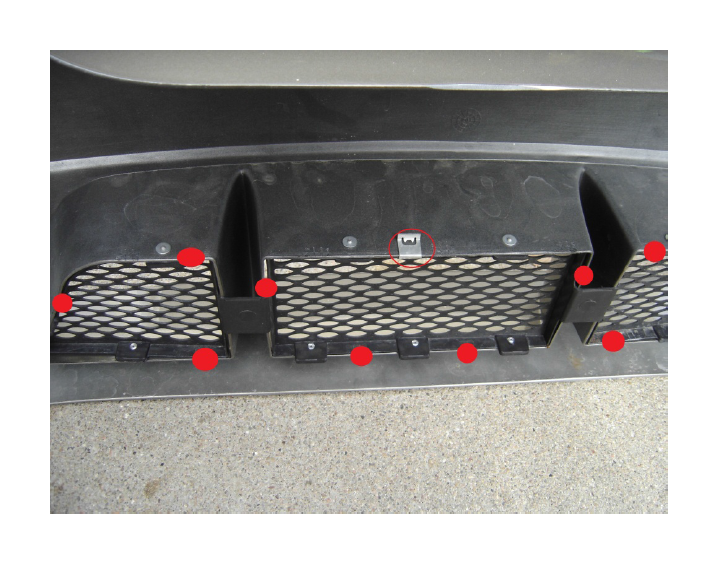
1.2. Install the Roush grill using the supplied clips in the locations marked. The clips are a very tight fit. Use firm pressure or open the clips slightly with a screwdriver (I used rivets instead).
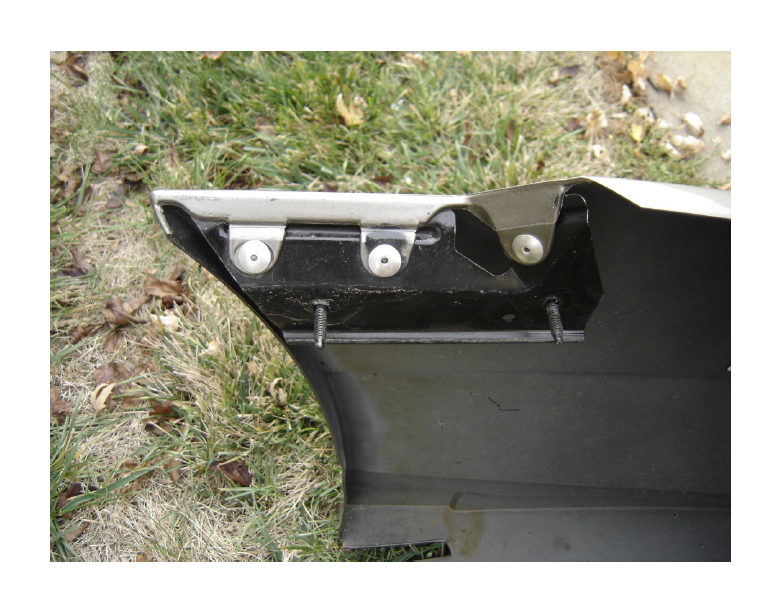
1.3. Install the fender brackets using the supplied rivets and a rivet gun. Install the center rivet first as it is a single hole while the other 2 tabs have slots. If you install into one of the slotted tabs first it may not line up properly with the other wholes.
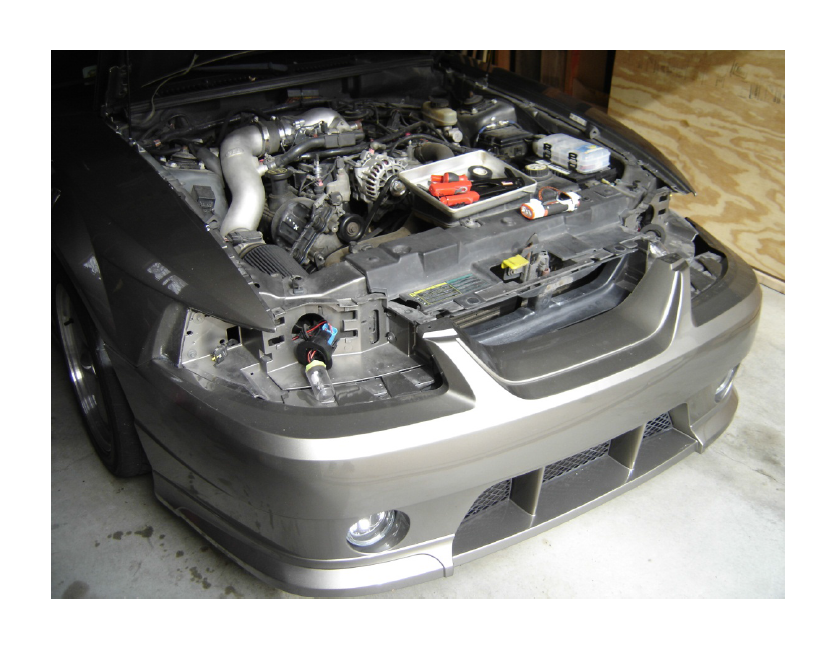
2. Remove Stock Bumper.
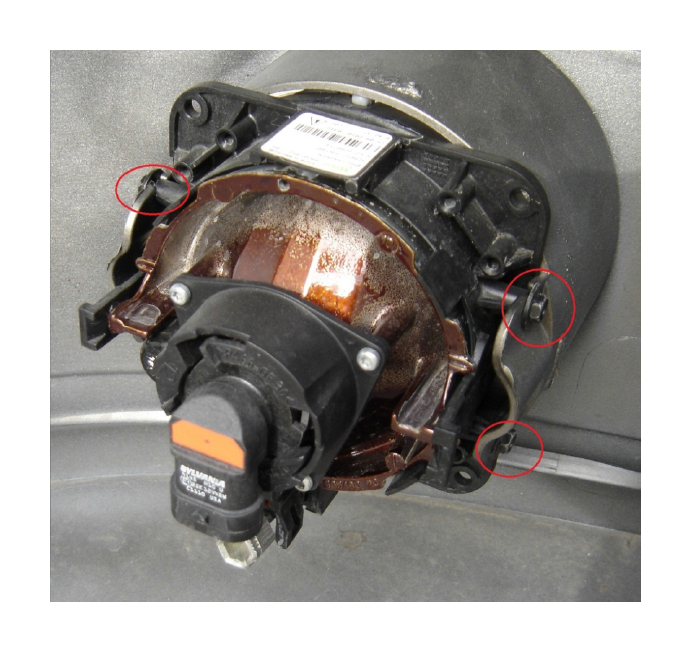
2.1. Remove the headlights.
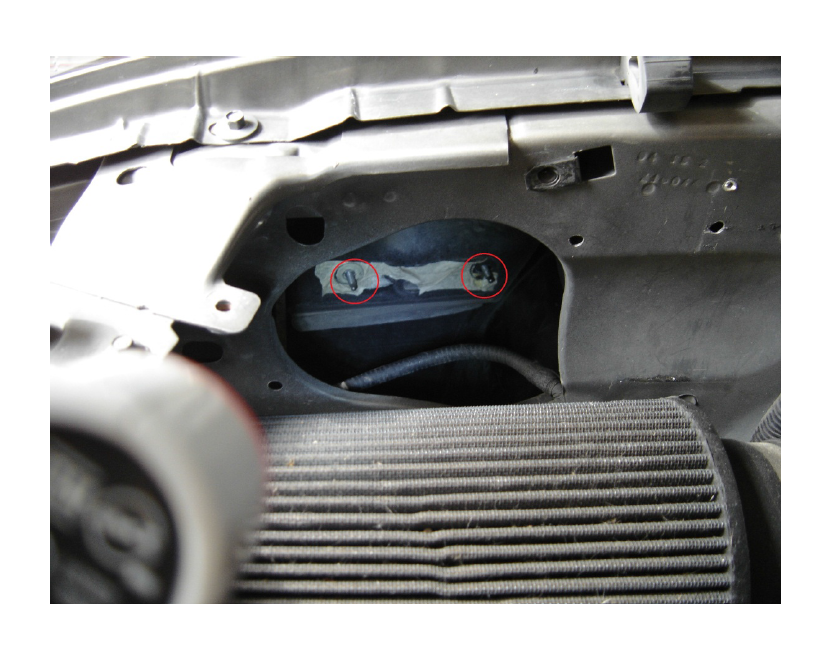
2.1.1. Remove the 2 pins on each headlight holding the housing to the car.
2.1.2. Pull the housing out slightly and remove plugs for the headlight and turn signal.
2.2. Remove pins on top tabs of bumper.
2.3. Remove fender screws using Phillips screwdriver.
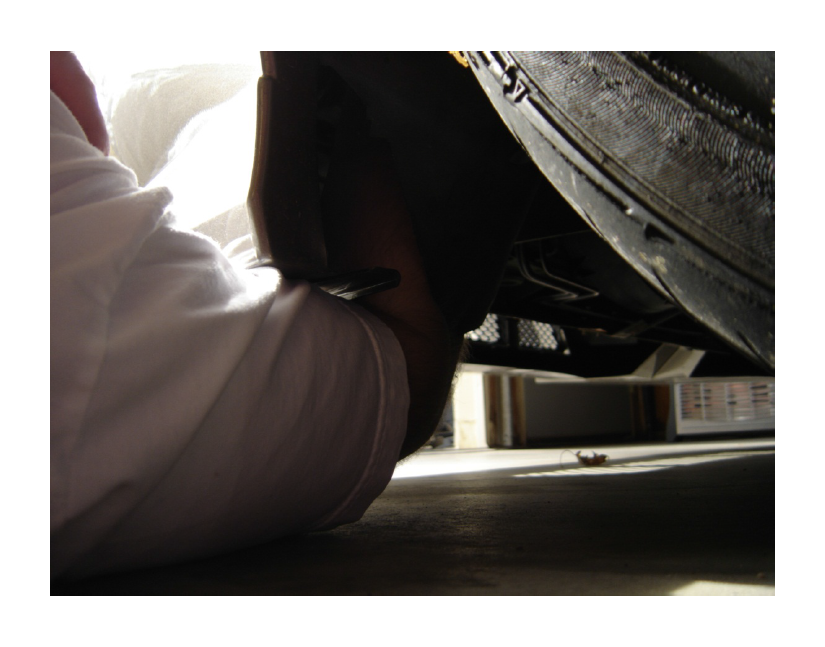
2.4. Remove fender nuts using an 11 mm deep socket. They are accessible through the bottom of the bumper without raising the car.
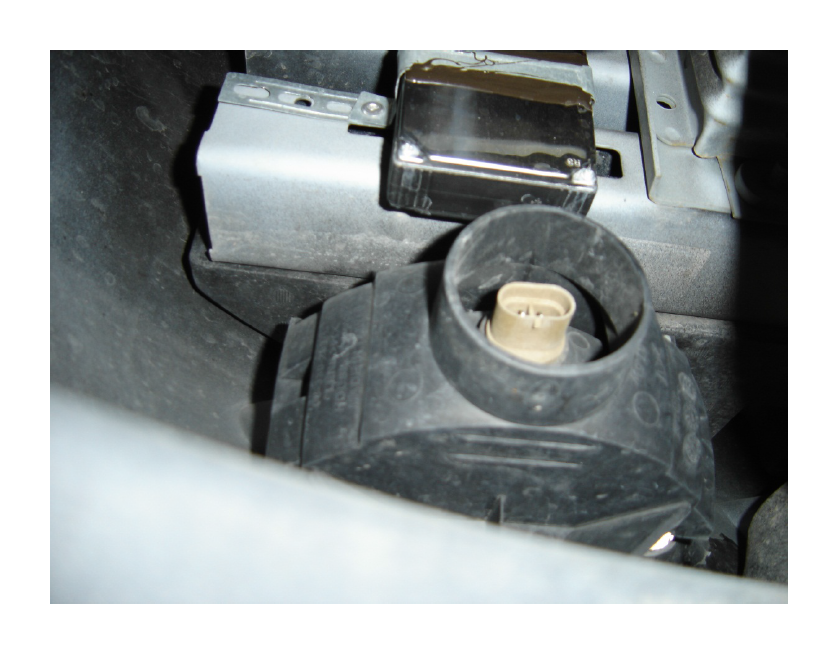
2.5. Disconnect fog light harnesses from fog lights.
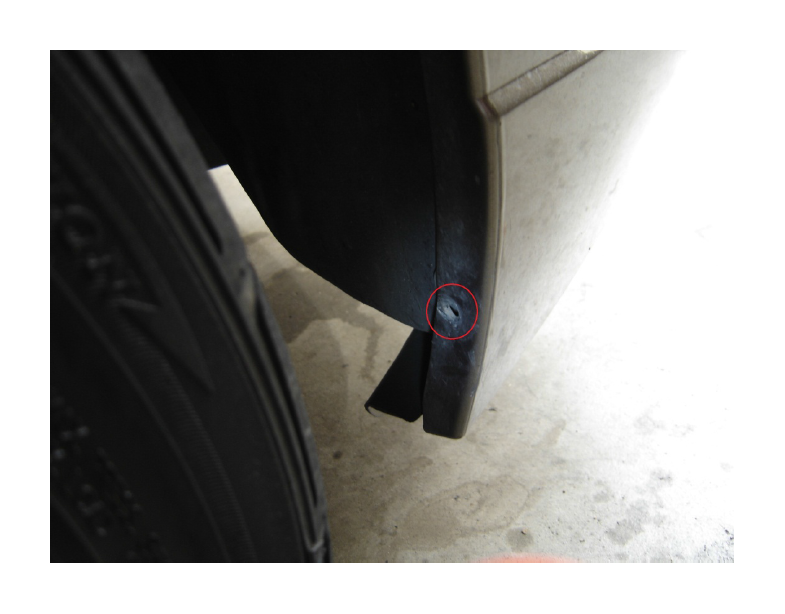
2.6. Remove pins in tabs on bottom of bumper.
2.7. If you have help each of you can pull the rear edge of fender away from car on both sides and slide bumper forward off the car.
2.8. If you’re alone start on one side and pull rear edge away from car until bolts are out of fender. They will rest on the usually covered part of fender. Then slide bumper forward until that side is resting on the bumper support. Then do the same to the opposite side and pull the entire cover forward and off the car. (I forgot to take pictures of removing the stock bumper, but installation is identical to the stock removal)
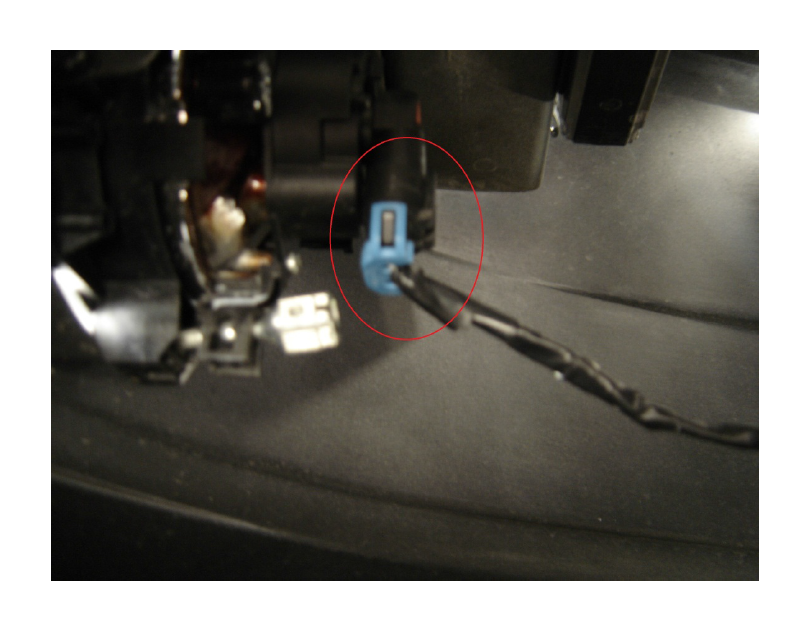
3. Prepare fog light harness.
3.1. I attempted to de-pin the factory harness and ended up pulling the wires out of 2 of the 4 pins so I decided to cut and splice a wire extension to provide some extra working wire.
3.2. Cut the wires as close to the plug to be removed as possible.
3.3. Cut the original fog light plug off.
3.4. Using butt connectors, 4 8-10 inch pieces of wire, and wire crimping tool connect orange/brown wire to the wire on the Roush plug that will be on the right side of the bulb and the black wire to the left side.

3.5. Wrap entire length with electrical tape.
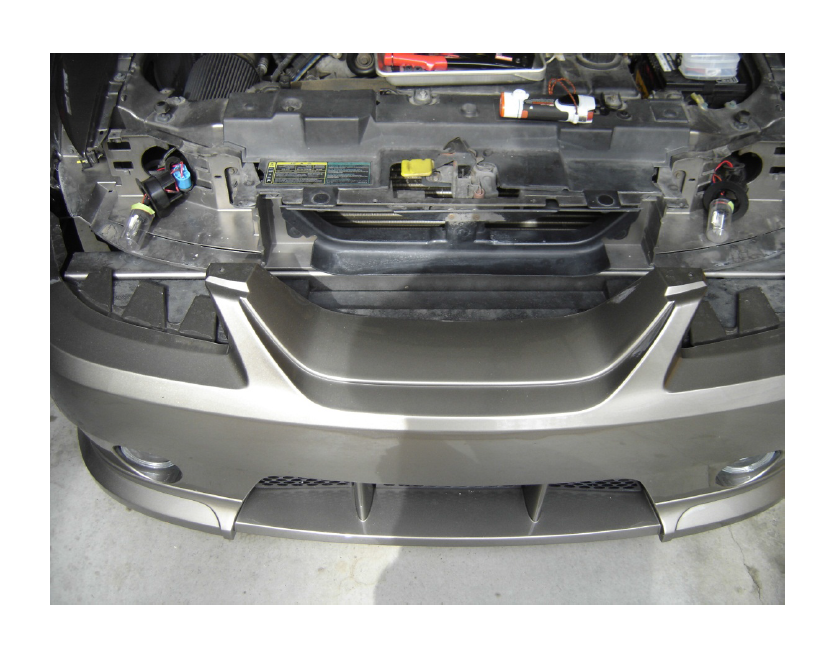
4. Install Roush bumper.
4.1. Start by resting the bumper on the bumper support on front of car.

4.2. Next install the bolts through the holes on the fender, making sure that the fender lining is inside the rear bumper edge.

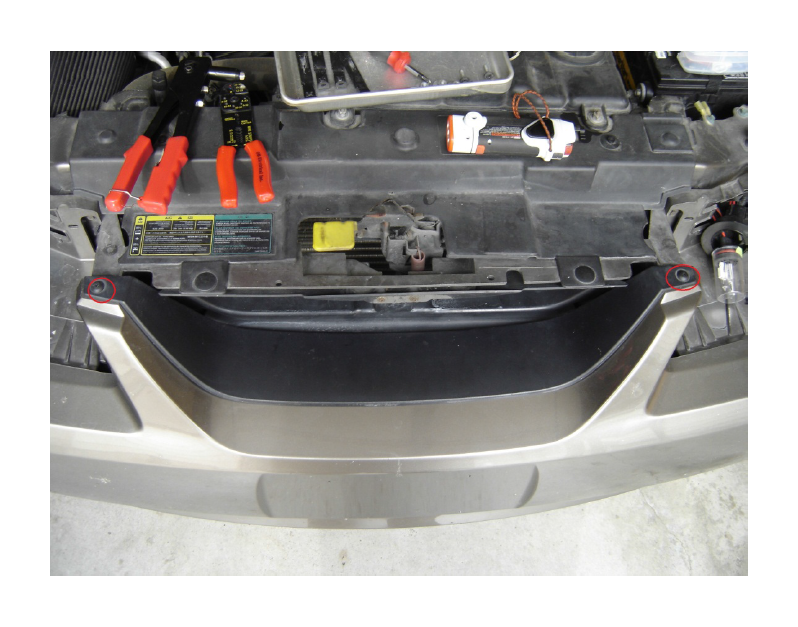
4.3. Put top bumper tabs over the support where the pins go.
4.4. Install the opposite side fender bolts into the fender.
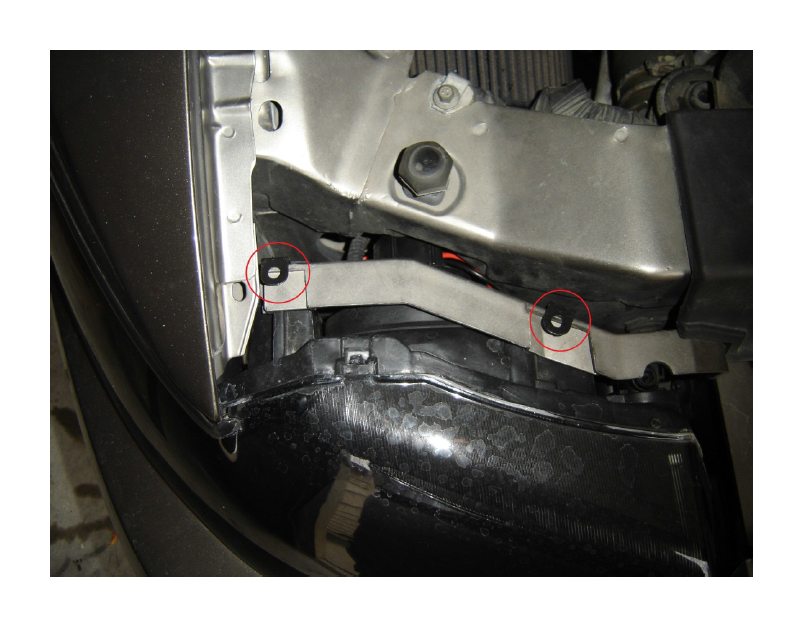
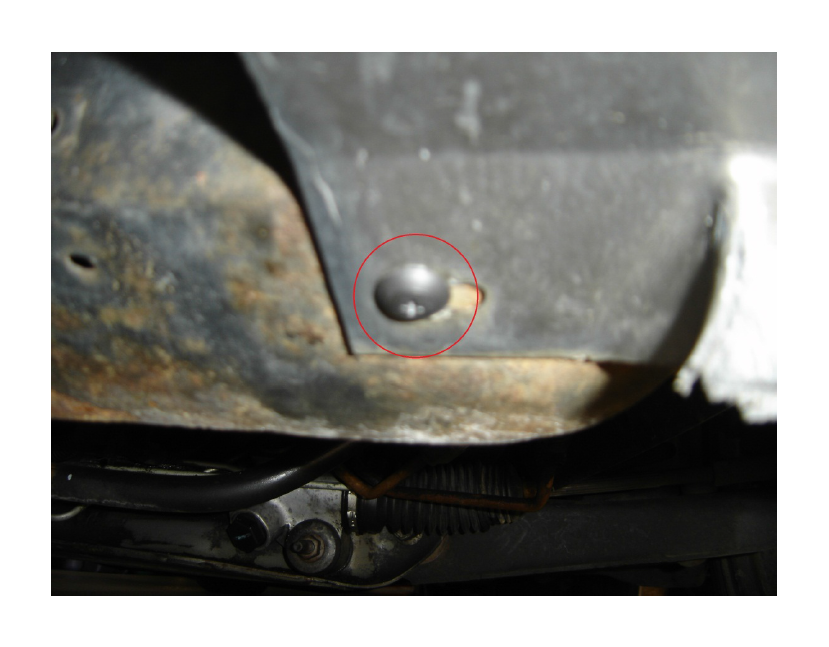
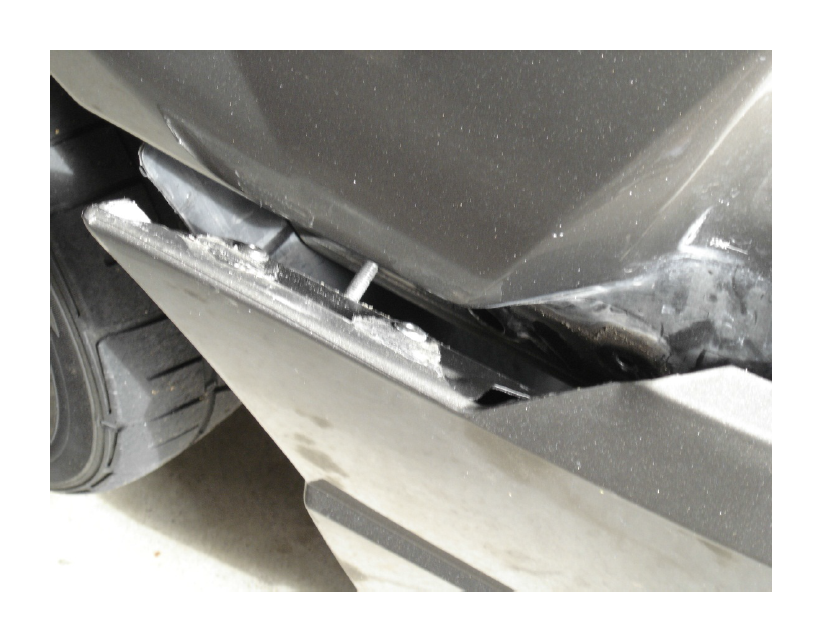
4.5. I made the 3 tabs under each headlight (circled above) sit as high on the header panel as possible, actually over the bracket it is under in the picture, to decrease the gap under the headlights.

4.6. Plug the wires into the fog lights.
4.7. Install the pins in the top supports, bottom support, fender nuts, and fender screw.
5. Install headlights.
6. Remove chrome pony and corral from stock grill carefully and press into the supplied bracket. I chose not to do this and left the grill empty.