 FREE 1 to 3-Day Delivery on Orders $149+ Details
How to Install RTR Tactical Performance Double Adjustable Rear Control Arms on Your on 05-15 Mustang
Installation Time
10 hours
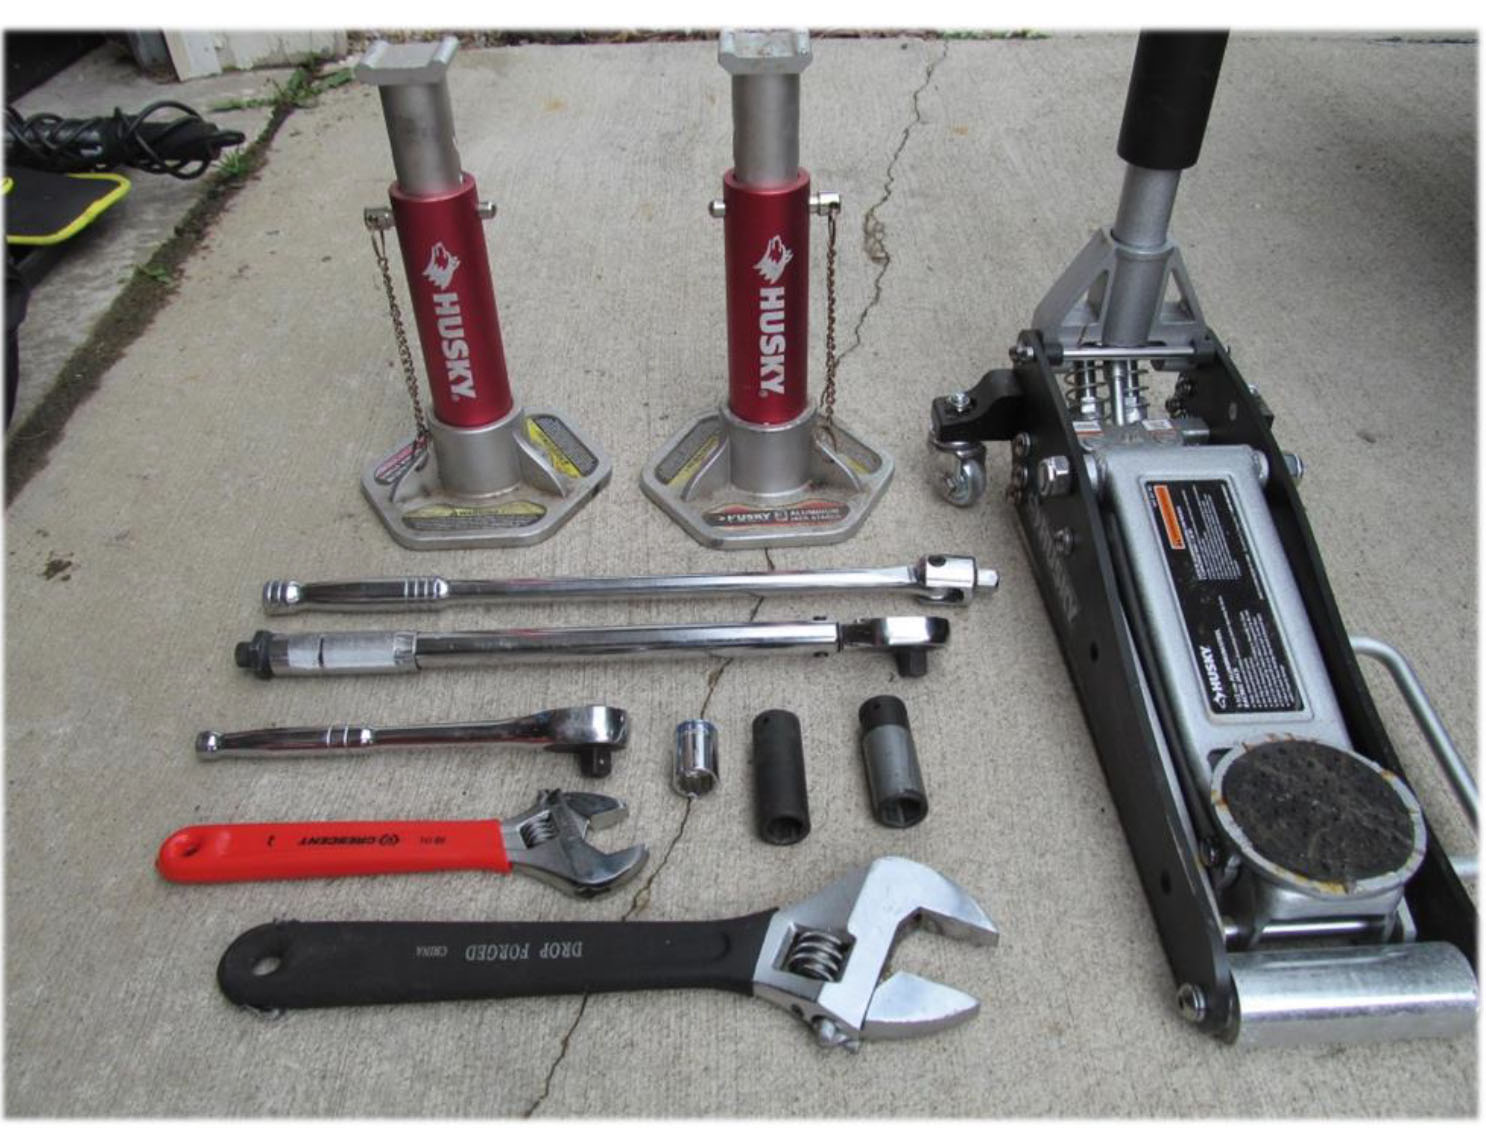
Tools Required
- 1 Jack
- 2 Jack Stands
- (1/2” Drive) Ratchet
- (1/2” Drive) Breaker Bar
- (1/2” Drive) Torque Wrench
- (1/2” Drive) 19mm Deep Socket
- (1/2” Drive) 18mm Deep Socket
- (1/2” Drive) 18mm Socket
- Small and Large Crescent Wrenches

Shop Parts in this Guide
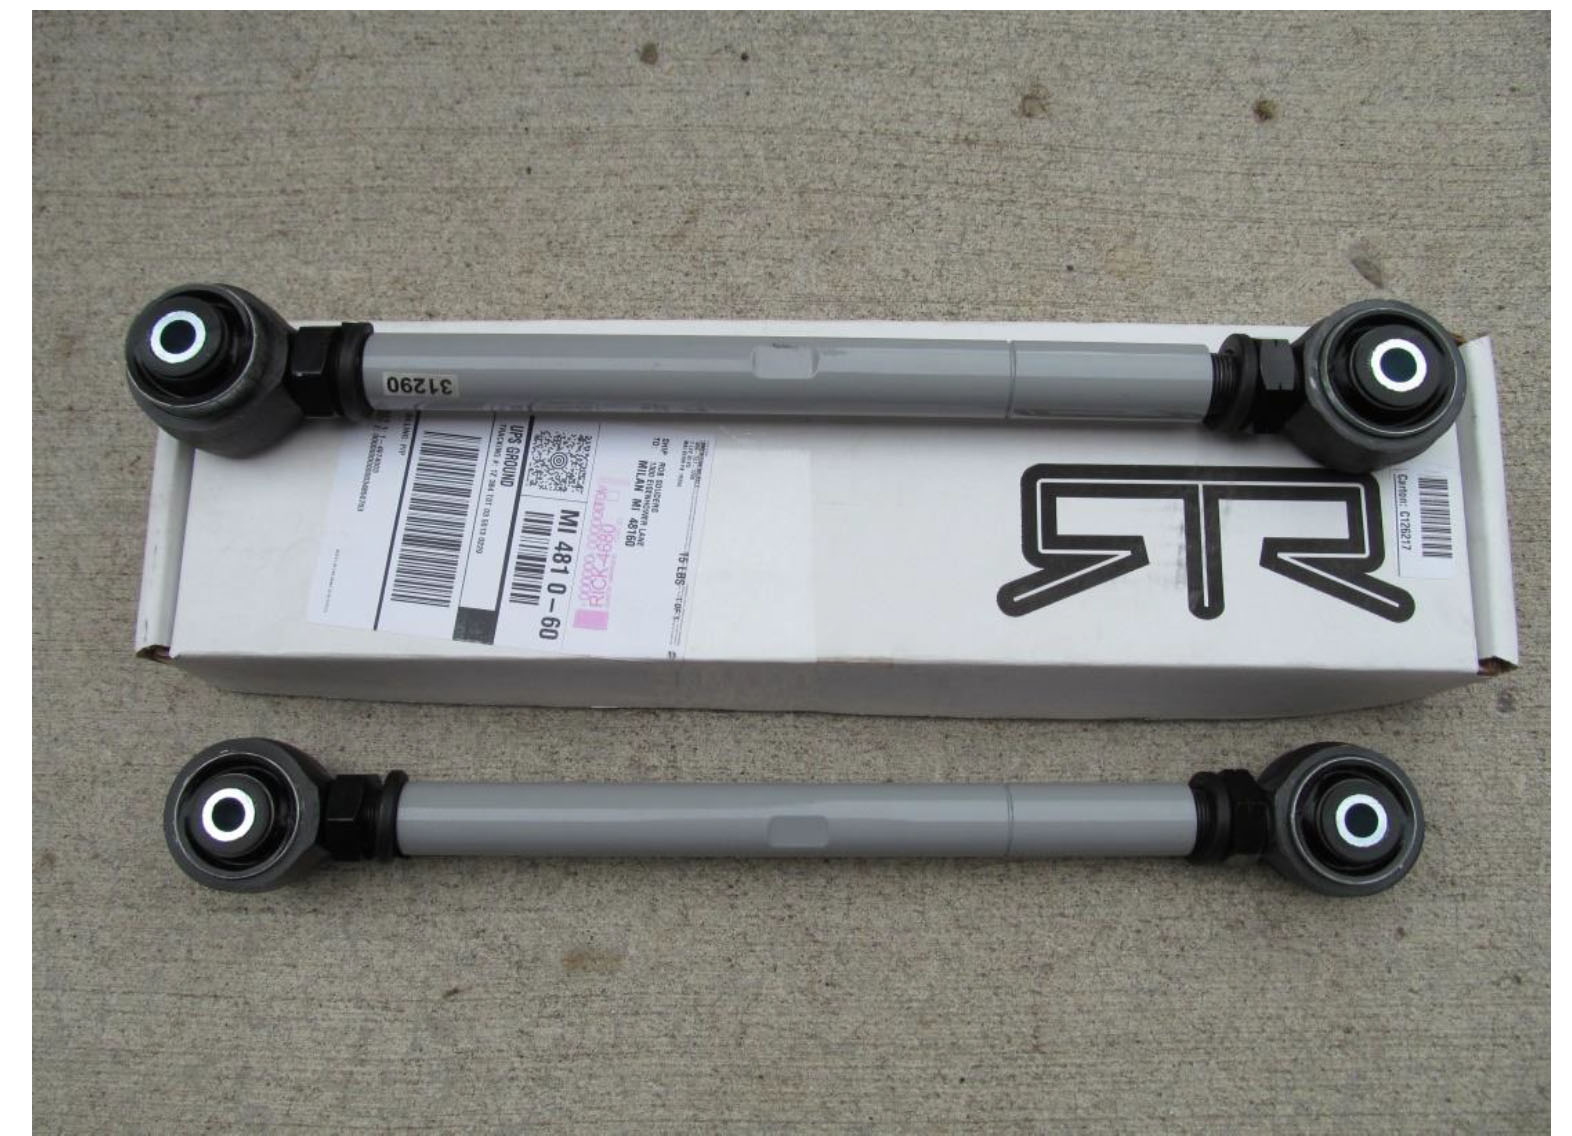
Note: This Installation guide is for RTR Tactical Performance Double Adjustable Rear Control Arms (0
What’s In The Box:
Stock Control Arm Removal Procedure:
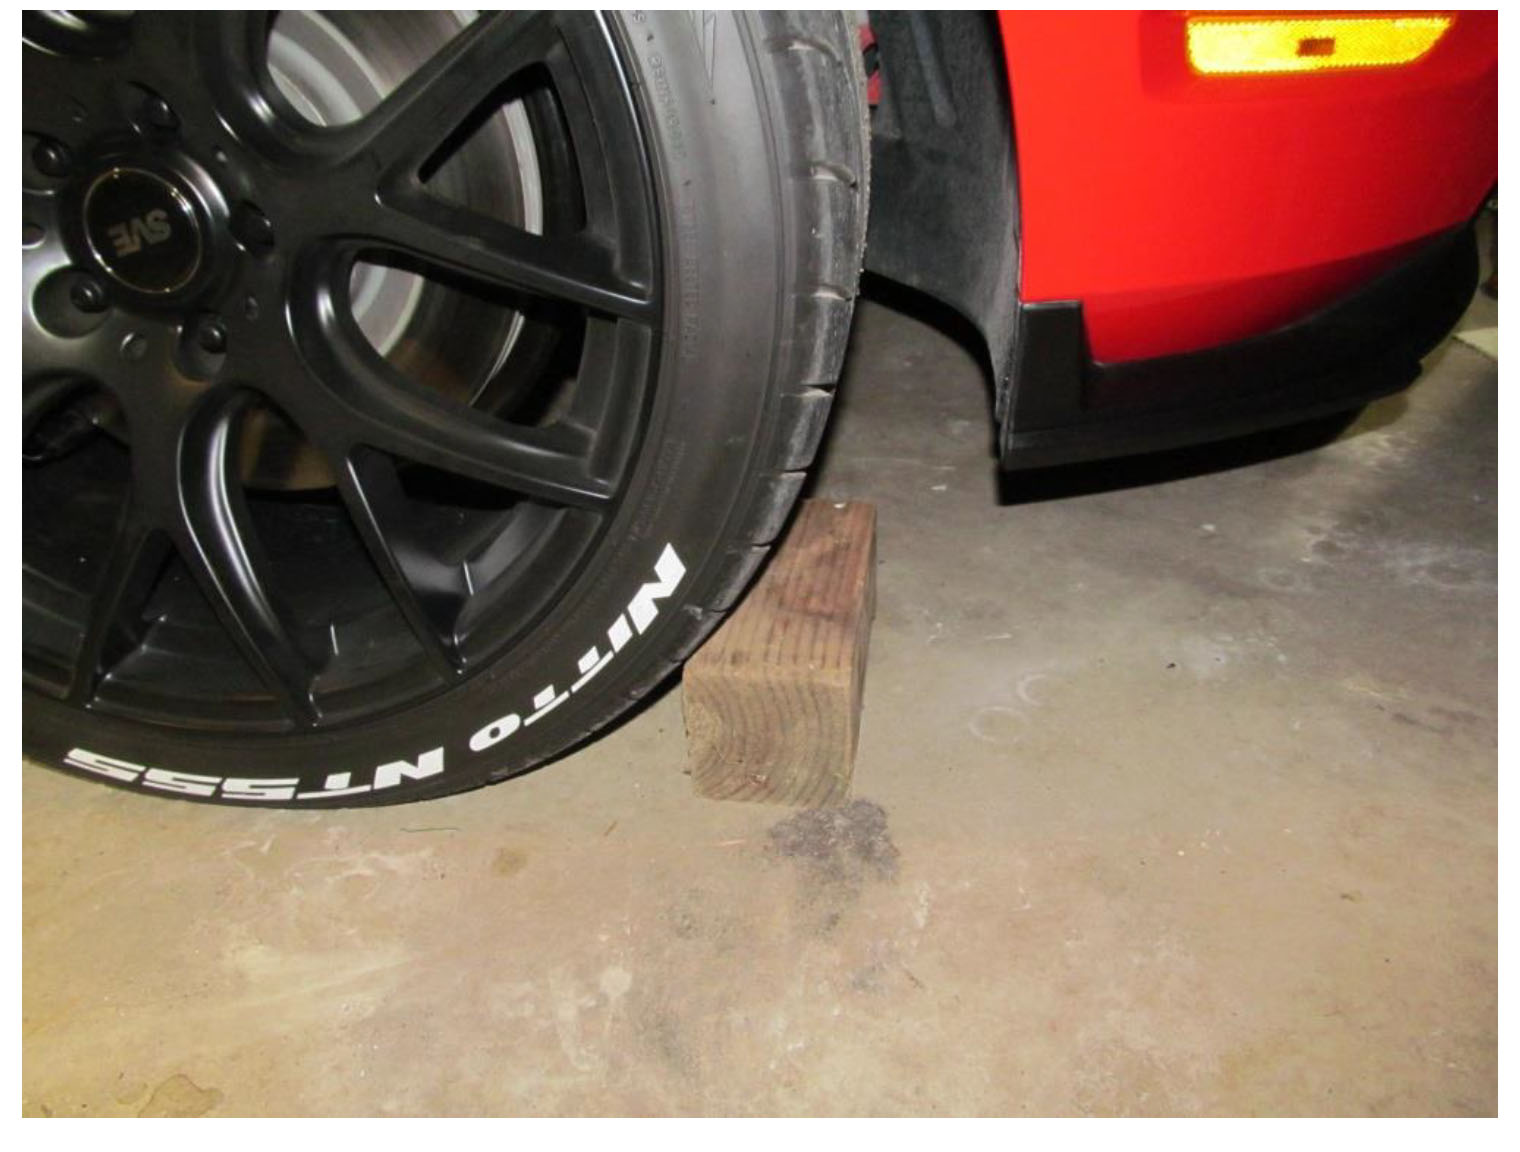
1. Place stops in front of the front wheels for added safety. Scrap 4x4 wood works great.
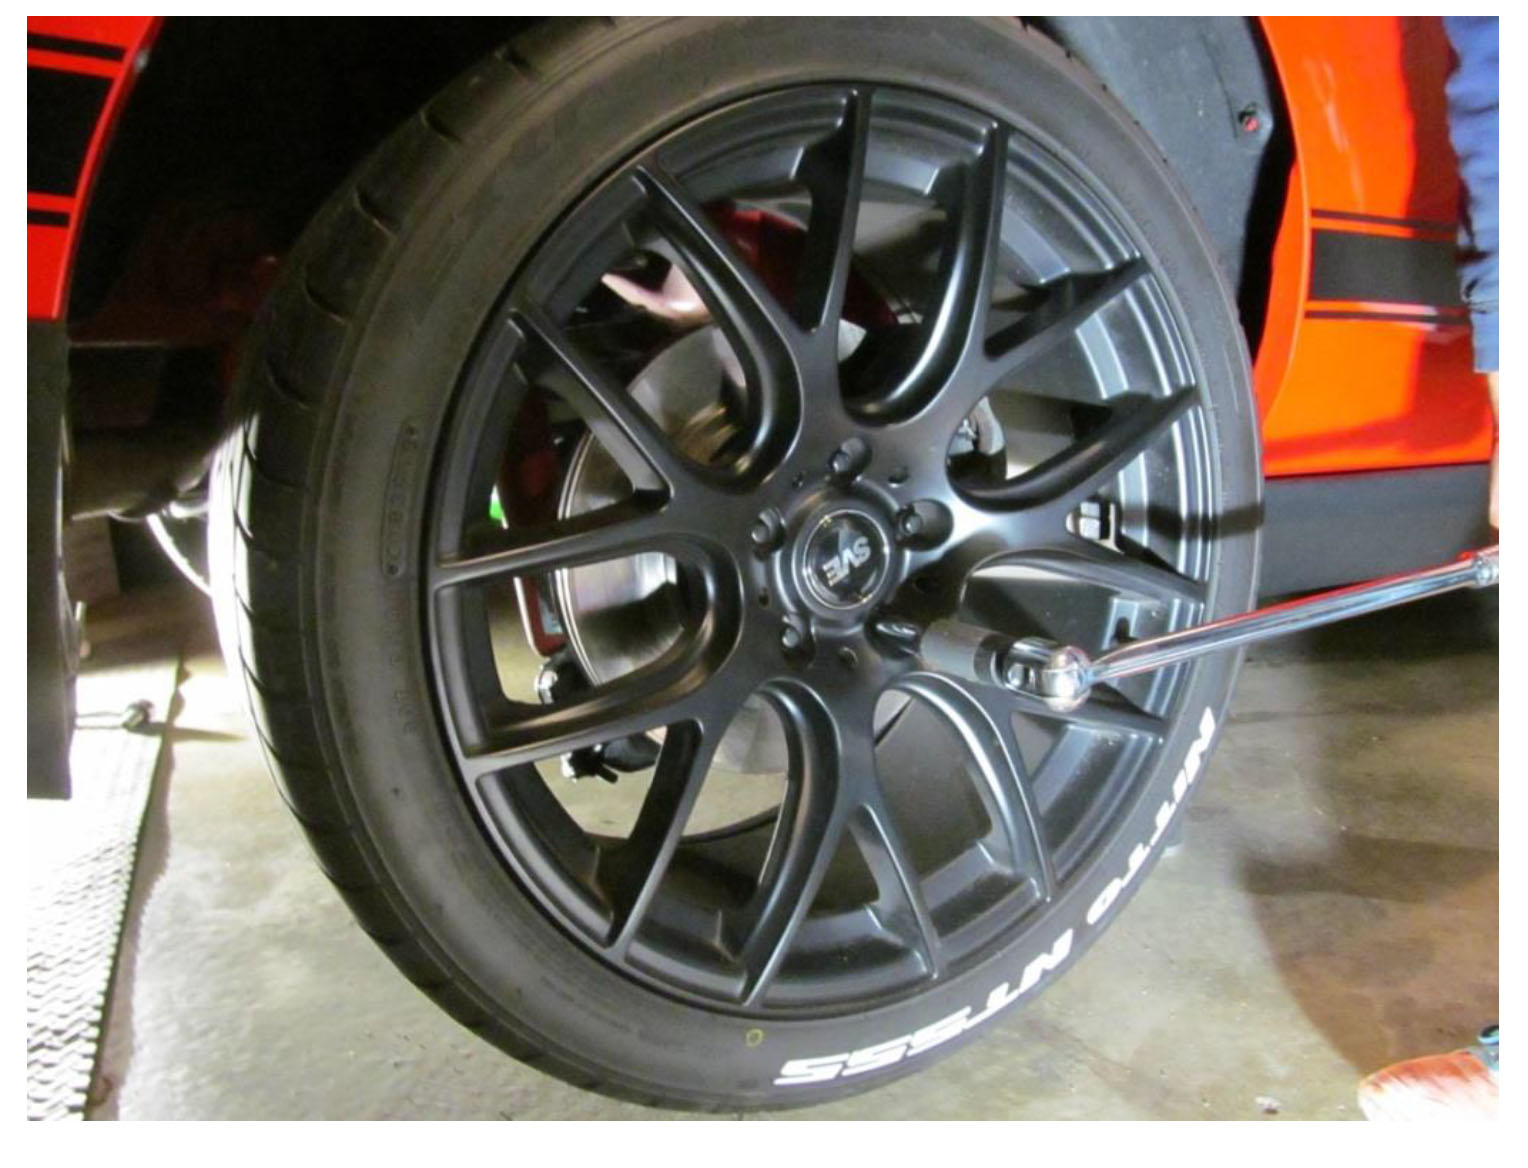
2. Break loose, but (DO NOT REMOVE) the rear lug nuts on each wheel with a 19mm socket and breaker bar before lifting the rear end of the vehicle. This is done for added leverage while the vehicle is on the ground, and so you do not rock the car off of the jack stands trying to remove the rear tires
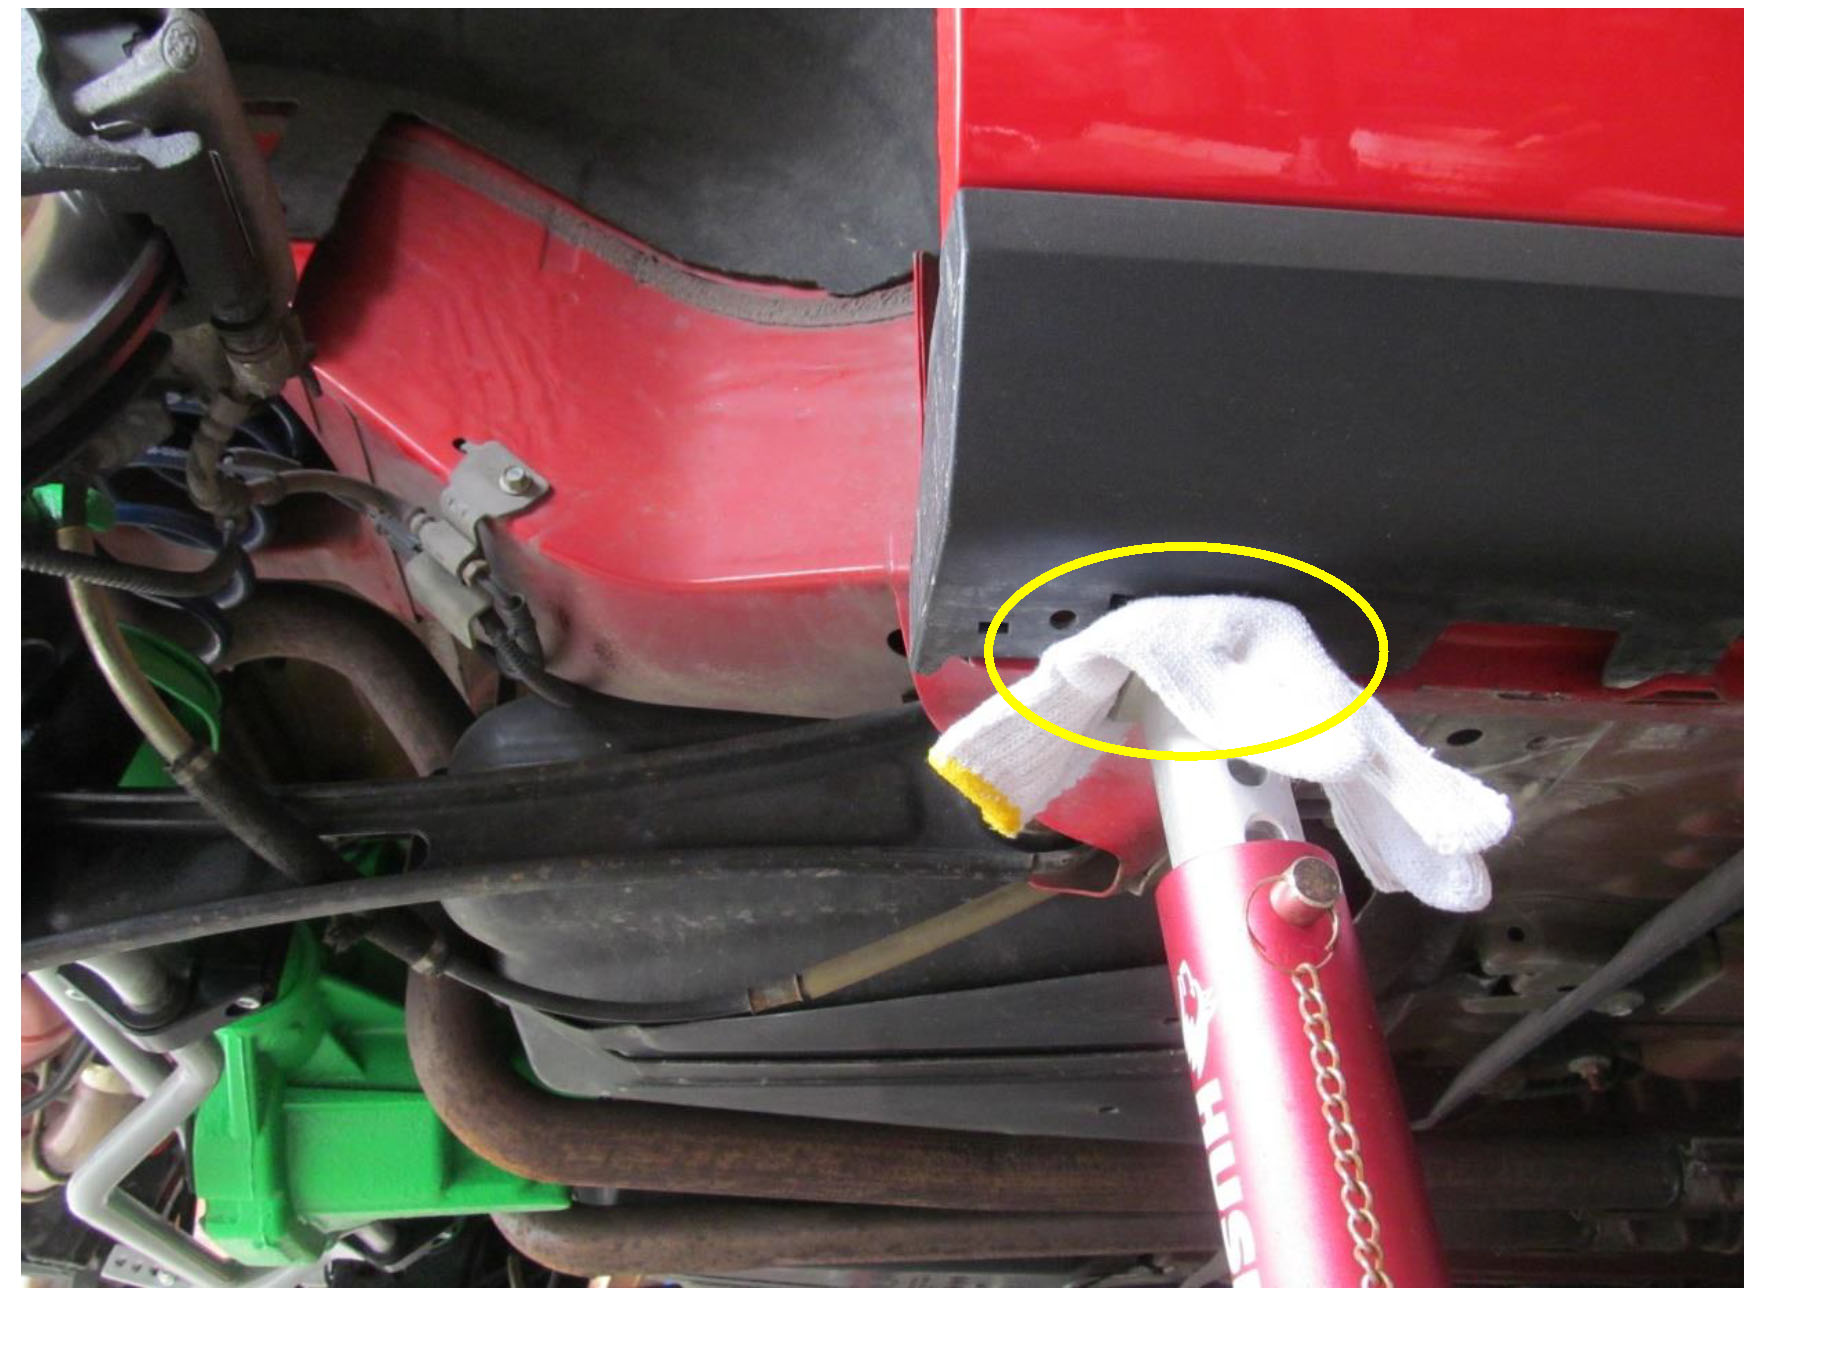
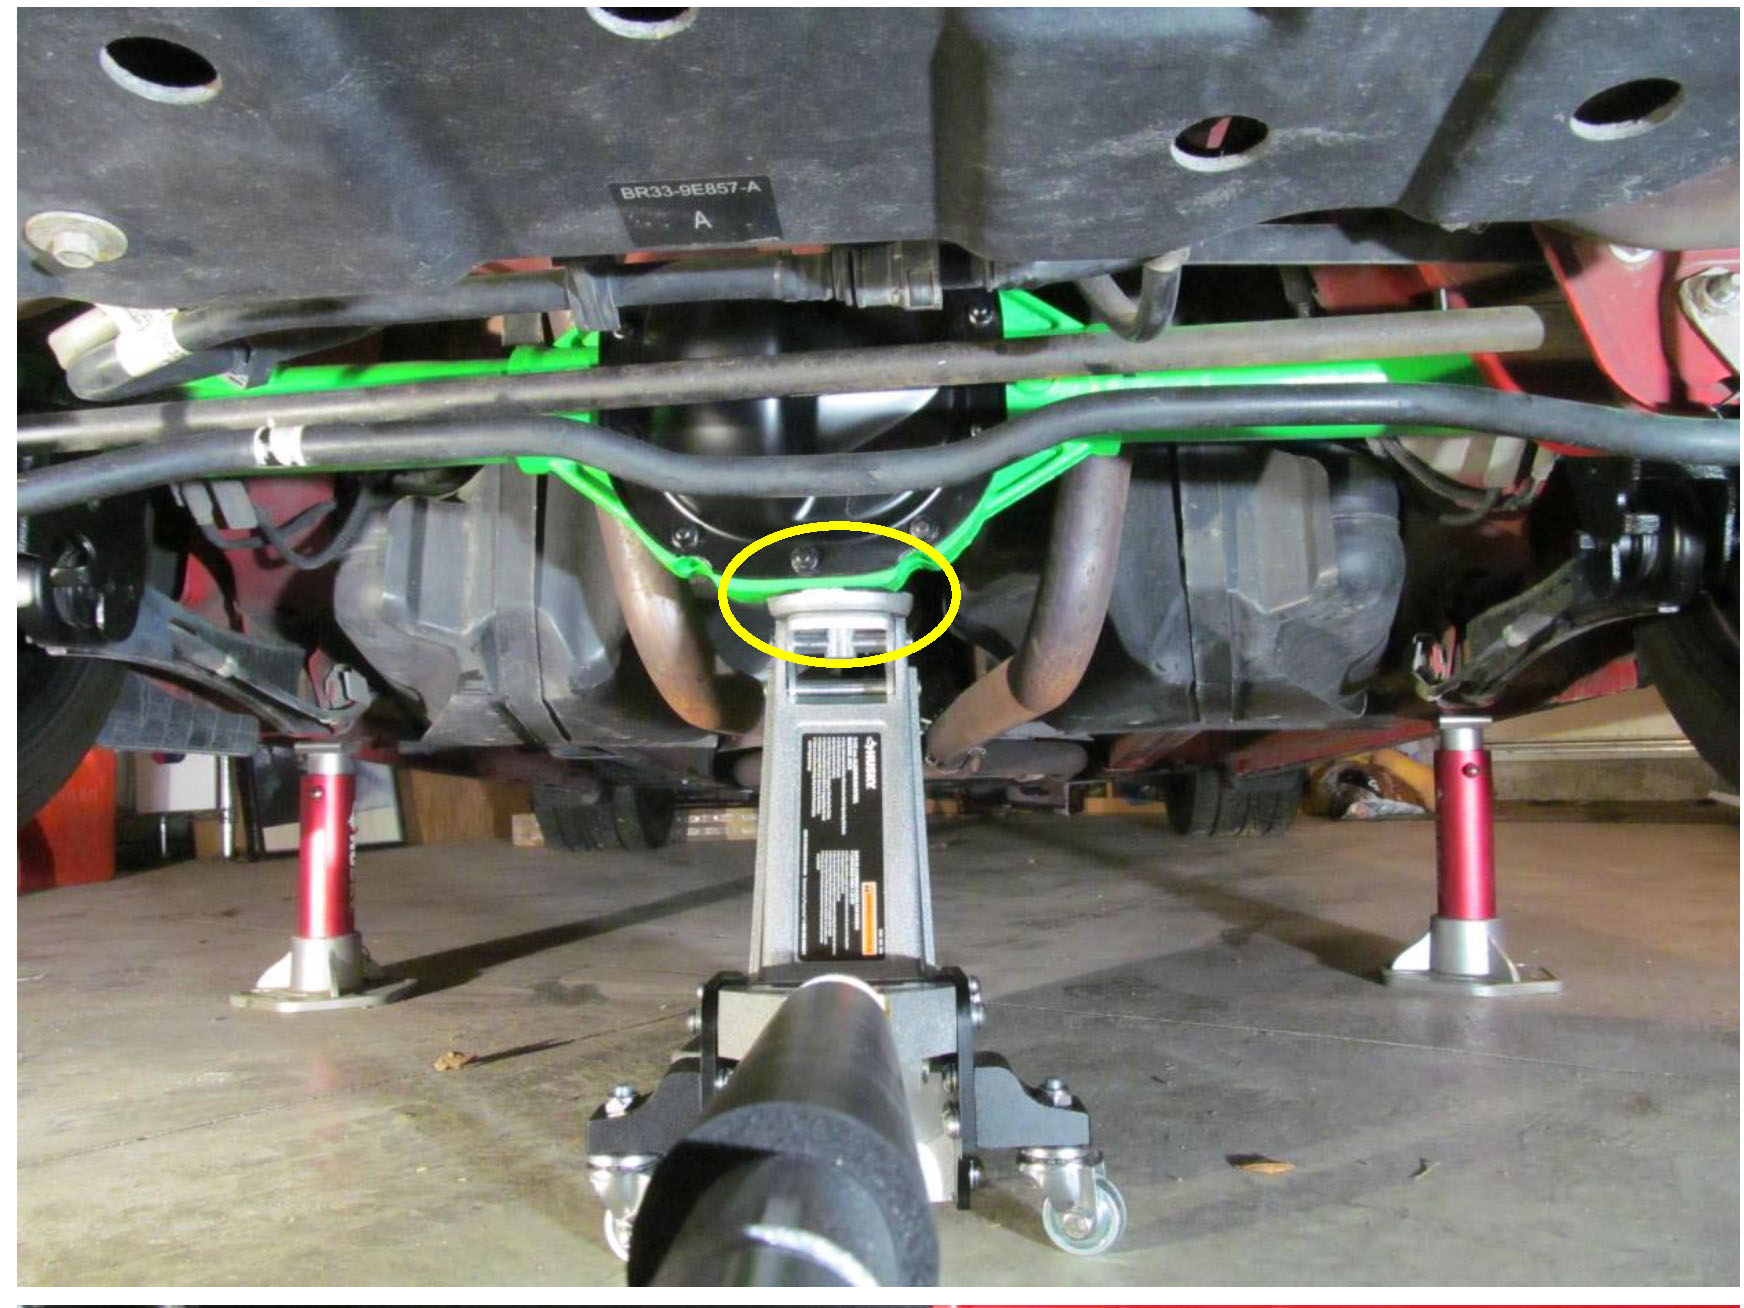
3. Next, jack up the car in the proper location lifting from the rear differential housing in the middle. Place jack stands to suspend the rear of the car on the pinch weld of the vehicle. The rear of the car is being lifted to easily access bolts at each end of the control arm. Once lifted, remove the rear tires.
4. First, you will need to remove the clip holding on the rear parking break cable on each side. Just pull or knock the clip out in the direction shown. You will be reusing the clip so keep it aside

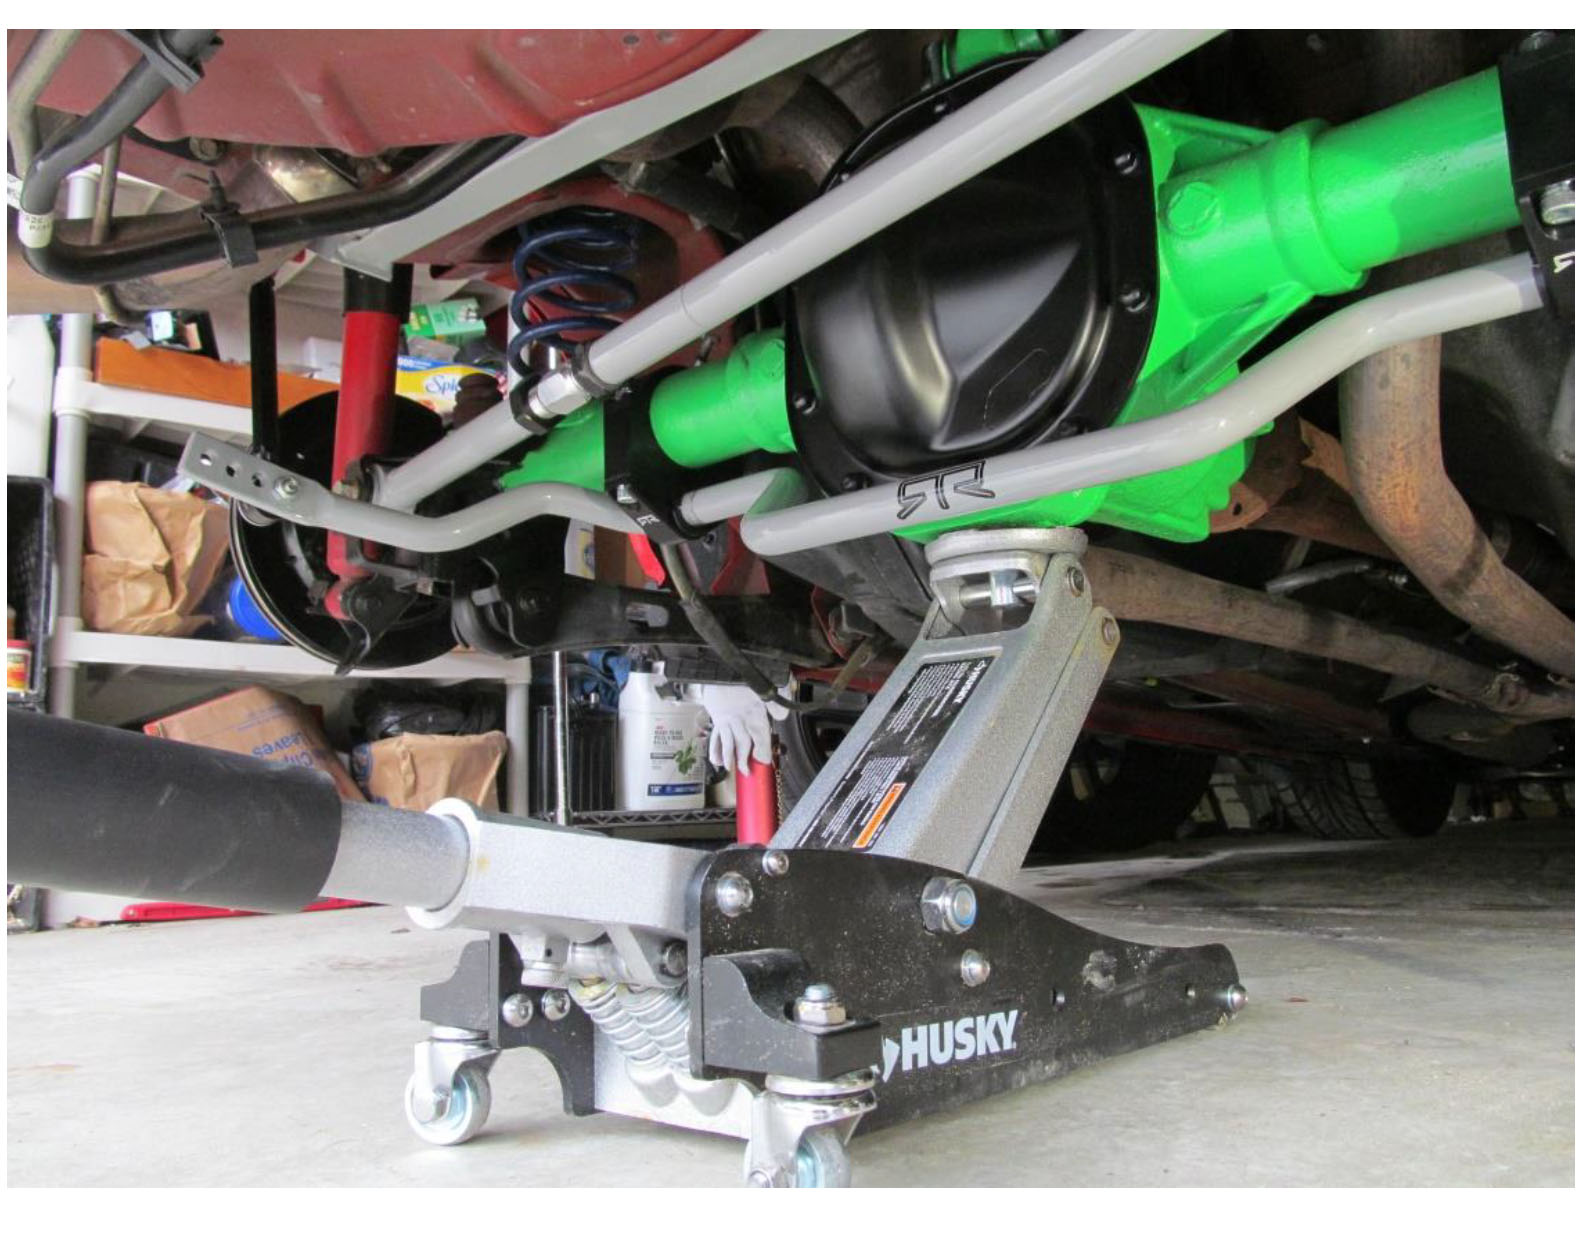
5. Support the rear axle with the jack so when the rear control arms are removed the axle remains in position.
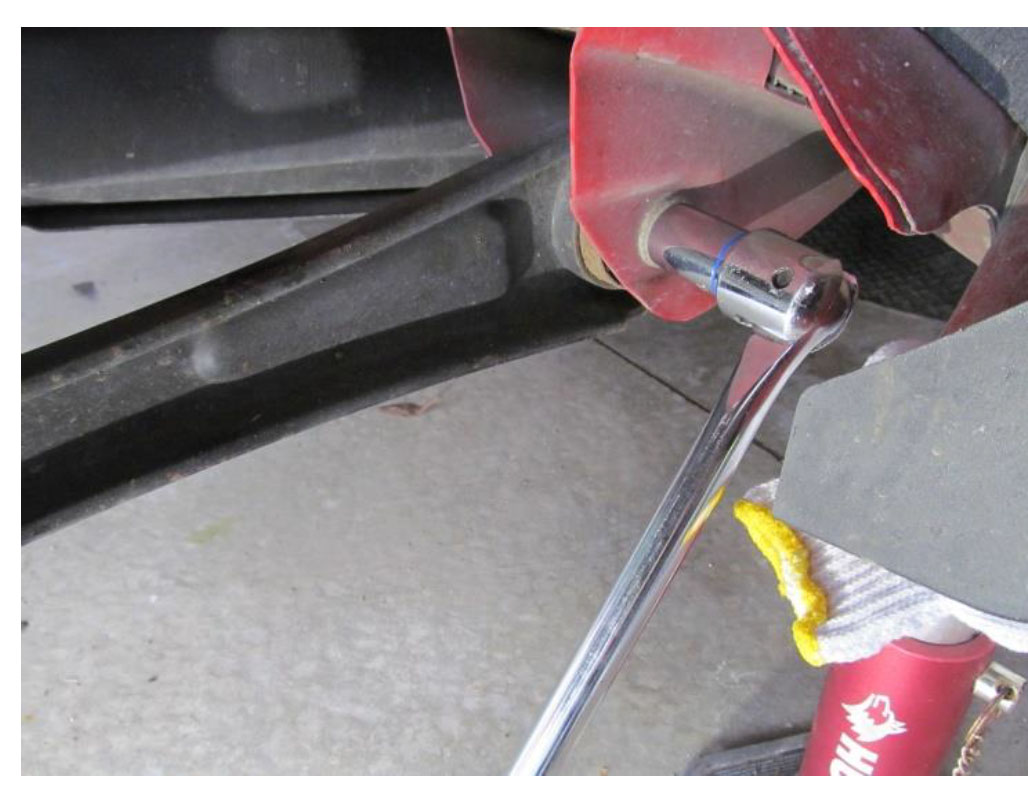
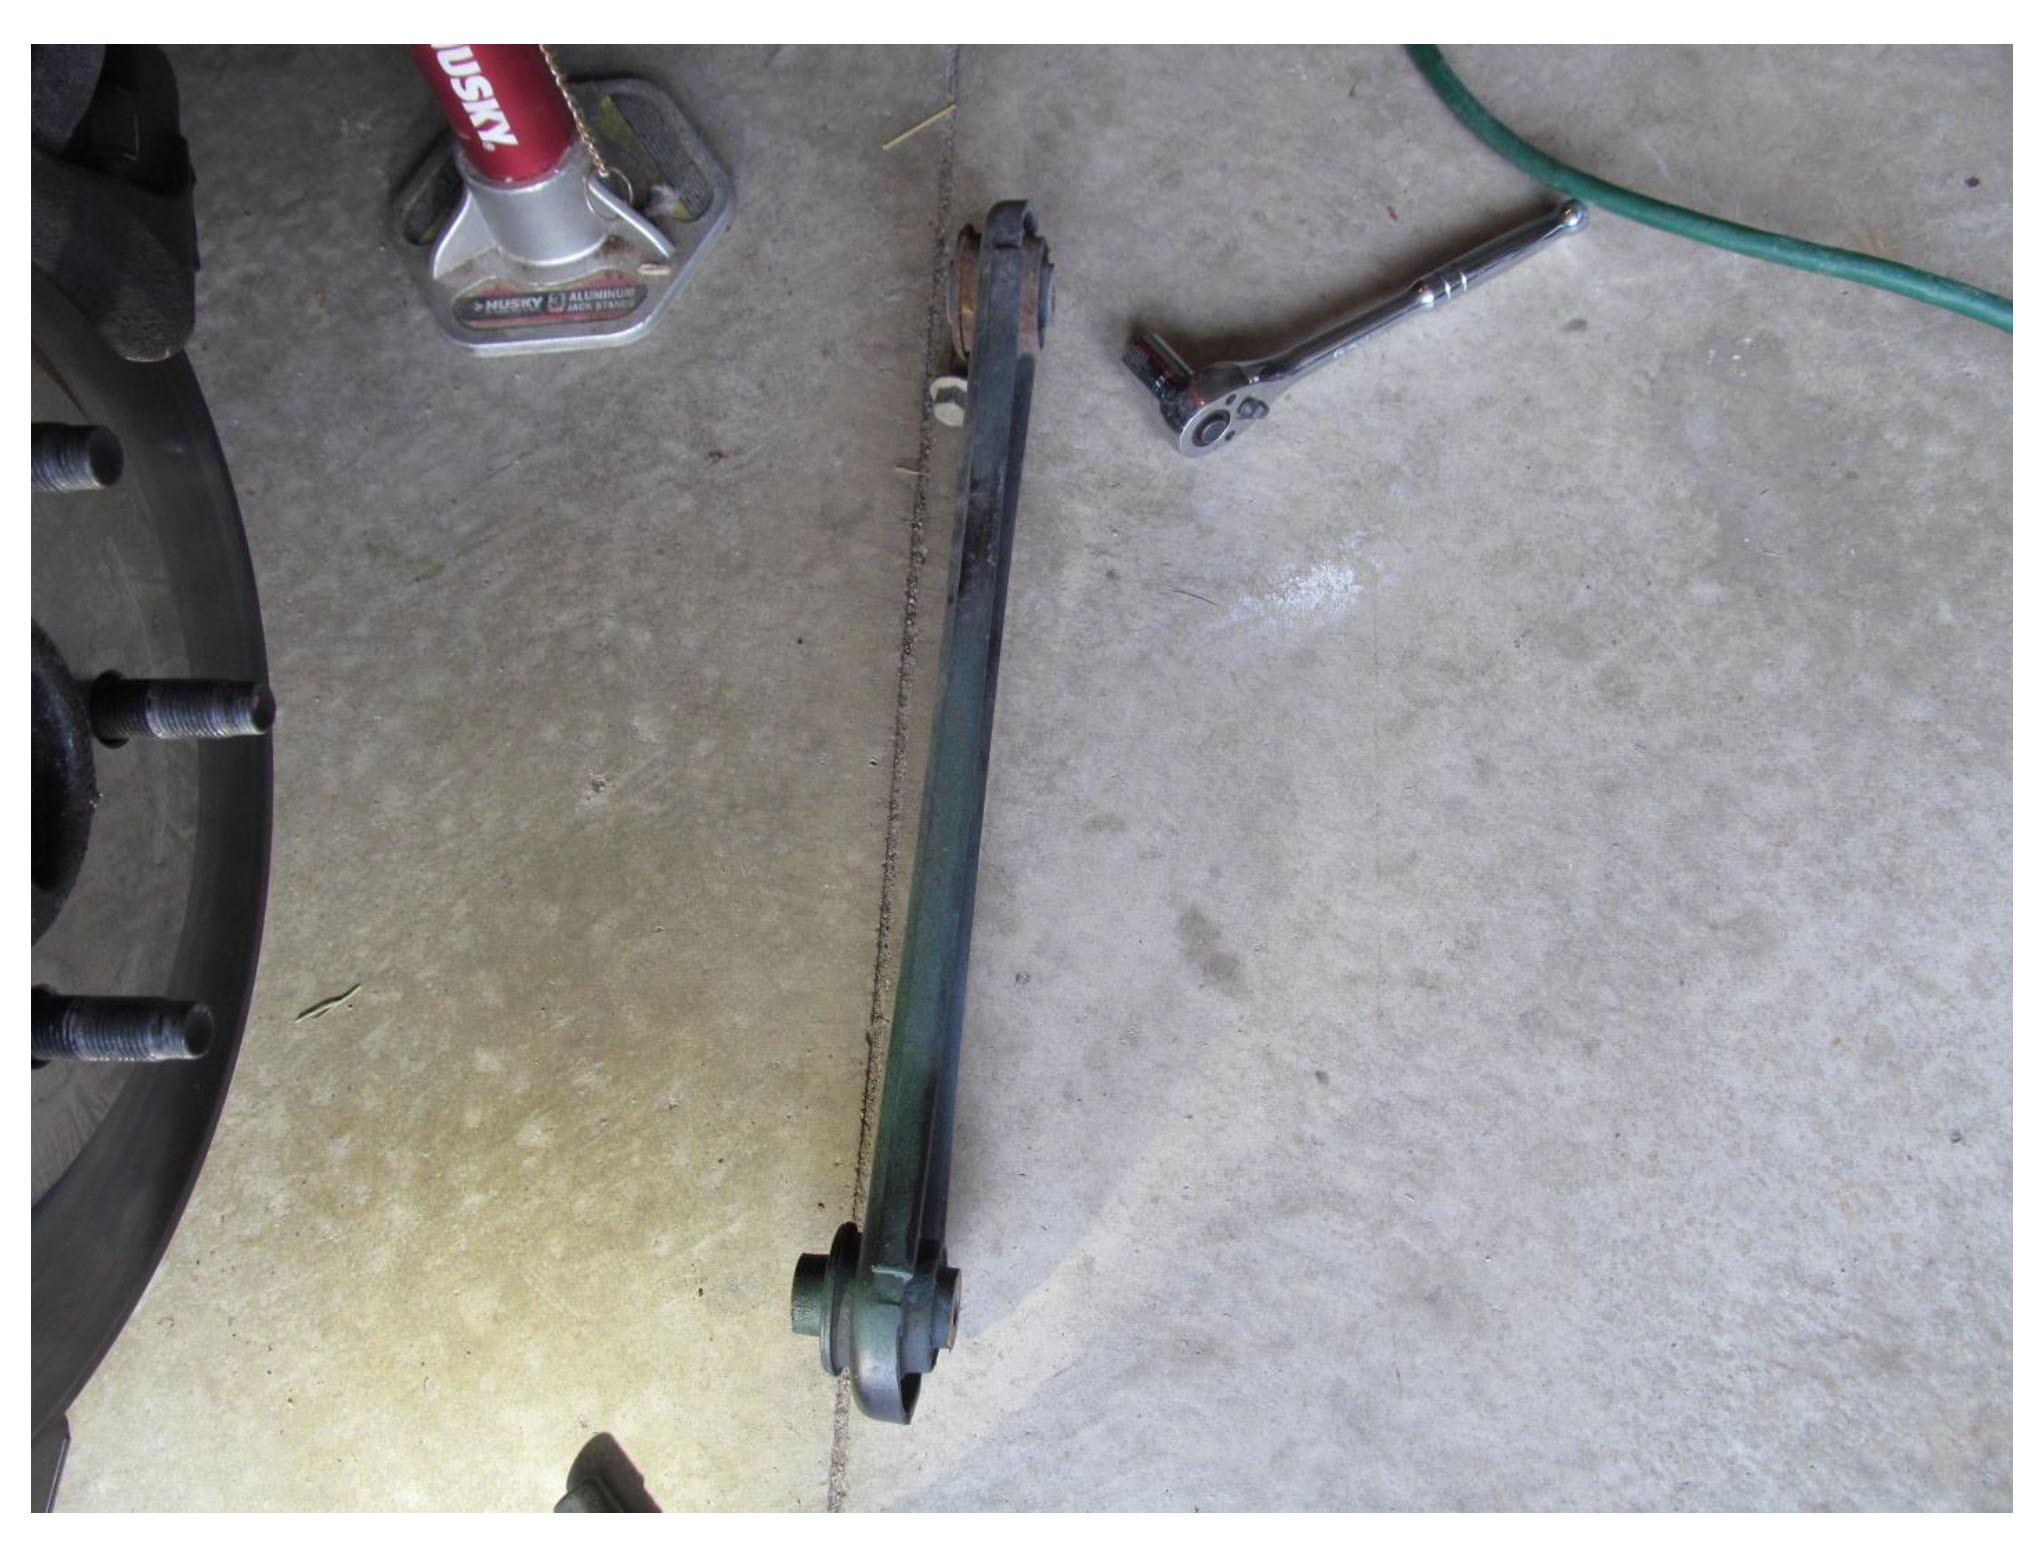
6. With the 18mm socket and breaker bar, loosen the bolts on the front and rear control arms on each side of the vehicle and remove completely. Stock hardware is reused so set it aside. (Drivers side shown)
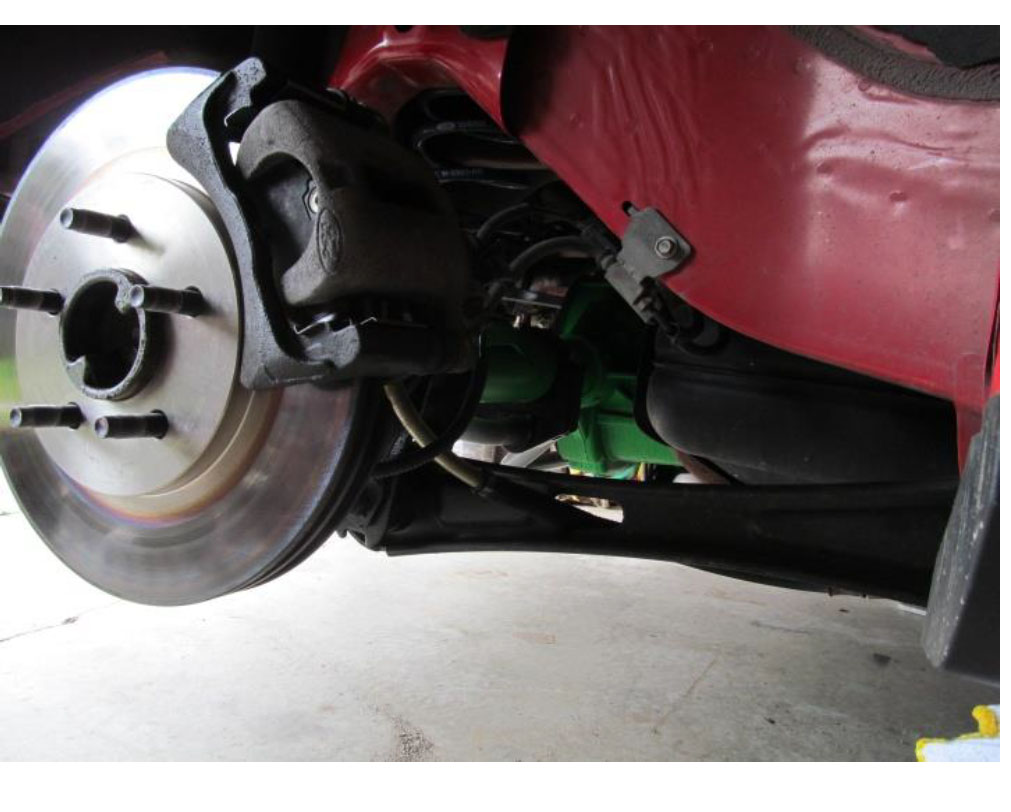
7. Your stock control arms are now removed!
RTR Tactical Performance Rear Control Arm Installation Procedure:
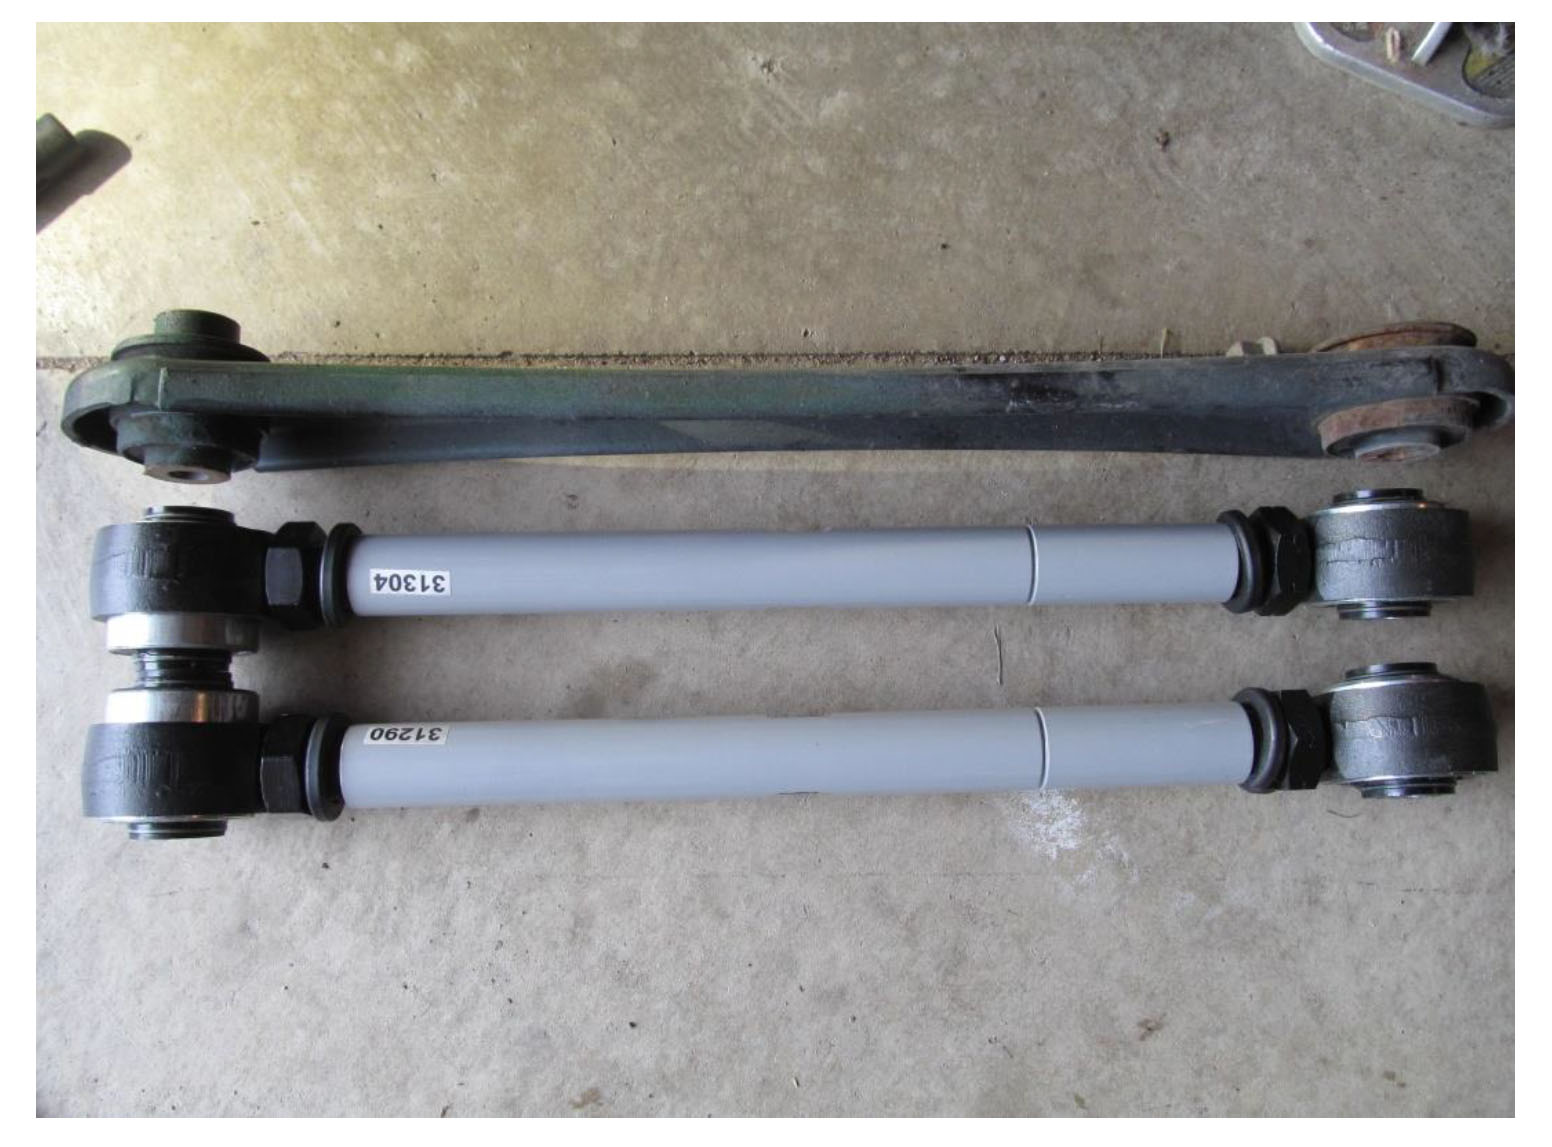
1. To begin installation of your new RTR Tactical Rear Control Arms, start by setting your stock control arm on the ground and adjusting the RTR Control Arms to the same length. The control arms can be adjusted later on the car, but this is a good length to start with.
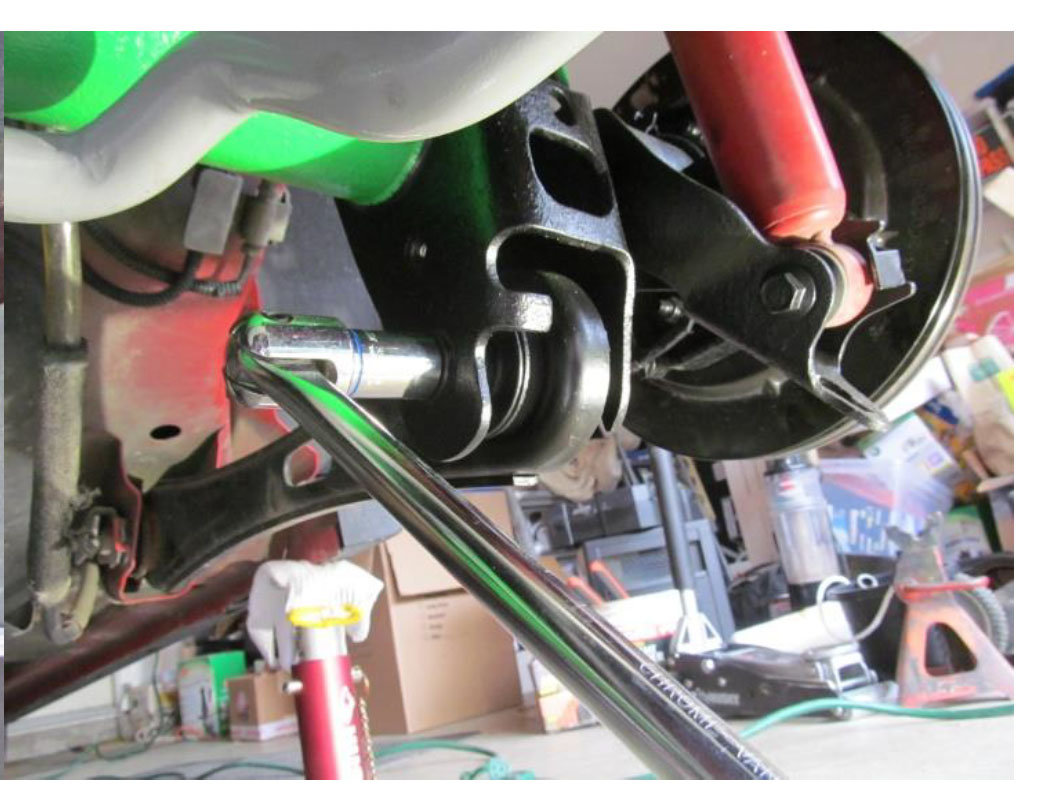
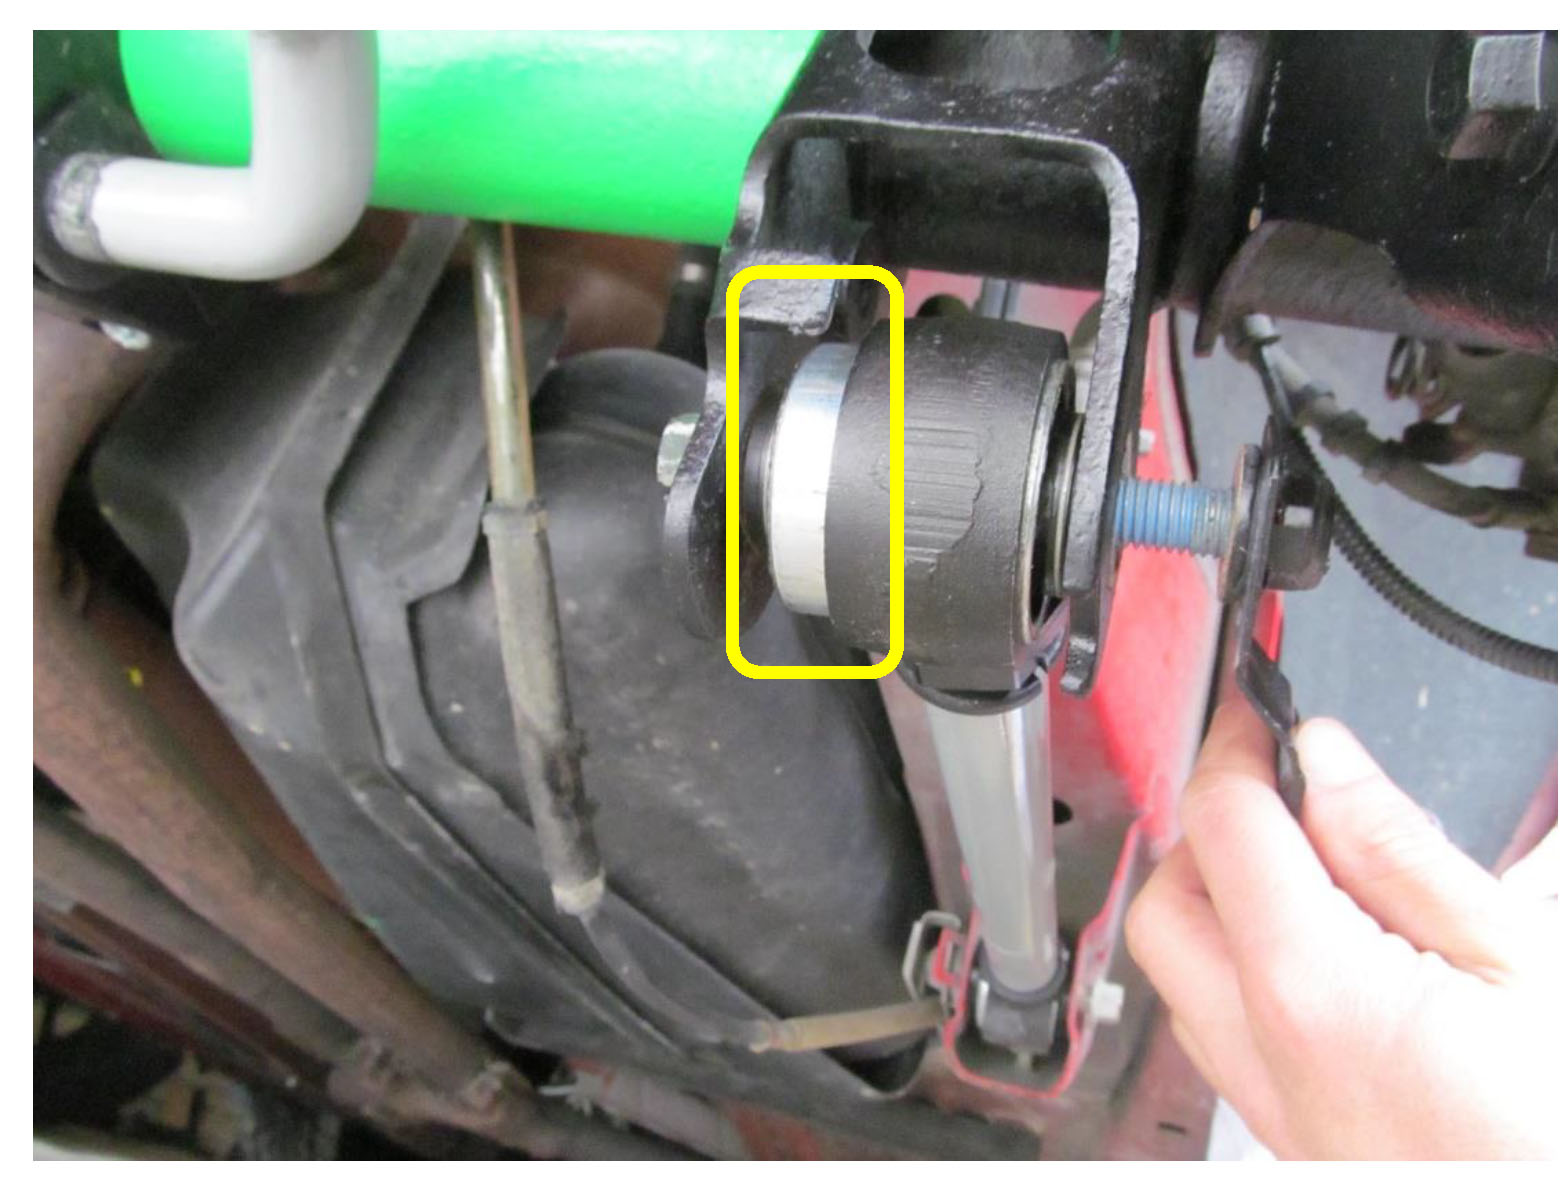
2. Install the RTR Control Arm with the factory hardware. Make sure the large silver part of the control arm bushing is installed at the rear and inside edge.
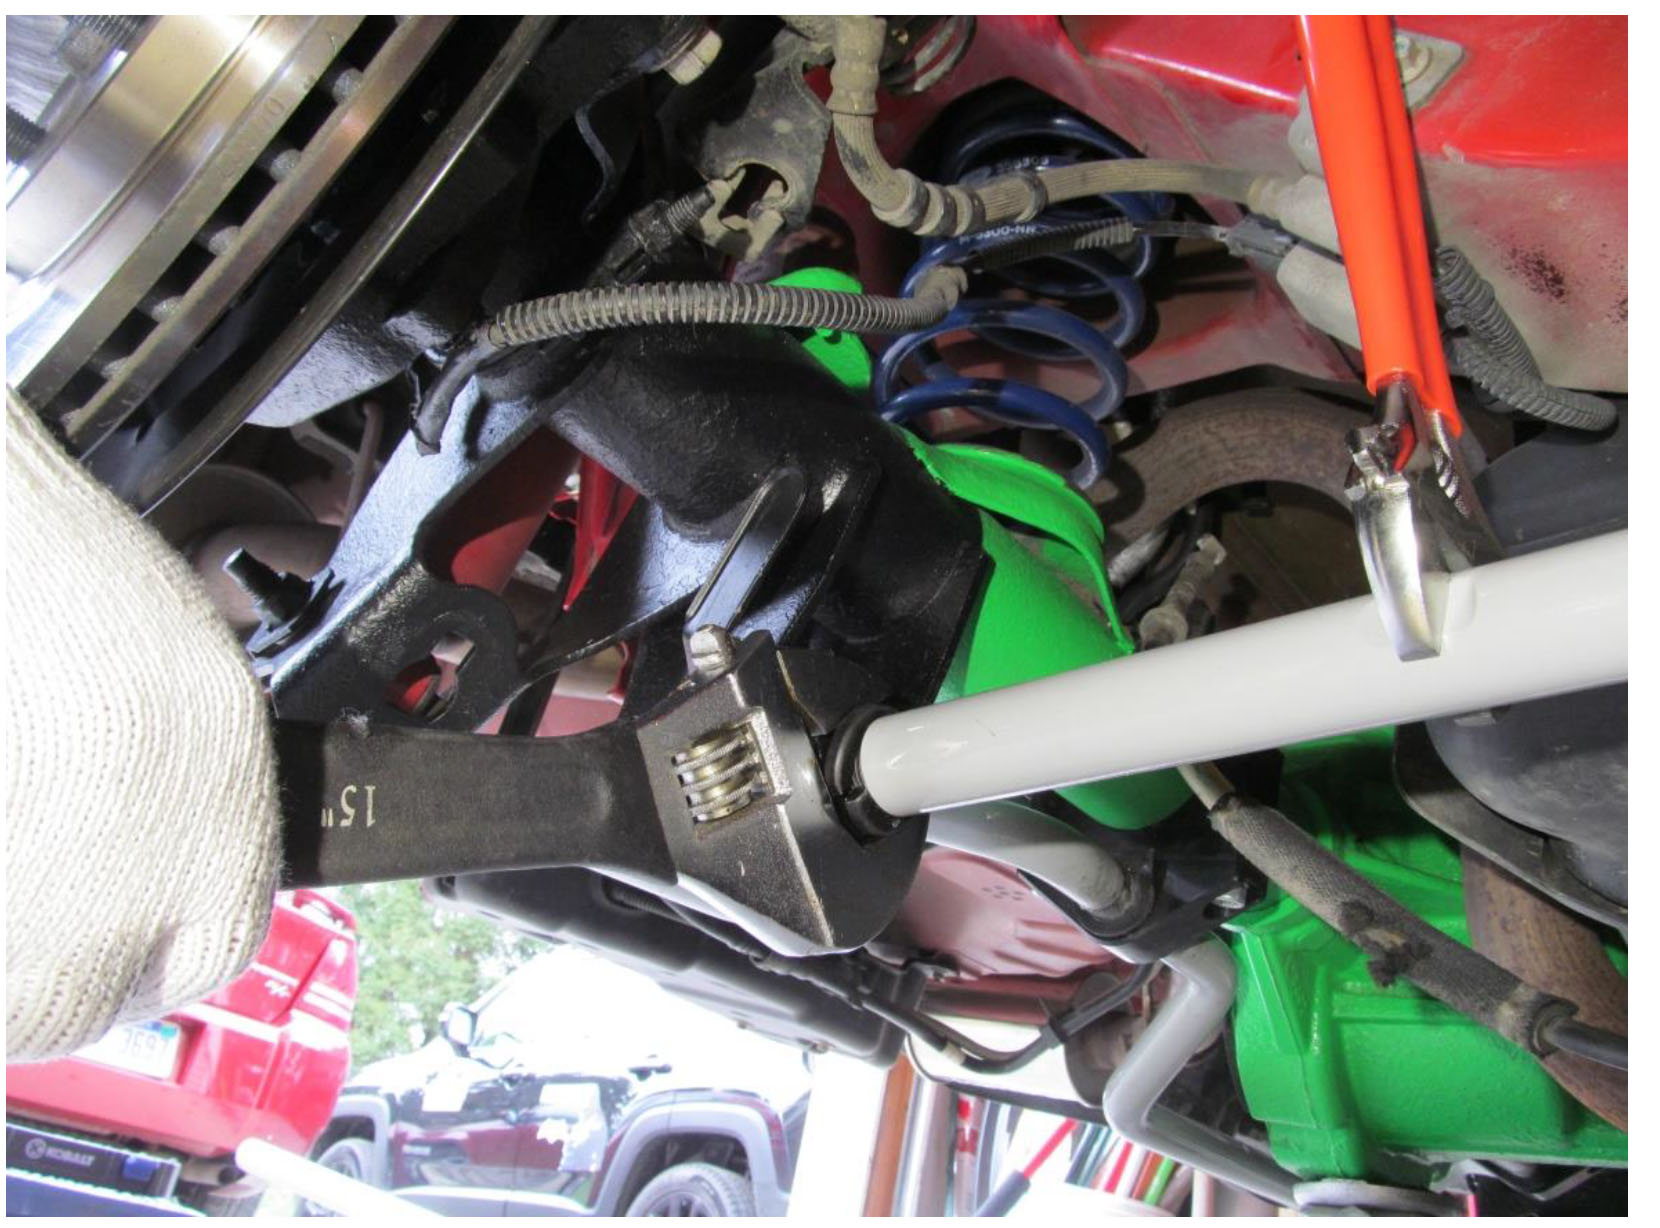
3. Tighten the adjusting nuts by holding the middle of the control arm with the smaller of the two crescent wrenches and turning the nut in with the larger one.
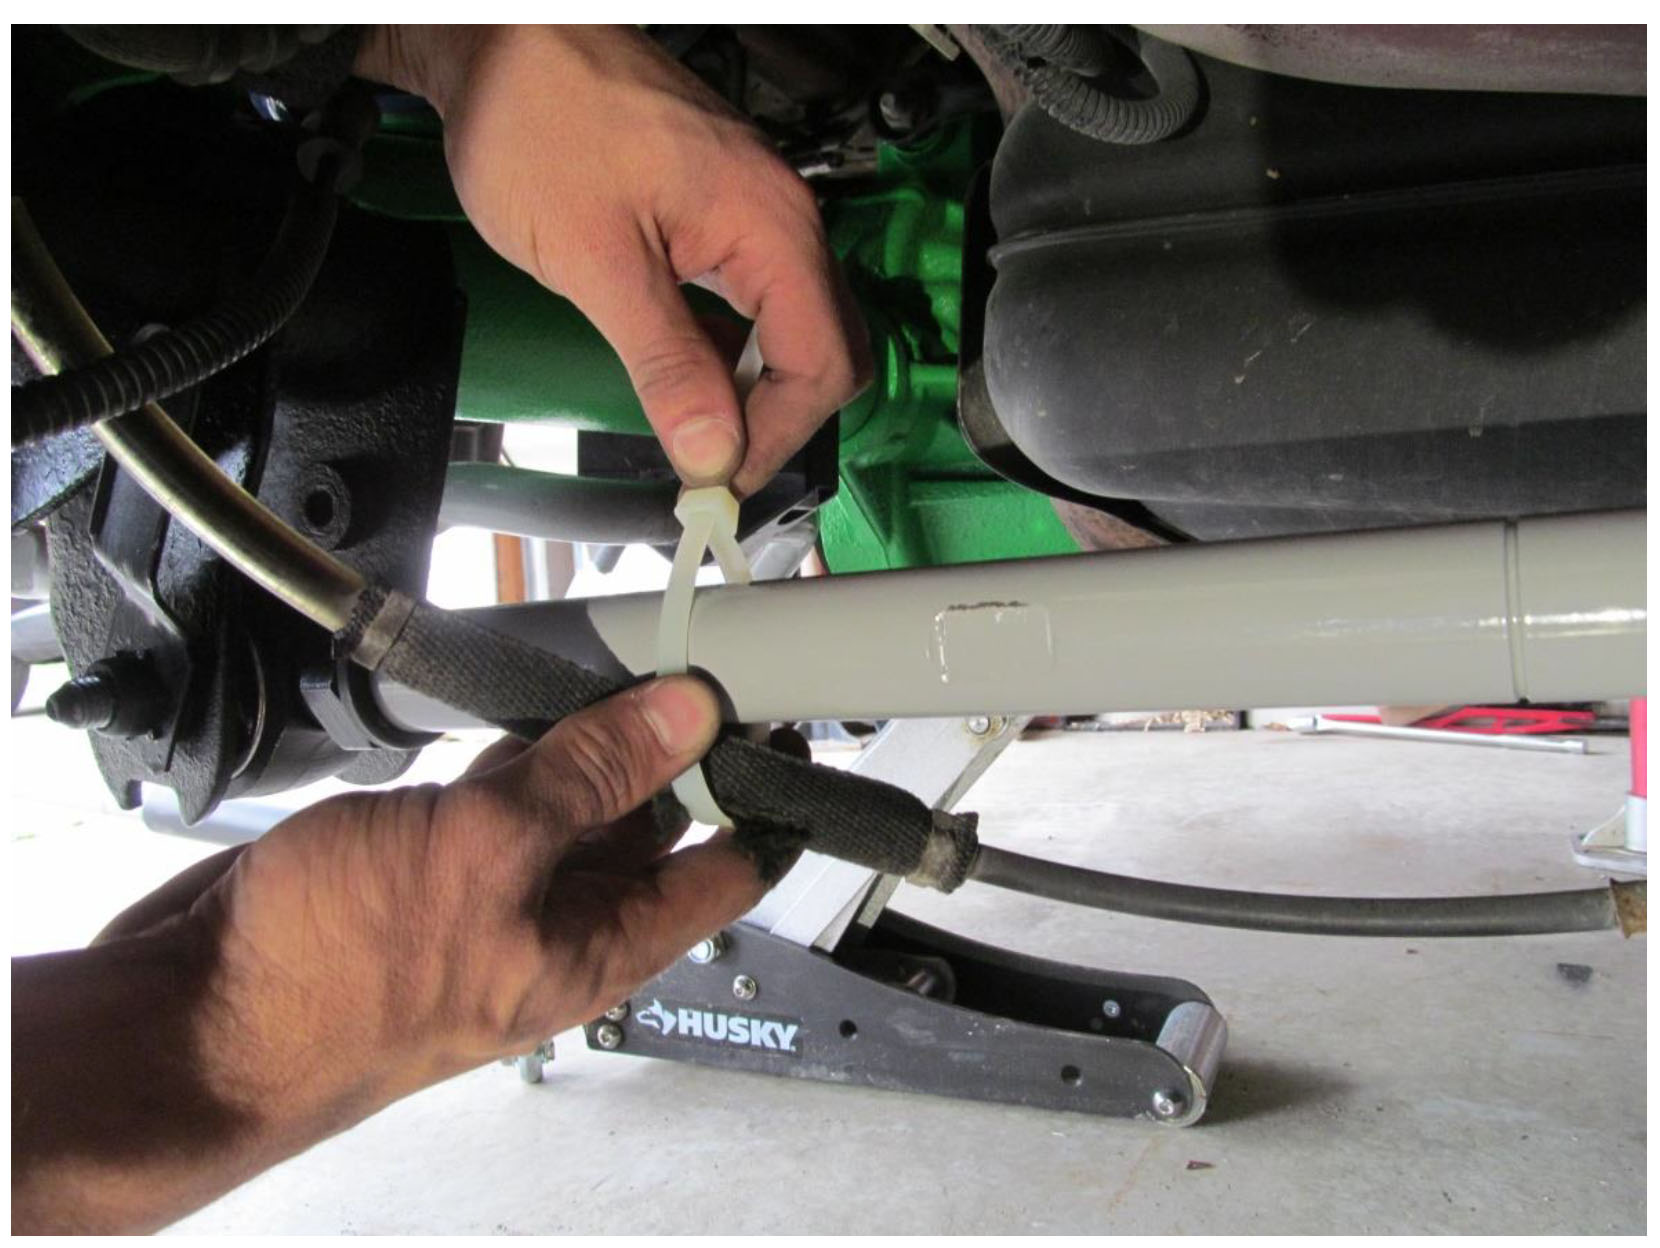
4. The last step is to install a zip tie to hold the parking brake line to the rear control arm on each side so it does not hang down and catch on anything beneath your car while driving
5. Torque the bolts installed to the manufacture specification. Both bolts are torqued to 129 ft. lbs. Once tight, your RTR Tactical Performance Adjustable Control Arms installation is complete! Lower the vehicle and go try it out!
Installation Guide Created and Submitted by AmericanMuscle Customer, Kevin Souders on 5/31/16.
