 FREE 1 to 3-Day Delivery on Orders $149+ Details
How to Install an RTR Aluminum Rear Spoiler on Your 2010-2012 Mustang
Installation Time
2 hours
Tools Required
- Scissors
- Center Punch
- Drill Motor
- Step Drill Bit
- Ratchet and 10mm Socket

Shop Parts in this Guide
Installation
About the Product:
The RTR Deck Lid Spoiler is a stamped T- 6061aluminum part that is powder coated with a matte black powder that meets or exceeds most OE Standards.
How to care for your Spoiler: The RTR Spoiler does not require special care. Simply wash with soap and water, and dry. Do not use any waxes or silicon based products on this part. CDC is not responsible for discoloration or inconsistent gloss levels due to improper care.
Kit Components:
- 1 – Spoiler
- 2 – M5 Nuts
- 1 – Alcohol Pack
- 1 – Template
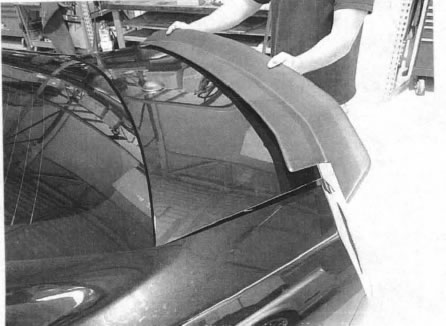
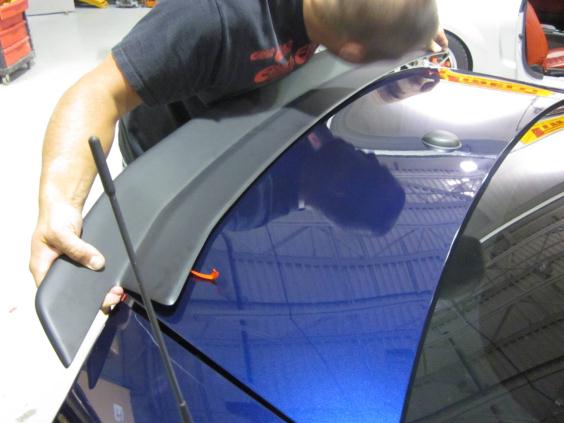
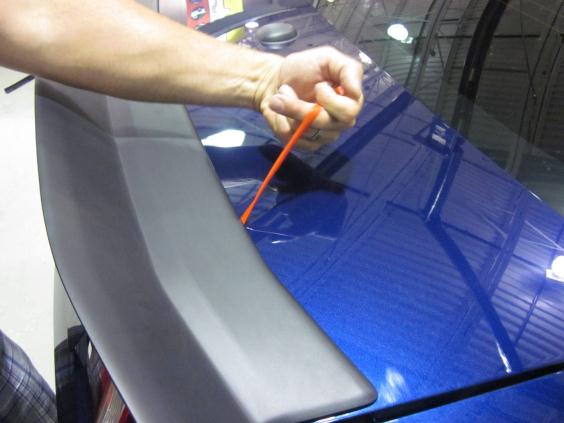
Note: The instructions below are for vehicles equipped without factory spoilers. If vehicle is equipped with factory spoiler, carefully remove it and proceed to step #6. Hint: Take caution when removing factory spoiler. First remove the nuts from inside the deck lid, and then apply masking tape around the pedestal mounts to protect the paint. The factory spoiler is held down with tape that you will need to separate to remove. One way is to use heavy duty fishing line (30lb. or so). Work the fishing line back and forth to cut through the tape. Once all tape is free, lift spoiler from deck lid and remove any remaining tape. Be very careful not to dent/damage the deck lid.
If you are not comfortable removing the factory spoiler, we strongly suggest having a professional do the work for you. Any local body shop should be more than qualified. CDC will not be responsible for any damage to your deck lid during the spoiler removal process.
Installation:
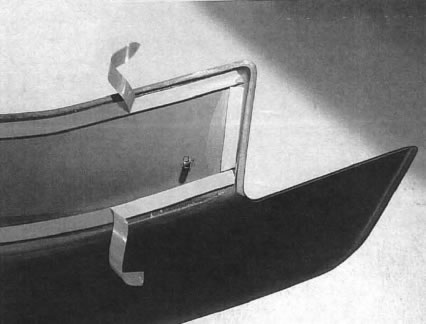
1. Open deck lid and remove the 2 outer plastic grommets from the bottom side of the deck lid.
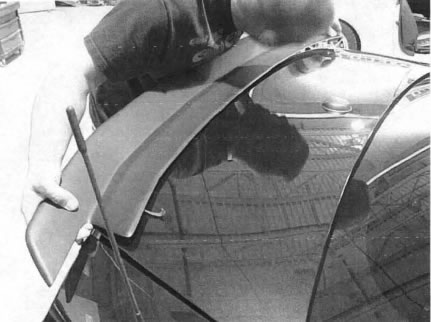
2. Locate the paper template at the back of the instruction guide. Cut out template as shown in photo below.
3. Close deck lid and mark the passenger side mounting hole. Align paper template to the rear and side edge of the deck lid.
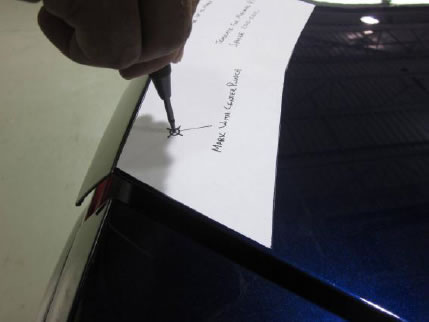
4. Use a center punch to mark the center point. Flip template over and repeat on driver side.
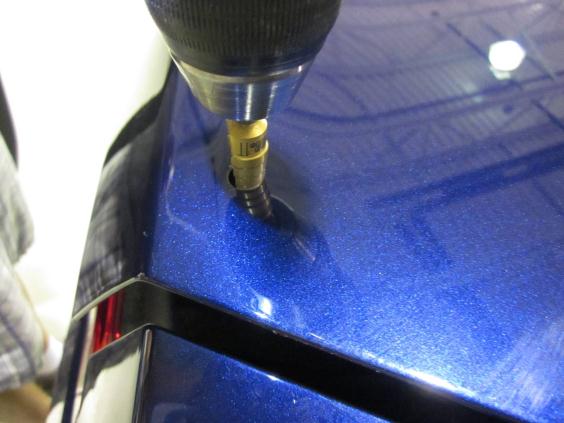
5. Elevate deck lid, and place a protective blanket below to catch shavings. Use a step bit if available. Drill to a 3/8” Hole. A regular drill bit will work; make sure to first drill a 1/8” pilot hole. Caution: Do not drill in to the car below.
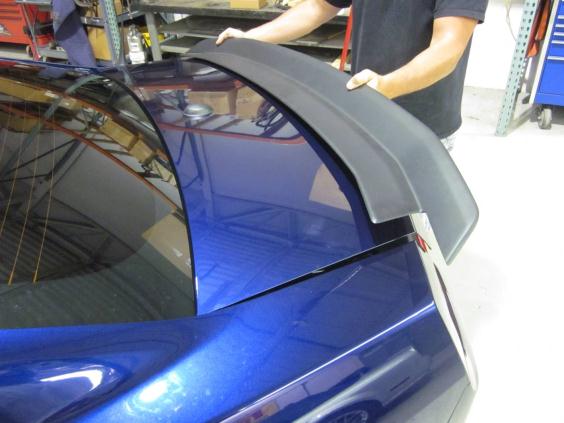
6. Test fit spoiler. Make sure that spoiler is centered. Open holes as necessary if spoiler is not centered.
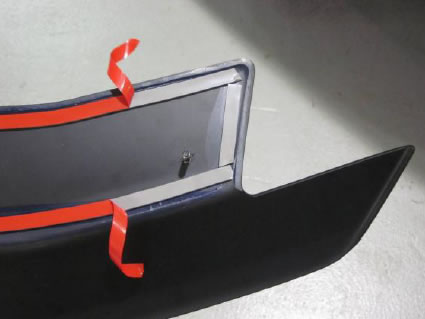
7. Peal back the red backing as shown in photo at both ends of spoiler.
8. Clean top surface of deck lid with supplied alcohol packs and allow to dry. Carefully place spoiler on deck lid in desired location.
9. Peel back the remaining red backing and press spoiler evenly and firmly to adhere the 3M tape.
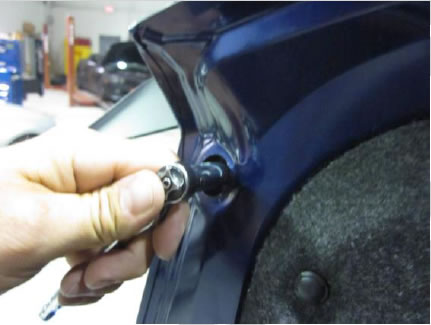
10. Open deck lid and fasten the provided nuts through the access holes on both sides of the deck lid. Warning: Do not over tighten.
11. Reinstall plastic grommets.

Thank you for choosing Classic Design Concepts for your restyling needs. If you have any questions or concerns regarding installation please contact [email protected] Or call 866-624-7997.
