 FREE 1 to 3-Day Delivery on Orders $149+ Details
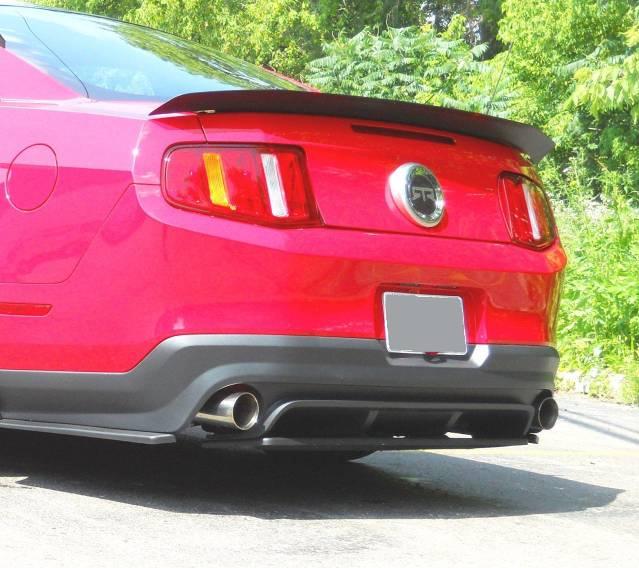
How to Install an RTR Rear Diffuser with 3pc Splitter on Your 2010-2012 Mustang
Installation Time
3 hours
Tools Required
- Trim Panel/Fork Tool
- Small Right-Angle Hook/Pick Tool
- Nylon/non-marring scraper/pry tools
- ¼" Drive Ratchet & deep sockets
- Phillips Screw Driver
- Standard/Flat Screw Driver
- Jack & jack stands, or other means of raising and securing vehicle
Installation
About the Product:
This product is designed by Classic Design Concepts, and installs using all factory mounting points. No modification of the car is necessary for the installation of this part. Though not required, if you choose to paint this part, we recommend it be painted by a professional automotive paint facility. Recommended bake cycle temperature not to exceed 150°F. Please read instructions before installation and test fit part before painting.
Tape surfaces must have a temperature of 70º F or above to properly adhere. If necessary, warm the vehicle areas with a heat gun; take caution not to damage painted surfaces with excess heat.
Kit Components:
- 1 - RTR Rear Diffuser Splitter Assembly
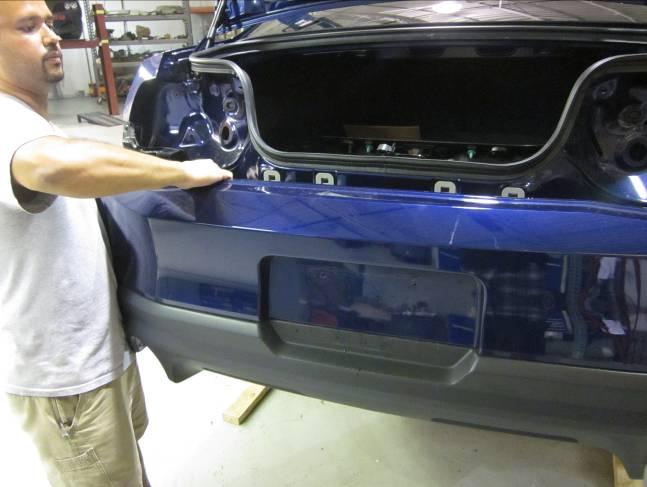
REAR FASCIA REMOVAL
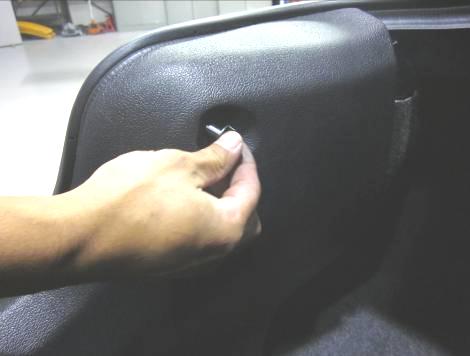
1. Open trunk to access inner/rear plastic trim panel. Remove the 4 fasteners retaining panel; two can be unthreaded by hand, the lower two will need to be removed with a trim panel/ fork tool. Use caution not to scratch/mar panel with tools.
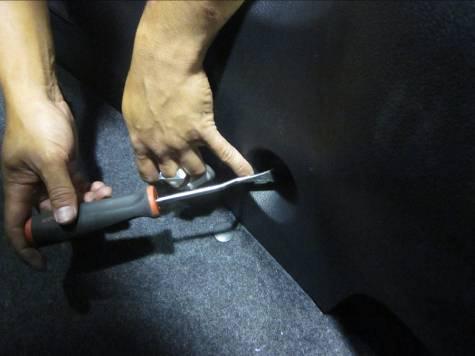
2. There are two hidden fasteners and locating pins located beneath the top of the trim panel. Using hands, carefully lift upward and forward on the panel, releasing the fasteners. Use caution as trunk courtesy light is attached to panel and wire harness has limited length. Lean panel forward in trunk; it does not need to be completely removed; only need to gain access to taillight mounting bolts.
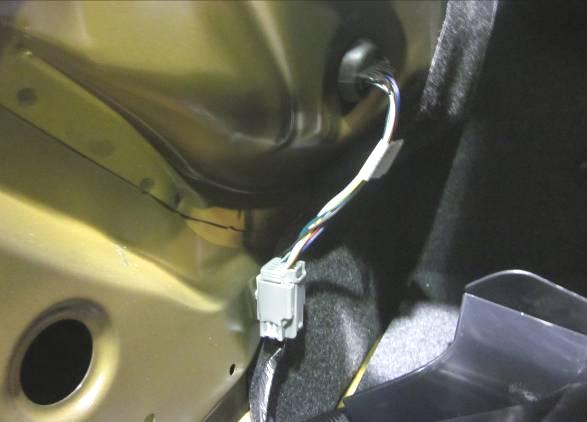
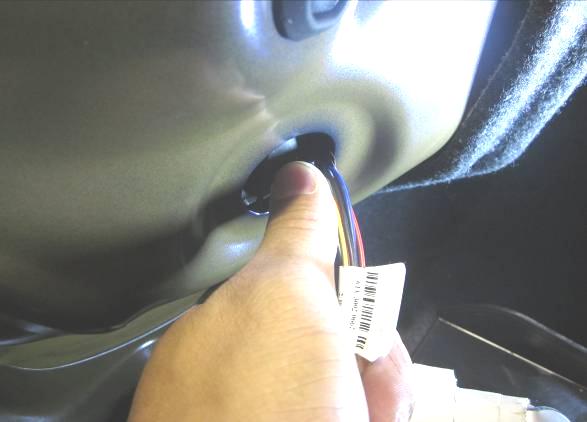
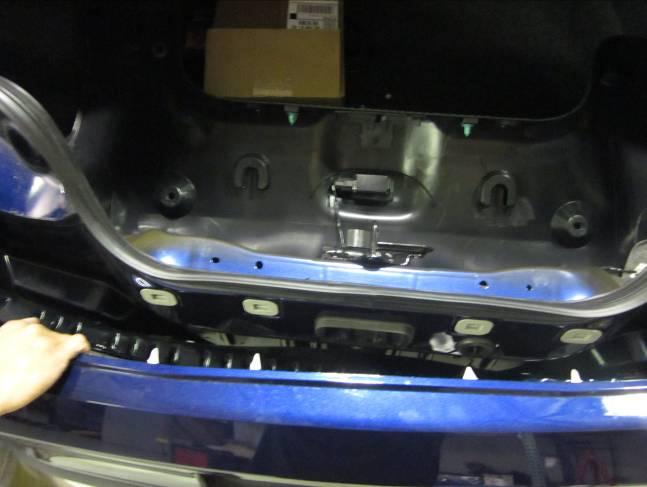
3. Disconnect the taillight harnesses (circled); push the rubber grommets through the sheet metal with your thumb, towards the rear of the car.
4. Remove the three (per side) 11mm nuts retaining the taillights (circled). Remove taillights from rear of car; use caution not to scratch rear fascia.

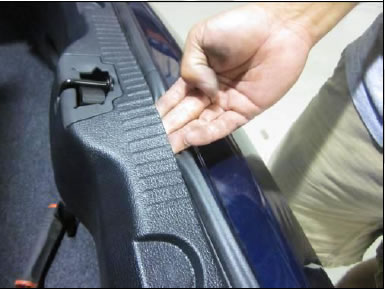
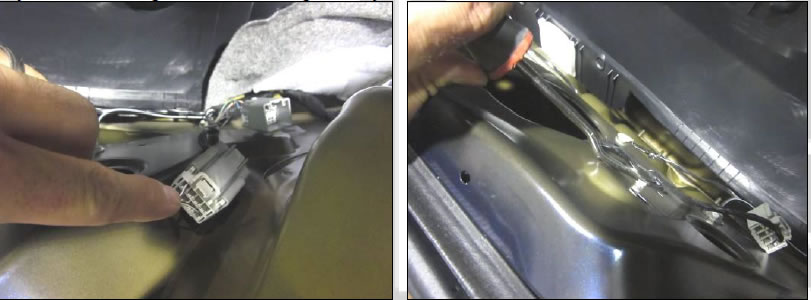
5. Locate wire harness along rear of trunk that feeds rear fascia. Disconnect electrical connector located just right of center and dislodge retainers w/ a fork tool that retain wire harness to body. Push wire grommet through body
6. Raise vehicle and support with jack stands for the remainder of the installation. Remove license plate.
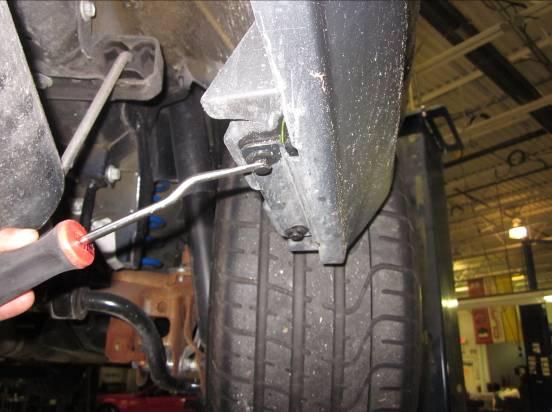
7. Remove Phillips screws at rear of rear wheel openings, 3 per side. Remove push pins under left/right sides of fascia, 2 per side.
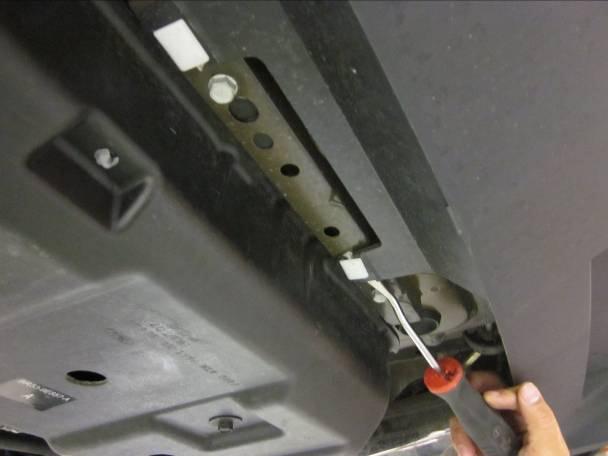
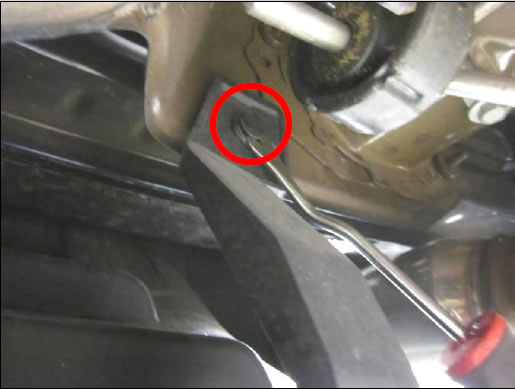
8. Under vehicle, release two white retainers found near the center attaching lower valance to underside of car (circled). Clips will likely break; they will not be reused.
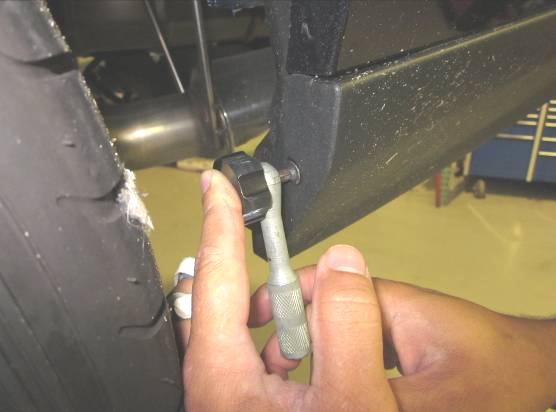
9. Just inboard from exhaust tips, locate two black plastic “straps” (one per side) that connect lower valance to car. These extend vertically to body, next to exhaust hangers. Each is fastened to car w/ a push pin, release using panel/fork tool.
10. Begin fascia removal. Release left and right sides from car by gently pulling outward.

11. From rear of car, combine upward pressure on fascia and use a small hook tool to release tabs located next to taillight openings. NOTE: Integrity of these mounting tabs is VITAL to proper reinstallation of fascia! Do Not Break!
12. Four large push-pin type retainers remain at the center of the fascia (circled). With the use of a friendly assistant (one person per side of fascia), secure fascia so that left/right ends will not hit quarter panels during removal process. With free hands, pull fascia swiftly rearward to dislodge 4 remaining fasteners. Guide previously disconnected harness through hole as you remove fascia from car. Place fascia on soft surface.
RTR DIFFUSER/SPLITTER INSTALLATION
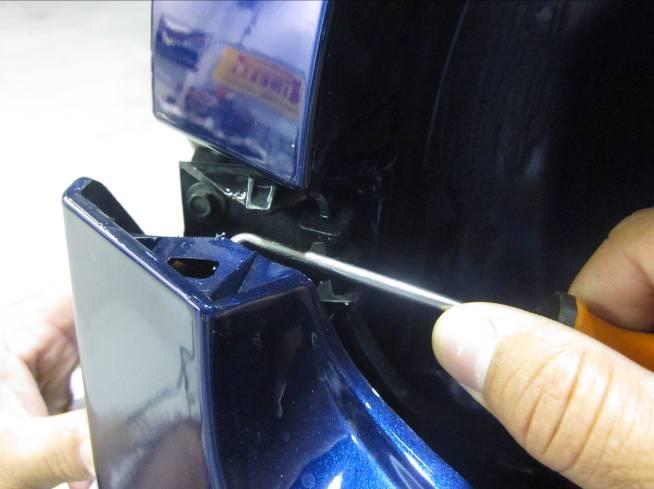
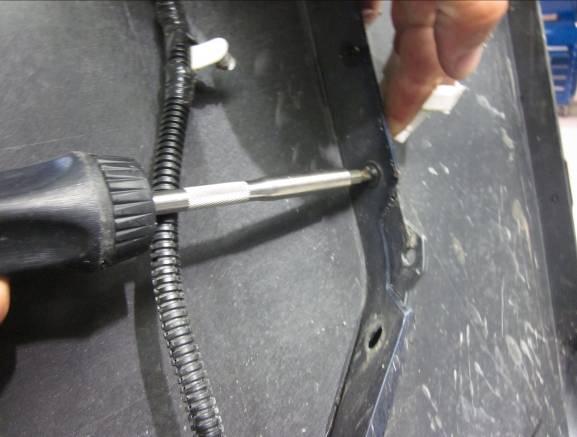
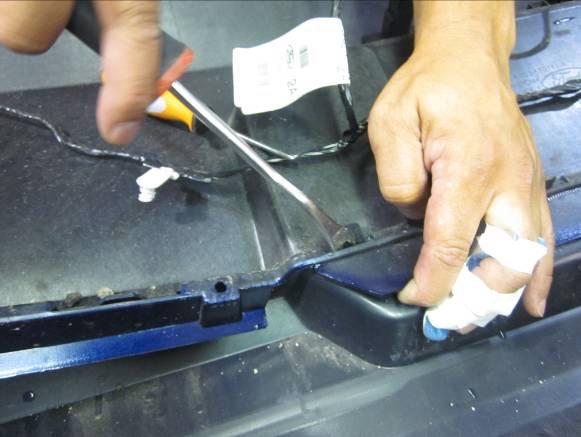
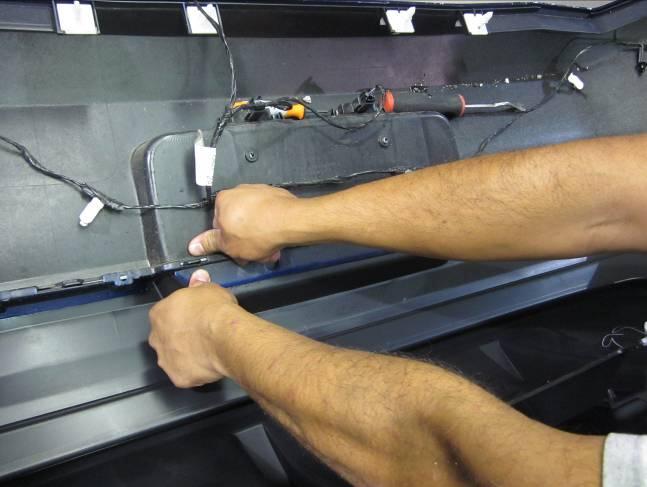
13. Lower valance is attached to fascia using a combination of screws, push pins, and locking tabs. Using a fork/panel tool, dislodge push-pin wire harness retainers from seam between fascia and lower valance. Remove remaining push pins and screws, set aside for re-use.
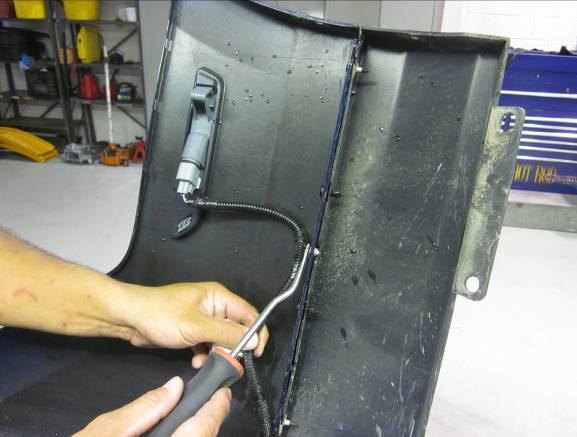
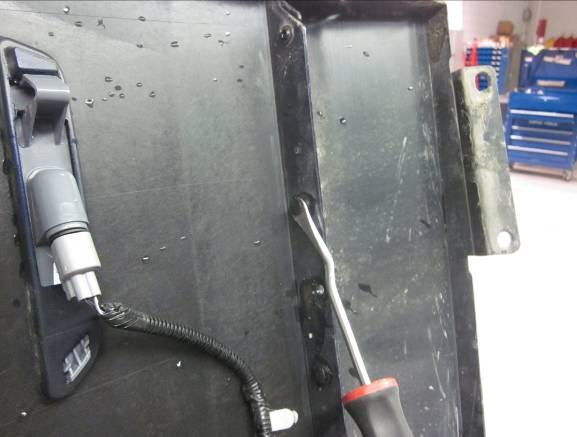
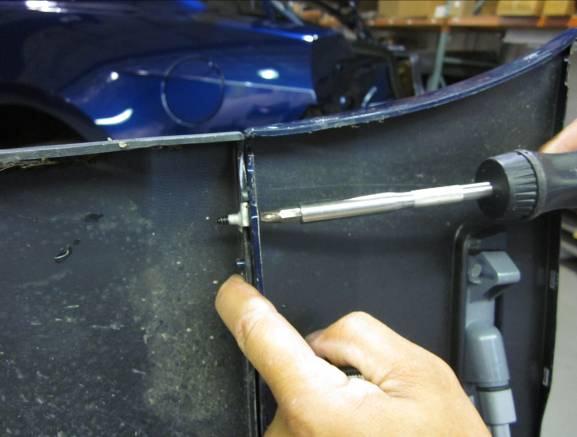
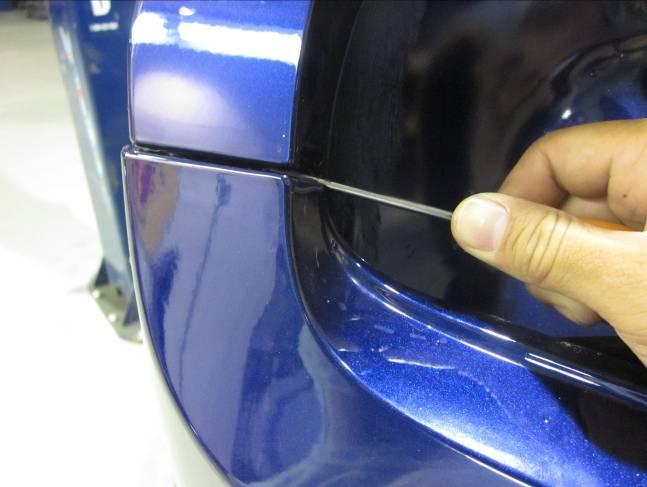
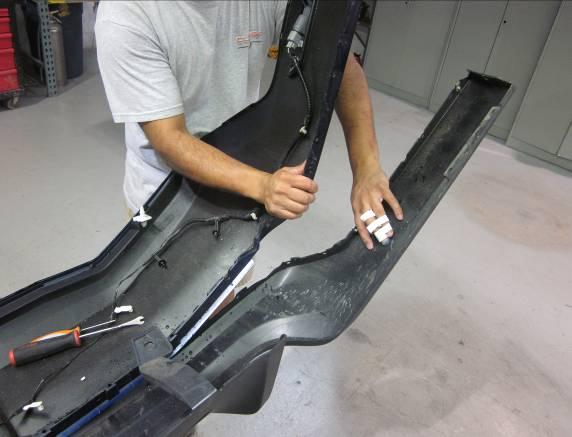
14. Left and right sides of the lower valance should now be fairly easy to separate from fascia by stretching the two gently apart. Use a fork tool if necessary to guide locking tabs out of position. Use fork tool to gently open slots in center of valance (behind license plate) to release tabs; remove valance from fascia.
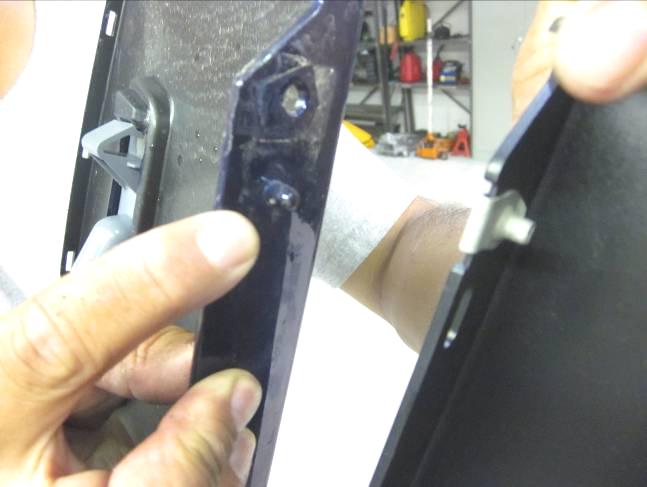
15. Install RTR Diffuser/Splitter to rear fascia, reversing the procedure outlined above. Begin by installing all locking tabs of diffuser/splitter into rear fascia, pressing firmly in place with thumbs. Reinstall push pins, screws, and push pin wire harness retainers. Once complete, turn fascia over to inspect and ensure all tabs have been properly seated. Note locating pins on fascia (circled below).
16. Reinstall rear fascia reversing steps outlined above. Feed wiring harness and grommet through hole in car, and fully seat grommet before installing fascia. With assistance, place fascia to the rear of the car aligning 4 central push pins, and press firmly into place. Align the two tabs next to taillight openings (dislodged in Step #11) and carefully press into place. Carefully press fascia into place along left/right sides of the car leading up to wheel openings. Reinstall all previously removed hardware including screws and push pins under the car.
17. Reconnect fascia harness in trunk. Reinstall taillights, reversing steps outlined in Step # 3-4. Reinstall rear trunk trim panel.
18. Enjoy your new RTR Diffuser Splitter!
Thank you for choosing Classic Design Concepts for your restyling needs. If you have any questions or concerns regarding installation please contact [email protected] Or call 866-624-7997.
