 FREE 1 to 3-Day Delivery on Orders $149+ Details
How to Install a Shifter Base & Handle Gasket on Your 1982-2004 Mustang
Installation Time
1 hours
Tools Required
- Small Flathead Screwdriver
- 3/8" Drive Ratchet
- Extension (~6" works best)
- 8mm, 10mm & 13mm sockets
- Blue Loctite or Permatex Thread locker Blue
- Seal Puller
- Single-edge razor blade
- Scotch Brite plastic scouring pad
- Tweezers
- Rags or shop/paper towels
Installation
Areas of Caution – Read prior to beginning your install:
- Be mindful of your plastic dash and radio pieces while removing and installing the bolts, as you can easily scratch the plastic with any slip of your ratchets and extensions.
- Watch your mounting base when removing old gasket/RTV sealant. The aluminum can be easily scratched & gouged by the razor blade if you aren’t careful.
- When removing the old gasket/RTV sealant, try to prevent any debris from entering the transmission. If any falls down, pick out as much as you can, using tweezers if necessary.
Installation Instructions:
1. Place shifter in Neutral. Remove shift knob by turning counter clockwise.
2. Remove shifter bezel by pulling straight back and slightly up. This requires more muscle than you think as the bezel is held in by (4) metal clips; don’t be scared to give it a firm tug.
3. Once you have the (4) clips disengaged from their mounts, you can tilt the bezel towards you to see the 12V outlet plug. To unplug it, simply use the screwdriver to pop the clip down and remove the plug-in. Now you can remove the bezel and boot assembly.
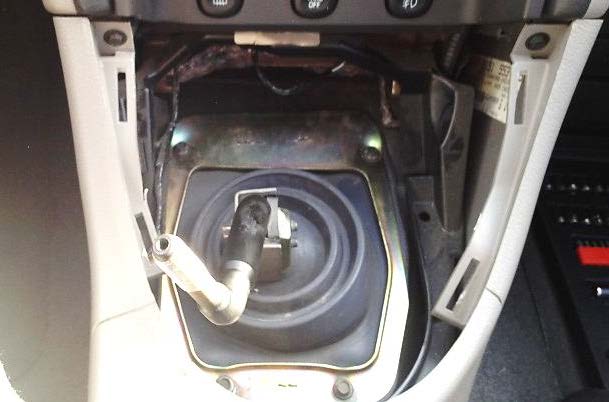
4. Now use your ratchet, extension and 10mm socket to remove the (2) bolts holding the shifter lever onto the assembly. This makes removing the dust boot MUCH easier. It will require a little muscle at first as the bolts have thread locker on them. Save these bolts if you are going to reuse your stock shifter.
5. Now use your ratchet, extension and 8mm socket to remove the (4) bolts securing the dust boot. Removing the dust boot can be slightly tricky. It requires lifting up the right side first, then pulling it towards the passenger seat. Once removed, you should be looking down at the shifter assembly on top of the transmission.
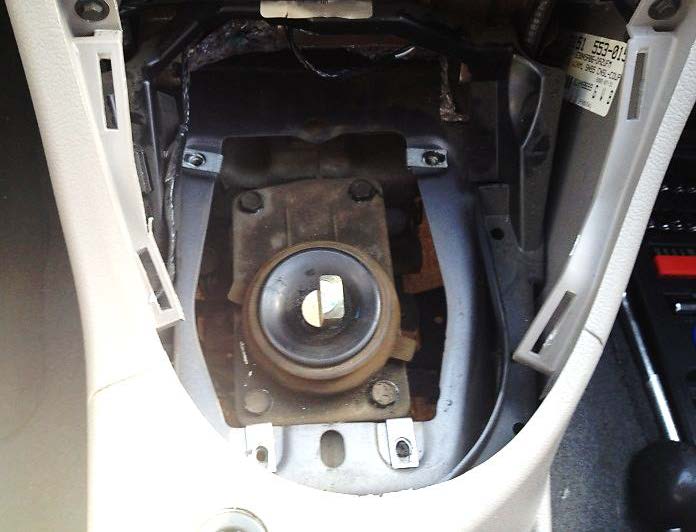
6. Use your ratchet, extension and 13mm socket to remove the (4) bolts fastening the shifter assembly to the transmission. If you are going to reuse your stock shifter, then save the four bolts. If you are installing an aftermarket shifter, you should have new bolts to use.
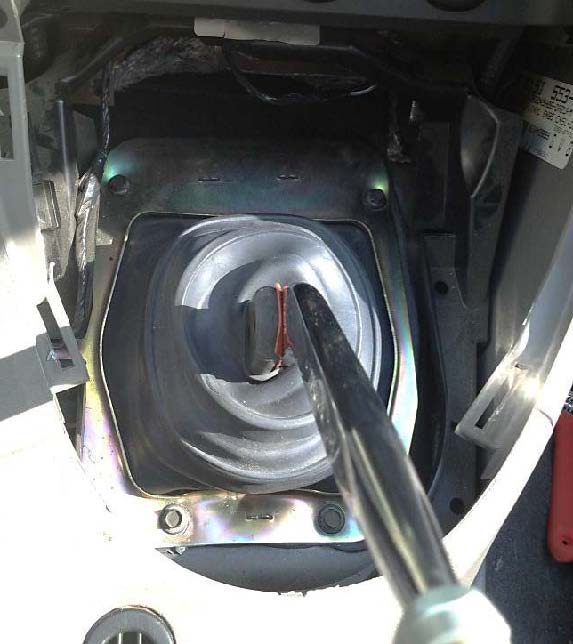
7. To remove the shifter assembly, you need to break the factory RTV seal that secures the shifter assembly to the transmission. Simply put one of the hooks of the seal puller under the lip of the shifter assembly and pull up. If you’re lucky, it’ll pop right up and you can remove the assembly. If not, you’ll have to work along the side, lifting up, till you break the seal. Have some rags or paper towels ready and remove the shifter assembly from the transmission.
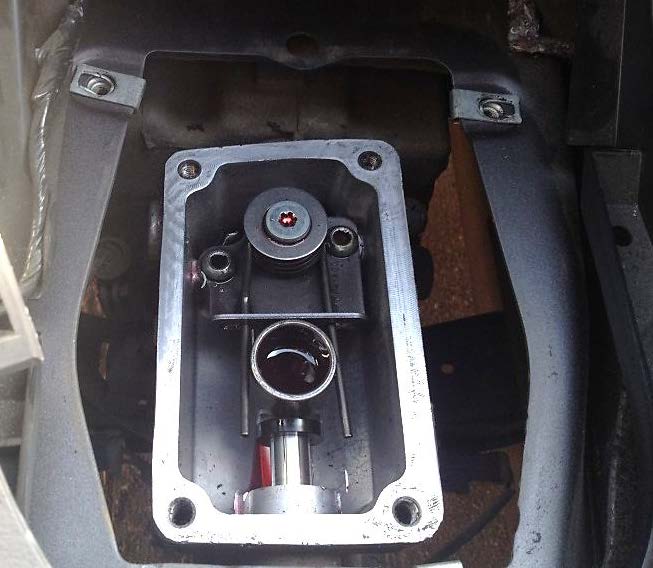
8. If you’re installing an aftermarket shifter, you’ll have to look for the plastic bushing that’s either on the end of the shifter (TR3650) or still in the transmission (T5/T45). Otherwise, it’s time to clean off the mounting base and base of shifter if you’re reusing the stock assembly.
9. To clean off the remaining gasket/RTV material, scrape off as much as you can with the razor blade. Sweep the blade at an almost 90 degree angle to help get any small pieces off. Once you’ve removed as much as you can with the blade, use the Scotch Brite plastic scouring pad. It should look like this or better once finished.
10. Now place the shifter base gasket onto the mounting base. You will likely have to flip it a few times to get a good fit. Once you get a good fit, place your shifter assembly back onto the transmission, making sure the shifter ball/bushing fits in the correct spot. This step can be aggravating as the gasket can move out of position on you. If it does, just push it back into place with shifter still on the transmission.
11. Apply the Loctite/Thread locker to your (4) mounting bolts and finger-tighten them as far as you can. If you reused your stock bolts, they should be cleaned off before applying the Loctite/Thread locker.
12. Use your ratchet, extension and 13mm socket to tighten the bolts down. You’ll want to do this in a star pattern to make sure you don’t over-tighten any of the bolts too soon (ex. LL, UR, UL, LR). Tighten each bolt until it starts to get tough to tighten and then move to the next. Lather, rinse, repeat until the bolts are fully tightened.
13. You can tell your bolts are fully tightened when the gasket just starts to “squeeze” out from under the assembly. Don’t over-tighten.

14. Now use the 10mm bolts or supplied bolts from your aftermarket shifter to install the shift lever and gasket onto the shifter assembly base. Use some Loctite/Thread locker to prevent to bolts from loosening over time.
15. From this point forward, it’s just reinstalling everything in the reverse order of Steps 1 thru 6.
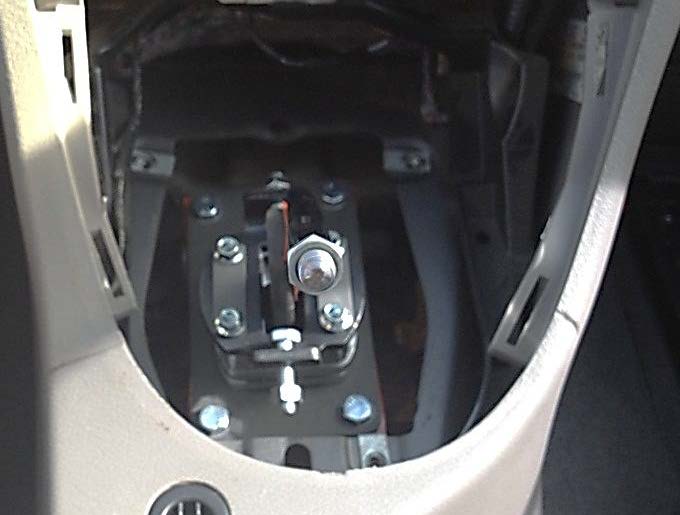
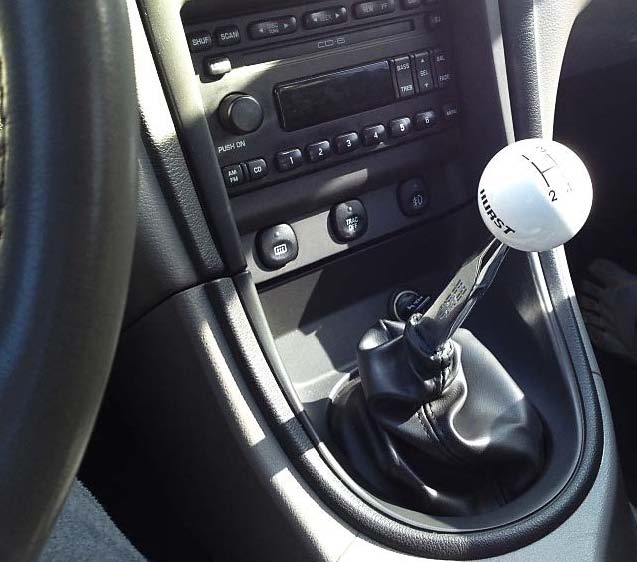
Final Product w/ Aftermarket Hurst Shifter (appearance may vary)
Installation Instructions written by AmericanMuscle customer Brooks Fiser 3.19.12
