 FREE 1 to 3-Day Delivery on Orders $149+ Details
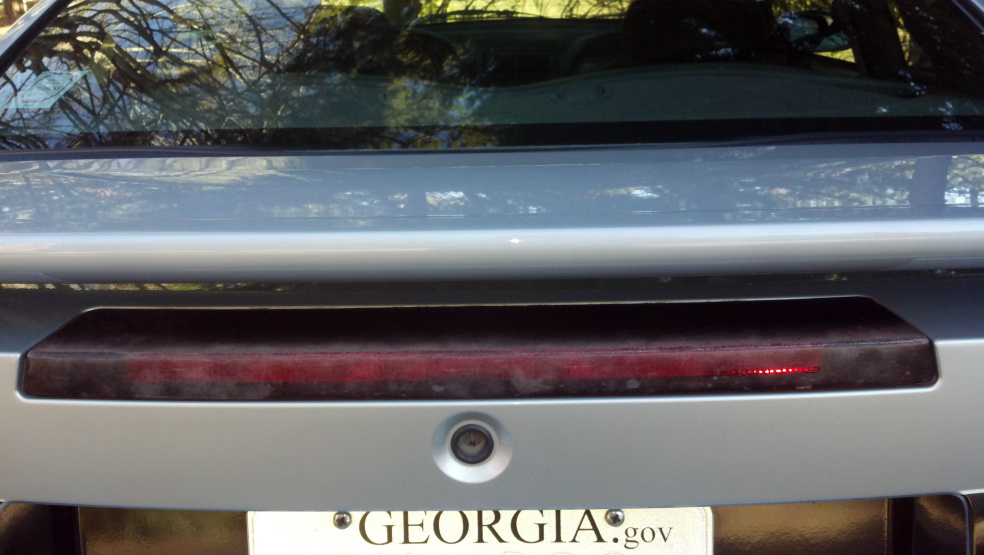
How to Install Third Brake Light Tint on your 1999-2004 Mustang
Installation Time
1 hours
Tools Required
- Hair Dryer
- A Soft Cloth
- Squeegee (provided with kit)
- Water and Spray Bottle
- Watered Washing Cloth
- 10mm Socket Wrench (if you wish to remove your brake light)

Shop Parts in this Guide
Installation
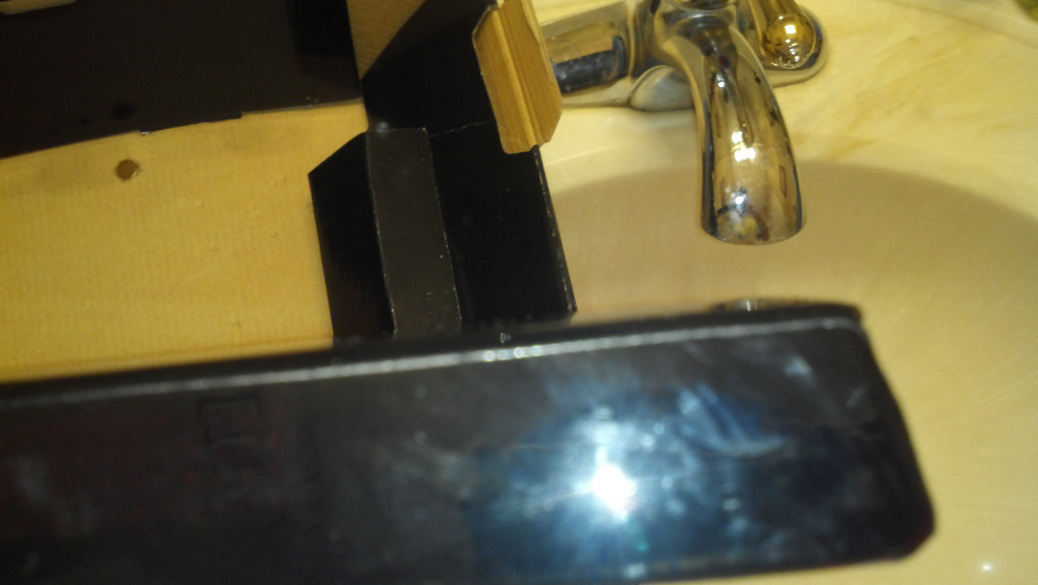
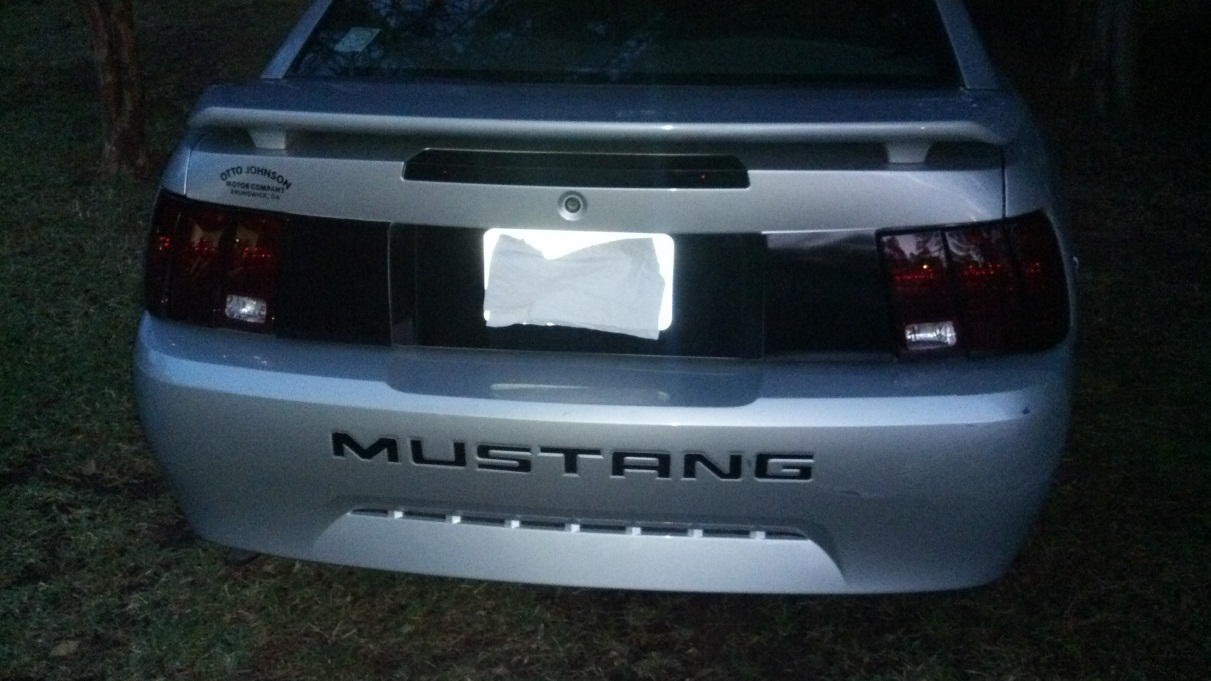
1. I went ahead and removed my third brake light for easier access (since I had a spoiler). If you don’t have a spoiler then skip this step and move to step 2.
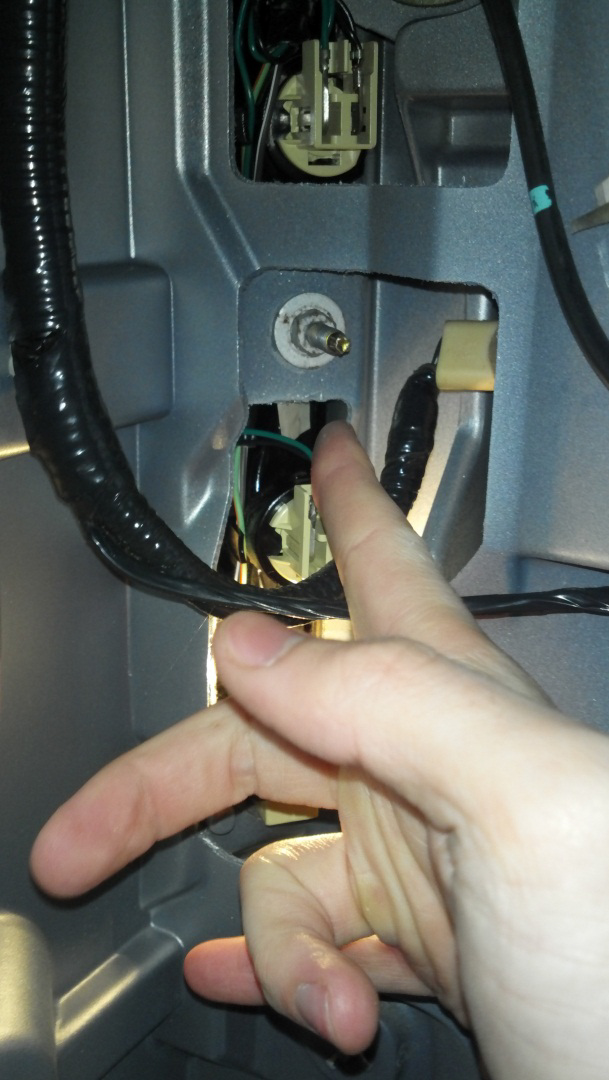
You can remove the brake light by using your 10 mm socket wrench and remove the two bolts behind the brake light, in the trunk. (I only showed one, the other one is parallel to it). There should be one black clip that connects the actual brake lights, just unclip it and remove the third brake light.
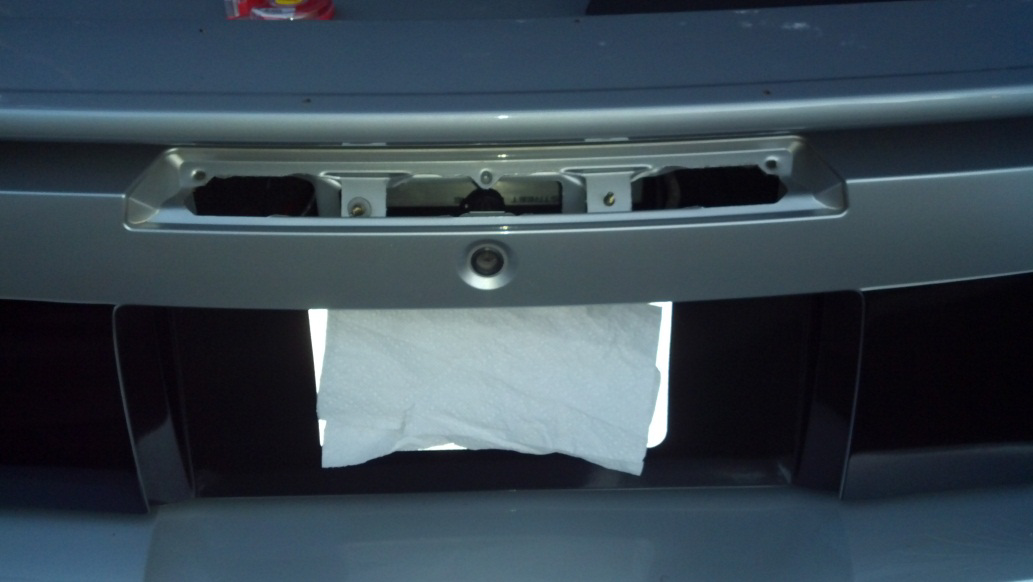
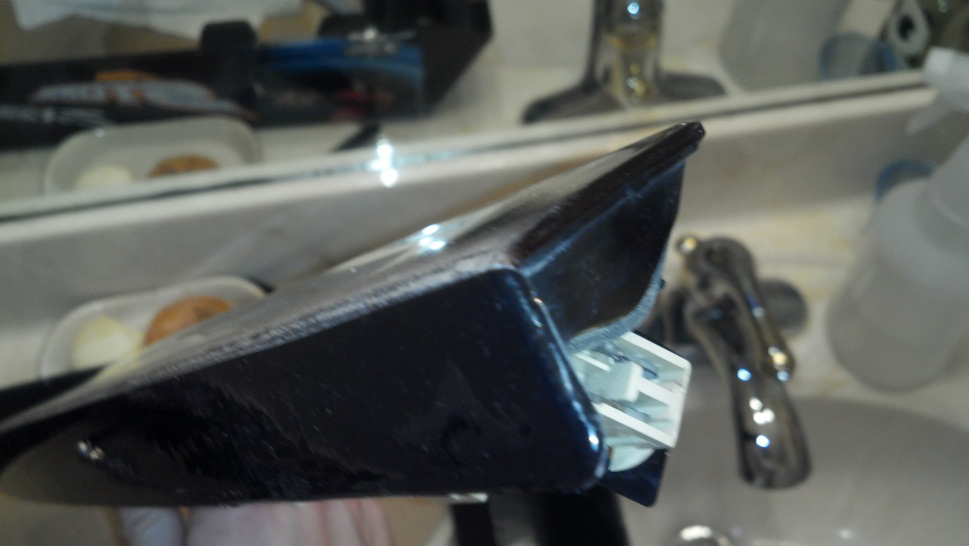
The rear of your mustang should look light this:
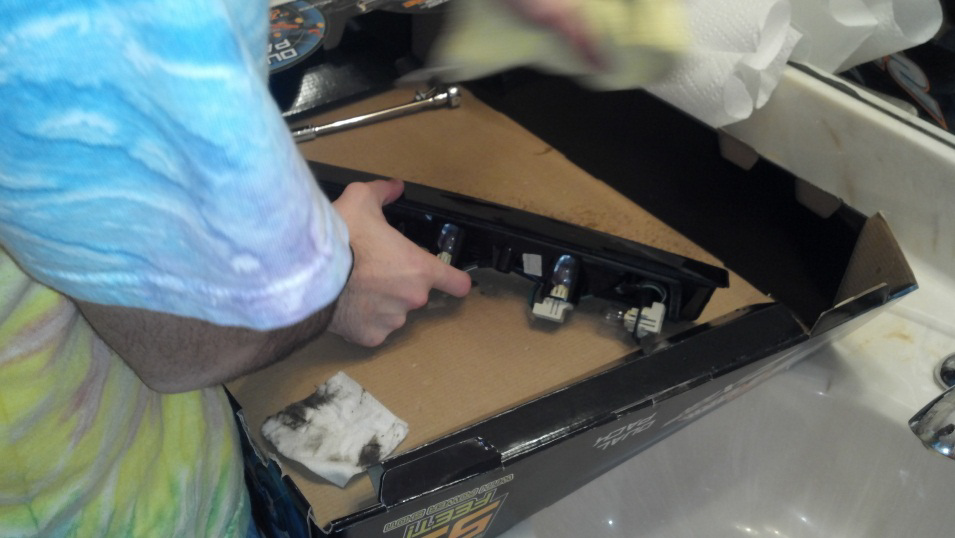
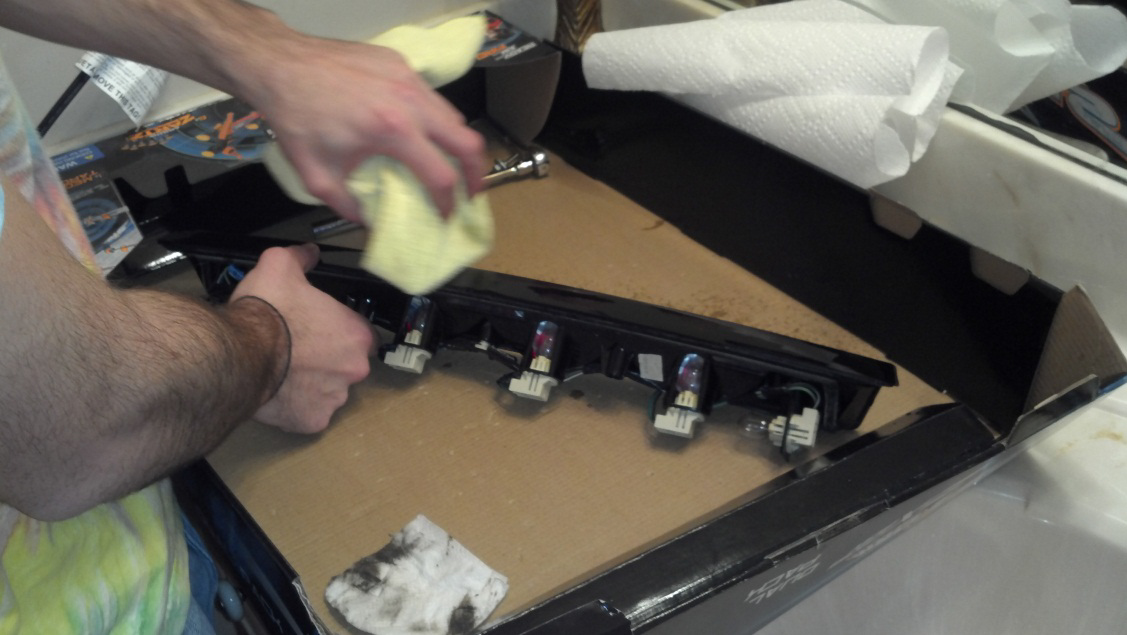
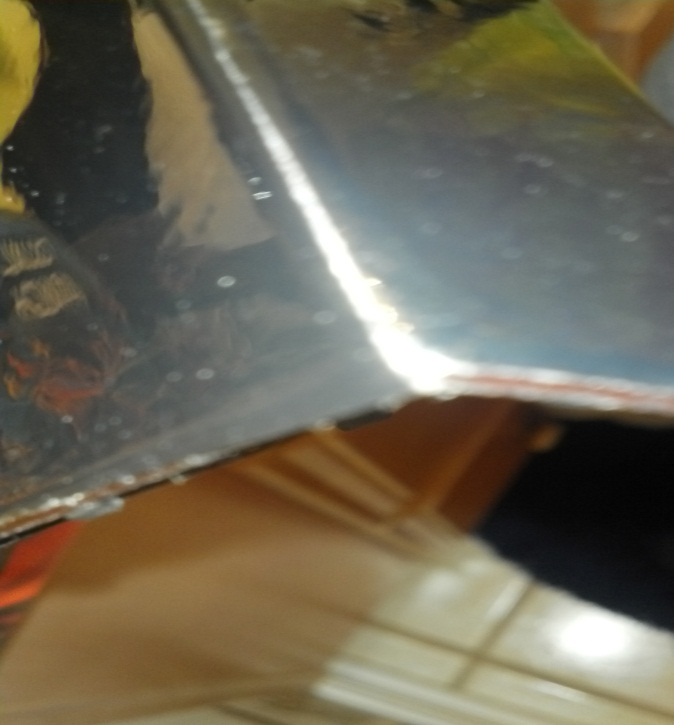
2. CLEAN. You want to know wash the brake light making sure there is no debris.
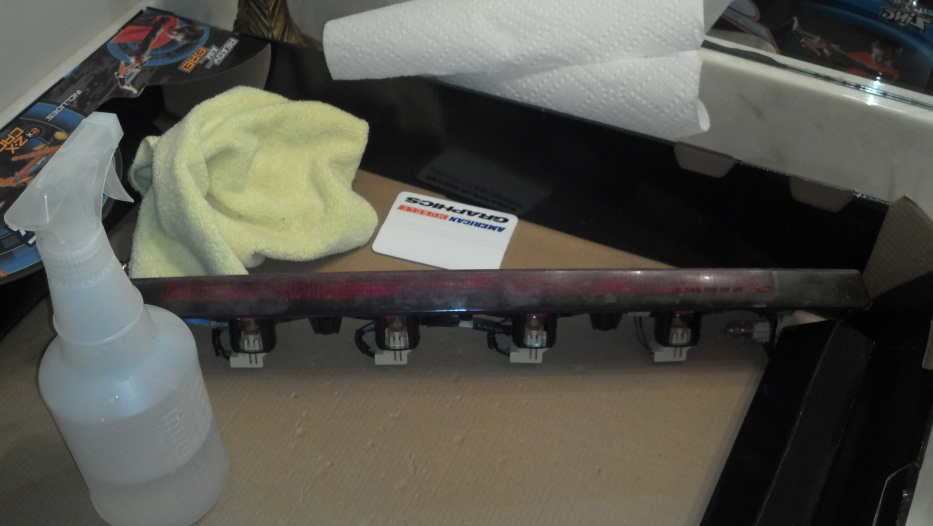
3. WET IT. After your brake light is cleaned. You now want to spray it light (with a mist spray bottle). The idea is to put enough water so that you can remove the tint and maneuver it into place.
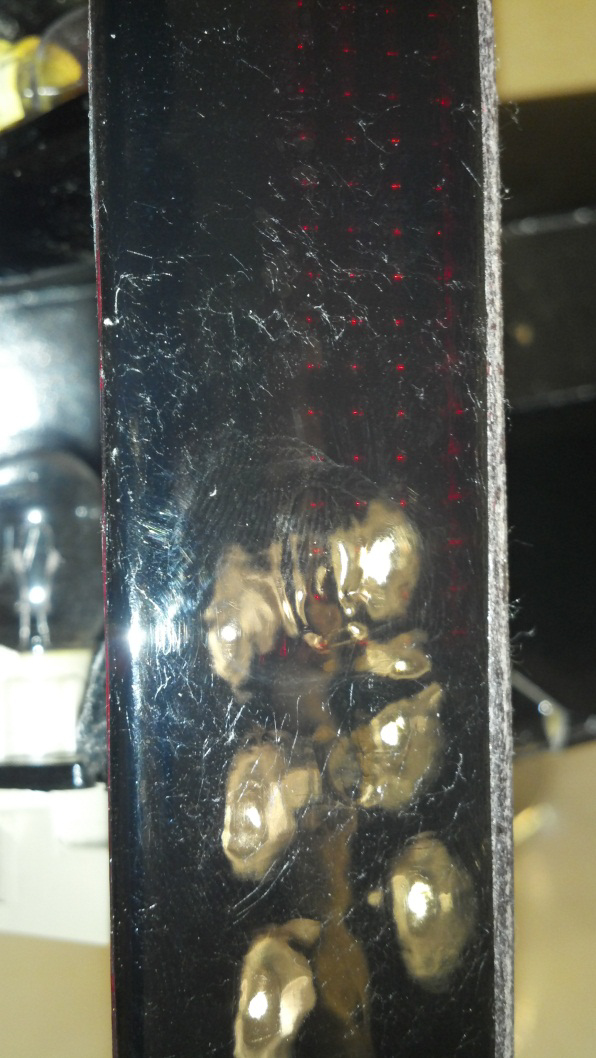
4. APPLYING the lower, smaller tint first. When the brake light is wet you now carely place the tint film along the edges on the brake light. I start fitting the tint on the left corner and side and slowly begin angling the film as I moved to the right side.
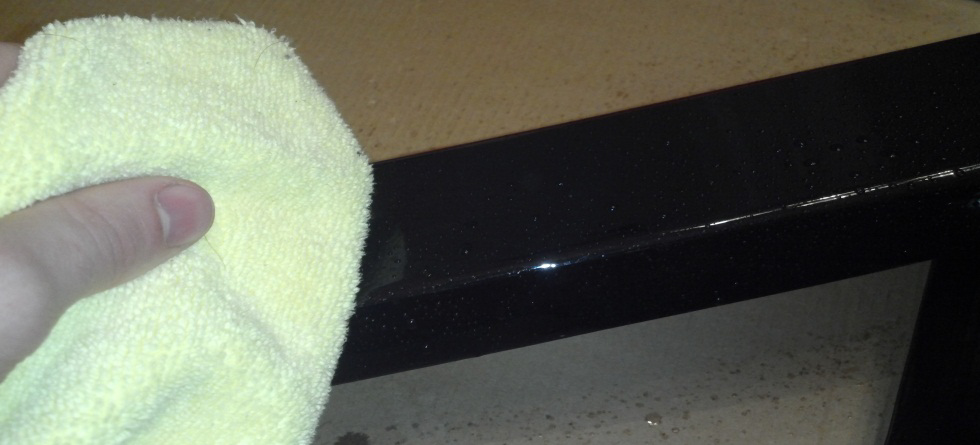
5. SQUEEGEE. Once you are satisfied with where you have placed the film. Wrap your dry cloth around the American Muscle included squeegee and begin to remove the air and water bubbles from underneath the tint. Be careful. You want to slowly move the squeegee up and down, you don’t want to move the film out of place or scratch the tint. Don’t worry about the edges of the tint bending around the brake light just yet.
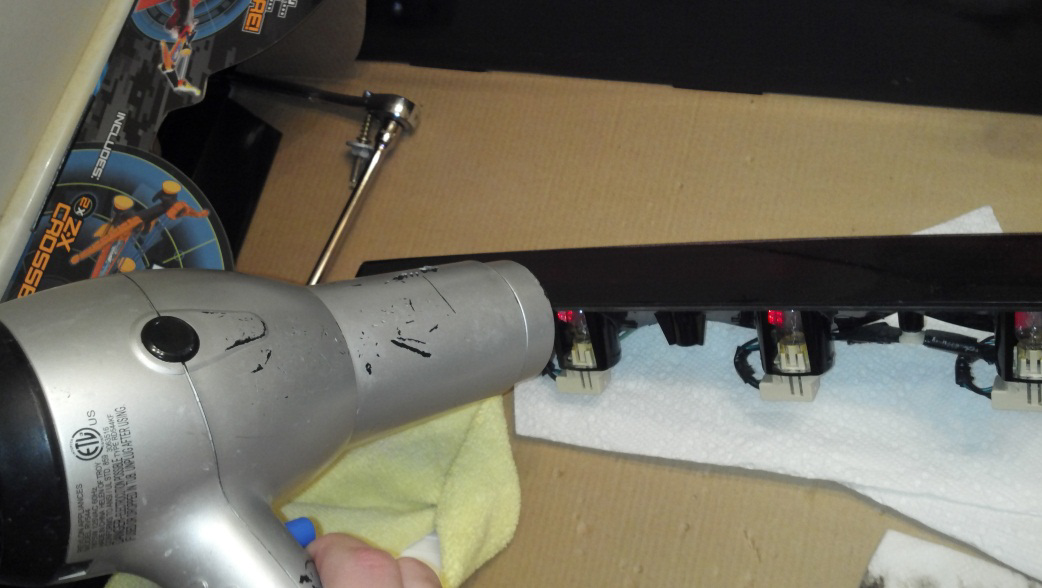
6. HEAT. Grab your hair dryer and begin the heat the tint film. DON’T OVERHEAT THE FILM. BE CAREFUL. You want to heat the film along the edges of the brake light and press the excess film that hangs over the brake light around the brake light. It’ll take some time to make sure the film is pressed and stuck, but really worth the effort. After that continue heat the rest of the brake light to make sure its pasted on.
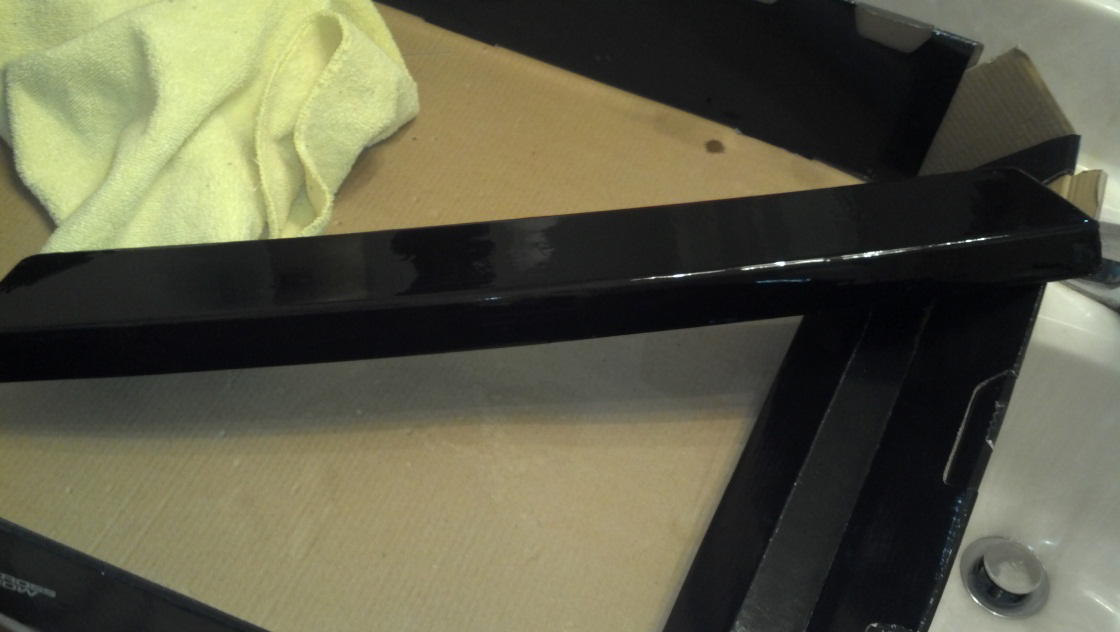
7. Once the first piece on the tint is dryed. Now we move to the second move. So begin to mist the upper part of the brake light with your spray bottle.
8. After the brake light is misted slowly apply the 2nd tint to it, like we did in step 4. When applying the second piece you want to the make sure it matches at the bottom to the top of the first tint while at the same time matching with sides of the brake light. This part took me two tries. If you mess up, slowly pull up the tint film and remist the brake light and start over.
9. Now heat up the second brake light with the hair dryer. Making sure to heat the excess sides of the tint and pressing it around the edges as I did with the pictures above. The second tint should hang over the first tint a little bit so just press the second tint onto of it. Be sure that the edges of the second tint are pressed well and flush.
10. If you end up having a water bubble you can take a needle and poke the bubble, creating a tiny hole. You should see some water seep out. The tiny hole will heal with the sun exposure and in some time go away.
11. FINALLY, when the second tint is dried and pasted well onto the brake light. You’re ready to place it back onto you mustang. Line the brake light up in its preexisting spot and use you socket wrench to screw the bolts back into place.
Installation Instructions written by AmericanMuscle customer Tyler Lovett 1/08/2013

