 FREE 1 to 3-Day Delivery on Orders $149+ Details
Smoked Mustang Taillights ('05-'09) - Installation Instructions
Installation Time
1 hours
Tools Required
- Screwdriver
- 11mm (7/16) wrench
- Adjustable wrench or pliers

Shop Parts in this Guide
Installation
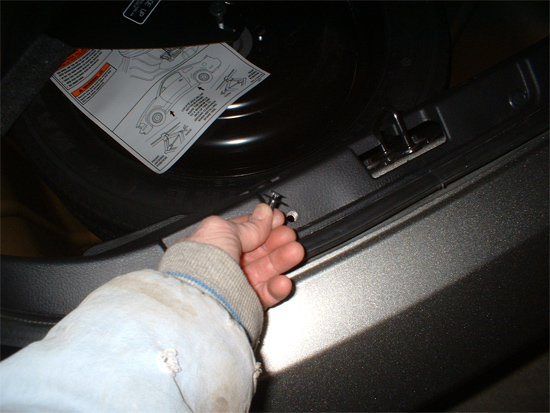
1. Remove plastic cover behind tail-lights on inside of trunk. It makes the job easier if you remove the spare tire cover first, but you may be able to do it while leaving it in place. There are 6 fasteners on the plastic cover - 2 screw-type fasteners and 4 push-type fasteners.
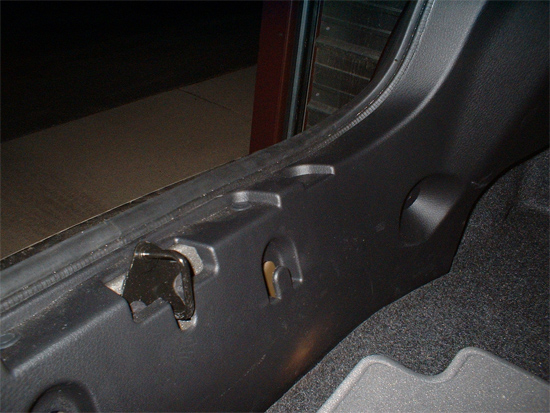
2. Use a screwdriver to pry up the center of the push-fasteners, then pull the fastener out. Once all the fasteners have been removed, lift the plastic cover out of the trunk.

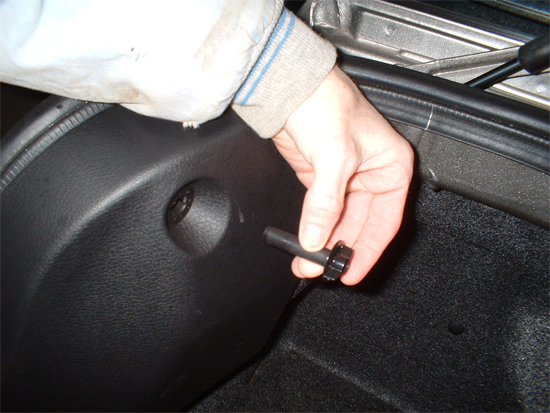
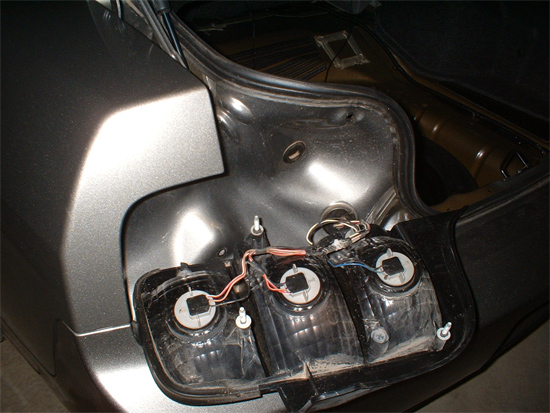
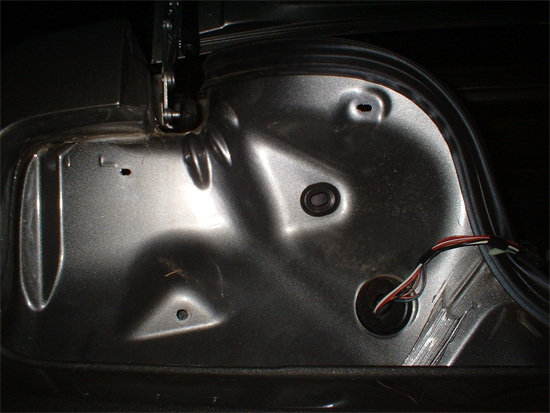
3. Remove the 3 nuts from the tail-light assembly studs. Pull the carpet back behind the tail-light to gain access to the mounting hardware. Remove the 3 nuts with an 11mm or 7/16” wrench.
4. Pull tail-light assembly out.
5. Transfer bulbs from old lights to new lights To remove the bulbs, turn them counter-clockwise (opposite the direction marked “Lock” on the bulbs). You may need to use an adjustable wrench or pliers to turn them. Be sure to retain the rubber washer on the back of the bulbs when you transfer them to the new housing. The bulbs will only fit into the housing one way, so make sure that they are aligned correctly when you re-install them.
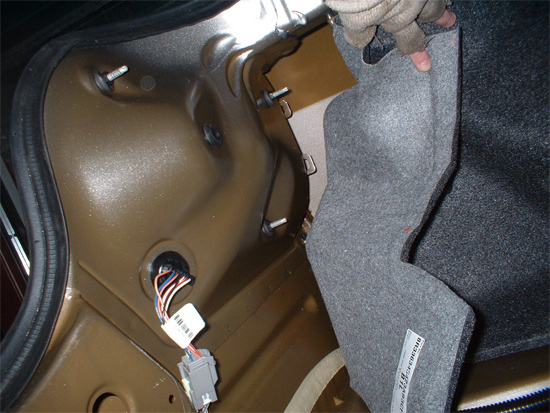
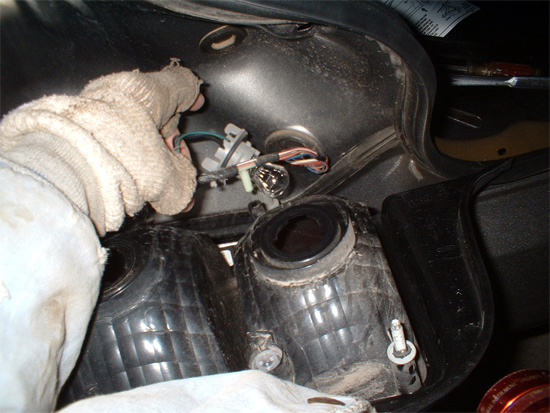
6. The wiring fastener must also be removed from the old lights by pulling it out (see picture above); please note that as far as I can tell there is no place to re-attach this fastener on the new tail-lights. There is a drainage port in the place where the fastener went on the old tail lights. Do not try to force the fastener into this hole, as it will not fit.
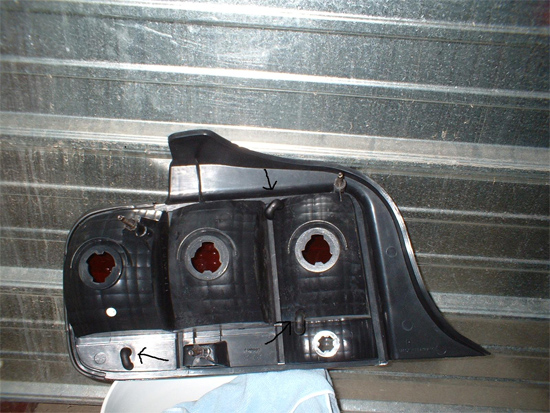
7. Notice the 3 drainage/ventilation ports; leave the rubber hose pieces on them to prevent water from getting in.
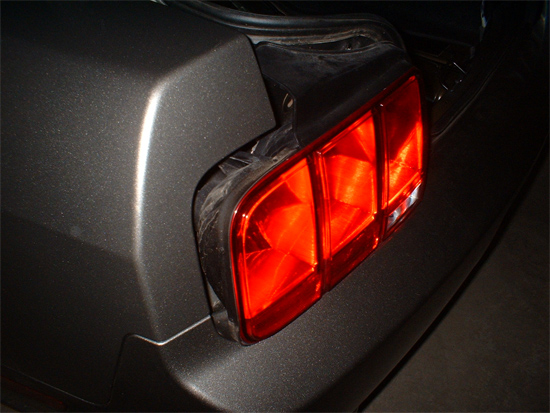
8. Install new tail-light assembly and replace nuts. Push the 3 studs back through the holes and make sure the tail-light housing is seated properly against the body. Tighten the 3 nuts evenly. Depending on exactly how the lights fit and how picky the installer is, you may need to slightly enlarge the mounting holes in the body to allow some movement to get the best possible fit. I drilled/filed the holes a little bit to allow me to move the lights closer to the edge of the fender to tighten up the fit (see picture below).
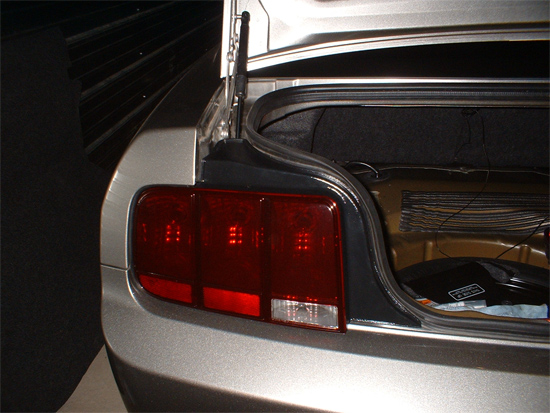
9. The final step is to replace the plastic cover on the inside of the trunk. When re-inserting the push fasteners, pull the center out before putting it through the hole (as shown in the picture above), then push the center piece down. The screw-type fasteners screw onto the end of the tail-light studs, so make sure everything is lined up properly. That’s all. Put the spare tire cover back in the trunk, close the decklid, and wipe off the new tail-lights so they will be clean and shiny.
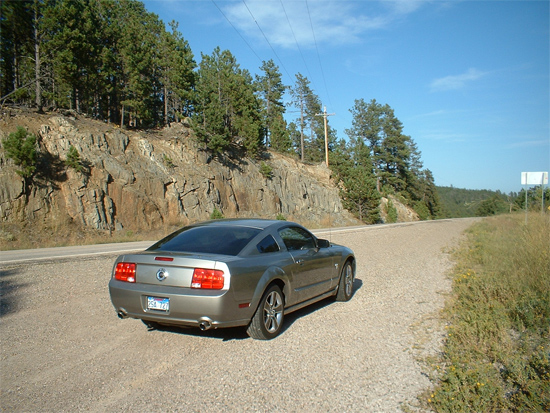
BEFORE
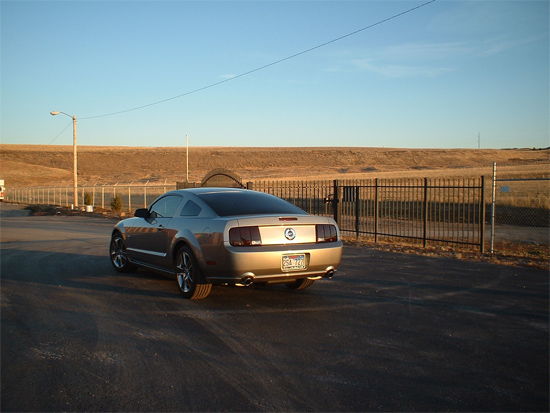
AFTER
Installation instructions provided by AmericanMuscle customer Zoe Wilfong 11.12.09
Related Guides
-
Installation
-
Installation
-
Installation

