 FREE 1 to 3-Day Delivery on Orders $149+ Details
How to Install a Speedometer Drive Gear on Your 1983-1998 Mustang
Installation Time
45 minutes
Tools Required
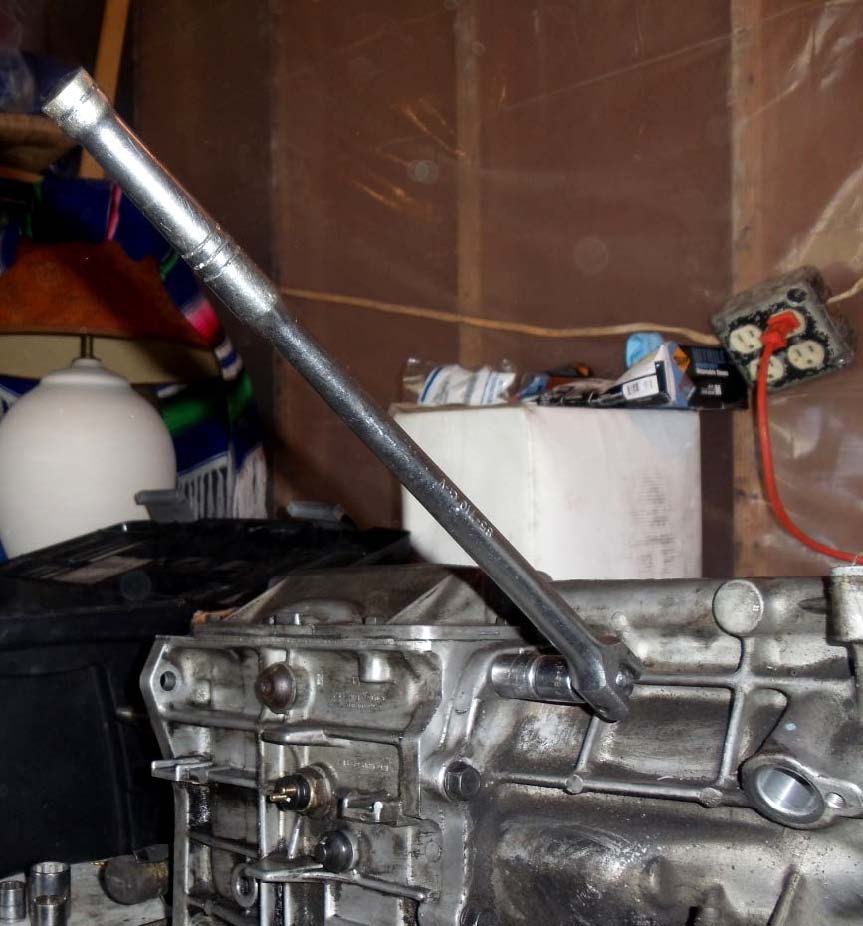
- 18" Breaker bar
- 3/8" drive Ratchet
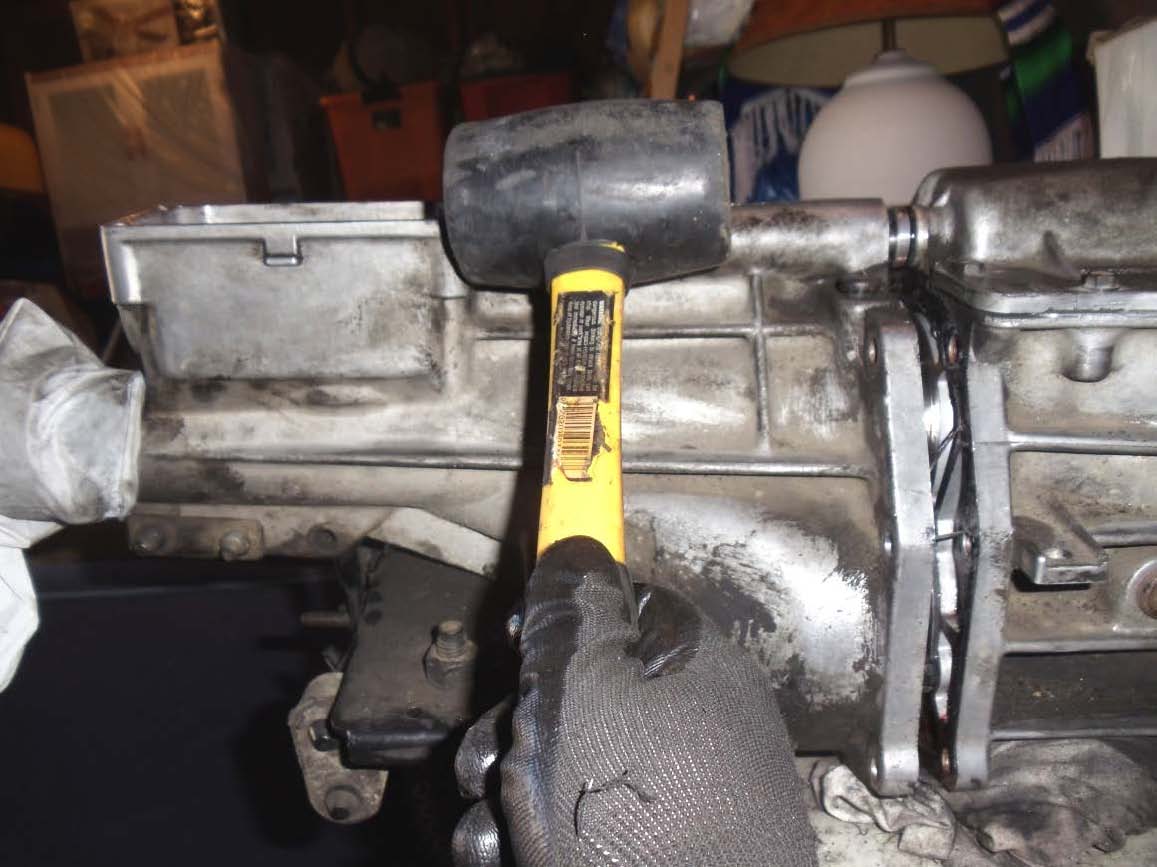
- 16 Oz. Rubber mallet
- 3/8" drive 15mm socket
- RTV Black Silicone Sealant
- Loctite Thread Sealant

Shop Parts in this Guide
Installation
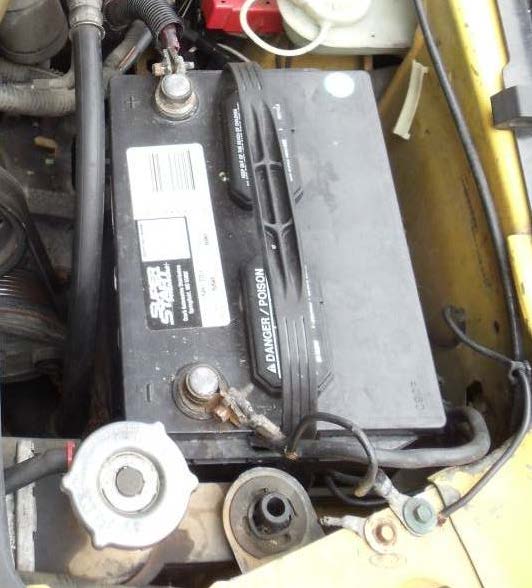
1. Disconnect the battery negative terminal.
2. You will need to take the transmission down and drain it.
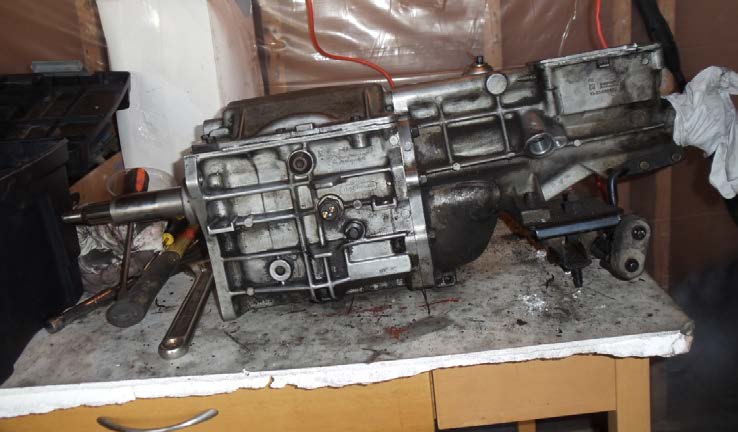
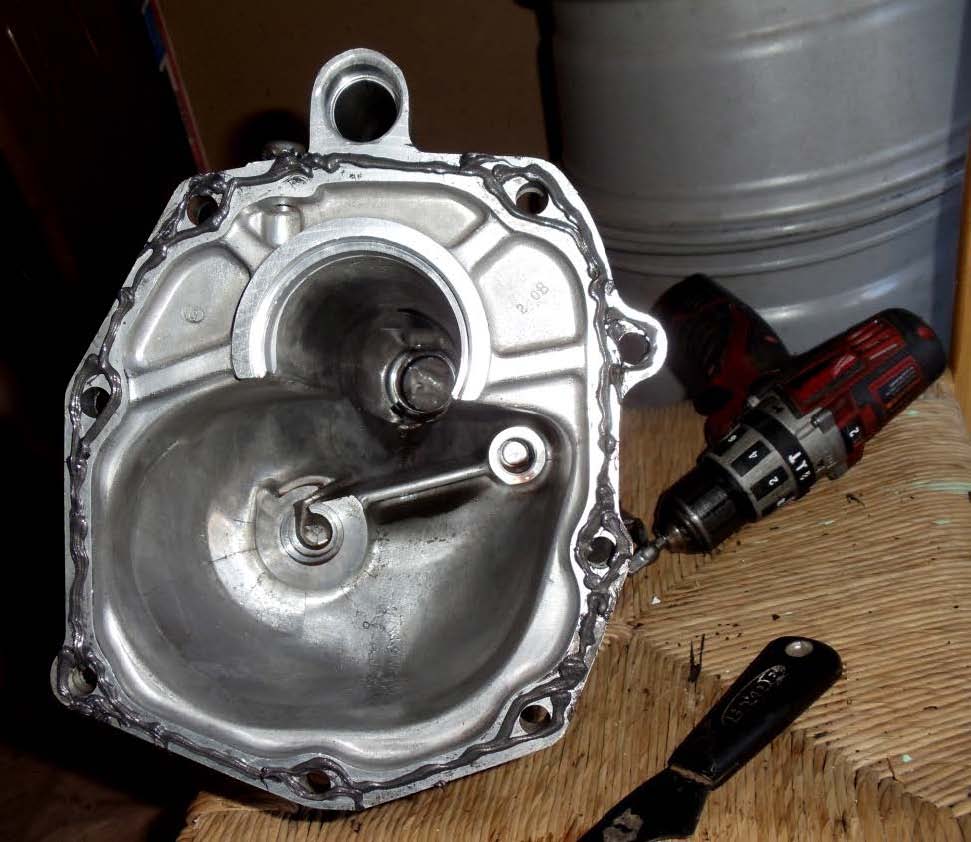
Removing the Tail Shaft:
3. You will have to remove the Manual Trans Shift linkage coupling, pin, ball and shift fork spring.
Note: You will need to put the transmission in neutral to do this step.
4. Tap that pin down and pull the shift linkage coupling as shown in the picture below.
5. Remove the (8) 15mm bolts that hold the tail shaft to the Transmission Case (4 each side).
6. Pull the tail shaft out. If necessary, use a rubber mallet to hit it.
NOTE: Do not lose the small parts (pin, ball and spring)
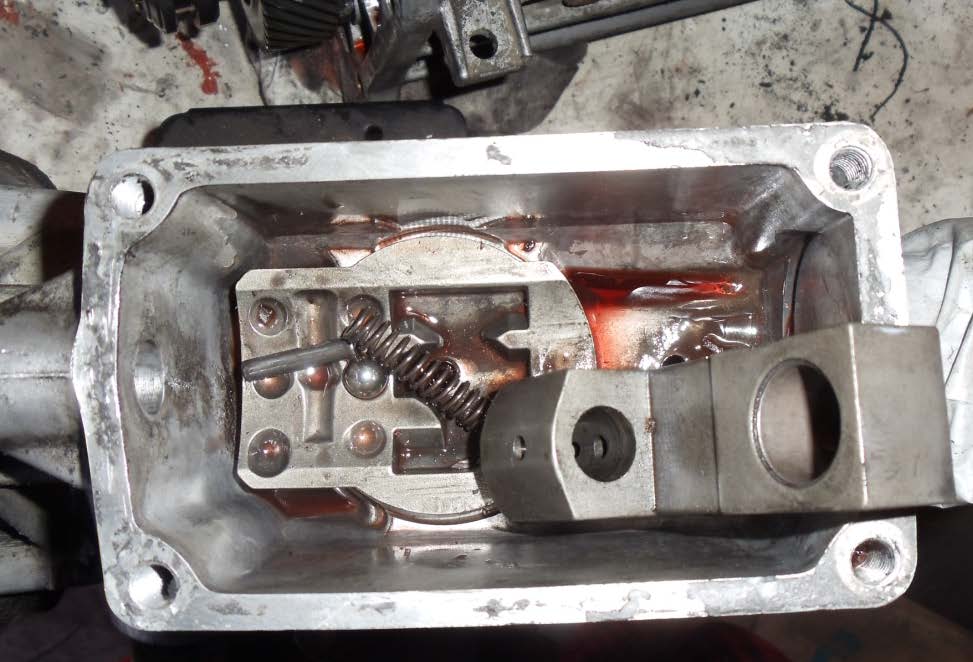
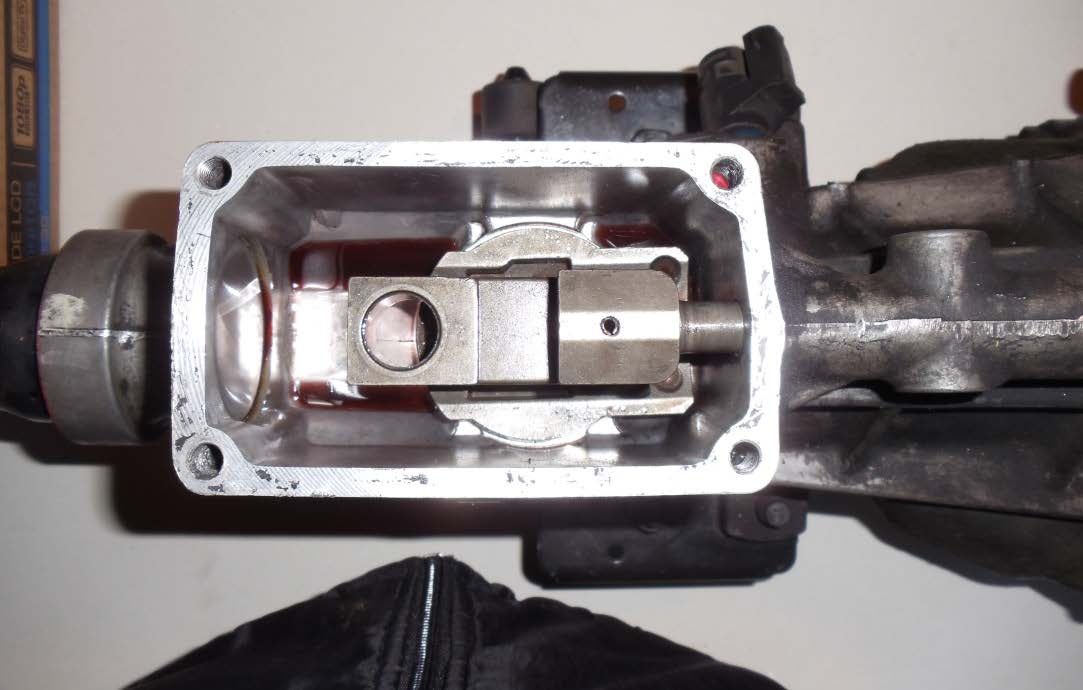
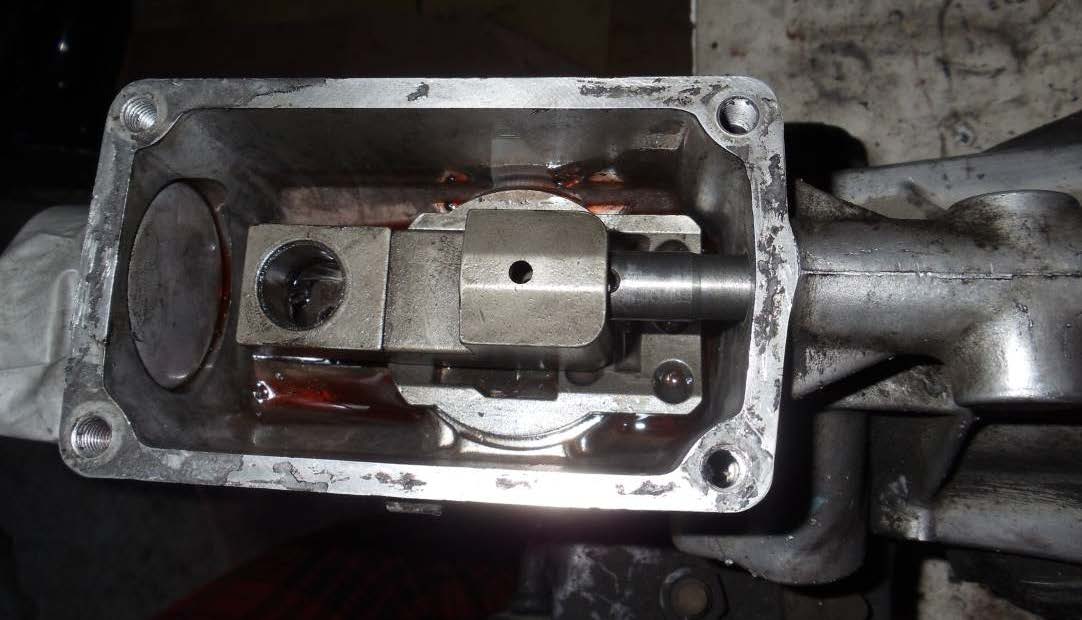
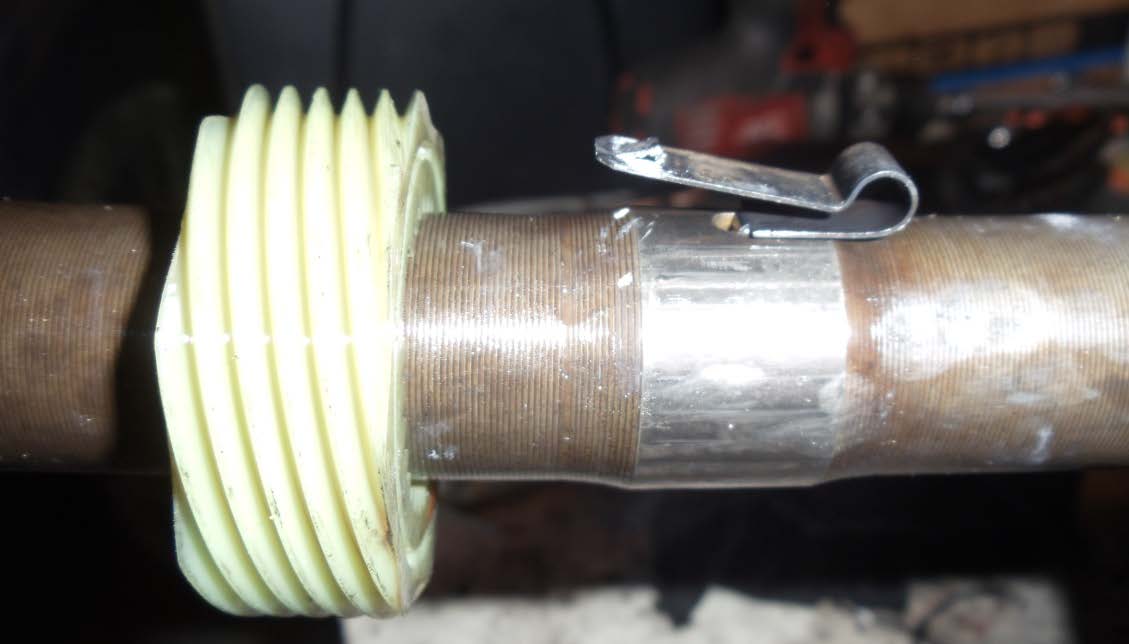
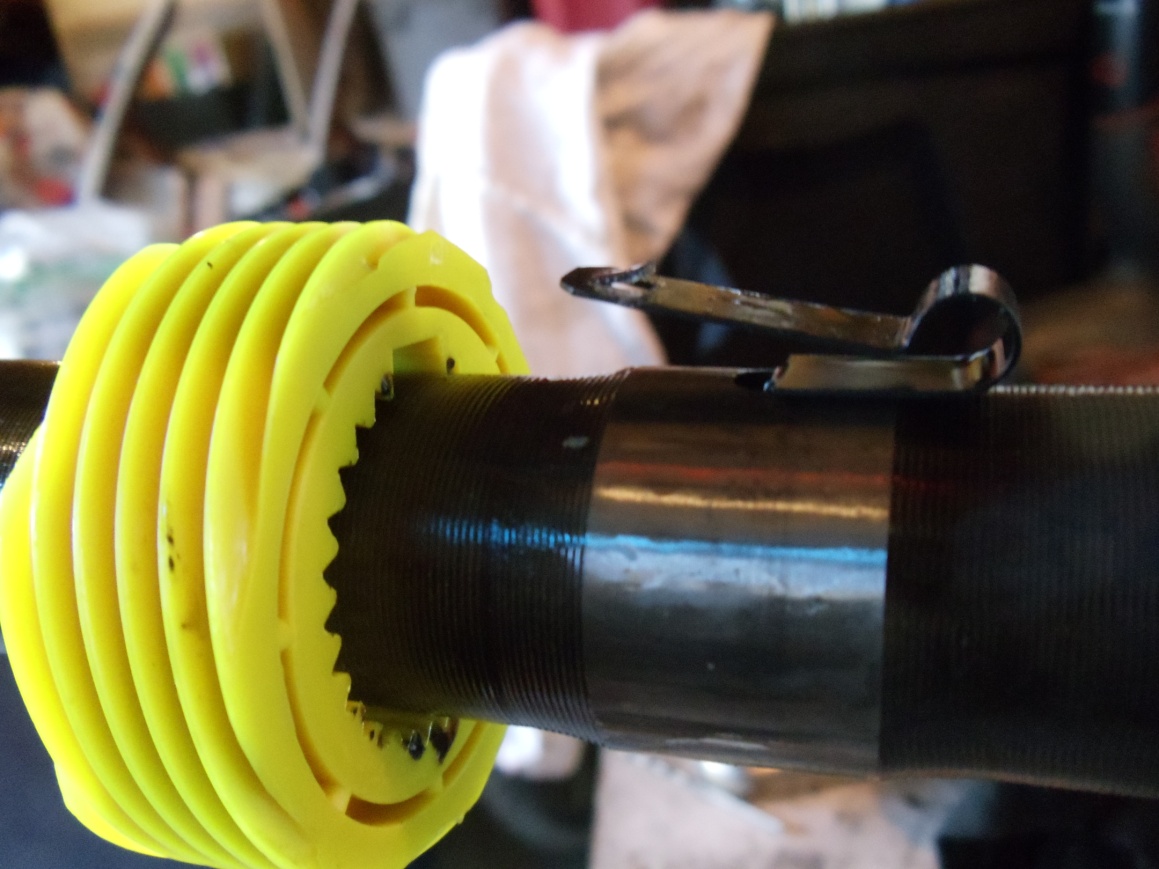
7. To remove the old Speedometer Drive Gear, pull the black bushing out. Then, you will have to push the retaining clip down while you pull the drive gear out. Be careful not to break the retaining pin.
9. Reinstall the black bushing.
10. For reinstallation, clean the tail shaft surface and apply black RTV sealant following the RTV directions.
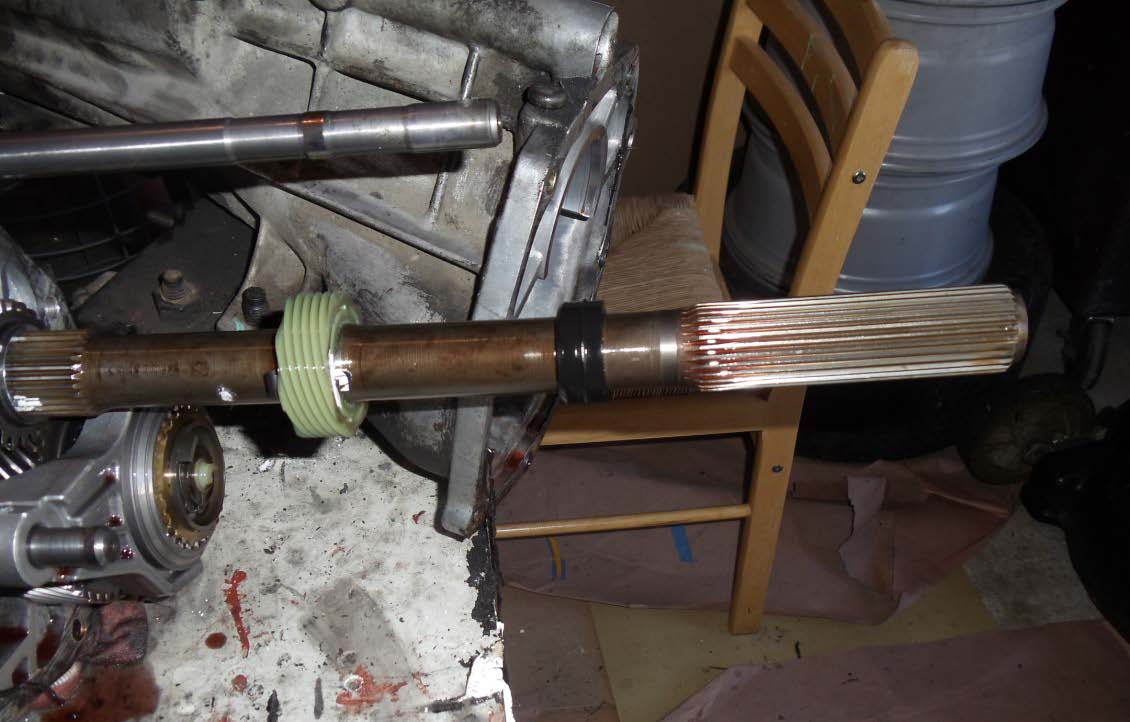
11. When reinstalling the tail shaft, BE CAREFUL NOT TO BREAK THE SYNCHRONIZER CONE and REVERSE BRAKE. You will have to put the tab at the 1 o’clock mark by turning the output shaft.

12. Apply Loctite to the bolts and bolt them in a staggered pattern. Torque them down to 23 ft/lbs.
13. Put the transmission back in place, reconnect the battery and you are ready to go!
NOTE: Depending on what gears you installed, you may also need to install a new Speedometer Gear.
Installation Instructions written by AmericanMuscle customer Wilfredo Herrera 4.2.12
