 FREE 1 to 3-Day Delivery on Orders $149+ Details
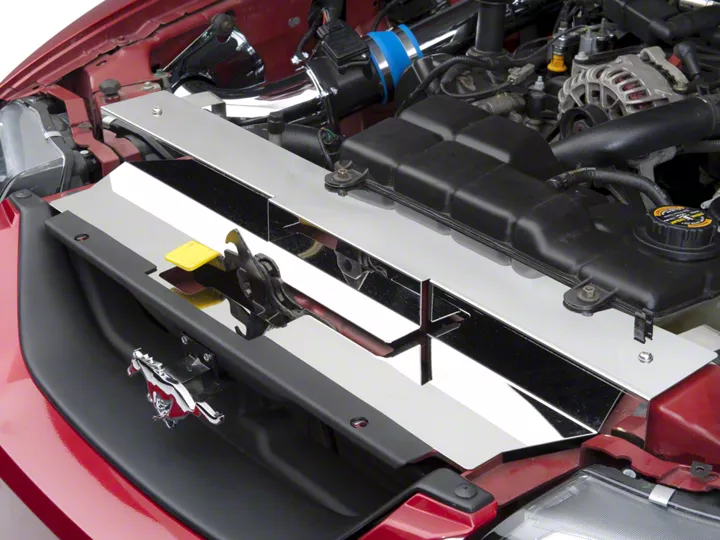
Stainless Steel Radiator Cover Installation Guide ('99-'04)
Installation Time
30 minutes
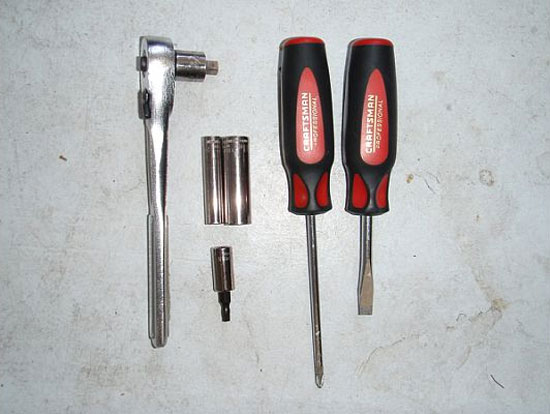
Tools Required
- Phillips Head Screwdriver
- Flathead Screwdriver
- Ratchet (1/4", 3/8" or 1/2")
- 11mm Socket
- Hex Key Set
- Rag to Wipe Down with After Install
Shop Parts in this Guide
Installation
1. Start out the installation by gathering the correct tools. The tools needed for this install are listed above and pictured below.
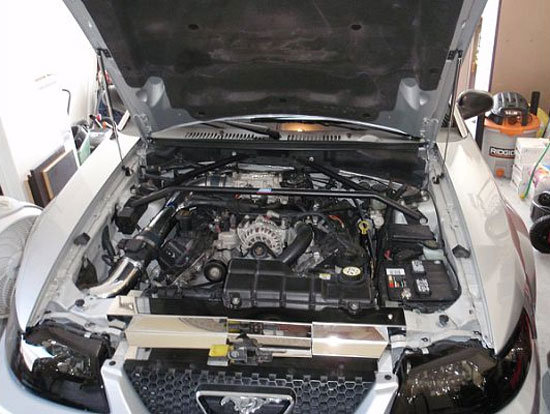
2. Important: Make sure you let your car cool down before attempting this install. You'll be working near and with your radiator, which gets extremely hot. Make sure your car is cool to the touch before attempting this install.
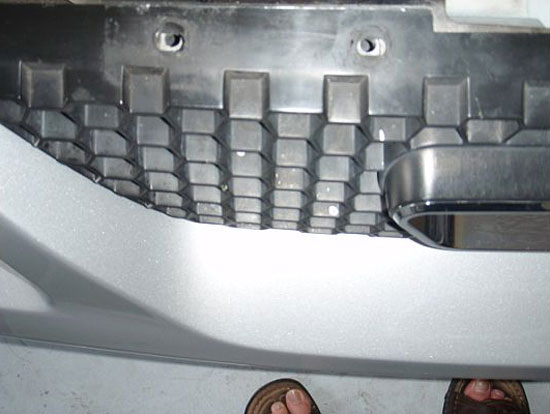
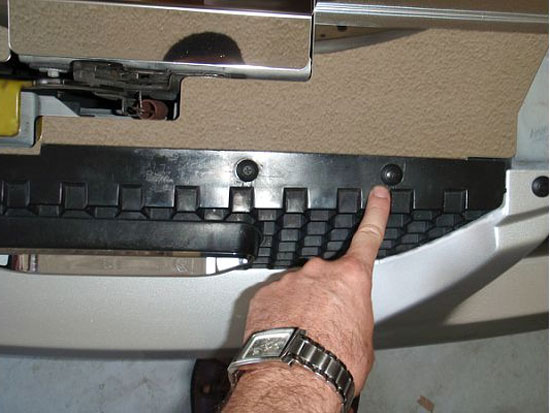
3. The first step is to pop off the plastic screws that hold on the grill. There are four on Mustang GTs, and there may be more or less, depending on the model of your car. If you have a Mach 1 grill delete kit, you’ll have less than four. The way to pop these off is to unscrew the center screw, and after you pull it out, you remove the plastic that surrounds the screw. If you have trouble with getting the center screw out, which I did on two of them, the trick I used was to lightly put a flathead screwdriver under the lip of the surrounding plastic, lift up and towards your engine with light force, and at the same time unscrew the center screw with a Phillips screwdriver. This should free up the difficult ones. This process is pictured below.
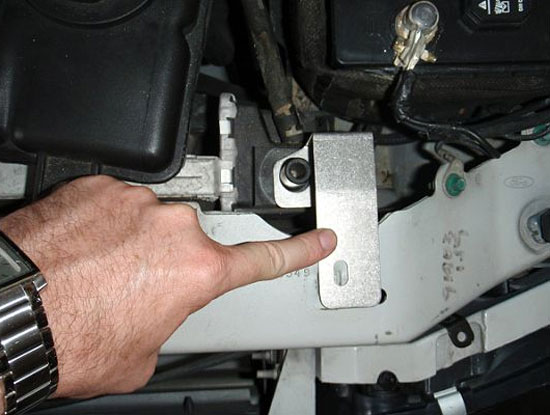
4. Next unscrew the driver and passenger side radiator brackets with the 8mm socket. Pictured below is the driver side.
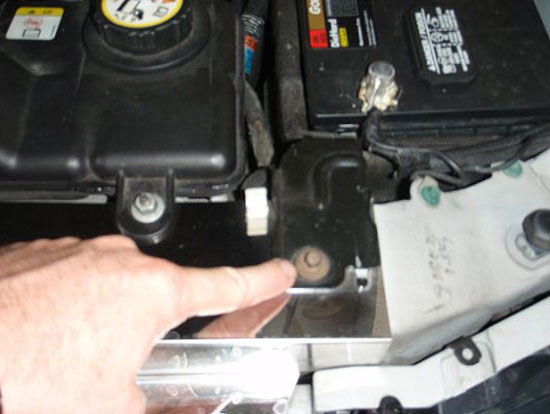
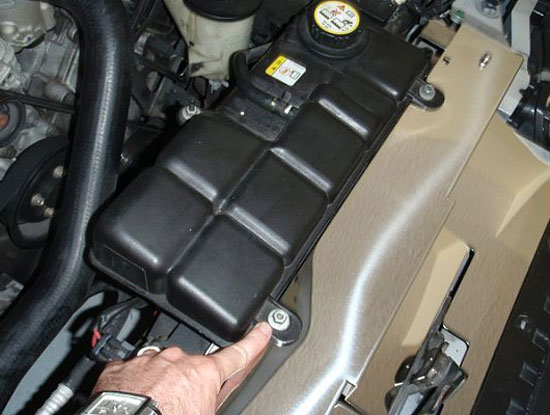
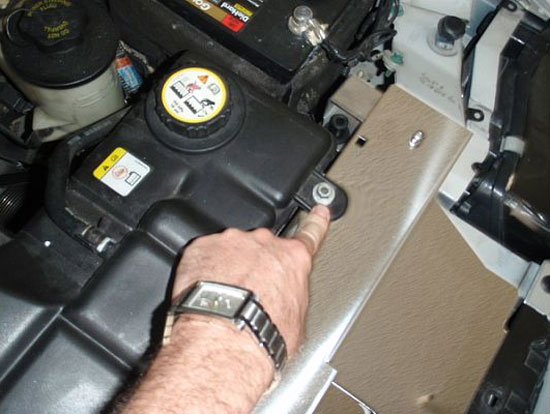
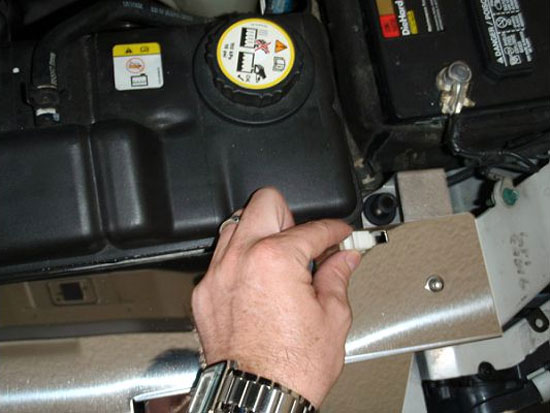
5. Then unscrew the radiator reservoir with an 11mm socket. There are two screws as pictured below.
6. At this point, you can remove your stock cover. I’d also recommend that you clean the area where the bracket will be.
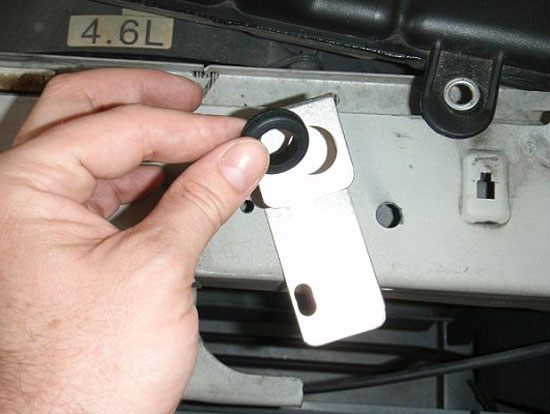
7. Now, to prepare for the installation portion of this, take the two round rubber inserts, and push the inserts into each one of the radiator brackets (as pictured below). This helps keep the radiator stable.
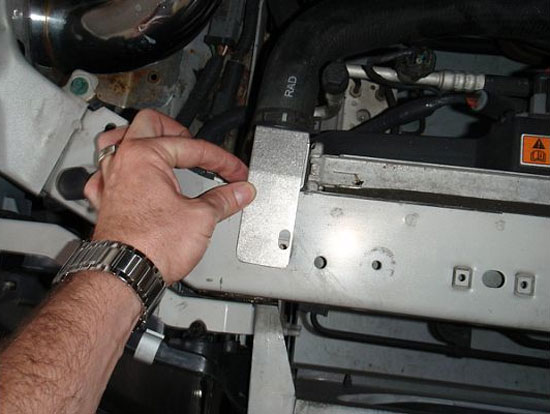
8. Now place the supplied stainless radiator brackets where the old brackets were. The bracket that is not completely straight is the driver side bracket. The straight bracket goes on the passenger side.
9. Take the supplied washers, and put the two thick washers over the radiator bracket, centered where the hole for the screw is. Then take the two thin washers and place them over the radiator reservoir screws.
10.Now, lightly place the new radiator cover, centered, over the holes and washers. You can either tuck the front part of the radiator cover under the grill, or overlap it. This is all a matter of choice.
11. Next, put the two screws through the radiator brackets with the little washer attached to it. Only do a few turns by hand, so the washers between the radiator bracket and polished radiator cover don’t move around.
12. Attach the radiator cover to the radiator reservoir, but tighten them hand-tight, and proceed to tighten lightly with the 11mm socket maybe 1 turn. Don’t over tighten, or the bolt will apply too much pressure to the cover and damage it.
13. Tighten the screw down with a hex key and, again, only do maybe one to two turns more than hand tight. This will prevent damage from over-tightening.
14. Put the plastic outers through the radiator cover, and into the grille. After you push the outers in, then you push or screw the inner part in place to secure the polished radiator cover to the grille.
15. Last, you can put the prop rod holder in this hole. However, I highly advise that you spend a little extra money and opt for the prop rods as I did. It makes for a much cleaner look, and eliminates the possibility of scratching your new, polished cover with the prop rod.
16. The final step is to attach the Steeda sticker, if you like. Wipe down your new radiator cover, in order to eliminate any fingerprints you may have left, and enjoy. This is the part where you get to gloat every time you open your hood because you’ve really set your Stang apart from the others.

Installation instructions provided by AmericanMuscle customer Derek Scheeler 8.1.08
