 FREE 1 to 3-Day Delivery on Orders $149+ Details
Steeda Strut Tower Brace ('05-'10 GT) - Installation Instructions
Installation Time
30 minutes
Tools Required
- Socket Wrench
- Torque Wrench
- 13mm Socket
- Dremel
- Flathead Screwdriver
- Washers
Installation
The installation process for a strut tower brace is very simple. For the Steeda brace, you’ll simply have to remove a couple of nuts on each shock tower. On my GT, I also have to address a pair of shock tower covers that I’ve already installed. I don’t want to lose the use of the covers, as they help keep up appearances under the hood. So during the installation I modified the covers to allow them to be used with the Steeda brace.
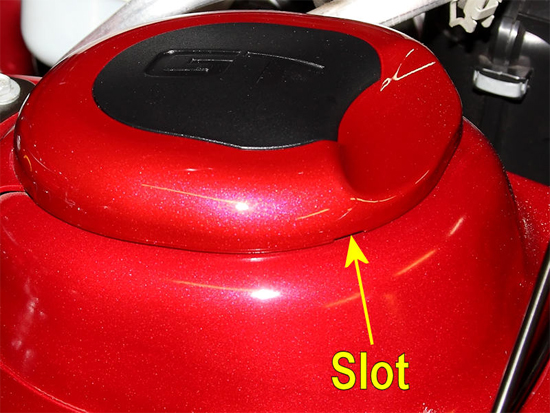
1. Not everyone will need to remove shock tower covers, but if you do simply look for the slots along their bottom edge.
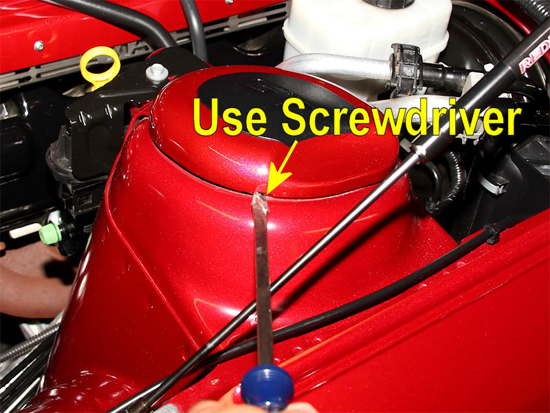
2. Insert a flathead screwdriver into the slot, and twist it to raise the shock tower cover up. Once you start to raise the cover, pull it the rest of the way off by hand.
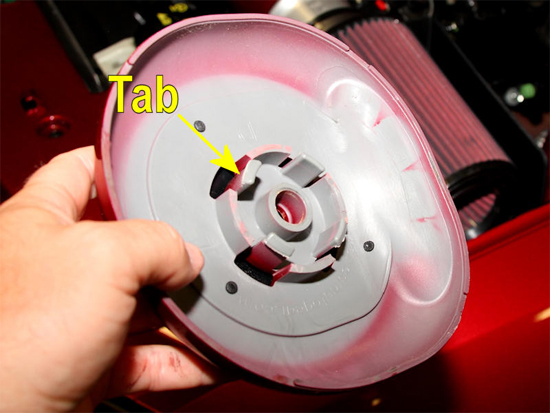
3. With it removed, you can see the four tabs on the underside of the cover. The tabs are what hold the cover in place.
4. For the Steeda brace installation, you’ll need to remove the two inner nuts on each shock tower. This is also a good time to clean up the dirt that has accumulated under the shock tower covers, if you had them installed.
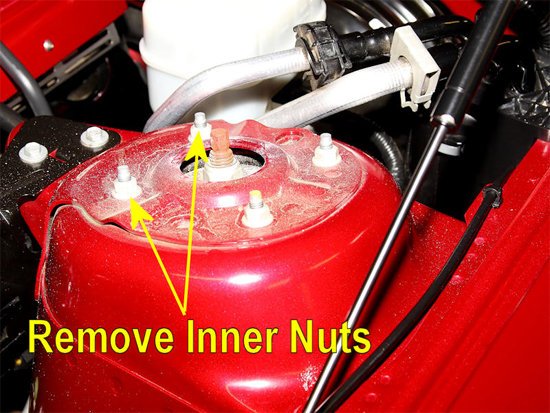
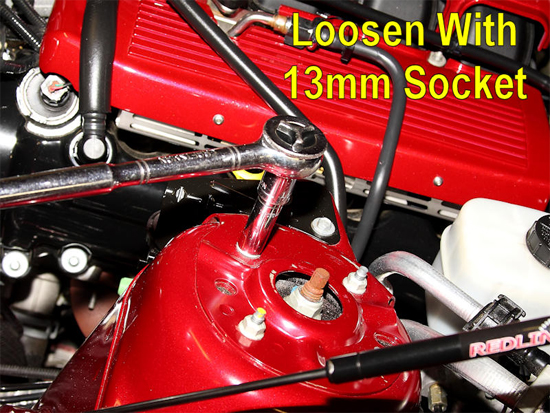
5. A 13mm socket is used to remove the nuts.
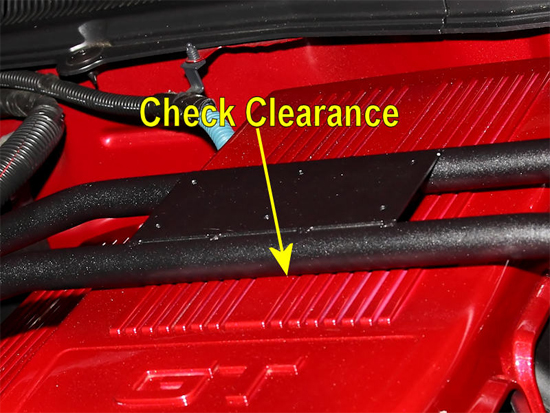
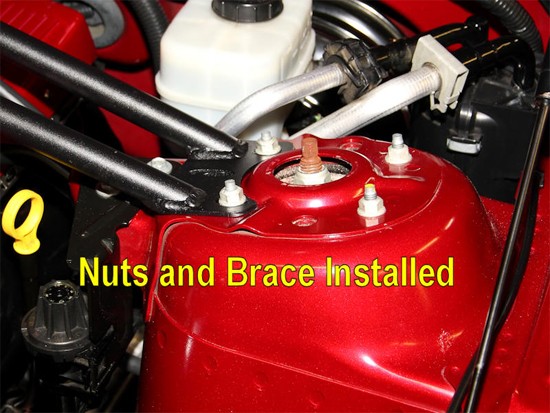
6. Once the necessary nuts are removed, you’ll drop the Steeda brace into place. If you have an engine cover, check the clearance between the engine brace and the cover. Keep in mind that as the engine revs, the driver’s side of the engine will rotate upward. So you’ll want to ensure you have adequate clearance under the brace.
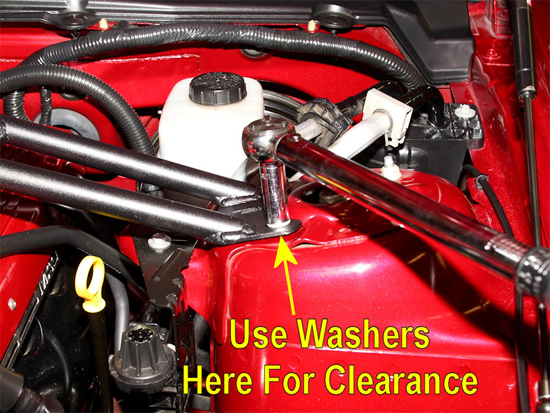
7. If the cover is too close you can use a washer or two between the shock tower and the brace. You should only need to do this on the forward bolt for each side. The rear of the brace should have plenty of clearance, due to the fact the brace slopes downward toward the front of the car. Re-torque the nuts back down to 27 ft-lbs.
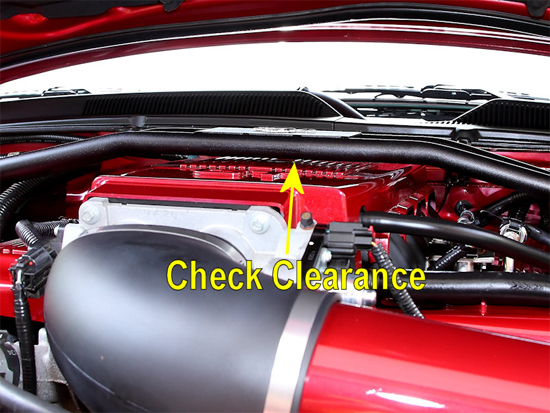
8. Recheck the clearance after you’ve tightened the strut brace down. You don’t need huge amounts of clearance, as S197 Mustangs see much less engine movement than previous Mustangs. If you have a buddy have them watch the engine and brace, checking for clearance, as you rev the car a few times.
9. If you don’t have shock towers covers, you’re finished at this point. However, if you use covers you’ll need to complete a little additional work..
10. Using a Dremel and sanding wheel, grind away some of the cover making an opening for the strut tower brace bars. You’ll also want to grind away a little of the area between the openings as well. It’ll take a little trial and error to get the openings big enough, but go slowly and take your time. You can always grind a little more plastic off, but you can’t put it back on!

11. Once you have the modification completed on the shock tower covers, install the covers back onto your car’s shock towers and you’re done!
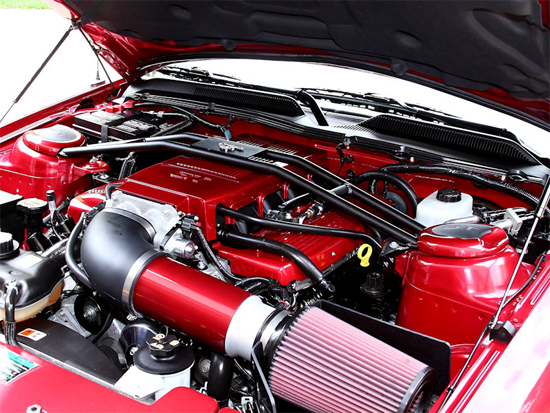
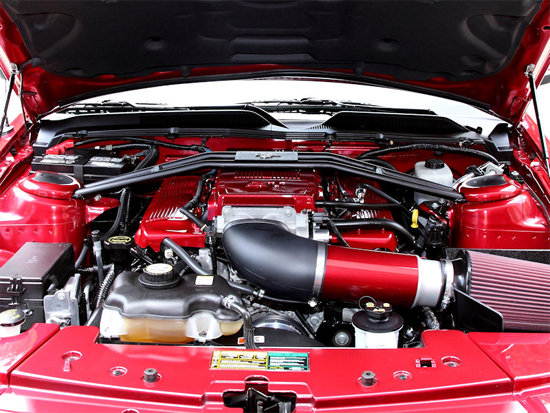
12. To enhance the appearance of my Steeda Strut Tower Brace, I added a running horse emblem to the center plate. This particular emblem originally came from a Mustang II and you can find them online, or even possibly a junkyard. Steeda also sells decorative plates for the bar as well, should you decide to go a different route instead.
Installation instructions provided by AmericanMuscle customer Eric Hege 8.3.09
Related Guides
-
Installation
-
Installation
-
