 FREE 1 to 3-Day Delivery on Orders $149+ Details
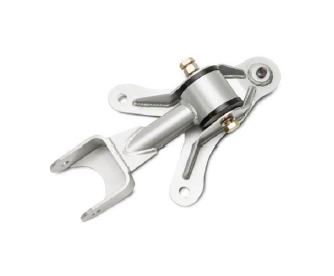
How to Install Whiteline Adjustable Rear Upper Control Arm w/ Mount on your Mustang
Installation Time
1 hours
Tools Required
- Car Jack
- Jack Stands
- 20, 15, 13, and 21mm socket or wrench
- Long ratchet extension (12”)
- Ratchet
- Thread locker
- Torque wrench
- Safety goggles and gloves
Pre Installation Instructions:
BEFORE BEGINNING ANY WORK, MAKE SURE THE CAR IS SAFETY LIFTED AND HANDBEAKE IS SET
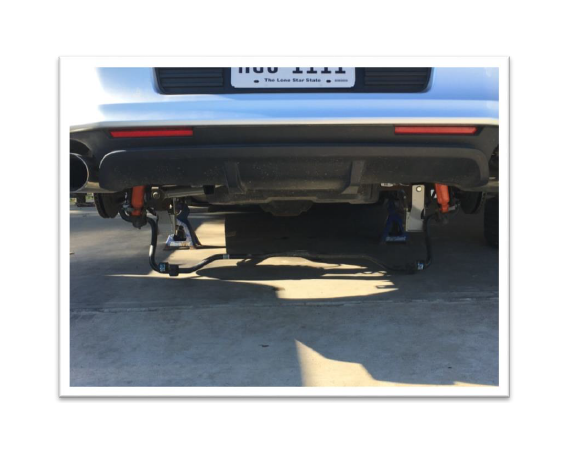
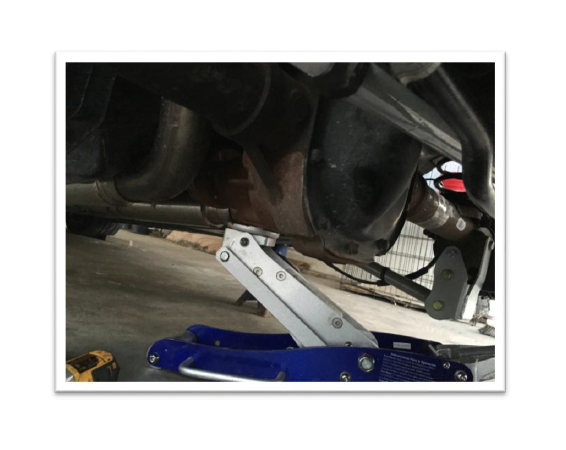
1. Lift the vehicle and place jack stands under the chassis (not rear axle).
2. Remove the lower section of the rear seat by releasing the two lower clips located and the front of the seat bottom. Push back the on the seat and when the clips are released, lift the seat and remove. This will allow access to the upper retaining bolt.
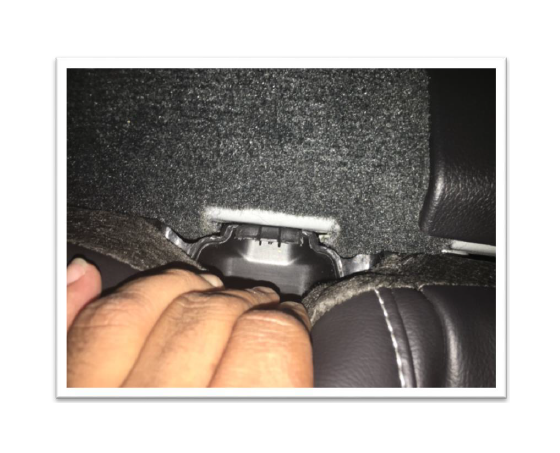
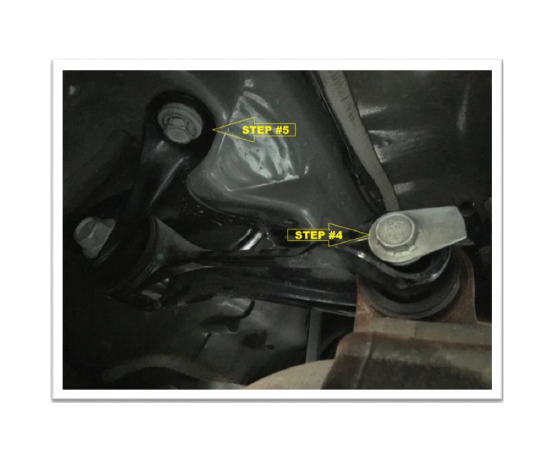
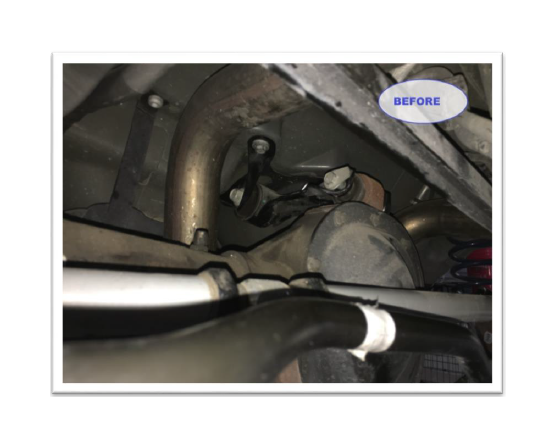
3. Remove the mount retaining bolt with a 18mm socket. (This is very tight so a breaker bar is useful)
4. Remove with the 18mm socket the upper control arm bolt connected to the axle.
5. Remove the 2 remaining control arm mount bolts.
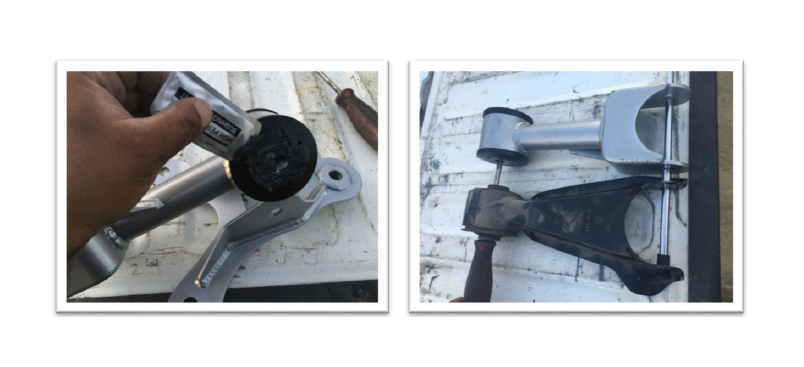
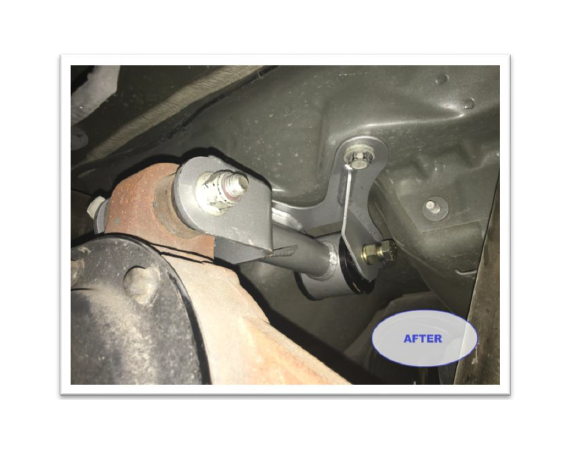
7. Prepare Whiteline Arm and Mount for installation by adjusting pinion angle of eccentric crush tube to desired position. Then tightening the lock nut up against the mount.
8. Bolt the mount to the car using the lower factory bolts and tighten to 110 ft lbs.
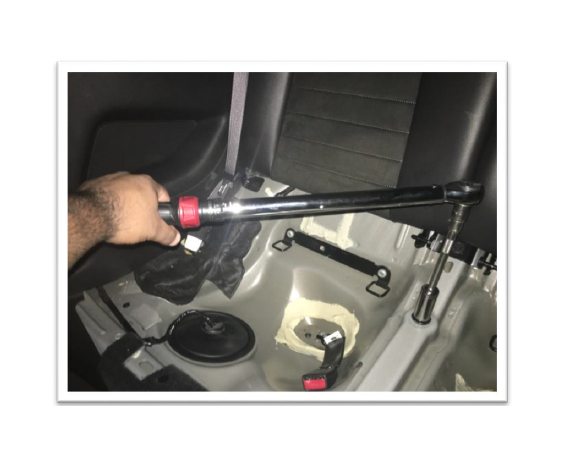
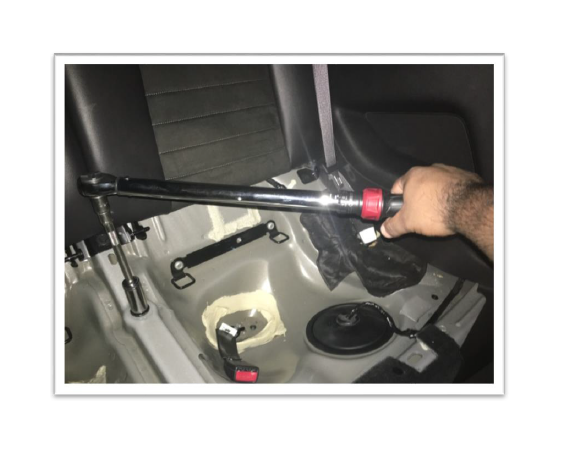
9. Insert the supplied M16 bolt and washer into the upper front hole located inside the car and tighten to 129 ft lbs, then reinstall the rear seat.
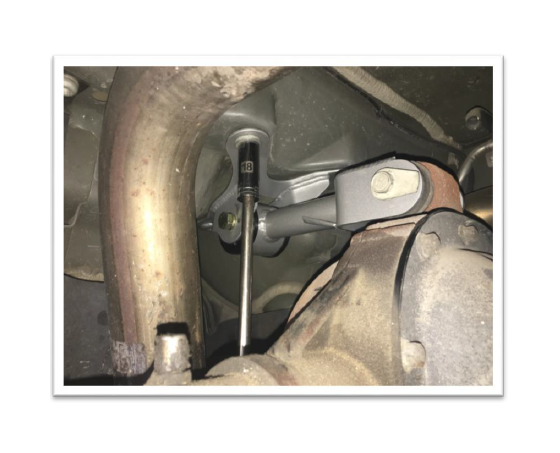
10. Jack up rear end until the control arm mounting holes line up to the axle mount and reinsert bolt.
11. Double check to ensure all bolts has been re-tightened and lower vehicle.
ADJUSTING PINION ANGLE
Make sure the rear end is loaded by either setting the car on the ground or letting the car rest on jack stands positioned under the rear axle. In both cases, the car needs to be as level as possible and the suspension loaded.
Place an angle finder on the rear portion of the two piece driveshaft and record the angle. Now place the angle finder on the pinion yoke and record the angle.
Subtracting one angle from the other results in your pinion angle (Example: -2 rear end angle subtracted from 0 driveshaft angle = -2 degrees)
Adjust the control arm to achieve the desired angle.
As a starting point, most cars respond well to the following initial settings: Automatics: 1-2 degrees negative, Manuals: 2-3 degrees negative
Once pinion angle has been set, tighten eccentric crush tube.
