 FREE 1 to 3-Day Delivery on Orders $149+ Details
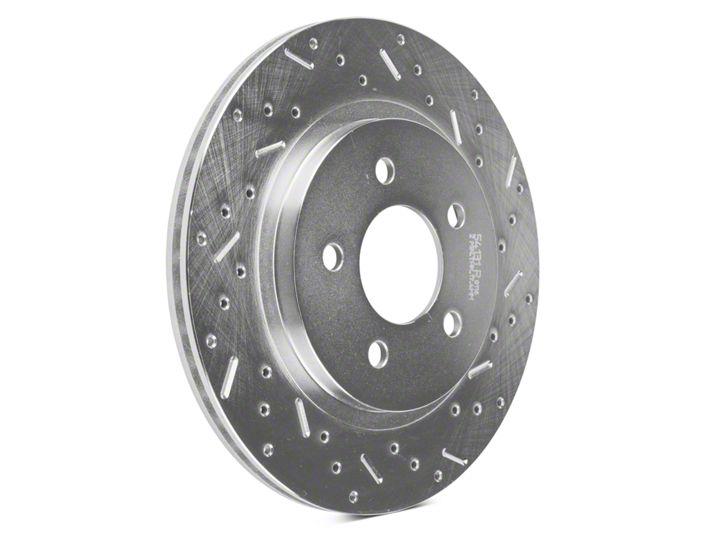
How to Install a Xtreme Stop Precision Cross-Drilled & Slotted Rotors - Rear Pair
Tools Required
- OEM Brake Caliper Tool
- Breaker bar or impact gun
- 21 mm deep impact socket
- ½ in Ratchet
- 13 mm socket
- 15 mm socket
- Jack and jack stands or lift
- Blue thread lock
- Torque wrench
- Can of Brake clean
- Wire brush
Shop Parts in this Guide
Parts Included:
Rotors
Brake pads
Packet of gear head grease pak (note: it is recommended to replaced brake pads as well when replacing rotors so I will be doing that to.)
Step One
Jack up rear of vehicle and support on jack stands (If using a lift place arms on life point and slowly lift vehicle off the ground to half a foot off the ground in the air, then shake vehicle making sure it is sturdy. (If it rocks back and forth and makes noise lower vehicle and adjust arms and recheck) raise vehicle to best position for you to work.

Step Two
Using impact and 21 mm socket remove wheel.
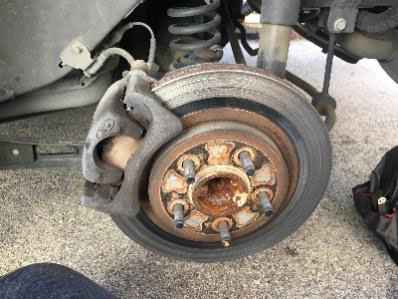
Step Three
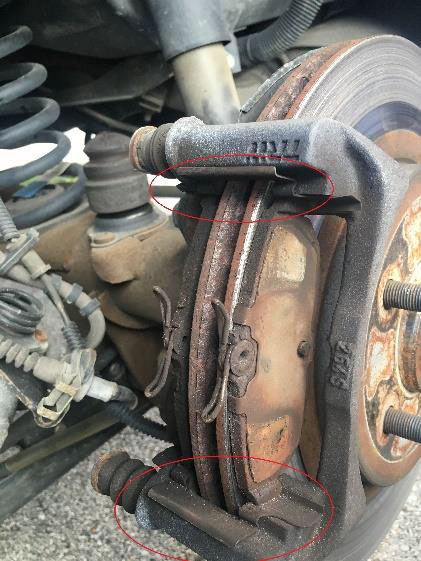
Using 13 mm socket remove caliper sliding bolts. (Circled in red) slide caliper pins back and forth feeling for any resistance, if a little resistance is present pins should be lubecated and if the pins have a lot of resistance present replaced with new ones and lubercated.
Step Four
Support caliper on lower control arm or with a coat hanger suspending it
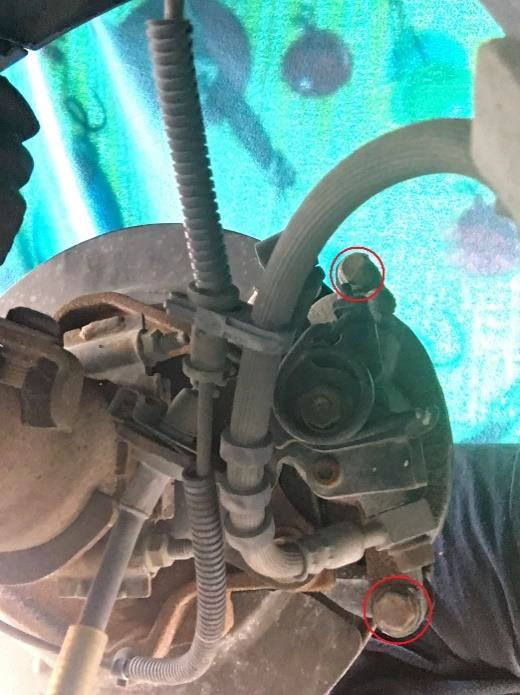
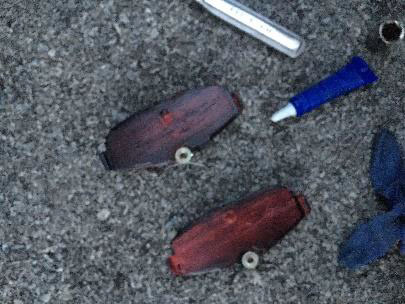
Step Five
Remove old brake pads and the metal clips (Circled in red) with a wire brush and some brake clean, clean the metal clips.
Step Six
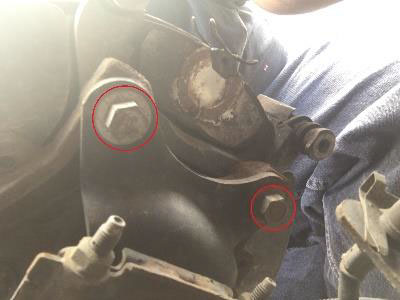
Using 15 mm socket remove caliper mount bolts (Circled in red) and remove mounting bracket
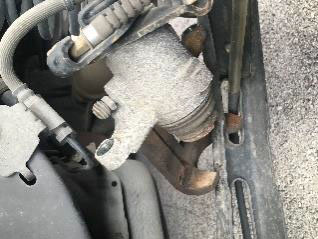
Step Seven
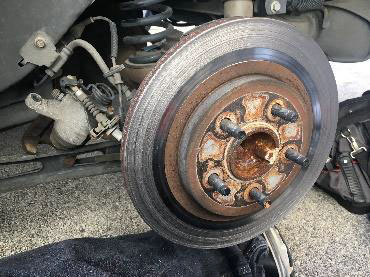
Remove rotor (note: depending on if the rotor was replaced before you will or will not have a clip at the base of one of the studs use pliers or a screw driver to remove it, in the past the rotors on my mustang were replaced so I do not have the little locking clip.)

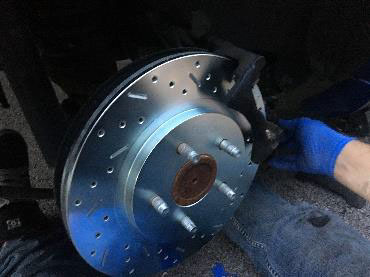
Step Eight
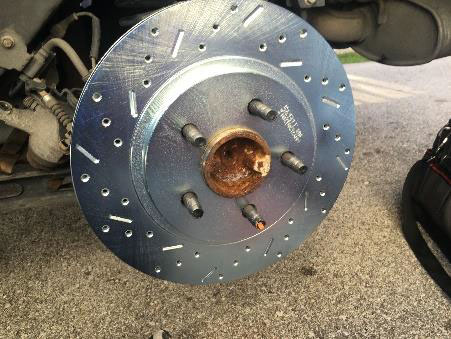
Open package rotors are in and place rotors back in box and spray with brake clean wipe down with a rag and install rotor.
Step Nine
Install mounting bracket reusing bolts torque bolts to 85 ft. lbs. (note: clean the bolts with wire brush if there is any old thread lock on it then apply Blue thread lock on bolts)
Step Ten
Remove brake pads from package applying grease to the back of the brake pads and place pads on mounting bracket
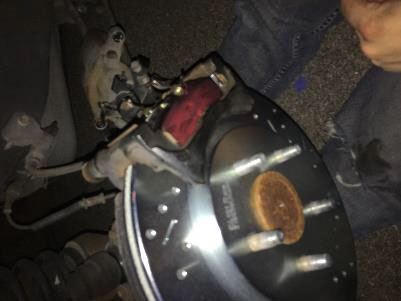
Step Eleven
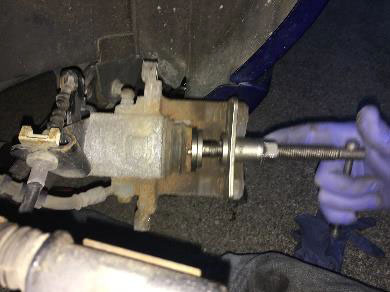
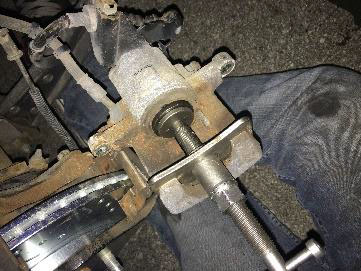
Using OEM Brake Caliper Tool slowly push back in the caliper piston. (Note: make sure the holes on the caliper pistone are straight up and down this is because there is a pin on the back of the brake pads that need to go in the hole.)
Step Twelve
Slide caliper over mounting bracket and pads. Install bolts and torque them to 25 ft. lbs. (note: do not apply any threated lock!)
Step Thirteen
Reinstall wheel and tighten up lug nuts then lower vehicle to where wheels barely touch the ground and torque lug nuts to 100 ft. lbs. then lower vehicle all the way. Before starting the vehicle get in and depress the brake pedal anywhere from 5-10 times until the pedal firms, start vehicle and tests brakes before driving.