 FREE 1 to 3-Day Delivery on Orders $149+ Details
J&M Mustang Stainless Steel Teflon Brake Hoses Installation Guide ('99-'04 Front)
Installation Time
3 hours
Tools Required
- Ratchet with 16mm socket
- 11/16 and 7/16 line wrenches
- 10mm open end wrench
- Pliers
- Small flat head screwdriver
- Jack, jack-stands, and wheel chocks
- Wrench to remove lug nuts (there is a stock one in the trunk)
- Small hose for bleeding brakes or brake bleeder kit
- Small bucket or coffee can
- Dot 3/4 brake fluid

Shop Parts in this Guide
Installation
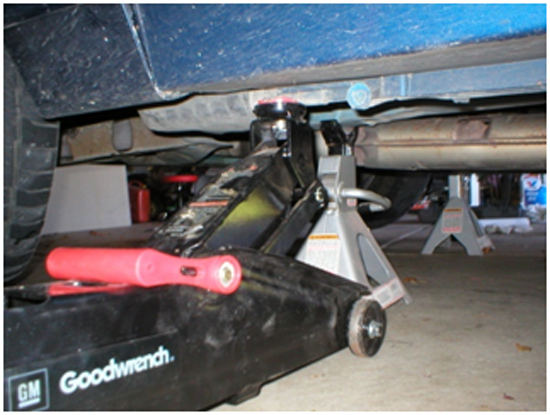
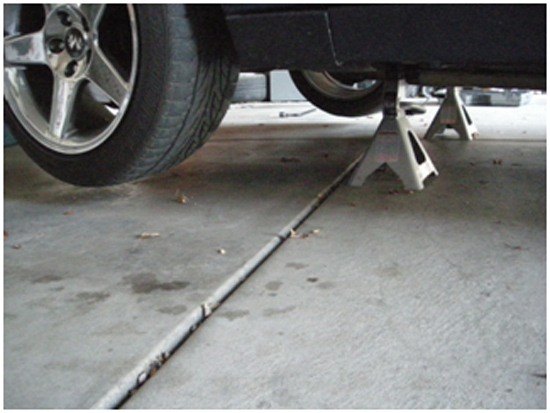
1. Pull the e-brake and place blocks or wheel chocks behind the rear wheels. Loosen all of the lug nuts on the front wheels just slightly. Jack the car up at the jacking point at the front of the car so the wheel comes off the ground, and slide one jack-stand under the frame. Slowly lower the jack and watch to make sure the car sits nicely on the jack stand. Repeat this for the other side of the car.
2. Remove the lug nuts and the wheels.

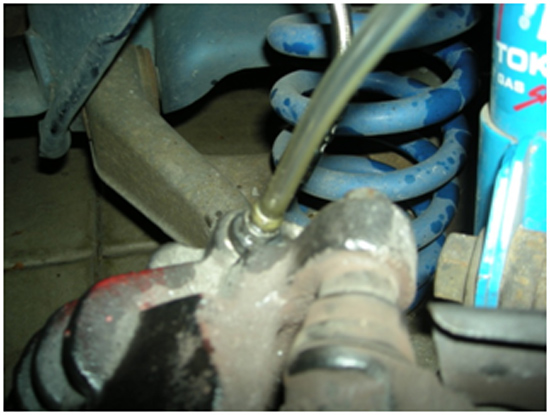
3. Place the bucket/coffee can under the end of the brake line closest to the caliper. Use the 16mm socket to remove the bolt holding the brake line onto the caliper. Be careful not to lose the crush washers. There are 2, one on each side of the brake line.
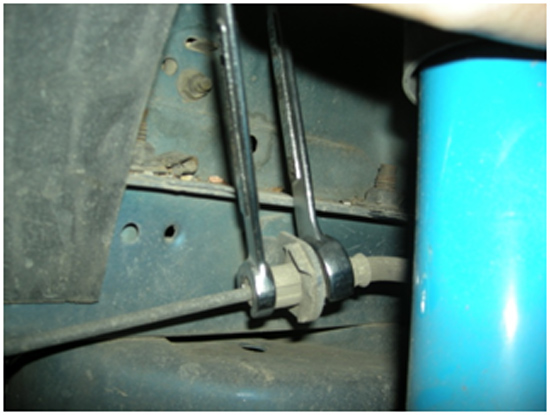
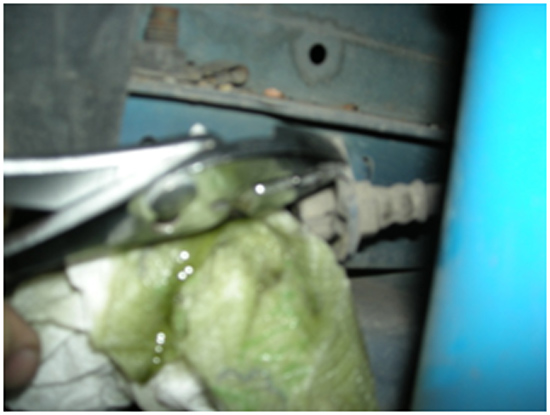
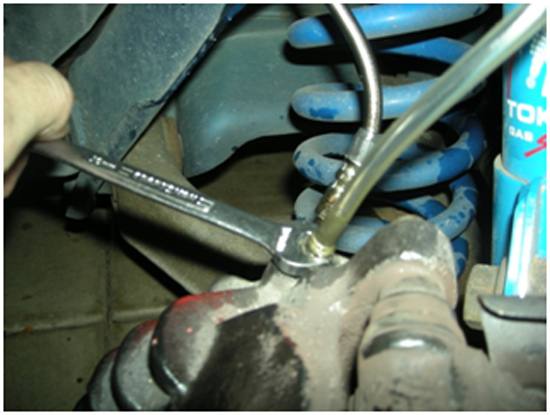
4. Use the line wrenches to loosen and remove the soft brake line from the hard line. Some brake fluid will run out; have a couple of paper towels ready to catch it.
5. Use the pliers to pull the retaining pin off of the old soft brake line. It is fairly easy because there is a lip to grab onto. The brake line is now free and you can set it aside.
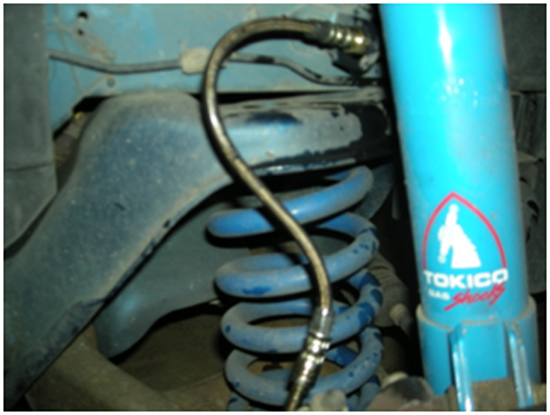
6. Remove the small retaining clips from the new lines. Use the screw driver to carefully pry them off. They can be a pain. Slide the end of the new line through the retainer on the car and screw the hard-line into the soft line.
7. The 2 brake lines (left and right) are different and only work on one side. The threads are different at the hard line. The best way to figure out which is which is to just guess and check. The hard line will be easy to screw into the soft line so don’t try to force anything. If it doesn’t feel like its threading right then it’s probably the wrong side.
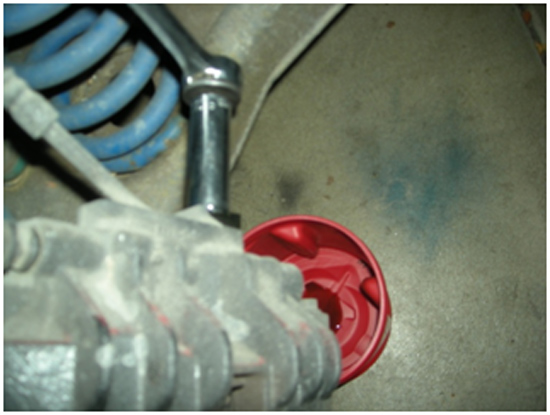
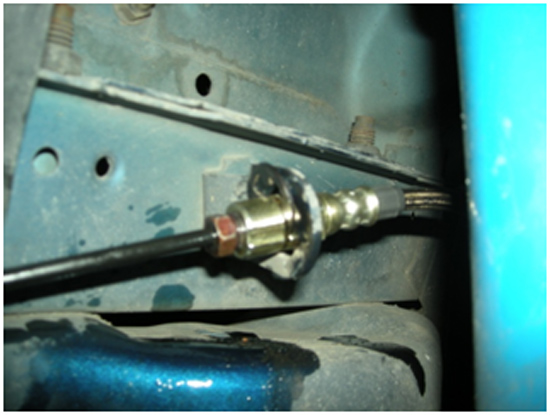
8. Install the new or old retaining clip (your choice) onto the brake line, to prevent it from sliding out of the retainer on the car. The picture below shows the new clip part of the way on the brake line. Make sure you push it all the way on so it stays.
9. Install the bolt with a crush washer on either side of the brake line back onto the caliper.
10. Make sure everything is in place and nice and tight. Repeat this process for the other side of the car.
Bleeding the Brakes
1. Start on the passenger side. Pull the rubber cap off of the bleeder screw and attach a rubber hose to the fitting.
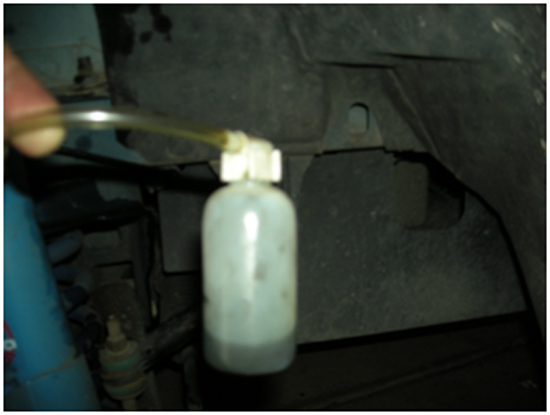
2. Loosen the brake bleeder using a 10mm wrench. Loosen it about a turn and a half. If you are using a brake bleeder kit then hold the bottle somewhere above the caliper and have a friend sit in the car and slowly pump the brake. Watch the fluid coming out of the caliper. There will probably be some air bubbles. When the fluid runs smoothly out of the caliper with NO air bubble then you can tighten the bleeder screw.
3. If you are not using a bleeder kit then run the line down into the bucket you’ve been using to catch spilling fluid. Loosen the bleeder screw about a turn and a half and have your friend push on the brake and HOLD it down. Again watch the fluid noting if there are bubbles or not and close the bleeder screw. After you close the screw your friend can let their foot off of the brake. Now loosen the bleeder screw again and have your friend push the brake and hold it again. Watch the fluid and tighten the bleeder screw again. Do this as many times as needed. You don’t want any air bubbles coming out of the caliper.
4. When you are done put the rubber cap on and move to the driver’s side. Repeat the process to bleed that side.
5. Put the wheels back on the car and tighten the lug nuts as much as you can while it’s in the air. Use the jack to lift the car off of one of the jack stands then pull the jack stand out from under the car and slowly lower the jack. Repeat for the other side. Tighten the lug nuts again.
6. Remove the wheel chocks and release the e-brake. Take a cautious test drive at slow speeds to make sure everything is working properly.
Installation instructions provided by AmericanMuscle customer Matt Wesely 11.15.08

