 FREE 1 to 3-Day Delivery on Orders $149+ Details
How to Install an Accel Super Coil On Plug for 1999-2004 Mustang GT
Tools Required
- Shop Light
- Small Socket Wrench
- I also used a socket driver
- socket
- 7mm Socket
- Flat Head Screwdriver

Shop Parts in this Guide
Installation
Disassembling:
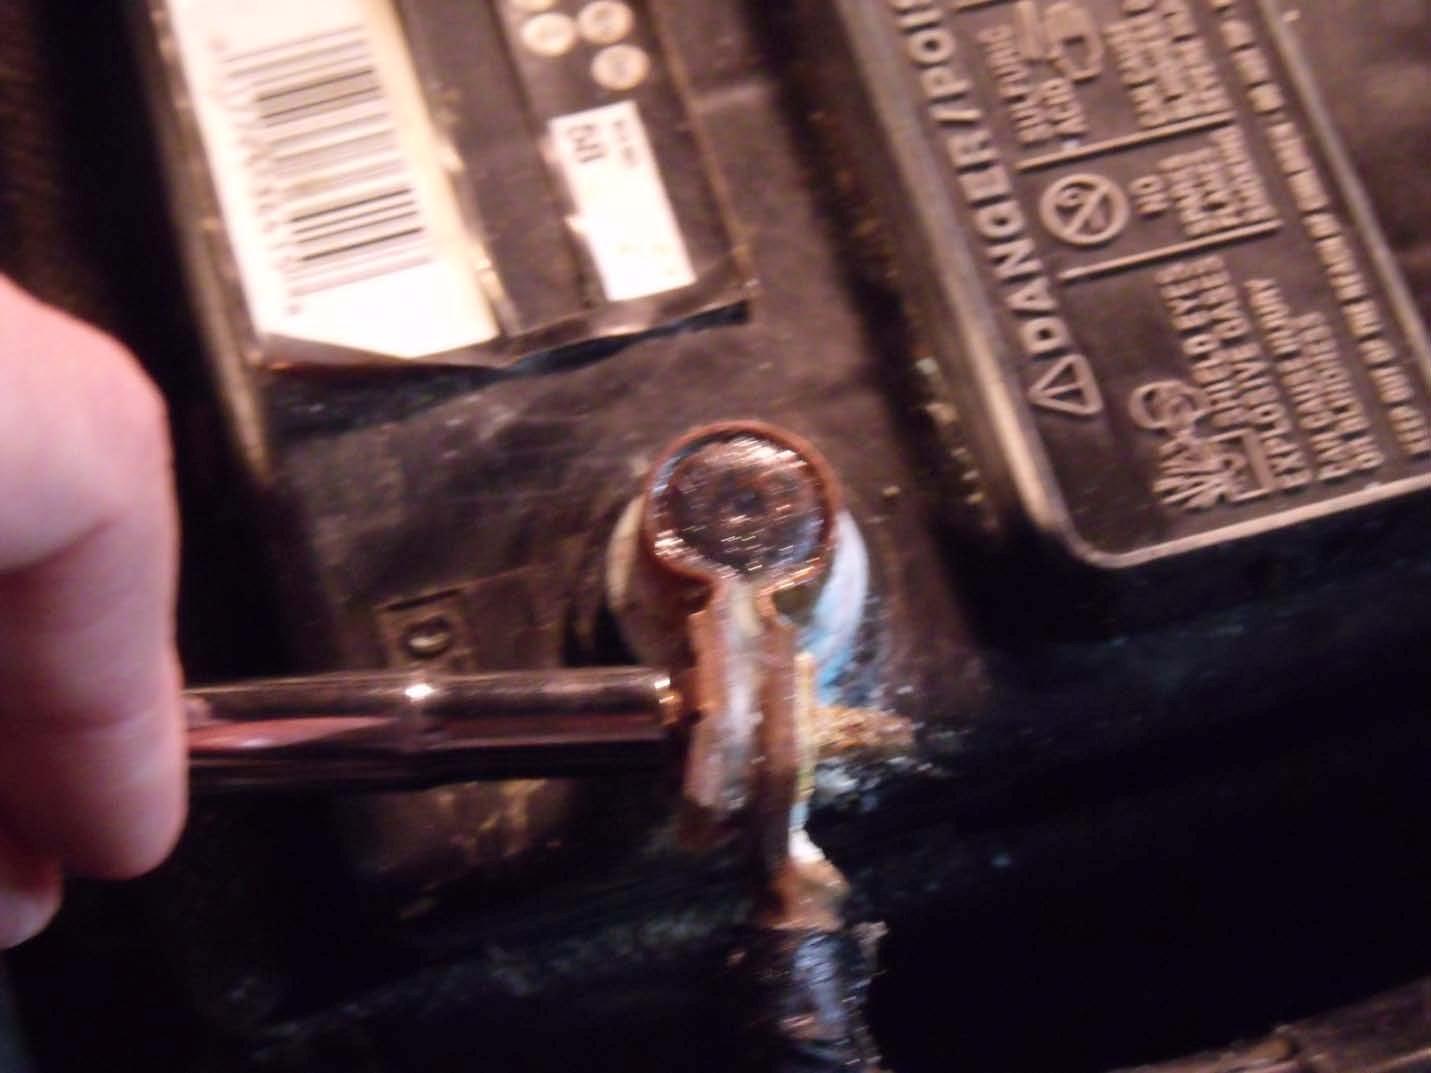
1. Start out by using a small socket wrench with a ¼ socket to remove the negative battery cable. Use a shop rag to prevent the cable from touching the terminal.
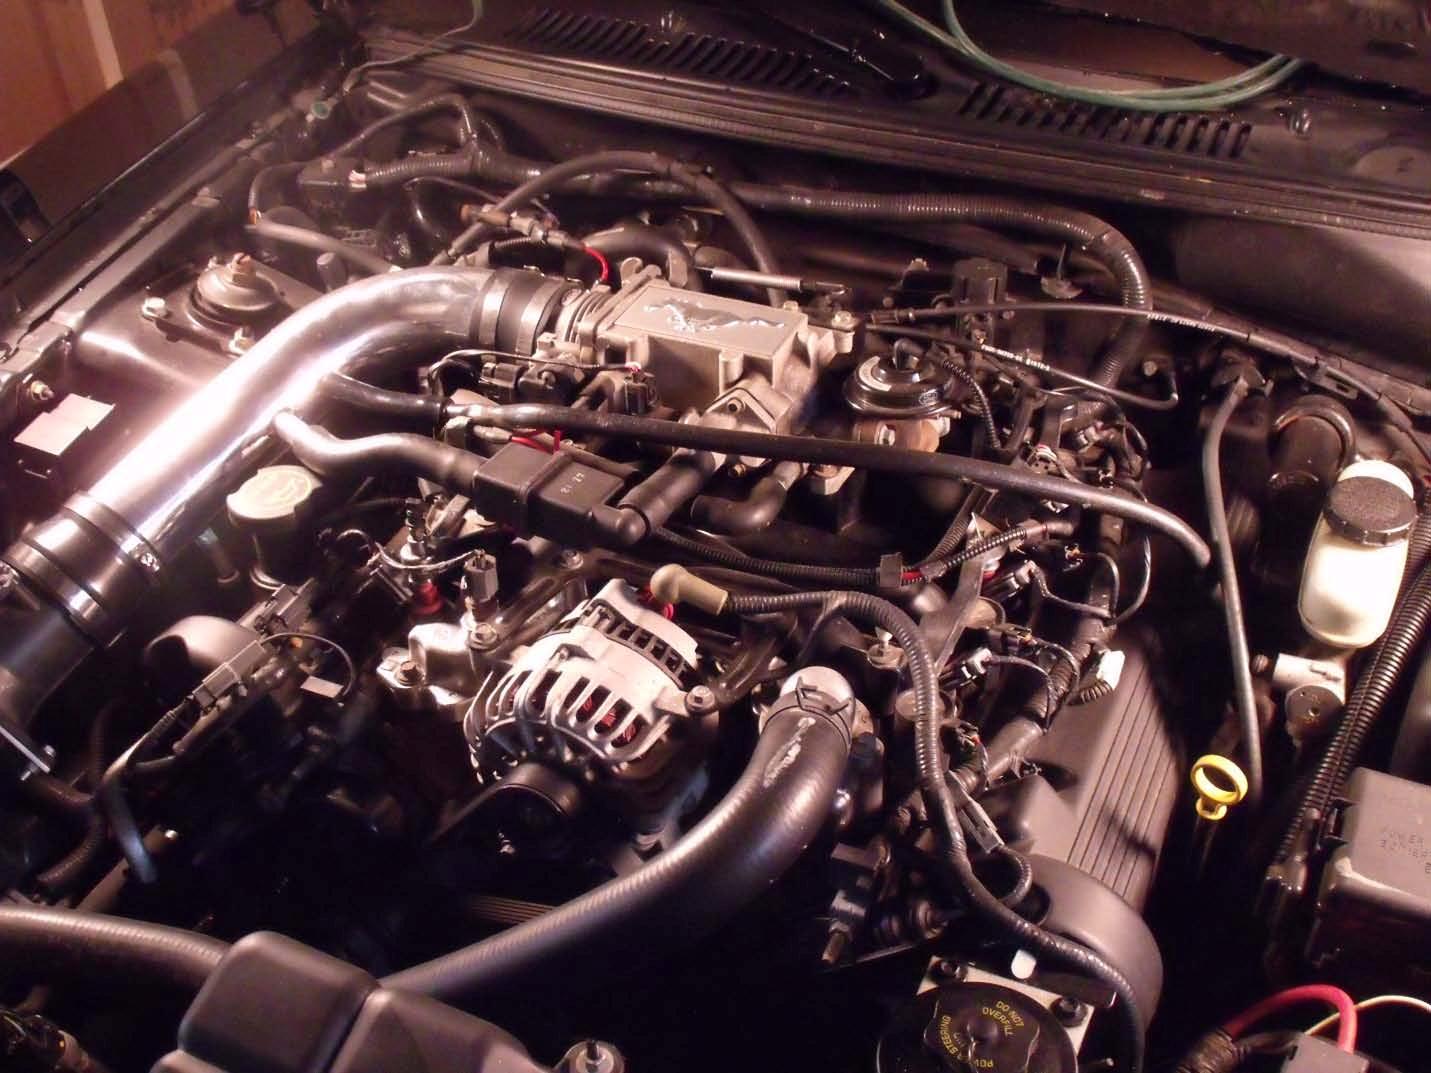
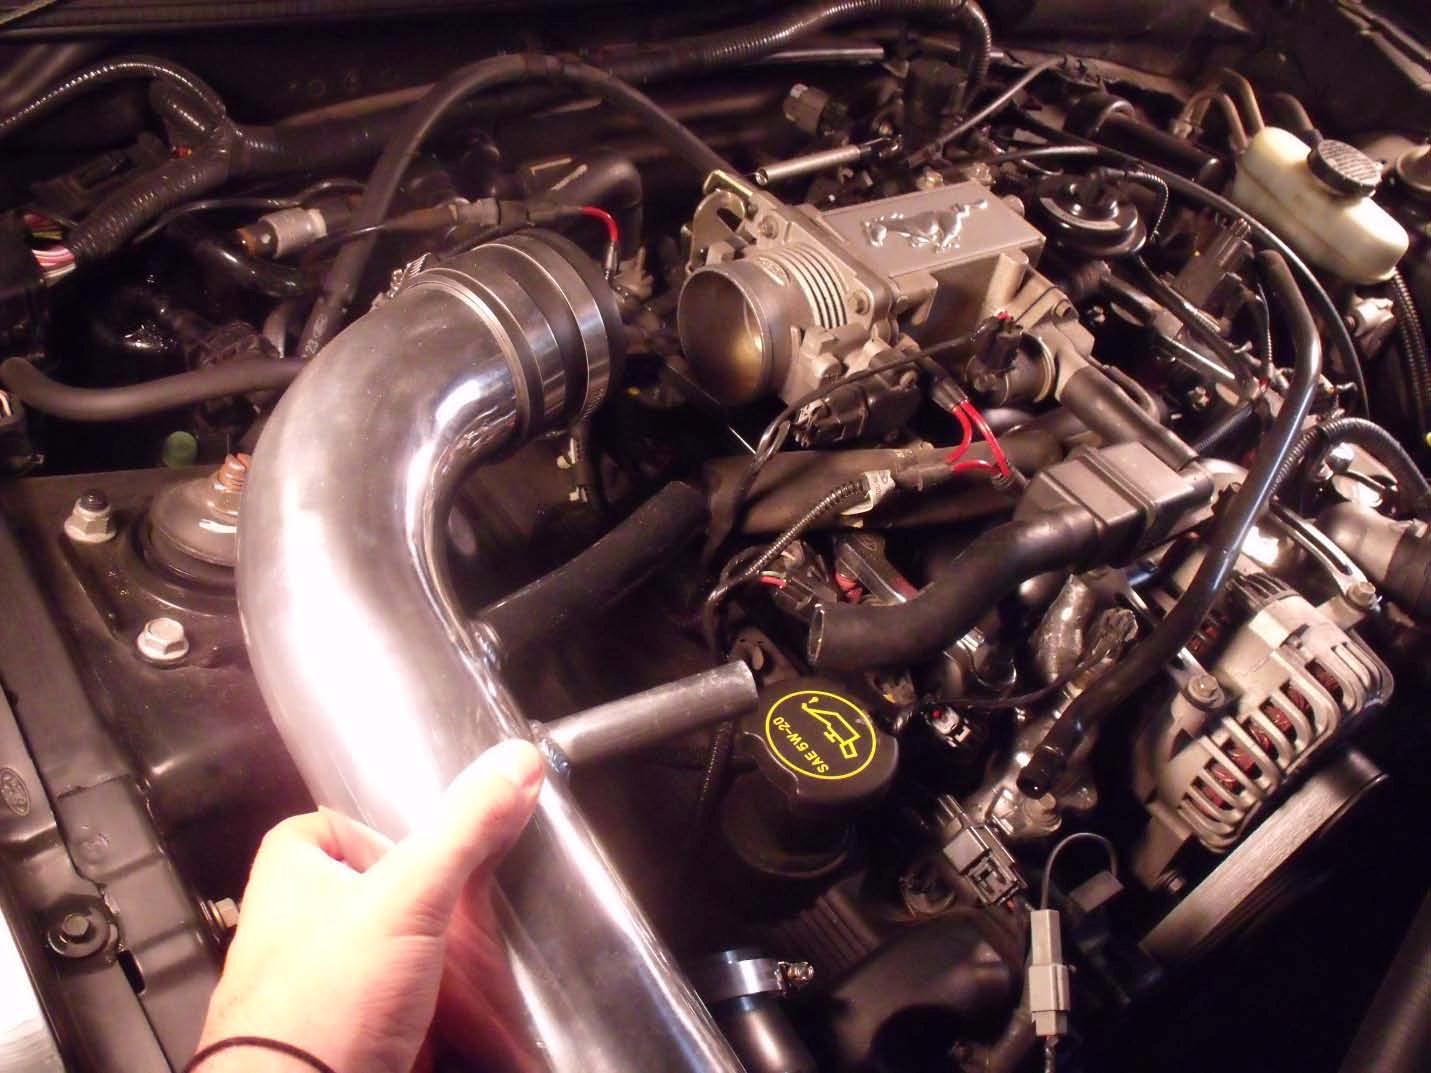
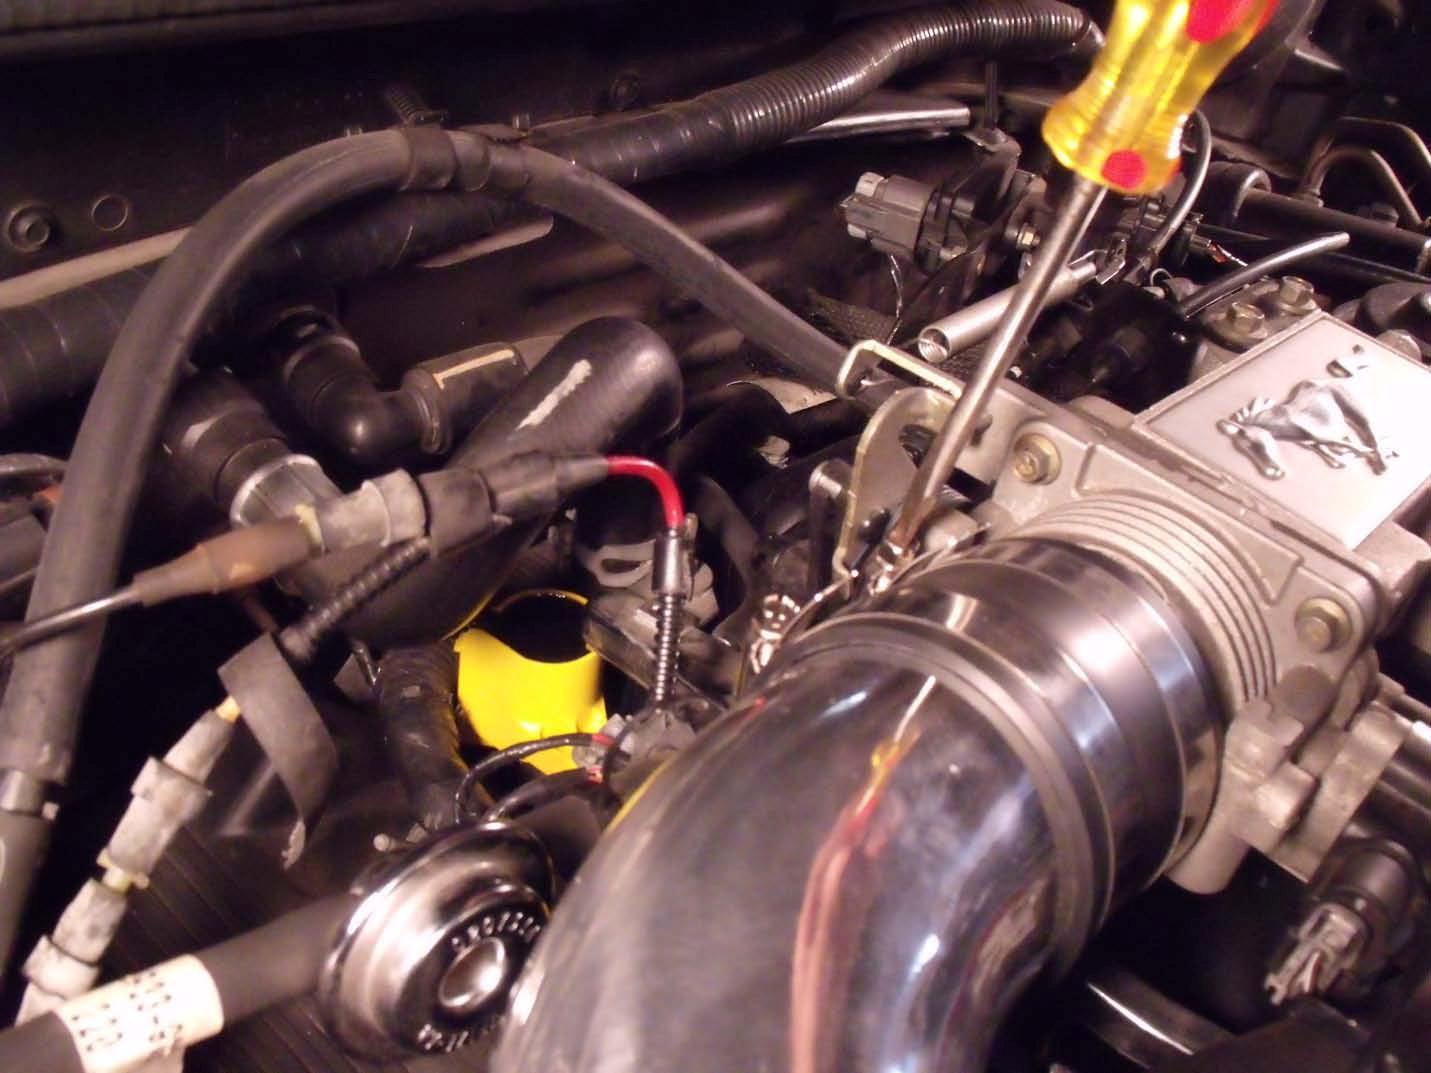
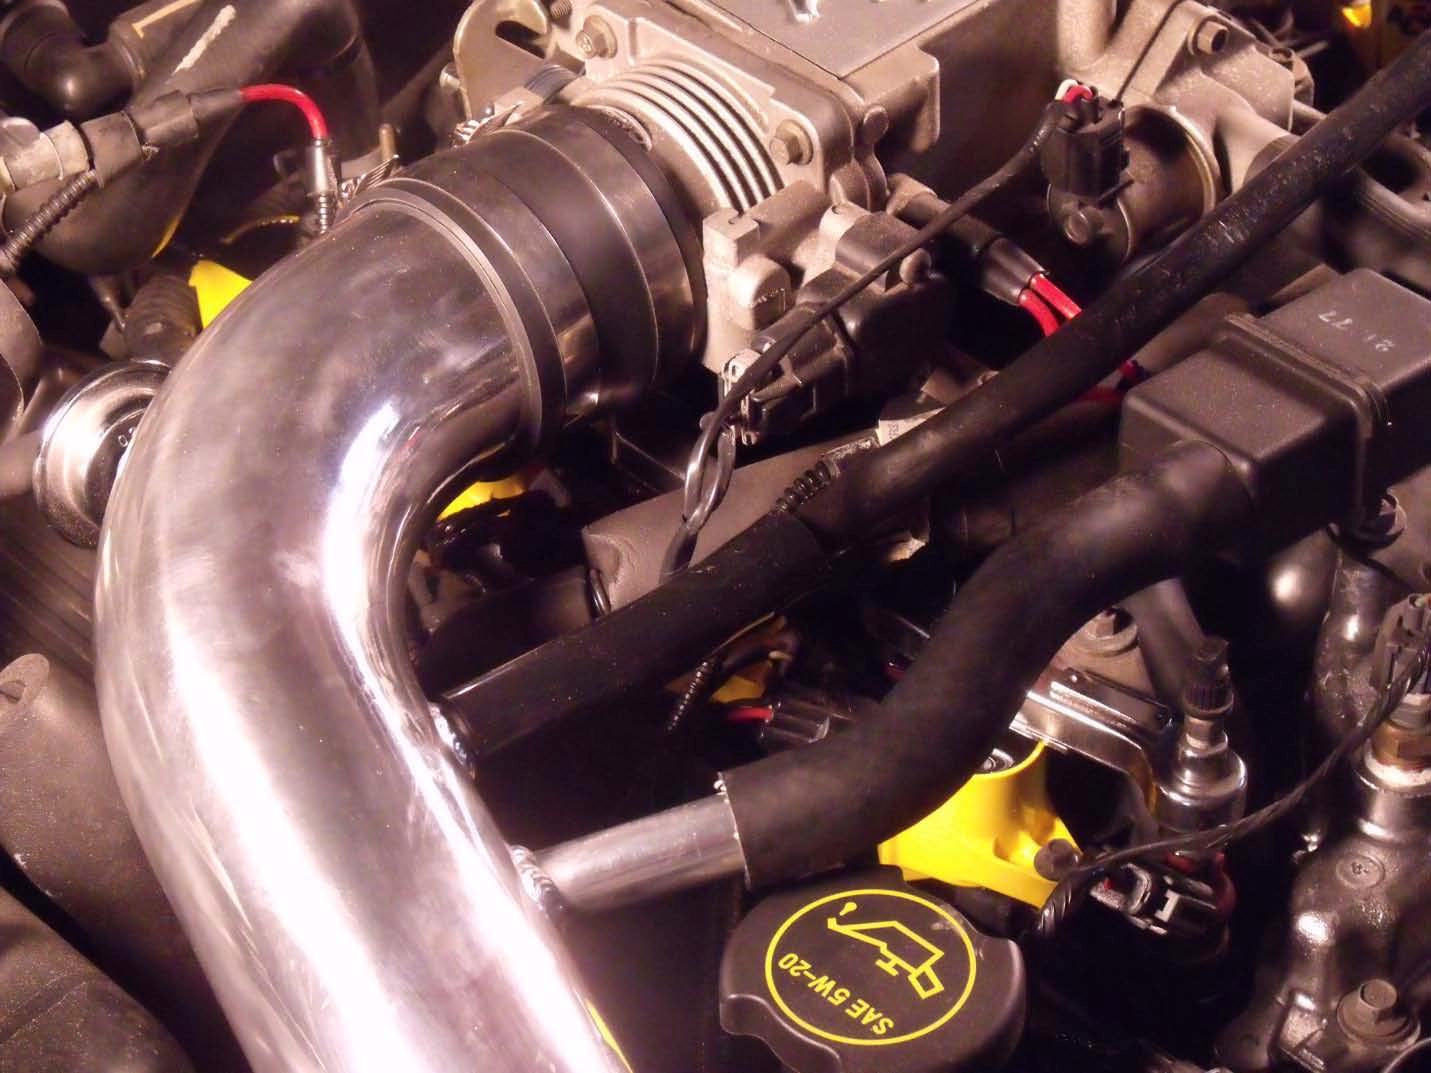
2. Next remove the upper intake pipe using a Flat Head Screwdriver to loosen the pipe clamps. This may vary depending on the set up of your intake.
3. Locate all 8 of the coils on the motor. They can be found under the fuel rail, 4 on each side, and are quite easy to access.
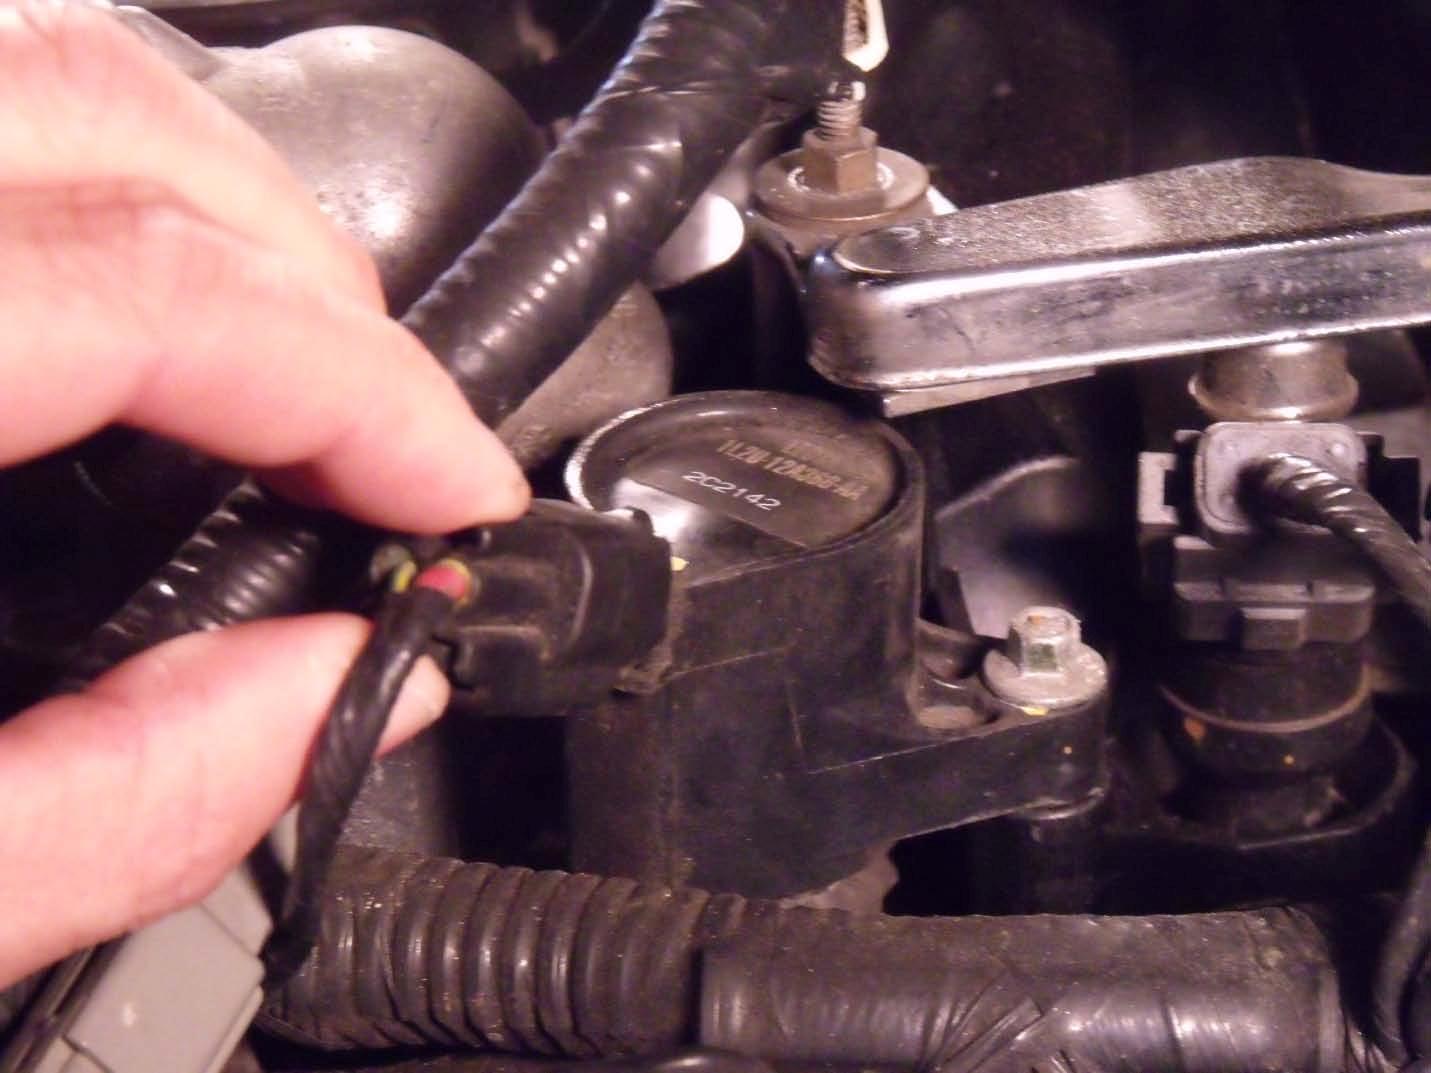
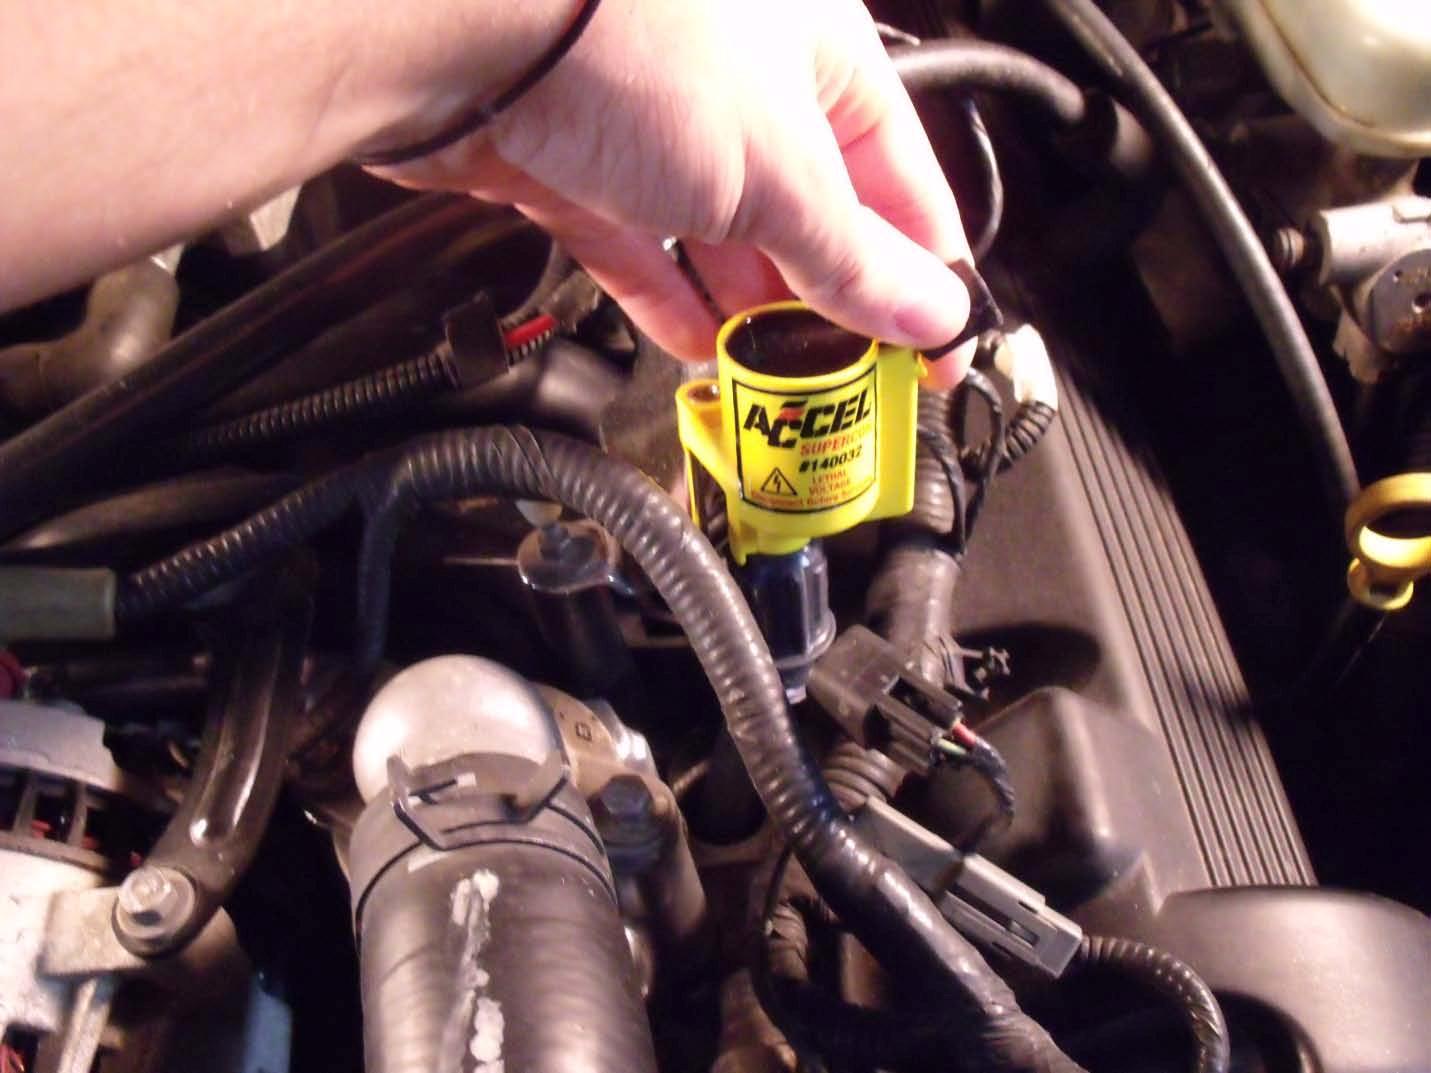
4. Remove the electrical connection clip by pinching the bottom of the clip and pulling the connector straight off.
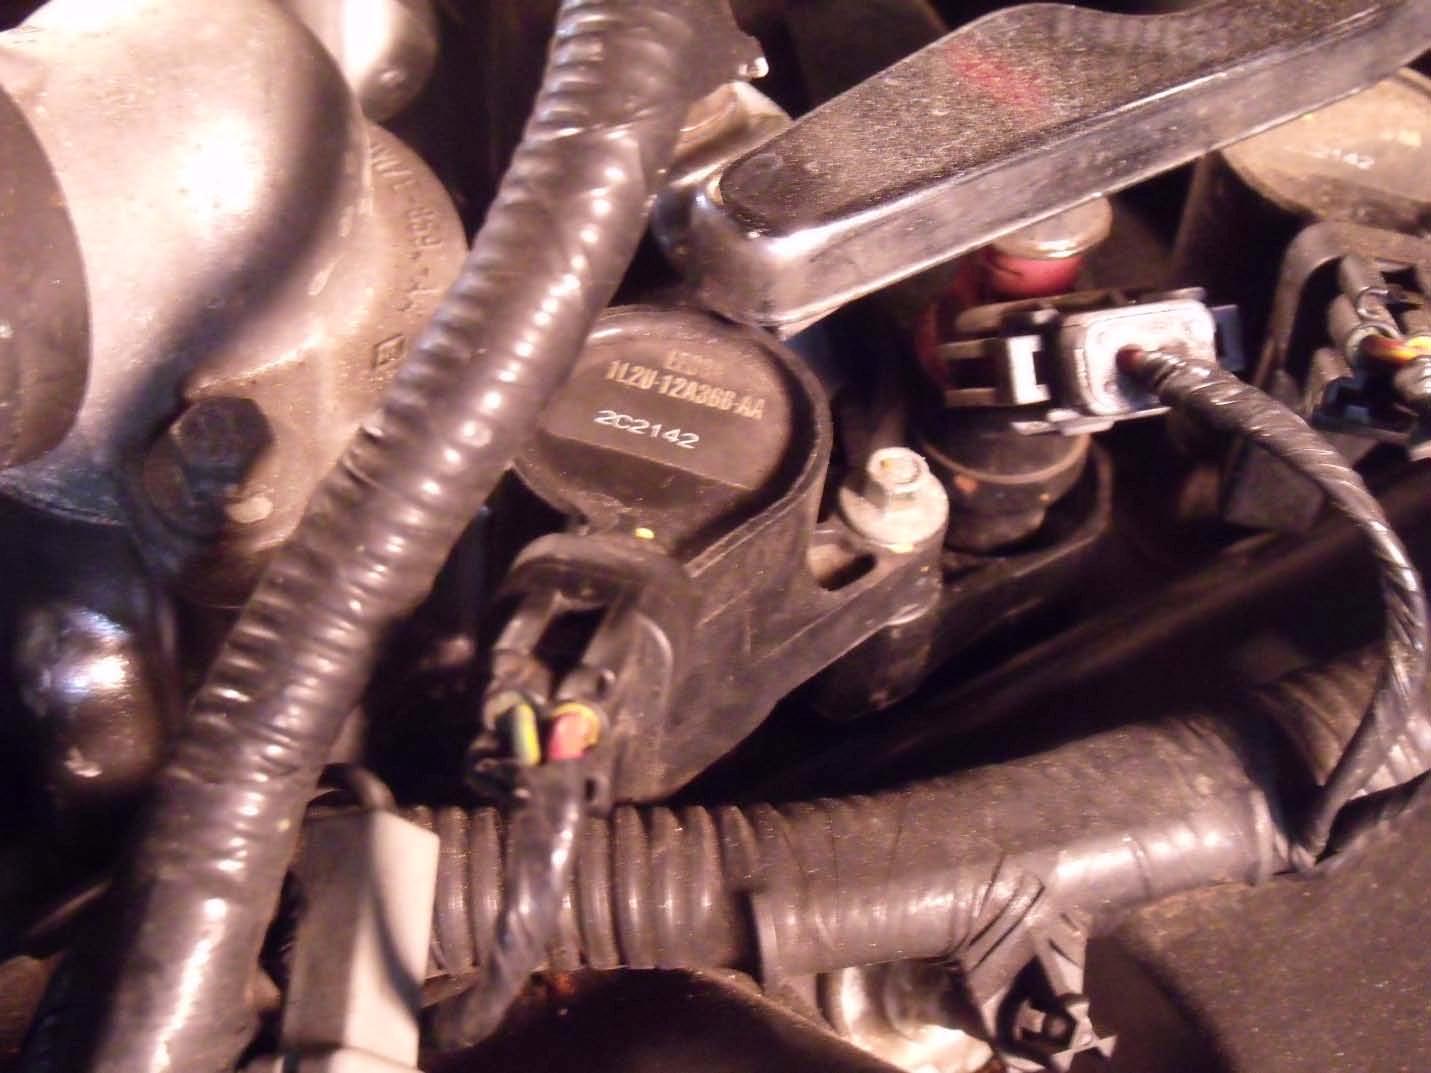
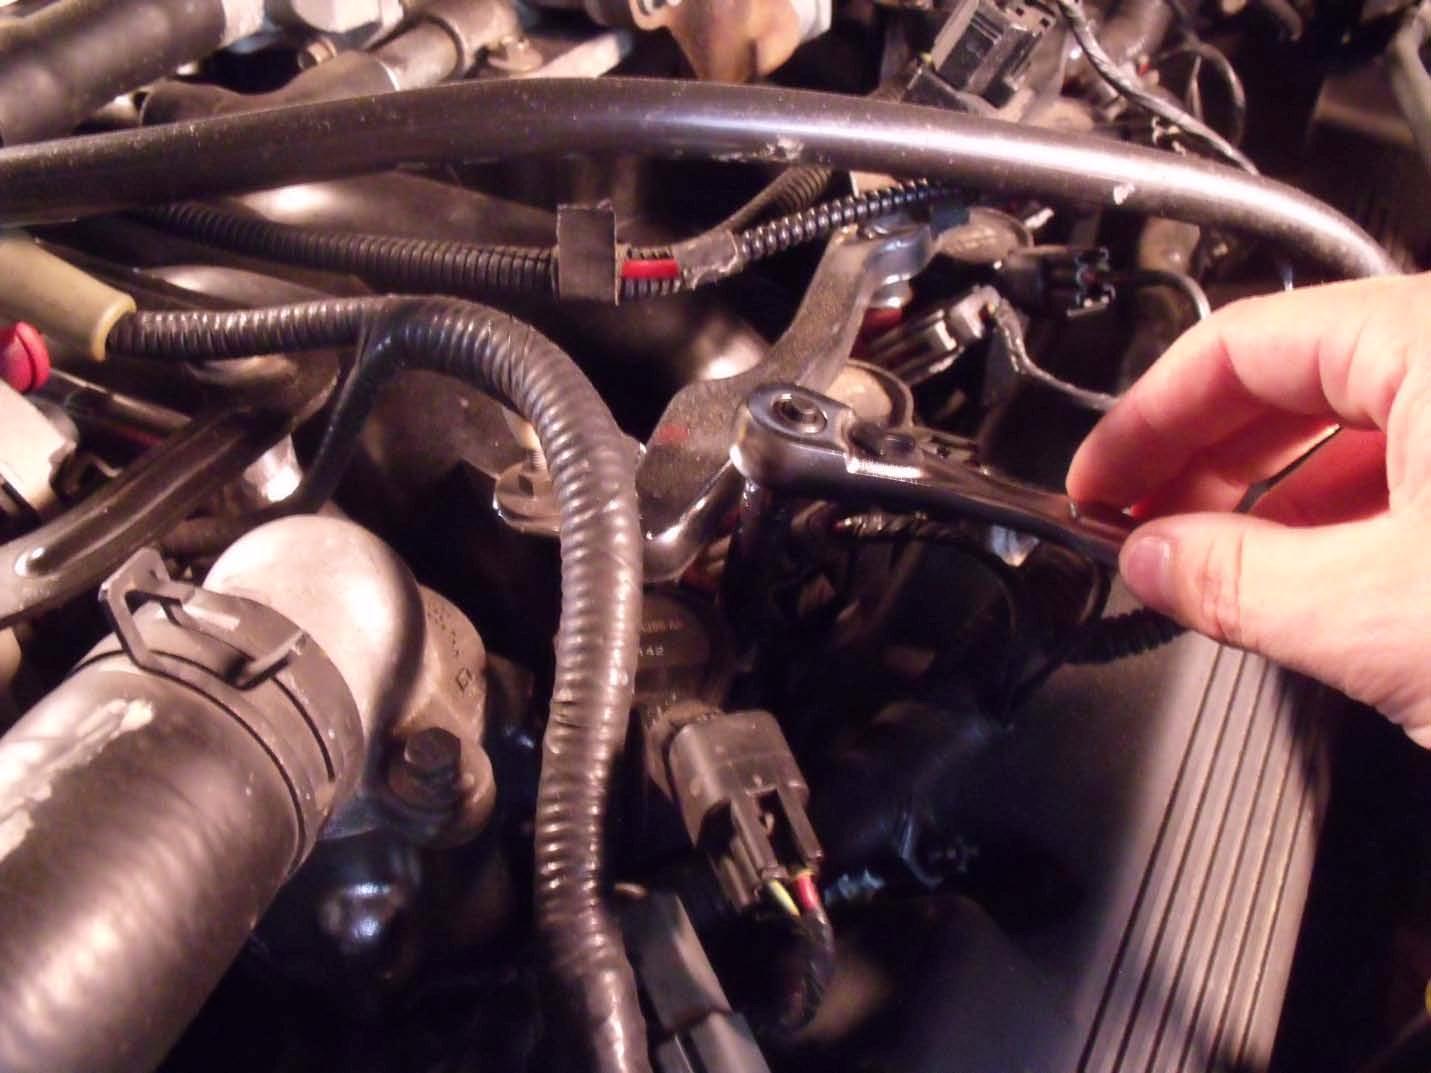
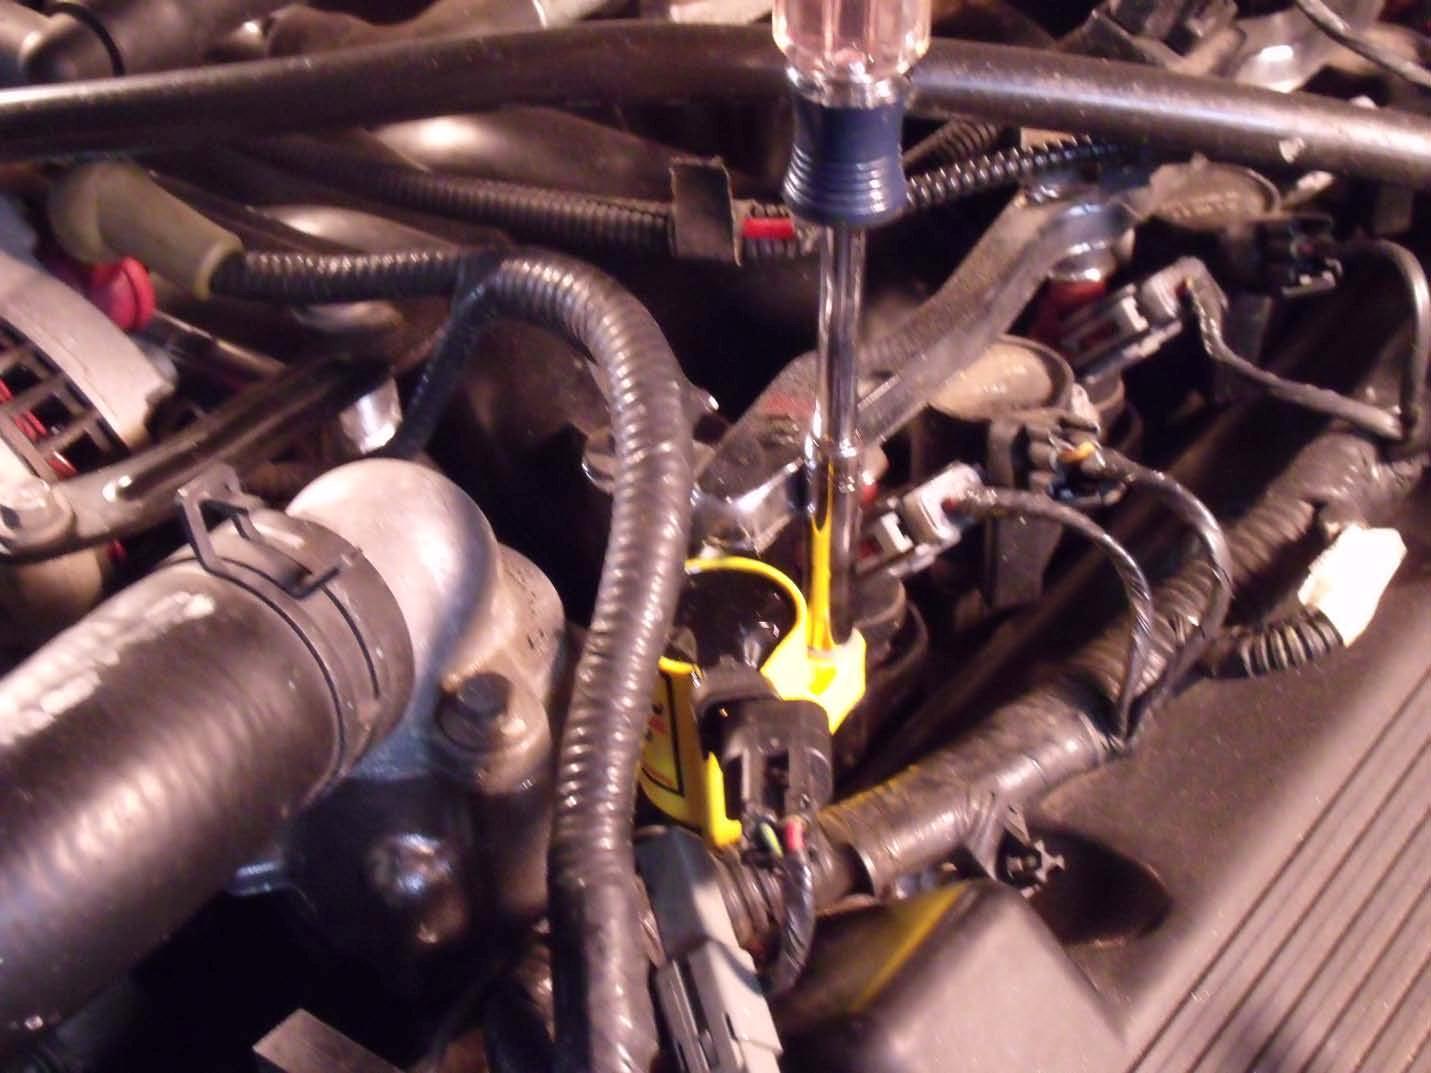
5. Using the small socket wrench, or a socket driver, with a 7mm socket, remove the single bolt that holds the coil in place.
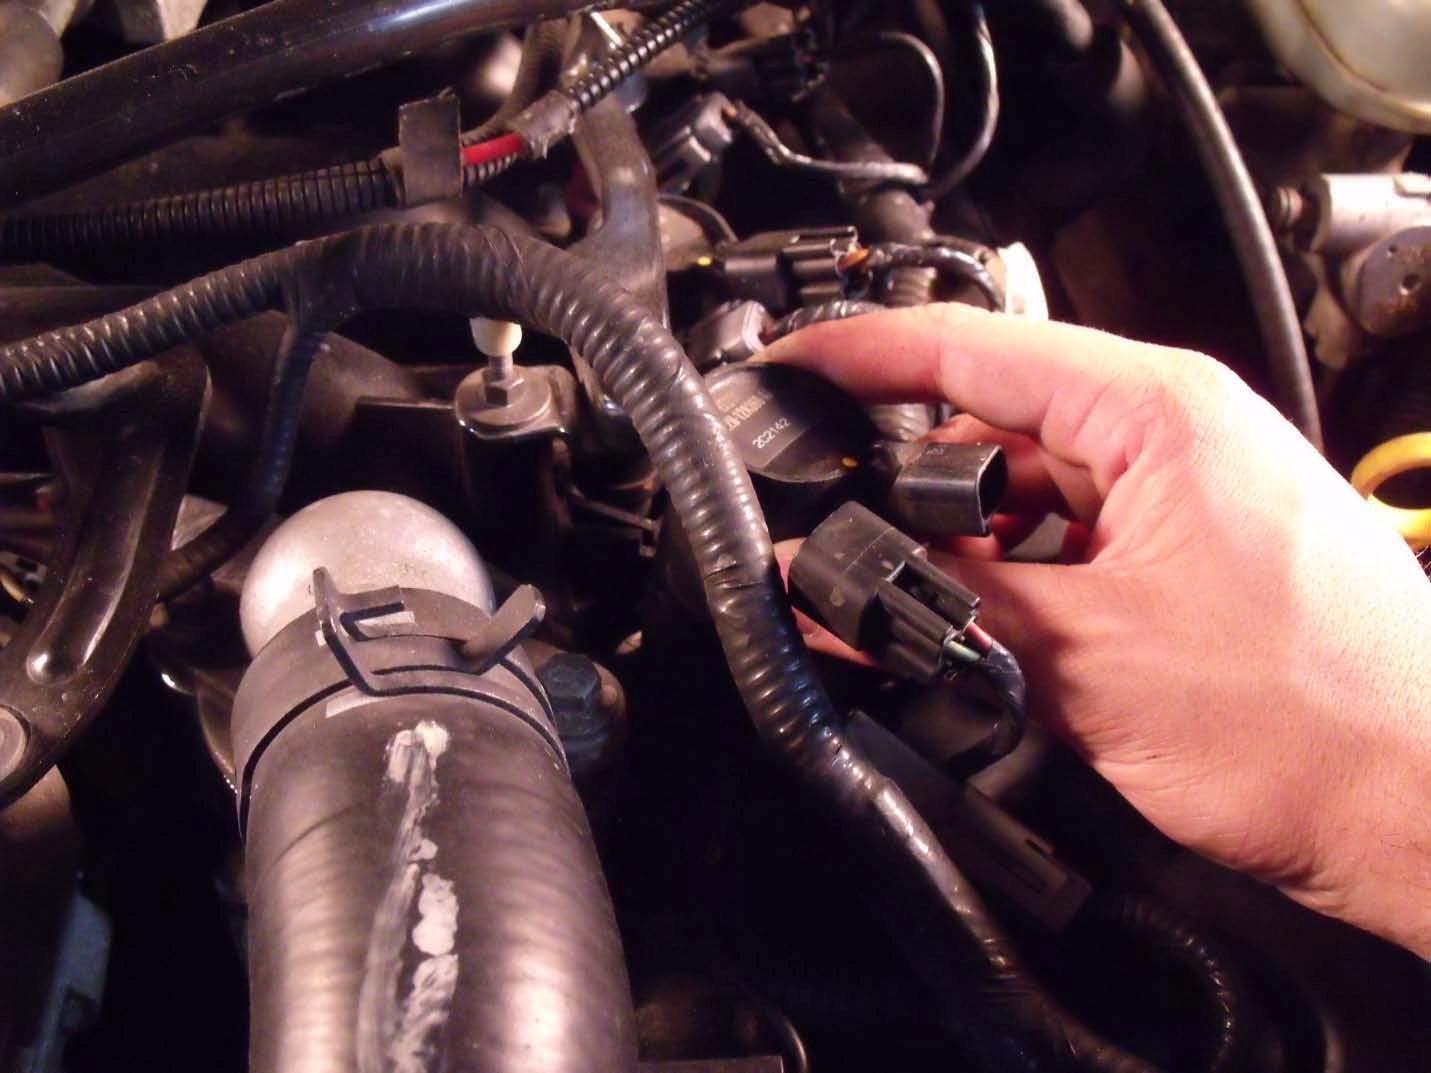
6. Next, pop the coil from over the spark plug making sure to clear the fuel rail. Then, pull the coil straight out from the engine.
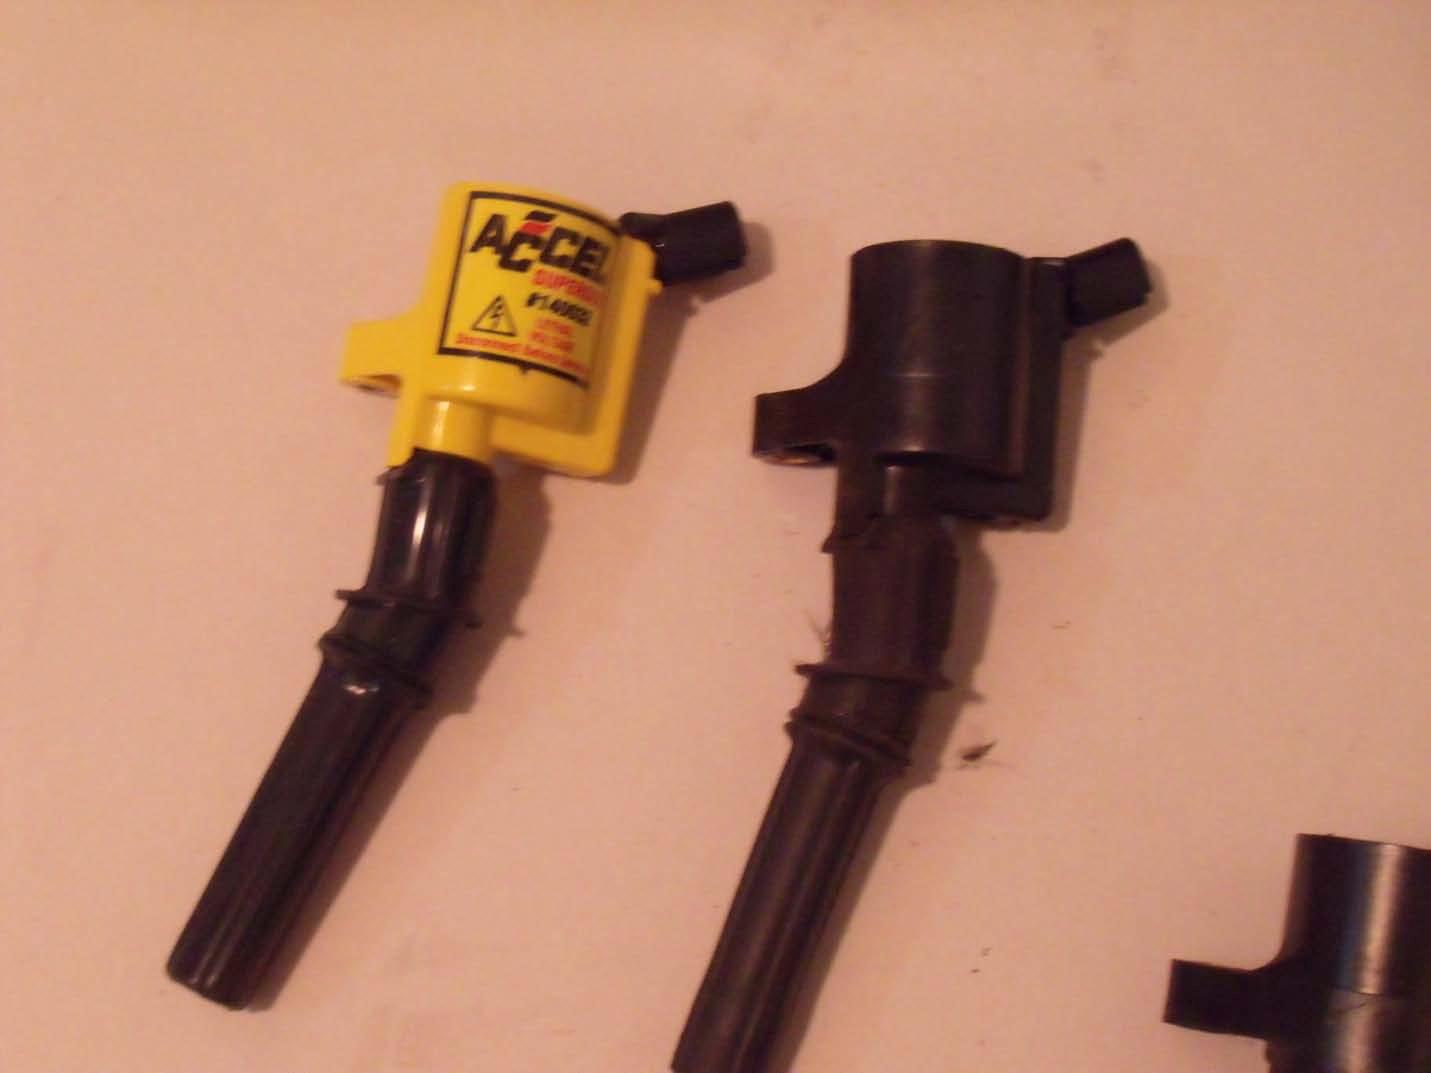
Below is a picture of the New Accel Super Coil compared to the original coil. As you can see the Accel Super Coil is the exact same size and shape as the original making this an easy direct bolt on part.
Reassembly:
1. Slide the new coil into the engine making sure you clear the fuel rail. Press the coil down onto the plug so the connection is made between the coil and the plug.
2. Using your socket wrench or a socket driver reinstall the small bolt that holds the coil in place. Make sure to bring the bolt to a snug fit, but do not over tighten.
3. Once the bolt is in you can re-connect your electrical connector by simply sliding it right back into place until it comes to a secure click.
4. You can now repeat disassembly steps 3 – 6 and reassembly steps 1 – 3 on each of the remaining 7 coils. I recommend that you take out and replace one coil at a time. Take your time to make sure each coil goes in properly.
5. Once you have all of the coils installed properly onto your engine you can now reinstall your upper intake tube to the throttle body and the lower portion using your Flat Head Screwdriver to tighten the hose clamps.
6. Finally, you can reconnect the negative the negative battery cable back to the terminal and tighten the bolt with a ¼ socket attached to a small socket wrench.
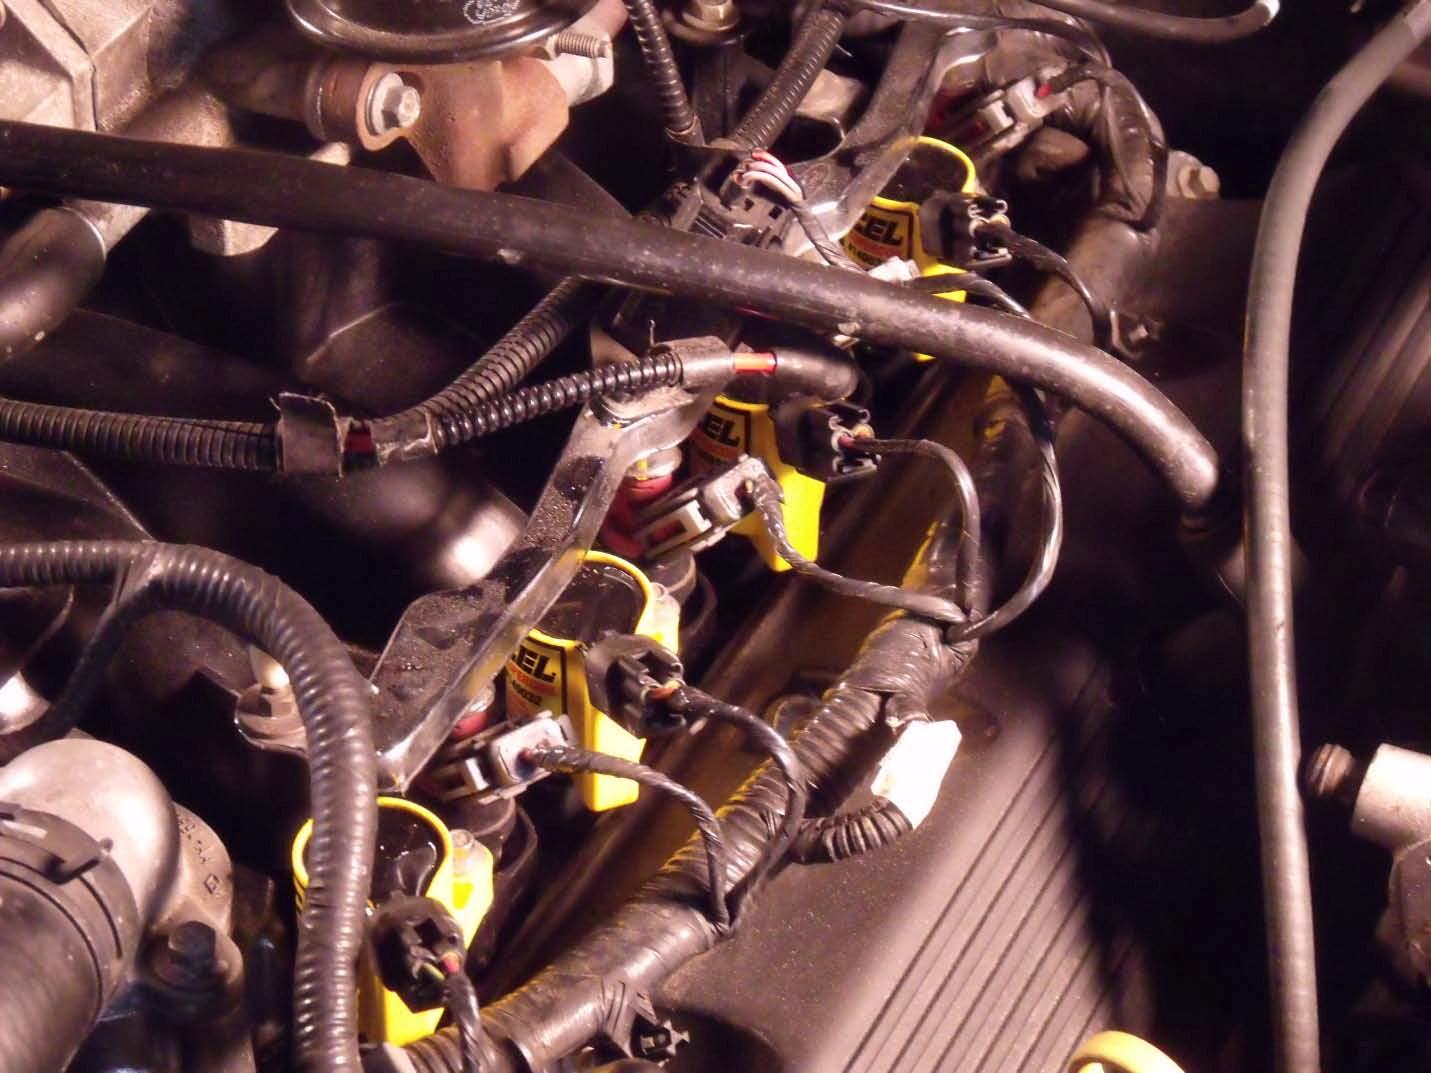
Below is a picture of the finished right side of the motor. The second picture is of the left side.
Start It Up!
You can now fire up your engine and check for any service lights. Make sure there are no misfires and that all 8 coils are firing strong. If this is the case for you enjoy your more powerful and efficient engine thanks to Accel Supercoils and American Muscle.
