 FREE 1 to 3-Day Delivery on Orders $149+ Details
2005-2009 Mustang Painted Mirror Covers Installation Guide
Installation
1. Unpack the shipping carton and make sure that you have a driver’s side and passenger side mirror insert. Each is marked on the foam pouch that the inserts are shipped in. Also in the package should be two packs of double sided adhesive and an alcohol wipe.
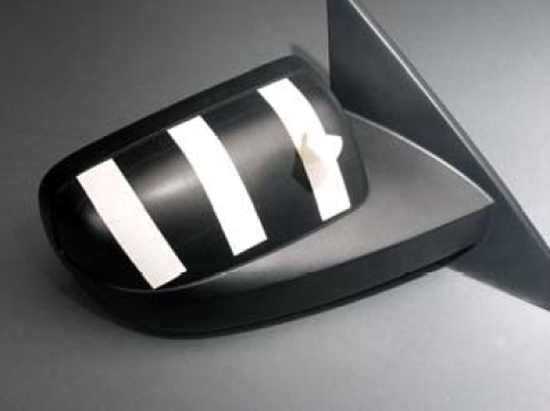
2. First wipe down both mirrors in the inset area and the inside of the mirror inserts with the alcohol wipe. Then apply 3 of the 4” strips of the double sided adhesive to each door mirror as shown in the picture. Remove the white backer to apply the adhesive strips, leave the backer that says VHB in place.

3. Peel off the backer from the double adhesive strips as shown in the picture.
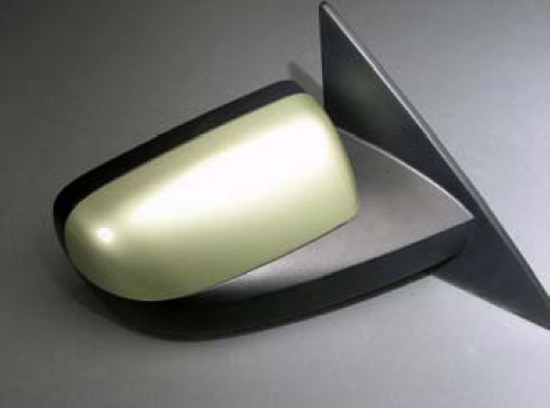
4. Place the mirror insert over the mirror, being careful to align the top and bottom edges, and press firmly into place. The bond will take approximately 24 Hrs to reach full strength. Do not take your car through an automated car wash during that time period.
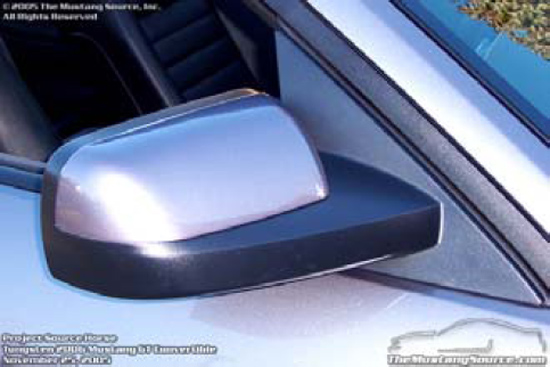
5. Your mirror inserts are molded from a high strength plastic and finished with automotive grade base coat, clear coat paint system. They can be treated the same as the body of your car as far as maintenance. Any clear coat safe wax, polish or car wash may be used to clean or polish them.
Installation instructions provided by Midwest Auto Gear.
Related Guides
-
Installation
