FREE 1 to 3-Day Delivery on Orders $149+ Details
How to Install Axial LED Halo Fog Lights on your Mustang
Tools Required
- Phillips-Head Screwdriver
- Flat-Head Screwdriver
- Pliers
- 10mm socket or wrench

Shop Parts in this Guide
Contents:
(2) Fog Lights w/ brackets
(2) Ballasts
(1) Wiring Harness
(4) Slice Conncetors
(4) Zip Ties
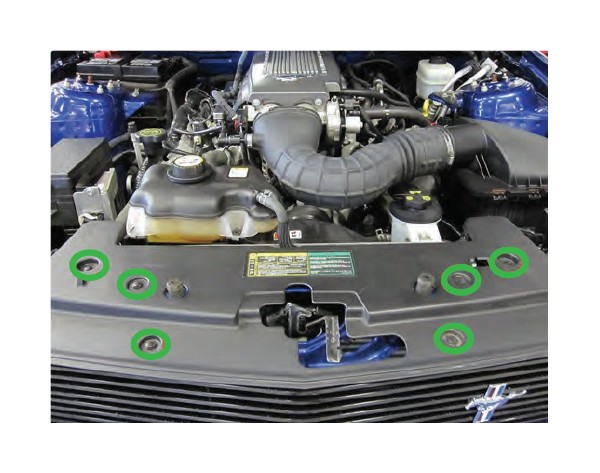
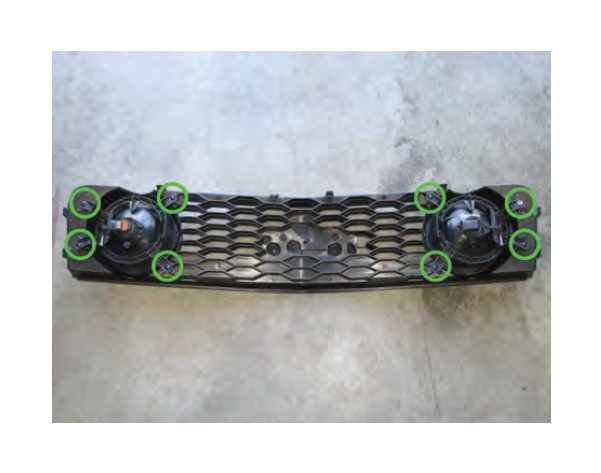
Step 1: Remove the plastic radiator cover by removing the 6 plastic retaining clips.
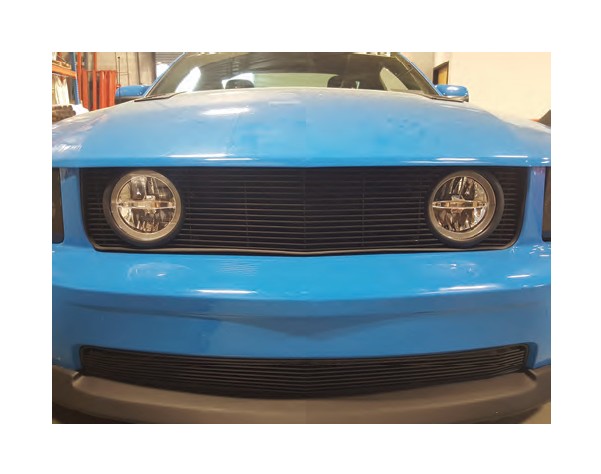
Step 2: Press in on the grille tabs, until the lip securing the grille into the front bumper is released. There are tabs along the bottom of the bumper that will come loose with some force. Be careful, to keep from breaking the tabs or the bumper.
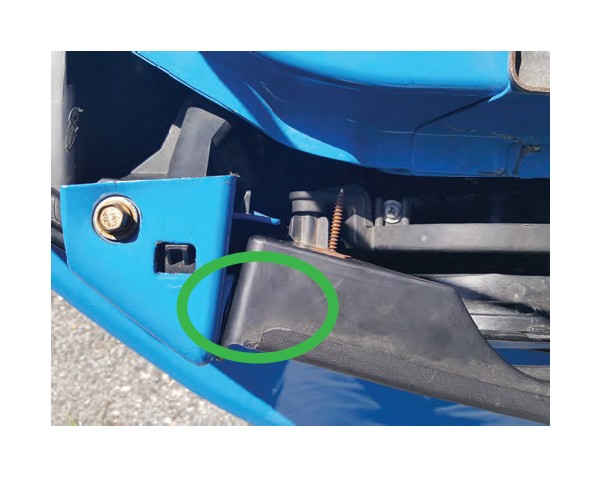
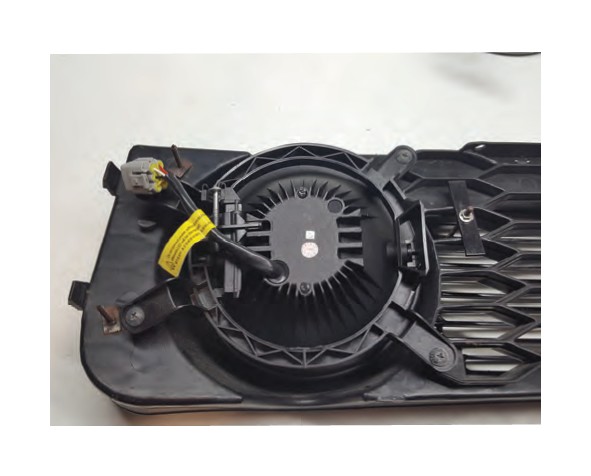
Step 3: Press down on the electrical connector to release the fog light harness from the fog lights.
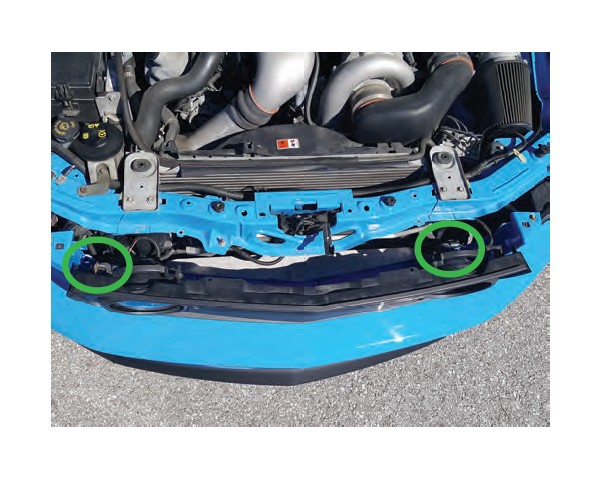
Step 4: Remove the (8) 7mm screws securing the fog light mounts to the grille. Factory hardware will be reused for the new lights.
Step 5: Install the LED lights using the factory hardware. **Note: There is a Left and Right side Light. Make sure all mounting tabs line up properly.
Step 6: Mount the ballast to the frame away from any electrical connections using zip ties or self taping screws. ** Note: the ballast will get hot.

Step 7: Plug the supplied wiring harness into the factory fog light connections. The two additional wires will need to be spliced into the vehicle's factory wiring.
Supplied Harness - Factory Wiring Harness
Yellow - Headlight switched 12v (white headlight harness wire)
Red - Running Light 12v

Step 8:
Test the lights before reassembling
Test the lights to ensure the work as follows:
Running lights on, the halo lights will be on.
Headlights on, the halo lights will be off.
Fog lights will operate the same as factory.
Reinstall the grille in reverse order.