 FREE 1 to 3-Day Delivery on Orders $149+ Details
How to Install a Cold Air Intake Replacement Filter on Your Mustang

Shop Parts in this Guide
- BBK High Performance Cold Air Intake Replacement Filter For BBK Intake (05-09 Mustang GT; 05-10 Mustang V6 w/ BBK Intake)
- BBK High Performance Cold Air Intake Replacement Filter (86-95 5.0L Mustang)
- BBK High Performance Cold Air Intake Replacement Filter (94-04 Mustang GT, Cobra; 94-04 Mustang V6)
- SR Performance Cold Air Intake Replacement Filter; 3.50-Inch Inlet (79-04 Mustang)
- K&N Drop-In Replacement Air Filter (08-09 Mustang Bullitt)
Installation
Please Note: This install guide shows the install of a BBK CAI Replacement filter onto sa 2006 GT. The same basic process is used for any replacement air filter.
Installation Instructions:
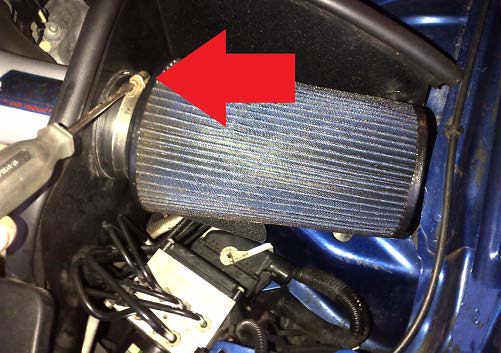
1. Before you start, this is what you should see under your hood. It is assumed that you already have a cold air intake and you’re simply replacing the filter. Use a slotted screwdriver and remove the clamp holding the filter on.
2. Once the clamp is loosened, then carefully remove the filter. You may need to move it around a bit to get it off.
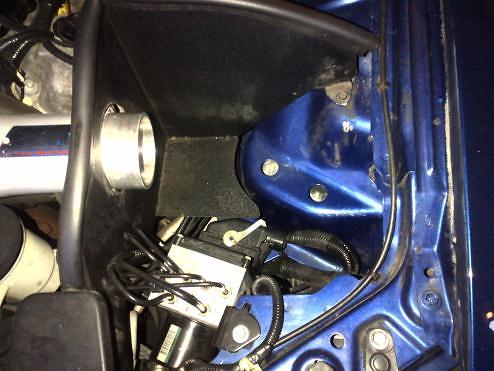
3. This is what you should see. Take this opportunity to remove any debris or dirt that has settled in this compartment.
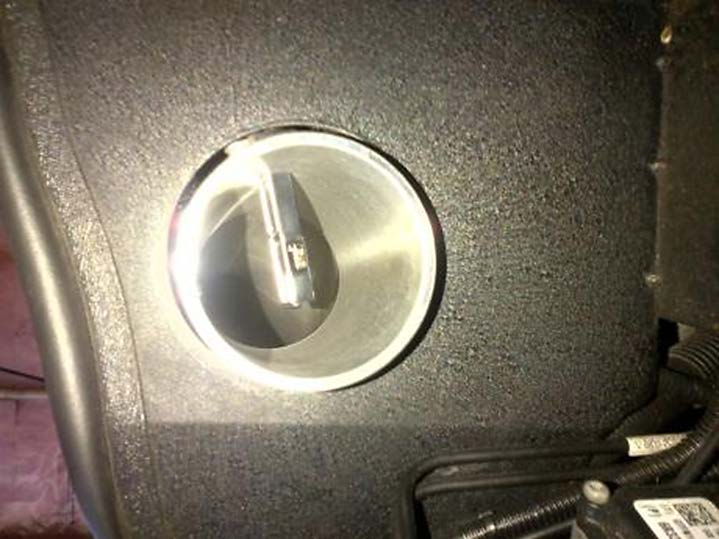
4. Also, take this opportunity to check inside the air intake. Check for dirt, debris, etc… If there is anything, clean out the air intake thoroughly. You may wish to remove your entire cold air intake (if its dirty) and clean it as this is the air that is going into your engine.
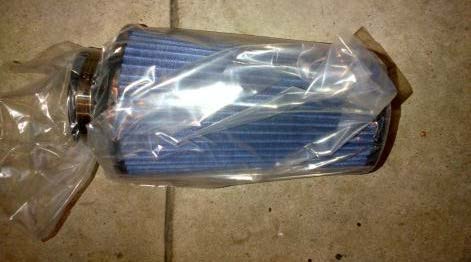
5. Now get your new filter out and remove the plastic bag.
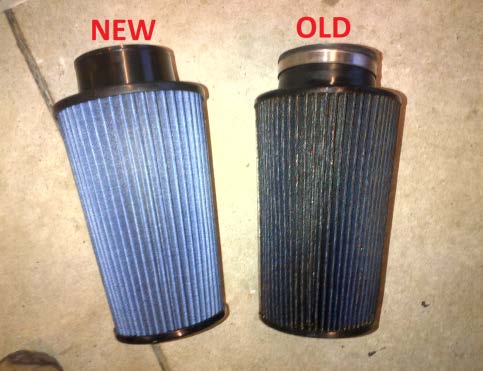
6. With the old and new filter beside each other, you can easily tell why it’s a good idea to replace these “lifetime” filters every once in a while. Even with regular cleaning and oiling, the new one looks much better.
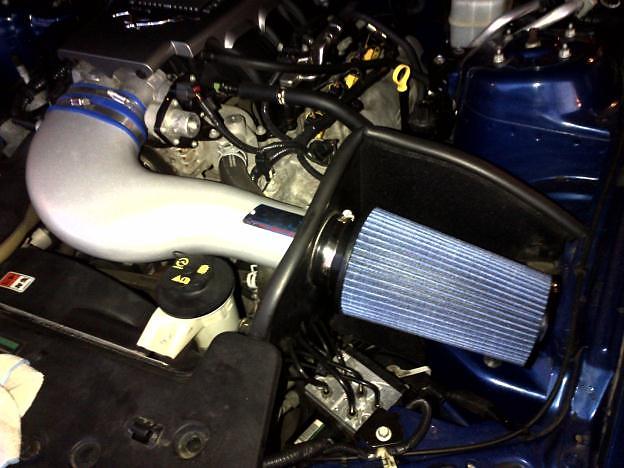
7. Carefully slide the new filter onto the air intake – make sure you place the clamp loosely over the filter first. Using a slotted screwdriver, tighten the clamp to secure the filter to the air intake.

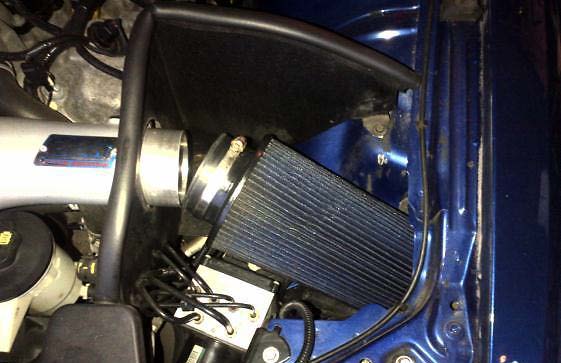
8. You should now be all done and you should see something like the picture below. All that’s left to do is fire it up!
Installation Instructions written by AmericanMuscle customer Michael Touw 4.13.12

